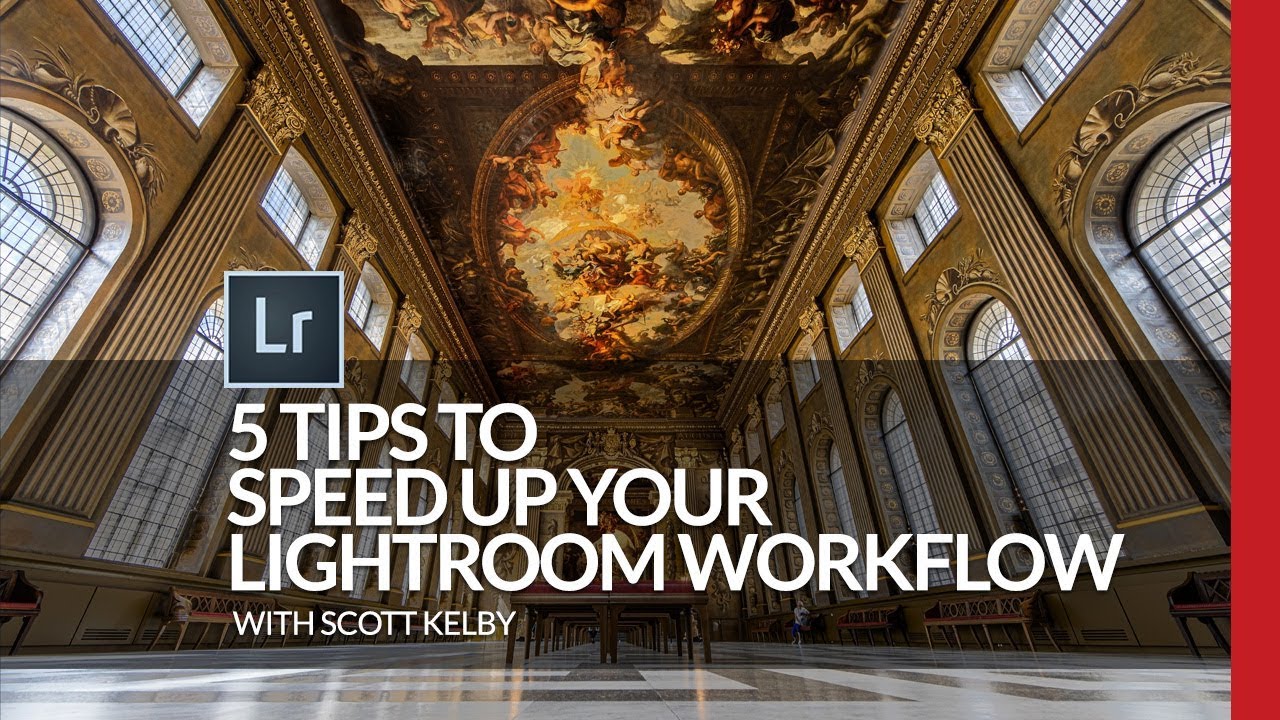
Every hour I spend scrolling through panels I don’t use is an hour I’m not billing. After 15 years running post-production for ad agencies and e-commerce brands, I still run into photographers who are white-knuckling it through a default Lightroom interface that was never configured for the way they actually work. The software ships with everything turned on, which sounds generous until you realize you’re hunting through six modules you’ve never opened and scrolling past panels you’ll never touch.
I came across Watch the full tutorial on YouTube from Scott Kelby recently, and while the tips are quick, they’re the kind of quick that compounds. Five minutes of setup pays back every single editing session after that. I’m writing this up as a proper walkthrough because watching Kelby demo it fast is one thing, but knowing exactly where to click and why each step matters is another.
The through-line across all five tips is the same principle I use when I build Photoshop actions: remove every decision that doesn’t require your brain. Navigating a bloated panel list requires zero creative judgment. It should cost you zero time.
Step 1: Customize Which Develop Panels Appear
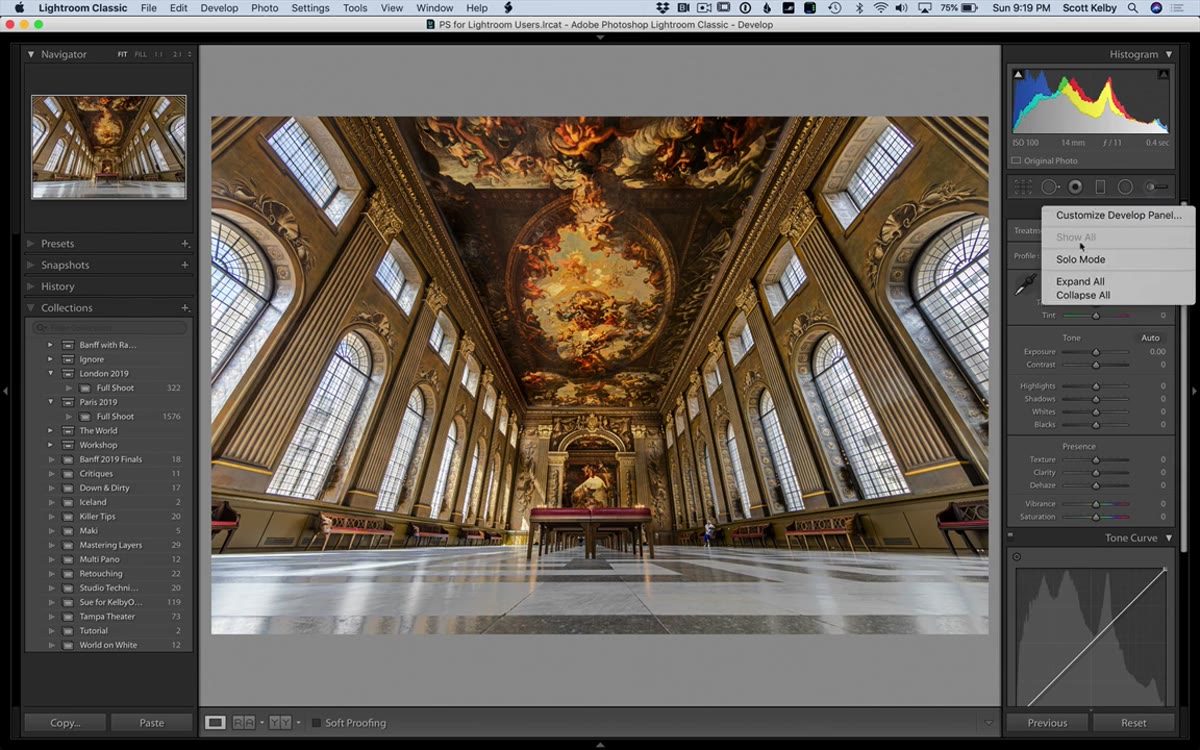 Right-click menu showing “Customize Develop Panel” option
In the Develop module, right-click directly on the panel title area, anywhere along the right-side panel header strip. You’ll see a menu option called “Customize Develop Panel.” Click it. What opens is a list of every available panel with checkboxes, plus drag handles on the right side.
Right-click menu showing “Customize Develop Panel” option
In the Develop module, right-click directly on the panel title area, anywhere along the right-side panel header strip. You’ll see a menu option called “Customize Develop Panel.” Click it. What opens is a list of every available panel with checkboxes, plus drag handles on the right side.
First, uncheck any panel you genuinely never use. The Camera Calibration panel, for example, is one most photographers open maybe once a year, if that. Unchecking it doesn’t delete anything. It just pulls it out of your visual path. Less to scroll past, less to accidentally expand. Go through the list honestly and uncheck whatever doesn’t earn its screen real estate.
Step 2: Reorder Panels to Match Your Actual Workflow
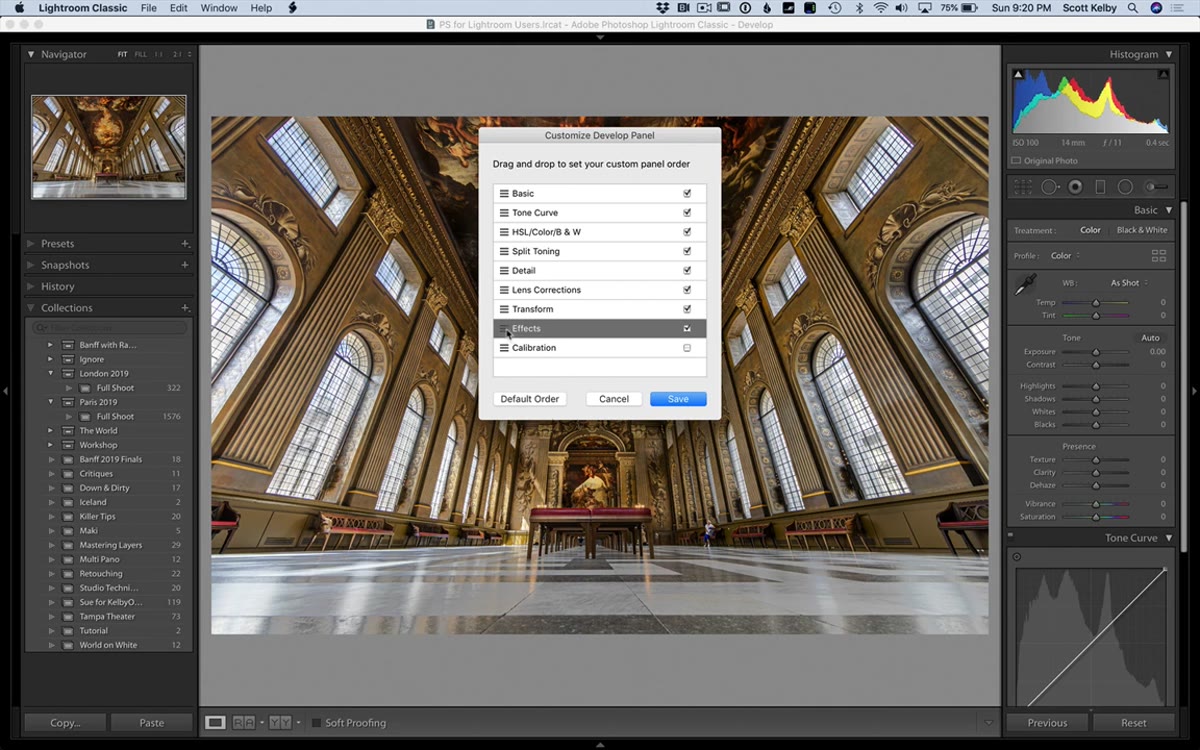 Dragging panel order with hamburger icon in Customize Develop Panel dialog
While you still have that Customize Develop Panel dialog open, look at the drag handle (the small grid of dots, sometimes called a hamburger icon) next to each panel name. You can click and drag any panel up or down in the list to reposition it.
Dragging panel order with hamburger icon in Customize Develop Panel dialog
While you still have that Customize Develop Panel dialog open, look at the drag handle (the small grid of dots, sometimes called a hamburger icon) next to each panel name. You can click and drag any panel up or down in the list to reposition it.
Think about the sequence you actually follow when editing. If you consistently jump to the Effects panel for vignetting or grain right after Basic adjustments, drag Effects up so it sits second in the list. Your hand already knows where to go, and now the interface will agree with it. If you decide the reorder isn’t working after a few sessions, go back to the same right-click menu and choose “Reset to Default Order.” Nothing is permanent here.
Step 3: Enable Solo Mode to Kill the Scroll
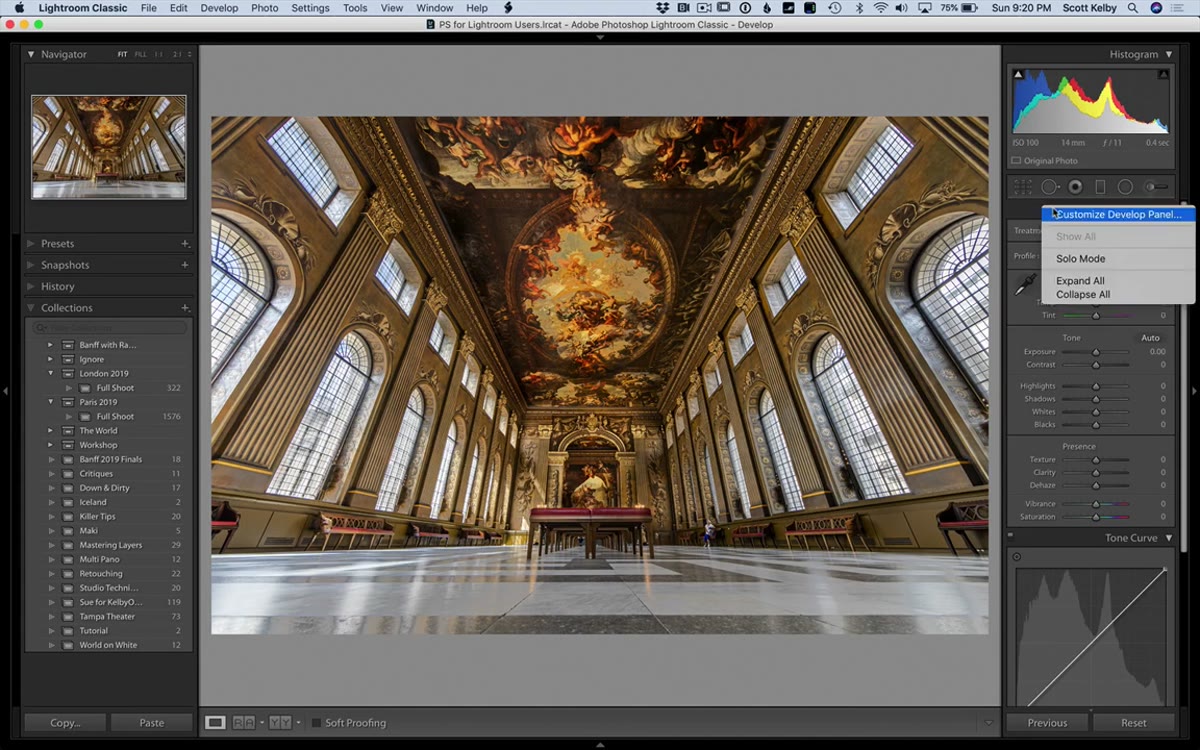 Solo Mode enabled with only one panel expanded in Develop module
Still in the right-click menu on that same panel header area, look for “Solo Mode” and make sure it’s checked. This one change does more for editing speed than most people expect. When Solo Mode is on, Lightroom automatically collapses every panel except the one you just clicked open. Click on HSL and everything else folds up. Click on Tone Curve and HSL closes.
Solo Mode enabled with only one panel expanded in Develop module
Still in the right-click menu on that same panel header area, look for “Solo Mode” and make sure it’s checked. This one change does more for editing speed than most people expect. When Solo Mode is on, Lightroom automatically collapses every panel except the one you just clicked open. Click on HSL and everything else folds up. Click on Tone Curve and HSL closes.
Without Solo Mode, it’s common to have four or five panels open simultaneously, which means the panel you want is always just off-screen. Solo Mode forces a single-panel focus that also happens to mirror how most edits actually flow: you finish one area, then move to the next. It’s a small behavioral nudge that eliminates a surprising amount of mindless scrolling.
Step 4: Hide the Modules You Don’t Use
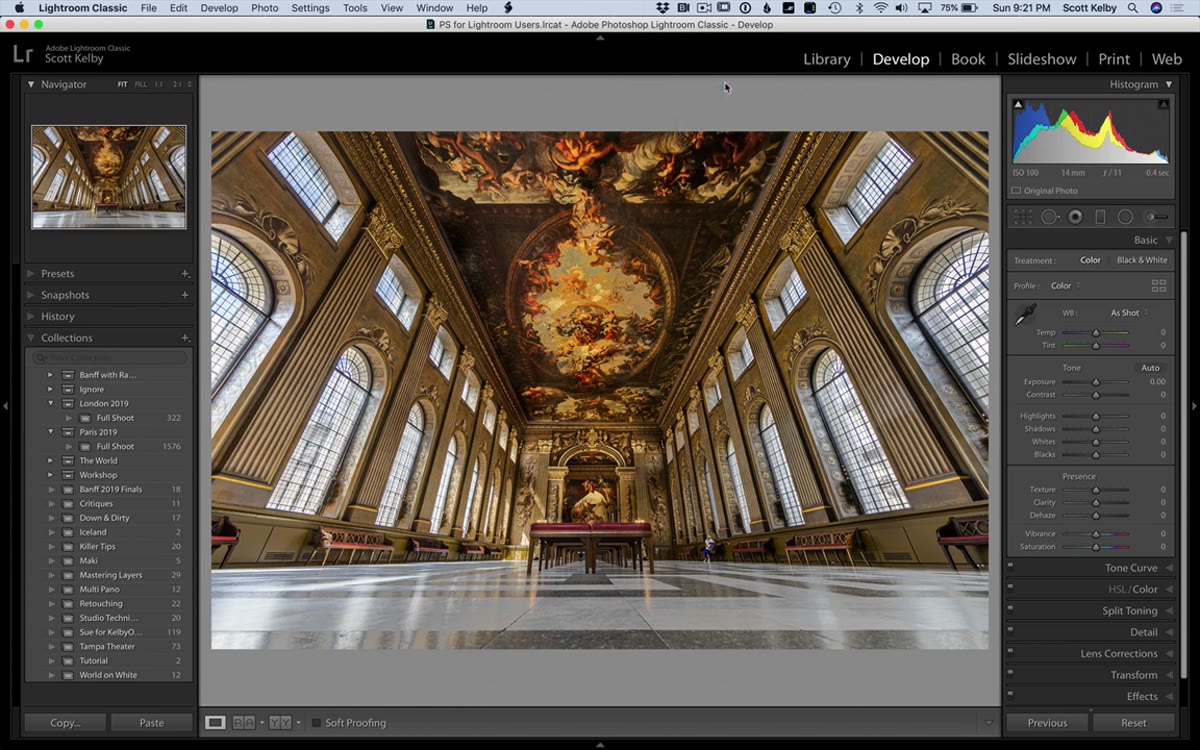 Right-click on module picker showing checkboxes for Map, Web, Slideshow
Look at the module picker across the top of the Lightroom window: Library, Develop, Map, Book, Slideshow, Print, Web. Right-click anywhere on that bar. You’ll get a list of all the modules with checkboxes next to each name.
Right-click on module picker showing checkboxes for Map, Web, Slideshow
Look at the module picker across the top of the Lightroom window: Library, Develop, Map, Book, Slideshow, Print, Web. Right-click anywhere on that bar. You’ll get a list of all the modules with checkboxes next to each name.
Uncheck the ones you don’t use. For most working photographers, Map, Web, and Slideshow can go. Hiding them doesn’t disable functionality; it just removes the clickable label from the bar. The modules still exist and you can re-enable them any time through the same right-click. What you gain is a cleaner bar with fewer opportunities for accidental module switches, and a header area that reads as less cluttered when you’re deep in a long edit.
Step 5: Collapse the Left Panel (and Use F7 to Get It Back)
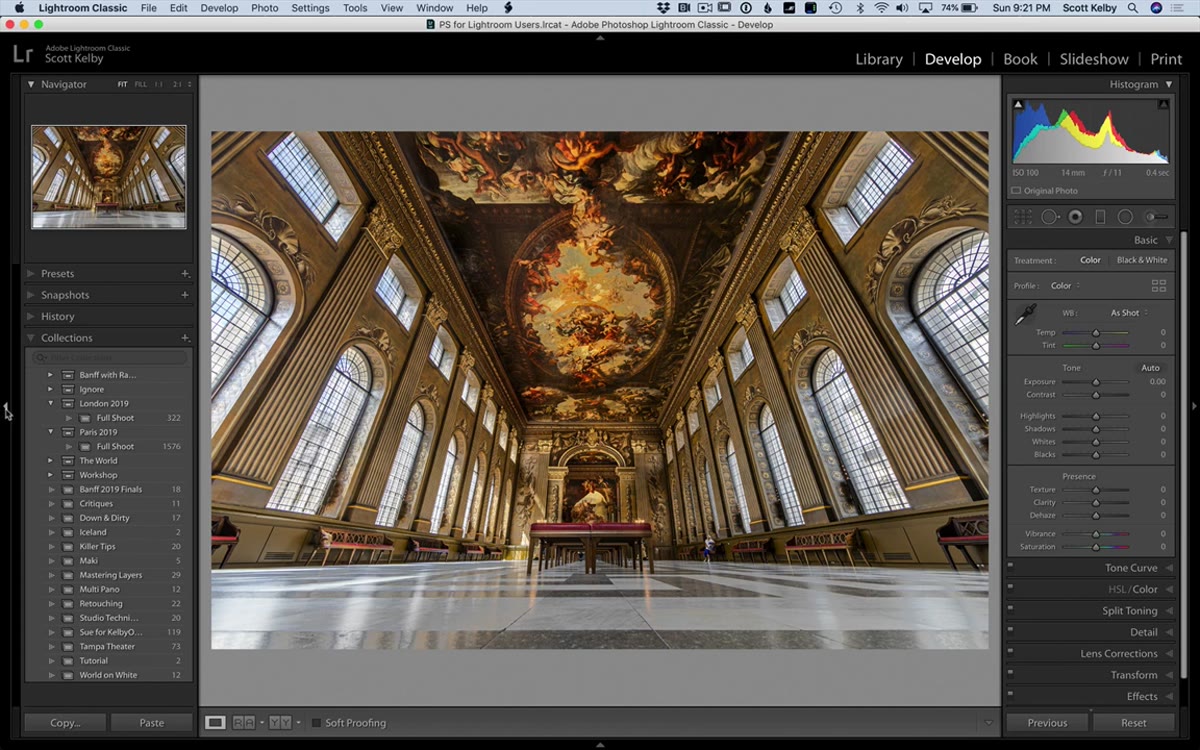 Left panel hidden, image noticeably larger in Develop module
The left panel in the Develop module holds your Presets, Snapshots, History, and Collections. Useful things, but you typically access them at the start of a session or occasionally mid-edit, not continuously. Click the small arrow on the left edge of the interface to collapse the panel entirely. Notice how much larger your preview image becomes.
Left panel hidden, image noticeably larger in Develop module
The left panel in the Develop module holds your Presets, Snapshots, History, and Collections. Useful things, but you typically access them at the start of a session or occasionally mid-edit, not continuously. Click the small arrow on the left edge of the interface to collapse the panel entirely. Notice how much larger your preview image becomes.
The keyboard shortcut F7 toggles the left panel open and closed. Once you build that shortcut into muscle memory, the left panel stops being something that squats on your screen all day. You summon it when you need it, dismiss it when you don’t. Same logic applies to the right panel via F8, though most editors keep the right panel open during active work since that’s where all the adjustment sliders live.
Step 6: Press F for Full-Screen Focus Mode
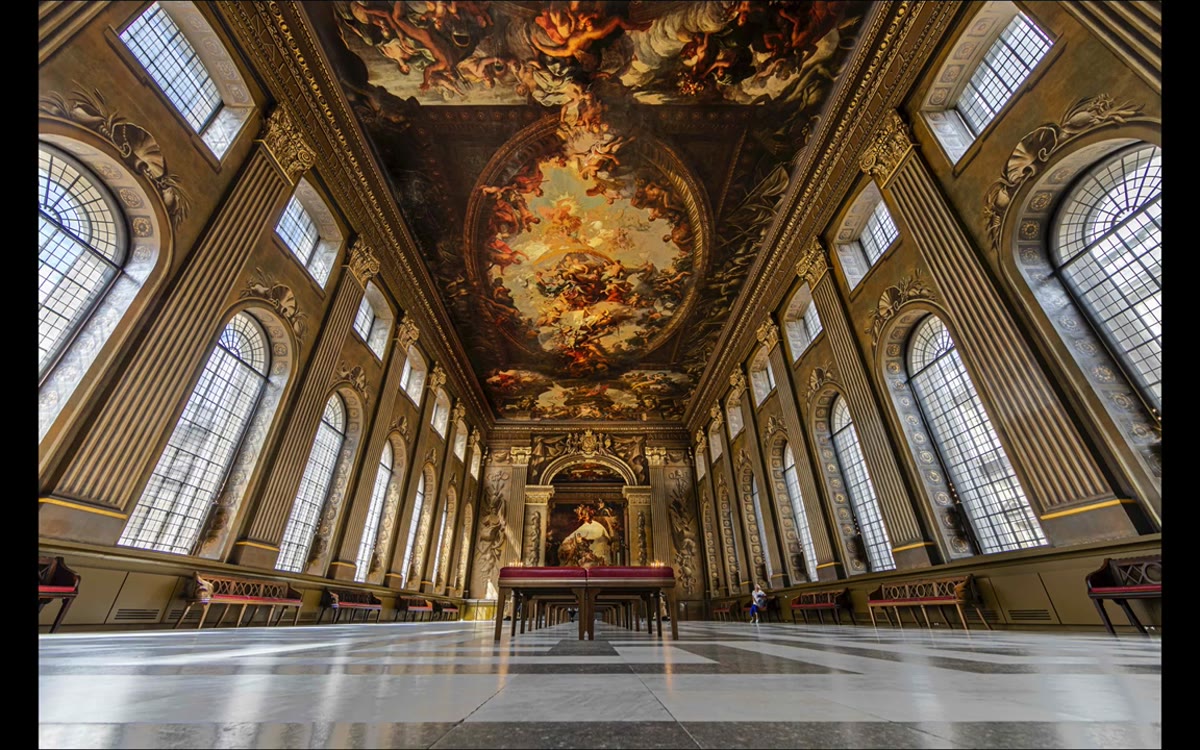 Lightroom in full-screen mode with image centered and panels hidden
Press the letter F on your keyboard at any point during editing to enter full-screen mode. Everything disappears except the image itself, panels on both sides, the filmstrip, the module bar, all of it collapses away. Press F again to return to your normal view.
Lightroom in full-screen mode with image centered and panels hidden
Press the letter F on your keyboard at any point during editing to enter full-screen mode. Everything disappears except the image itself, panels on both sides, the filmstrip, the module bar, all of it collapses away. Press F again to return to your normal view.
This isn’t a replacement for standard editing. It’s useful at specific moments: final review before export, client-facing previews, or those times when you need to evaluate an image without the visual noise of the interface competing for your attention. I use it as a gut-check step before I finalize any hero image for a campaign.
One More Layer: Combine These With Presets for Real Speed
The tips above address the interface, which is the container. What goes inside that container matters just as much. When I’m processing large product shot batches, a cleaned-up panel order and Solo Mode mean I can apply and verify presets faster because I’m not fighting the UI to get where I’m going. I’d also suggest pairing these interface changes with a small set of starting-point presets in the left panel (which you’ve now trained yourself to summon with F7 rather than leave open). The presets do the heavy lifting on the first pass, and the streamlined panel layout makes the refinement passes faster.
If your Lightroom setup still looks exactly the way it did when you installed it, you’re working around the software rather than with it. Kelby’s five tips take about four minutes to implement and they change the texture of every editing session after that. The cleanup is worth doing once. The speed gain runs indefinitely.
Watch the full tutorial on YouTube to see Scott Kelby walk through all five tips in real time.
Comments (2)
Just subscribed. If the rest of your content is this good, I'm in.
Great article! I actually covered something related on my site — the lighting angle is really complementary to this.
Leave a Comment