There’s a particular kind of friction I recognize immediately when I watch photographers work in the field. It’s the same friction I see in post-production when someone is manually repeating a task that a well-built action could handle in a keystroke. The tool becomes the subject. The actual work gets pushed aside. In a recent tutorial, Watch the full tutorial on YouTube, Mark Denney describes coming back from a week of leading workshops in the Faroe Islands and noticing that photographers were spending more mental energy managing a tiny focus point than they were thinking about their compositions. The question he kept getting asked wasn’t about exposure or light. It was about autofocus. Specifically, which focus point to use.
I spend most of my professional hours in Photoshop rather than behind a camera, but the principle Denney is describing maps directly onto how I think about workflow. My whole consultancy is built on the idea that your tools should disappear. The moment a tool demands your attention, it’s competing with the work itself. That’s true whether you’re chasing a pinpoint AF cursor across a bright LCD screen in the Faroe Islands or manually running the same resize operation on 200 product images. Denney’s insight is fundamentally a workflow insight dressed in camera settings clothing. That’s why it caught my attention.
His core argument is this: the smallest available autofocus point may actually be the wrong default for most landscape photography, not because it lacks precision, but because that precision comes at a cost that rarely pays off in real-world results.
Step 1: Understand Why the Single-Point Default Became So Common
 Denney explaining the “more precision = better results” assumption
The conventional wisdom has been straightforward for years: use the smallest focus point you can. The reasoning sounds airtight. If you control exactly where the camera focuses, you eliminate variables. More precision should produce sharper, more intentional results. Denney spent years operating on this assumption, and so did most of the photographers he was teaching.
Denney explaining the “more precision = better results” assumption
The conventional wisdom has been straightforward for years: use the smallest focus point you can. The reasoning sounds airtight. If you control exactly where the camera focuses, you eliminate variables. More precision should produce sharper, more intentional results. Denney spent years operating on this assumption, and so did most of the photographers he was teaching.
The problem is that “should” and “does” are different things in practice. Precision only helps if you can execute it cleanly and consistently, and a pinpoint focus point is genuinely difficult to manage outdoors. Bright sunlight makes the LCD nearly unreadable. A tiny focus indicator is easy to lose in a complex scene. Moving it across the frame takes time and attention that would be better spent on the image.
Step 2: Recognize the Real Cost of Pinpoint AF in the Field
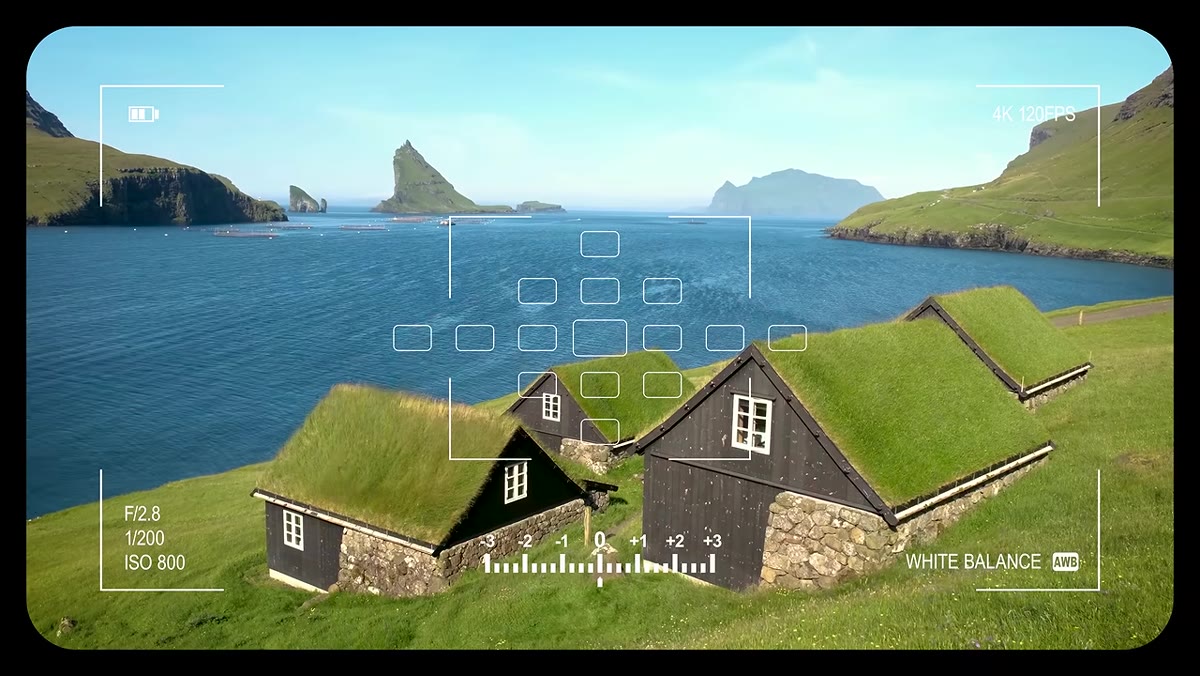 Photographer moving a small focus point across a bright screen outdoors
The issue Denney flags isn’t accuracy. It’s cognitive load. Every second spent hunting for a small focus point on a washed-out screen is a second not spent thinking about light, foreground interest, or the moment itself. He watched this play out repeatedly across different photographers, different camera brands, and different scenes throughout the week.
Photographer moving a small focus point across a bright screen outdoors
The issue Denney flags isn’t accuracy. It’s cognitive load. Every second spent hunting for a small focus point on a washed-out screen is a second not spent thinking about light, foreground interest, or the moment itself. He watched this play out repeatedly across different photographers, different camera brands, and different scenes throughout the week.
The practical effect is that the smallest focus point creates more camera management, not less. You’re essentially solving a precision problem that, for the vast majority of landscape scenes, doesn’t actually exist at the scale where a single-point versus a zone difference would show up in a final print. That’s the diminishing return he’s pointing at. The extra precision is real, but the benefit of that extra precision is almost always invisible in the finished image.
Step 3: Shift to a Wider AF Zone for General Landscape Work
 Denney demonstrating a wider zone or area AF mode on his camera
What Denney moved to instead is a wider autofocus zone rather than a single pinpoint. The specific menu label varies by camera brand, but the concept is consistent: instead of telling the camera to focus on one precise point, you designate a zone that covers a meaningful portion of the frame and let the camera find focus within that area.
Denney demonstrating a wider zone or area AF mode on his camera
What Denney moved to instead is a wider autofocus zone rather than a single pinpoint. The specific menu label varies by camera brand, but the concept is consistent: instead of telling the camera to focus on one precise point, you designate a zone that covers a meaningful portion of the frame and let the camera find focus within that area.
For landscape photography, this works because your subject is rarely a single precise detail floating in open space. A rock formation, a waterfall, a hillside, these subjects have real depth. A focus zone that lands anywhere on the intended subject will almost always produce sharp results that are indistinguishable from a pinpoint hit on the same subject. The zone approach gets you there faster, with less fiddling, and lets you keep your eye on the composition.
Step 4: Know When the Small Focus Point Still Earns Its Place
 Denney describing specific scenarios that call for a single small focus point
Denney is careful not to throw out the single-point mode entirely. There are situations where pinpoint precision is the right call, and knowing the difference is what separates a thoughtful workflow from a one-size-fits-all approach.
Denney describing specific scenarios that call for a single small focus point
Denney is careful not to throw out the single-point mode entirely. There are situations where pinpoint precision is the right call, and knowing the difference is what separates a thoughtful workflow from a one-size-fits-all approach.
The clearest case is when you need to isolate a very specific element in a scene where the camera’s zone selection would likely land on the wrong thing. A small wildflower in front of a busy background, a reflection that needs to be focused independently of the surrounding water, or any situation where your actual subject is surrounded by competing elements at different distances. In these cases, the extra effort of placing a precise point is justified because the zone mode genuinely cannot deliver what you need. The rule of thumb: if the camera has a reasonable chance of picking the wrong thing inside your zone, use the single point.
Step 5: Apply a Simplification Philosophy to Your Whole Camera Setup
 Denney referencing his broader camera setup philosophy and PDF guide
The autofocus discussion is really a doorway into something larger that Denney talks about throughout this video. His guiding principle for camera settings is that the camera should get out of your way. Every setting decision should be evaluated not just by what it theoretically enables but by how much attention it demands in the field.
Denney referencing his broader camera setup philosophy and PDF guide
The autofocus discussion is really a doorway into something larger that Denney talks about throughout this video. His guiding principle for camera settings is that the camera should get out of your way. Every setting decision should be evaluated not just by what it theoretically enables but by how much attention it demands in the field.
He applies this to his entire camera setup, not just autofocus. The goal is a configuration where muscle memory handles the mechanical tasks and your full attention stays on the creative decisions. That means favoring settings that are fast to execute and forgiving to manage, even if they sacrifice a small amount of theoretical precision that would never show up in practice.
What This Means for Post-Production Workflows
I’ll be honest: when I first clicked on this video, I expected it to be camera-nerd territory that wouldn’t travel well to my world. But by the time Denney was describing photographers losing their focus point on a bright LCD and falling behind the scene, I was nodding. That’s the same thing that happens when a retoucher is manually running the same sequence of adjustments on every file because nobody ever stopped to ask whether an action could handle it.
The question he’s really asking is: what is the minimum intervention required to get a reliable result? Not the maximum control available. The minimum intervention for a reliable result. That reframe is useful in Photoshop too. I’ve built actions that do more than they need to because I was solving for edge cases that almost never appear. Leaner systems are faster and less likely to break. Denney arrived at that same conclusion from a completely different direction, which tells me it’s probably true.
The single most important takeaway from this tutorial is that default settings deserve periodic re-examination. The smallest focus point became a default because it made sense given older technology and older workflows. Technology changed. The default didn’t. That’s worth a look in whatever discipline you work in.
Watch the full tutorial on YouTube to see Denney demonstrate the zone AF approach and walk through the camera setup philosophy that ties all of this together.
Comments (2)
Wow, I had no idea you could do this. Mind blown.
The tip about stop babysitting your focus po was the missing piece for me. Thank you.
Leave a Comment