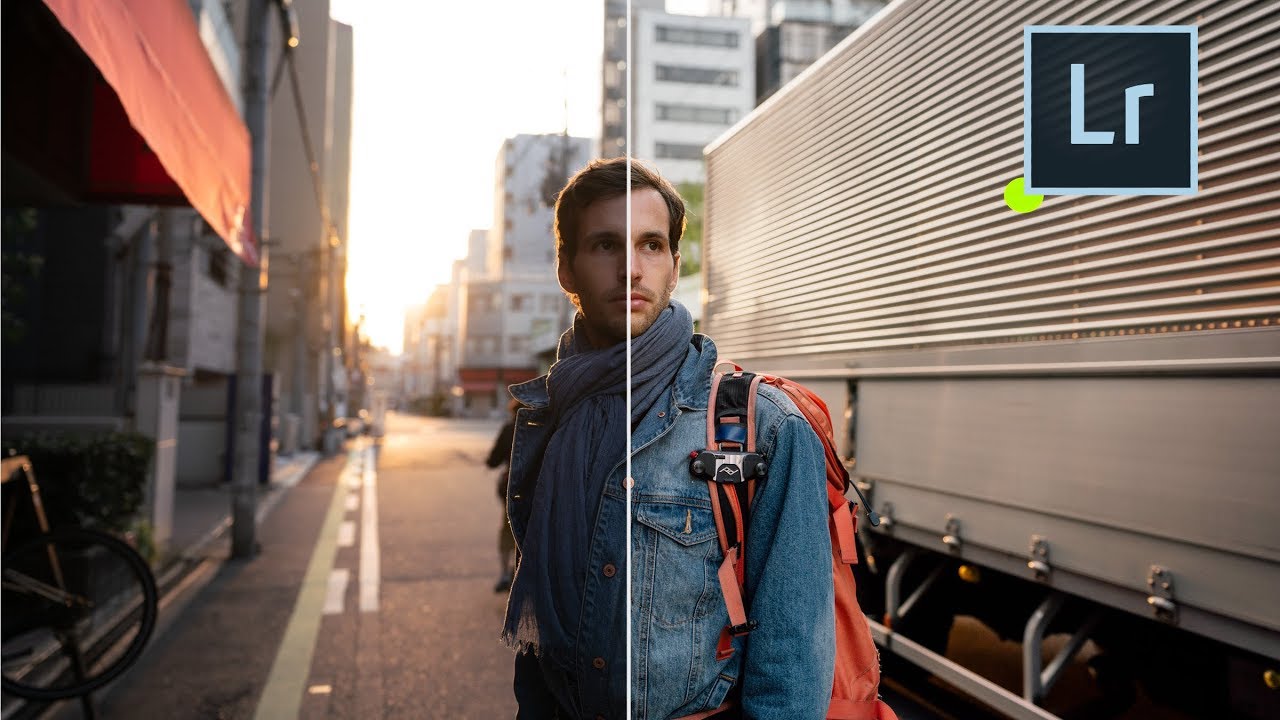
I’ve spent fifteen years building systems that save time in post-production. My entire consultancy runs on the idea that repetitive manual steps are the enemy of good work. So when a feature ships inside a tool I use every single day and I completely miss it, that stings a little. That’s what happened with Lightroom Profiles. I’d been clicking past them for weeks before I actually stopped and paid attention.
What finally made it click was watching Pierre T. Lambert’s tutorial on the feature. Watch the full tutorial on YouTube – it’s worth your time even if you’ve been using Lightroom for years. Pierre walks through the difference between Profiles and Presets in a way that’s immediately practical, and the moment he shows the sliders staying untouched after a Profile is applied, I understood exactly why this matters for production work.
The short version: Profiles sit underneath your edit. Presets replace your edit. That distinction sounds small until you’re doing anything at scale, or anything collaborative, or anything where a client might change their mind at 5pm on a Friday.
Step 1: Find the Profile Panel in the Develop Module
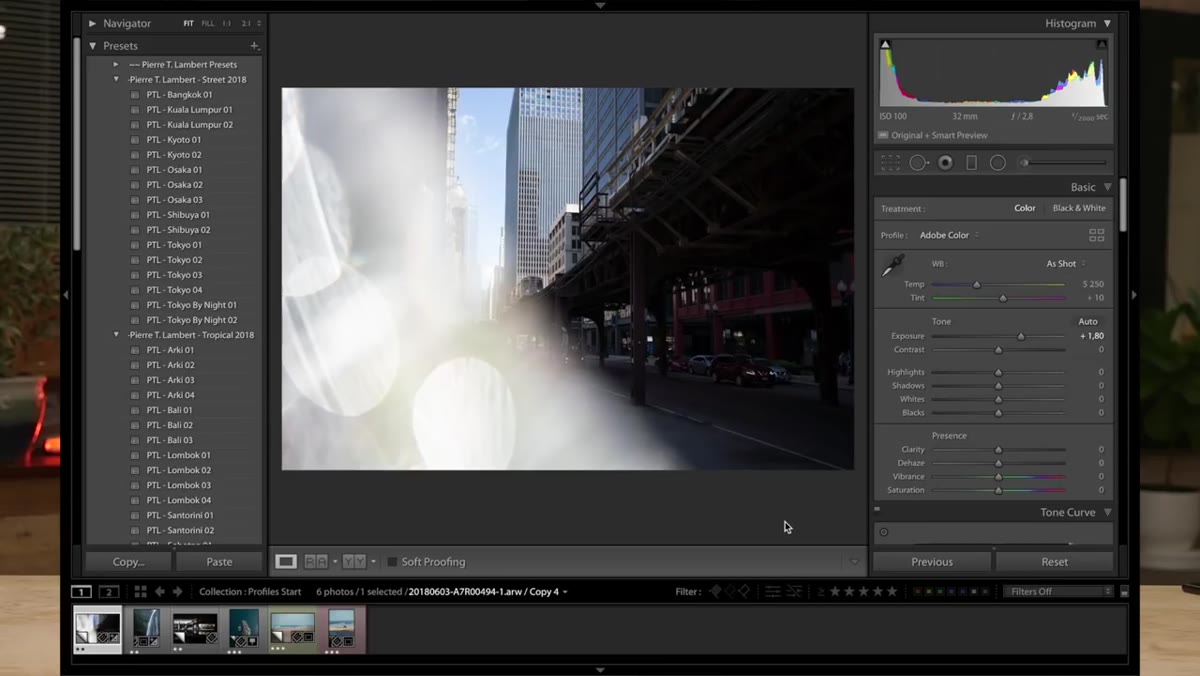 Profile panel shown at top of Develop module right panel
In Lightroom Classic 7.3 and later, the Profile selector moved. It used to be buried lower in the panel stack, but now it sits right at the top of the Develop module’s right panel, just below the histogram. If you haven’t looked for it recently, that’s probably why it hasn’t been on your radar. Open any raw file in Develop and look for the “Profile” label with a small browse icon next to it. Click that browse icon to open the full Profile Browser.
Profile panel shown at top of Develop module right panel
In Lightroom Classic 7.3 and later, the Profile selector moved. It used to be buried lower in the panel stack, but now it sits right at the top of the Develop module’s right panel, just below the histogram. If you haven’t looked for it recently, that’s probably why it hasn’t been on your radar. Open any raw file in Develop and look for the “Profile” label with a small browse icon next to it. Click that browse icon to open the full Profile Browser.
This is where things get interesting. You’ll see the standard categories – Adobe Raw, Camera Matching, Legacy – that have always been there. But newer versions added “Artistic,” “B&W,” “Modern,” and “Vintage” categories. These are the ones that function more like looks or film simulations than technical color science choices.
Step 2: Understand What a Profile Actually Does to Your File
 Side-by-side showing sliders unchanged after Profile applied
A Lightroom Preset works by writing values to your sliders. When you apply one, your Exposure moves, your HSL panel changes, your Tone Curve shifts. The preset is essentially a saved set of slider positions. A Profile works at a lower level – it’s an instruction set that tells Lightroom how to interpret the raw color and tone data before your manual adjustments even enter the picture.
Side-by-side showing sliders unchanged after Profile applied
A Lightroom Preset works by writing values to your sliders. When you apply one, your Exposure moves, your HSL panel changes, your Tone Curve shifts. The preset is essentially a saved set of slider positions. A Profile works at a lower level – it’s an instruction set that tells Lightroom how to interpret the raw color and tone data before your manual adjustments even enter the picture.
The practical result: apply a Profile and then look at your right panel. Nothing moved. Your exposure is still where you set it. Your white balance is untouched. The look is being applied underneath all of that, like a foundation layer, not a paint layer on top. For anyone doing batch work where you’ve already dialed in exposure across a shoot, this is huge – you can apply a look globally without blowing up your existing corrections.
Step 3: Use the Amount Slider to Control Intensity
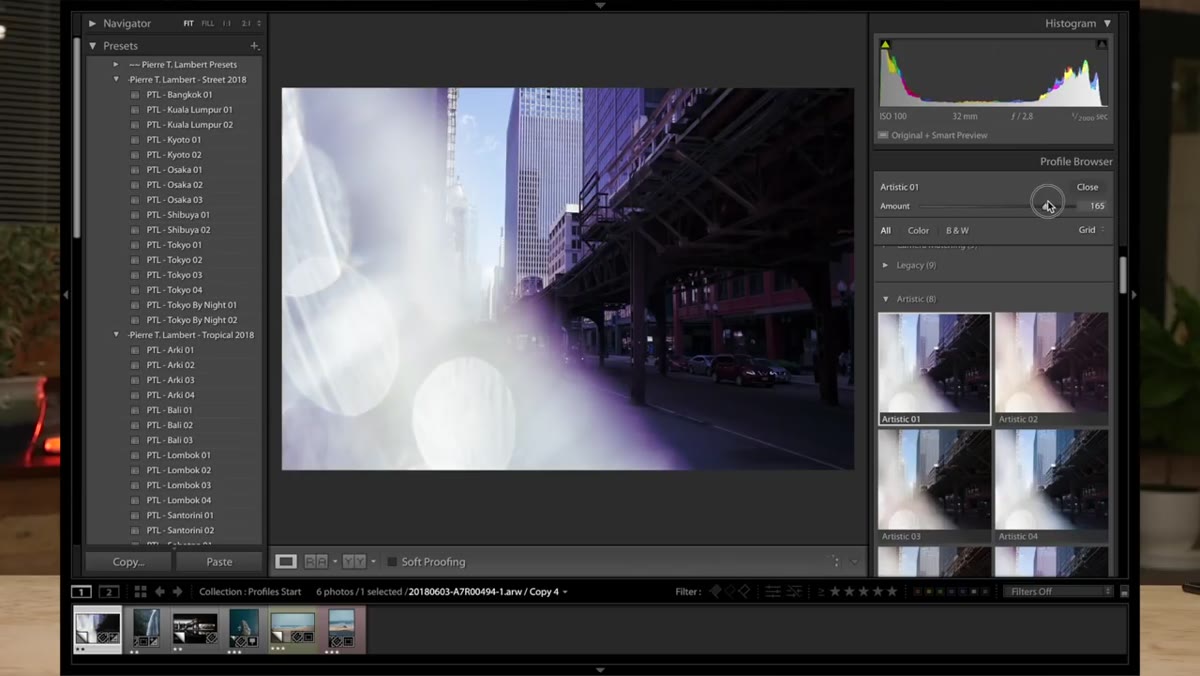 Amount slider appearing below profile thumbnail after selection
Once you select a Profile from the browser, a single “Amount” slider appears directly below the profile name back in the main panel. This slider controls how strongly the profile’s interpretation is applied to the image. Pull it toward zero and you’re essentially back to your base edit. Push it toward 200 and the effect is twice as pronounced as the default.
Amount slider appearing below profile thumbnail after selection
Once you select a Profile from the browser, a single “Amount” slider appears directly below the profile name back in the main panel. This slider controls how strongly the profile’s interpretation is applied to the image. Pull it toward zero and you’re essentially back to your base edit. Push it toward 200 and the effect is twice as pronounced as the default.
This single slider replaces what used to require either a second round of manual tweaking or a separate opacity-blended layer workflow. For a quick client review round where you want to show a “subtle” versus “punchy” version of the same look, you can literally do that in one drag. No duplicating virtual copies, no re-applying anything.
Step 4: Compare the Approach Against a Traditional Preset
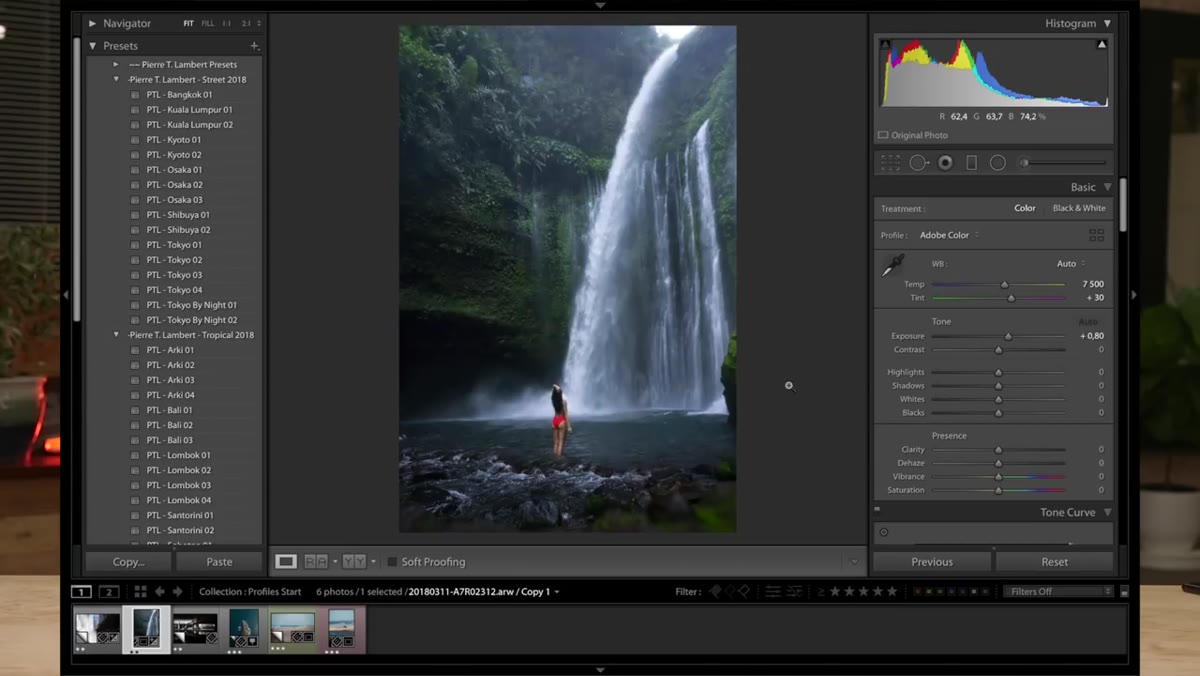 Preset applied showing all sliders changed across right panel
To really internalize the difference, try this: apply one of your existing presets to an image and take a screenshot of the right panel. Every slider that the preset touches will have moved to a new value. Now reset the image and apply a Profile covering a similar aesthetic. Your sliders stay clean. You can still push exposure, pull highlights, adjust white balance – all of those moves stack on top of the Profile rather than competing with the preset’s baked-in values.
Preset applied showing all sliders changed across right panel
To really internalize the difference, try this: apply one of your existing presets to an image and take a screenshot of the right panel. Every slider that the preset touches will have moved to a new value. Now reset the image and apply a Profile covering a similar aesthetic. Your sliders stay clean. You can still push exposure, pull highlights, adjust white balance – all of those moves stack on top of the Profile rather than competing with the preset’s baked-in values.
Pierre makes this point by applying his own preset to a photo and then applying a Profile with the same aesthetic DNA. The preset version requires you to go back through and re-balance any slider the preset overwrote. The Profile version just sits there, cooperating with whatever you do next.
Step 5: Layer Your Own Adjustments on Top
 Editing sliders adjusted freely with profile still active underneath
With the Profile applied and the Amount set where you want it, work through your standard Develop adjustments exactly as you normally would. Exposure, white balance, shadows, highlights – none of it conflicts with the Profile because the Profile isn’t occupying those controls. This is the non-destructive behavior that makes Profiles genuinely useful in a real production environment rather than just a demo.
Editing sliders adjusted freely with profile still active underneath
With the Profile applied and the Amount set where you want it, work through your standard Develop adjustments exactly as you normally would. Exposure, white balance, shadows, highlights – none of it conflicts with the Profile because the Profile isn’t occupying those controls. This is the non-destructive behavior that makes Profiles genuinely useful in a real production environment rather than just a demo.
If you’re working on a series of images, you can also sync the Profile across the batch just like you’d sync any other Develop setting. Apply your manual corrections to one hero image, then sync only the Profile setting to the rest. The look transfers. Their individual exposure corrections stay intact.
Step 6: Explore Creating Your Own Custom Profiles
 Custom profile created from existing preset shown in profile browser
Pierre notes in the tutorial that he built Profiles based on his own preset collection, which opens up a genuinely useful production workflow. Custom Profiles are created using the Camera Raw Profile Editor, a free standalone tool from Adobe. You build the look there – using HSL adjustments, tone curves, and look tables – and export a .xmp file that installs directly into Lightroom’s Profile Browser.
Custom profile created from existing preset shown in profile browser
Pierre notes in the tutorial that he built Profiles based on his own preset collection, which opens up a genuinely useful production workflow. Custom Profiles are created using the Camera Raw Profile Editor, a free standalone tool from Adobe. You build the look there – using HSL adjustments, tone curves, and look tables – and export a .xmp file that installs directly into Lightroom’s Profile Browser.
The payoff is that you can encode your studio’s signature look as a Profile rather than a Preset, which means it plays nicely with any raw file regardless of what exposure or white balance corrections that file already has. For ad agency work especially, where a consistent brand color feel has to survive wildly different lighting conditions across a campaign, this is a much more reliable delivery mechanism than a preset that fights with your base corrections.
What I’d Add From My Own Workflow
The one caveat I’d put on all of this is that Profiles are not a replacement for understanding your raw conversion. The Amount slider is powerful but it’s also easy to overdo – cranking a cinematic Profile to 150+ on a product shot will introduce color shifts that your client’s art director will catch immediately. I treat the Amount slider the way I treat clarity: use it with intention, check it at 1:1, and make sure skin tones and brand colors are still reading correctly before you export.
Where I’ve found Profiles most valuable is in the review stage – when I’m presenting color direction to a client before any heavy retouching begins. I can show three different looks on the same image without touching a single slider, which keeps the conversation focused on direction rather than getting lost in the weeds of individual adjustments.
The single most important idea in this tutorial is that non-destructive and efficient are not mutually exclusive anymore. Profiles let you apply a defined look and still have a completely clean slate of manual controls underneath it. That combination is what makes this worth building into your standard workflow.
Watch the full tutorial on YouTube and pay particular attention to the before-and-after Pierre shows when the sliders don’t move – that’s the moment where the whole thing becomes obvious.
Comments
Leave a Comment