How to Build Lightroom Presets That Actually Hold Up Across a Full Shoot

How to Build Lightroom Presets That Actually Hold Up Across a Full Shoot

I have a spreadsheet. It tracks every hour I’ve saved through automation across fifteen years of post-production work. The number is sitting above 2,400 hours right now, and a significant chunk of that comes from one deceptively simple habit: building reusable Lightroom presets before I start any serious editing session. When a client sends me 300 product shots from the same studio setup, I don’t want to be dialing in the same warm tone and compressed contrast curve by hand 300 times.

How to Build and Save Custom Presets in Aperture (So You Stop Reinventing the Same Edit)

How to Build and Save Custom Presets in Aperture (So You Stop Reinventing the Same Edit)

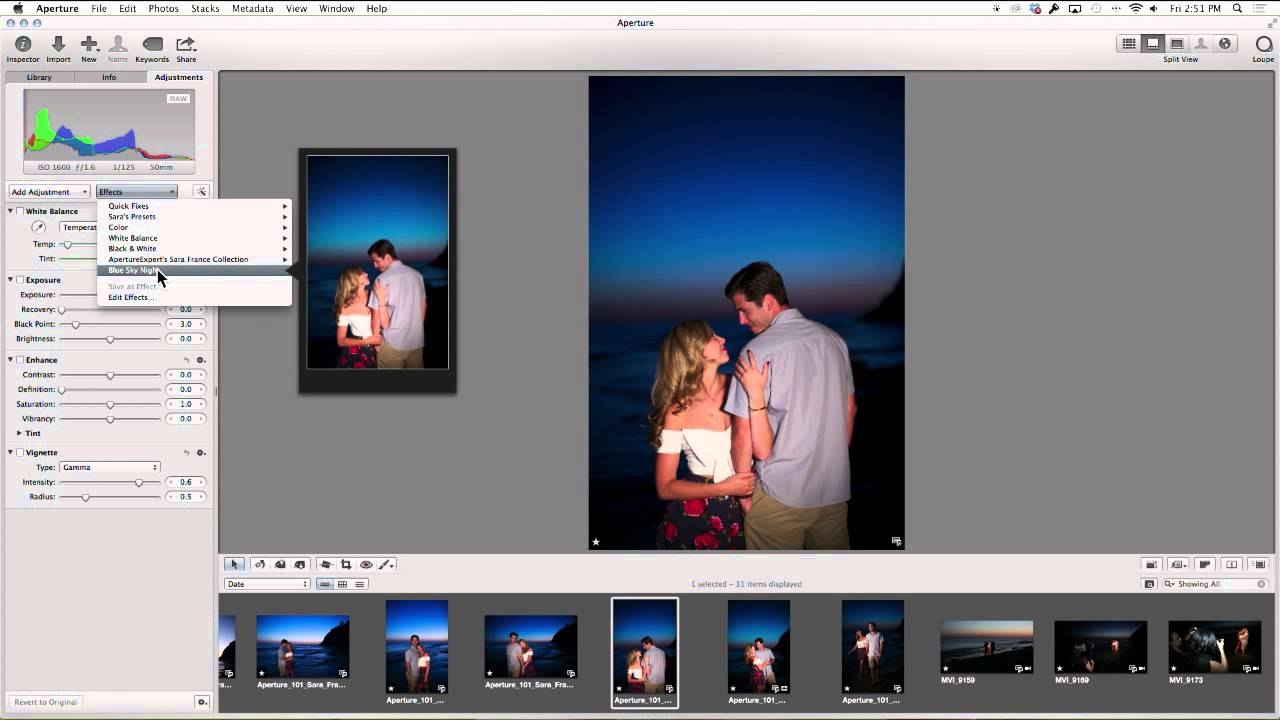
There’s a specific kind of frustration that comes from nailing an edit, closing the app, and then spending twenty minutes trying to reconstruct the same adjustments on the next shoot. I’ve done it more times than I’d like to admit, usually on deadline, usually at 11pm. The whole point of a preset workflow is to capture the decision once and stop making it over and over again. That principle is what drives everything I do in post-production, whether I’m working in Photoshop, Lightroom, or Aperture.

Stop Copying Presets to a Flash Drive: How to Sync Photoshop Settings Across Machines with Creative Cloud

Stop Copying Presets to a Flash Drive: How to Sync Photoshop Settings Across Machines with Creative Cloud

For years, my multi-machine setup was held together with a 32GB flash drive and a lot of optimism. I had one workstation in my studio, a laptop for on-site client reviews, and a home machine I used for late-night retouching sessions. Every time I built a new action set or refined my brush library, I had to remember to copy everything over manually. I didn’t always remember. I once showed up to a client presentation with the wrong version of my color-grading presets loaded, and the whole review turned into an awkward “that’s not quite what we approved” conversation.

What Lightroom's Built-In Presets Can Actually Teach You About Retouching

What Lightroom's Built-In Presets Can Actually Teach You About Retouching

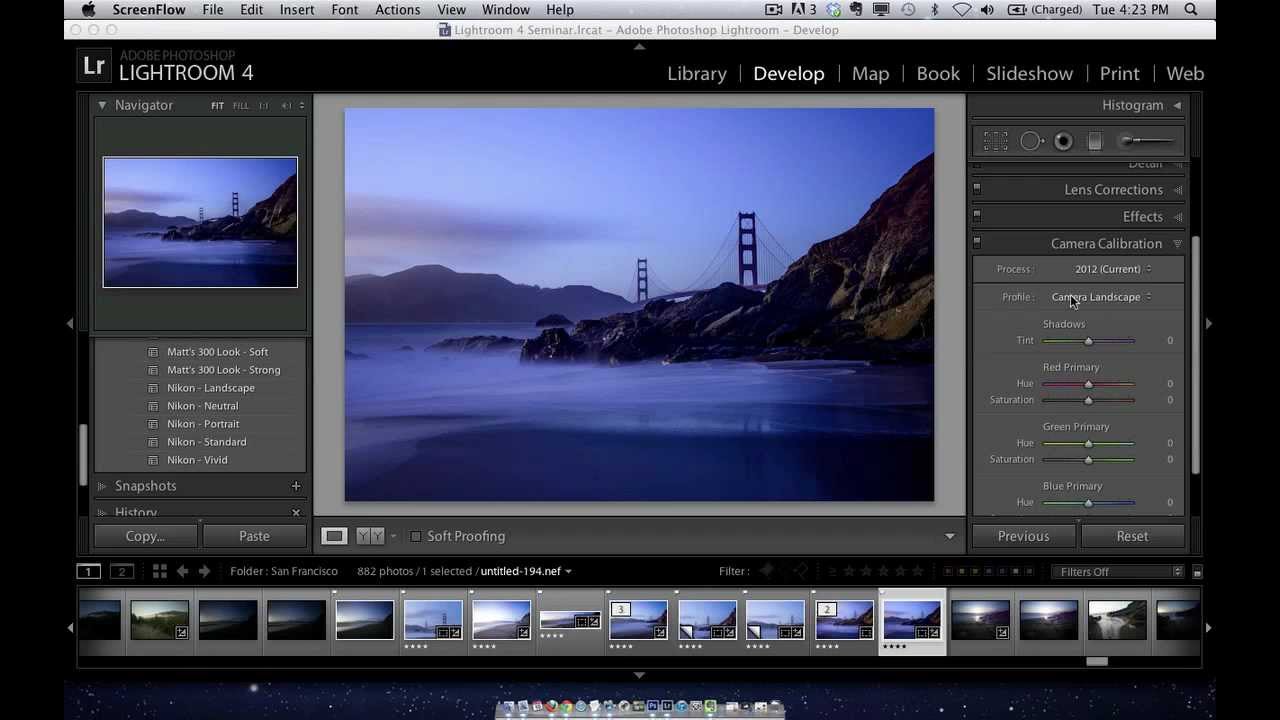
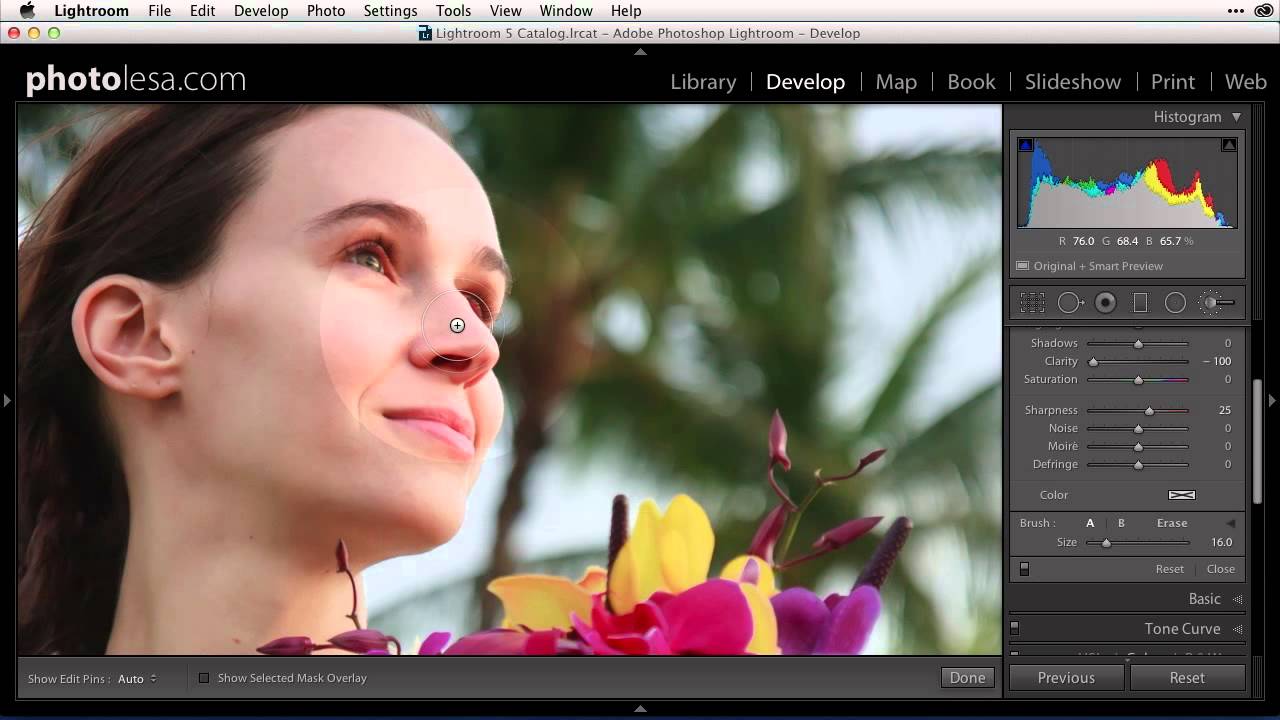
There’s a phase every retoucher goes through where they know what they want an image to look like but can’t quite connect that vision to specific slider values. I spent an embarrassing amount of time in that gap early in my career, guessing at Clarity adjustments and hoping for the best. What eventually pulled me out of it wasn’t a course or a book — it was slowing down and actually reading what existing presets were doing under the hood.

How to Get Lightroom Presets Working on Your Phone (Yes, Really)

How to Get Lightroom Presets Working on Your Phone (Yes, Really)

I’ll be straight with you: I resisted mobile editing for a long time. Fifteen years of working in commercial studios will do that to you. My workflow lives on a calibrated monitor, a fast desktop, and a filing system that would make most archivists nervous. But clients don’t care about any of that when they’re texting you at 8 p.m. asking why their Instagram post isn’t up yet. The phone has become a legitimate part of the job, and that means the editing tools need to follow.

Building a Fall Color Preset in Lightroom: A Layer-by-Layer Breakdown

Building a Fall Color Preset in Lightroom: A Layer-by-Layer Breakdown

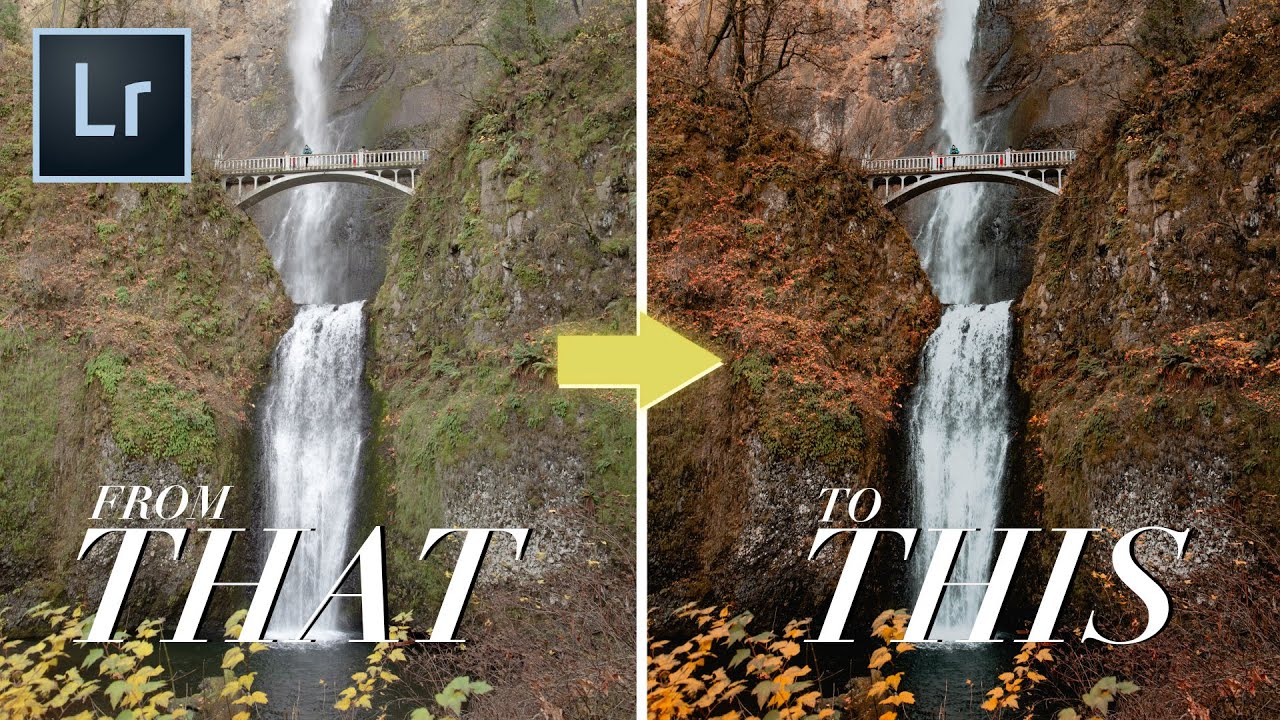
Every autumn I get a flood of requests from agency clients who shot outdoor campaigns in September and October and are now staring at RAW files that look like any other month. The foliage was stunning on location. On screen it reads beige. The problem isn’t exposure or white balance. It’s that fall color lives in a very specific tonal and hue relationship, and your all-purpose travel preset was never built to honor it.

Lightroom Preset Tips You Probably Haven't Thought About (But Should)

Lightroom Preset Tips You Probably Haven't Thought About (But Should)

I keep a spreadsheet of the hours my automated workflows have saved me. Over 2,400 hours at last count. That number didn’t happen by accident. It happened because I’ve spent years paying attention to the small details that most people skip past, the kind of thing you notice when you’re processing hundreds of images for an e-commerce client and one weird behavior in your software costs you twenty minutes of confused clicking.

How to Install and Organize Lightroom Presets Without Losing Your Mind

How to Install and Organize Lightroom Presets Without Losing Your Mind

If you’ve ever handed a client a gallery and thought “I wish every shot had that look baked in from the start,” presets are the answer. The problem isn’t finding presets. The problem is that the installation process trips people up every single time, usually at the worst moment, right before a deadline. I’ve watched junior retouchers in my studio waste twenty minutes trying to drag a zip file directly into Lightroom and wondering why nothing happened.

How to Build a Signature Lightroom Preset That Actually Holds Up Across Your Entire Shoot

How to Build a Signature Lightroom Preset That Actually Holds Up Across Your Entire Shoot

Most photographers build presets the wrong way. They chase a look on one hero image, save it, and then discover it turns every other photo into a color disaster. I spent years doing exactly that before I got disciplined about the order of operations. When I came across Watch the full tutorial on YouTube from Mango Street, what struck me wasn’t the specific look they were going for. It was the sequence.

How to Sync Lightroom Presets to Your Phone (And Actually Use Them in the Field)

How to Sync Lightroom Presets to Your Phone (And Actually Use Them in the Field)

I edit a lot of images on tight deadlines. Between client reviews, revision rounds, and the general chaos of running post-production for ad agencies, consistency is everything. One of the things that quietly costs me time is the gap between my desktop editing setup and what’s available when I’m on my phone. I have years of carefully tuned Lightroom presets on my Mac. On my phone? A fraction of them, if I’m lucky.

Recreate That Dreamy Wedding Preset Look in Lightroom Without Spending a Dime

Recreate That Dreamy Wedding Preset Look in Lightroom Without Spending a Dime

Most of my work runs through Photoshop and batch automation, but Lightroom is still the first stop for color grading when I hand off editing guides to photographers on client projects. The problem I hear constantly, especially from photographers just getting into wedding work, is that the preset marketplace has become a money pit. Twenty dollars here, forty dollars there, and half those preset packs deliver one usable look buried under fifteen unusable ones.

Build a Lightroom Preset From Scratch: The Mango Street Workflow Decoded

Build a Lightroom Preset From Scratch: The Mango Street Workflow Decoded

Most Lightroom presets are black boxes. You click apply, something happens, and you have no idea whether it’s going to hold up across your next shoot or fall apart the moment your lighting changes. That’s a real problem in production work. I’ve spent years building systems for clients who need consistent color across hundreds of images, and the fastest way to waste time is to rely on a preset you don’t actually understand.