I process a lot of images. Not in a casual hobbyist way - in a “500 product shots in a single afternoon” way, using batch systems I’ve spent years building and refining. Presets and actions are the backbone of that speed. So when something keeps quietly undermining that speed, it bothers me in a very specific, spreadsheet-trackable way.
The problem I kept running into was this: I’d drop a preset onto a raw file, the mood would look roughly right, and then I’d spend another four or five minutes nudging exposure, lifting shadows, pulling back highlights - essentially correcting the preset’s correction. Multiply that by a few hundred images and you’ve burned a significant chunk of the efficiency you were trying to gain in the first place.
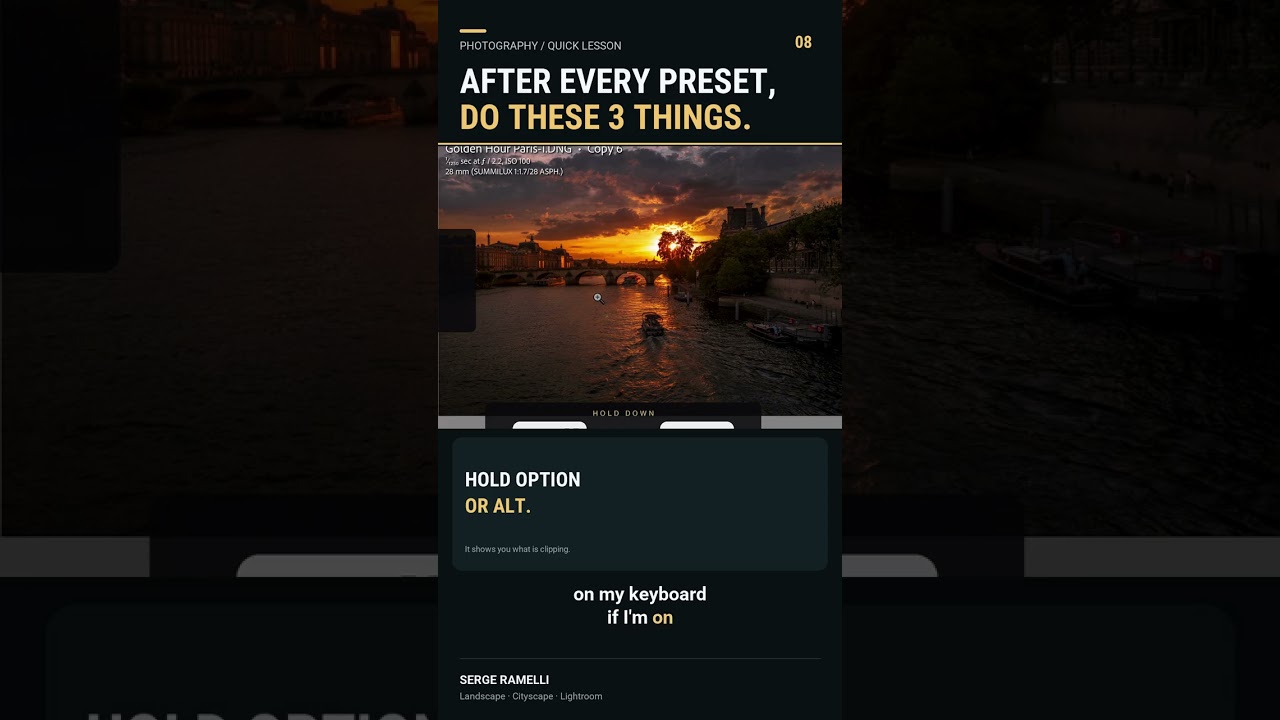
That’s what made a short tutorial from Serge Ramelli land so cleanly for me. Watch the full tutorial on YouTube - it’s brief, but the core technique is one of those things that feels obvious the moment someone shows you, and then you can’t believe you weren’t doing it before.
Why Presets Fail Before You’ve Even Started
A preset is essentially a saved opinion. It was built on someone else’s raw file, with someone else’s exposure, shot in someone else’s light. When you apply it to your file, all of those assumptions travel with it. The preset doesn’t know your image is two stops underexposed, or that your highlights are already clipped, or that your blacks are sitting at a crushing -40 for no reason that applies to your scene.
This is the gap. The preset looks wrong not because it’s a bad preset, but because it’s being evaluated against an unanchored tonal range. Fix the tonal range first, and suddenly the preset has a fair shot at doing what it was designed to do.
The Three-Step Sequence (In Order, Always)
Ramelli’s fix is three moves, performed after every preset application, every single time. The order is not arbitrary.
Step one: Set your black point. Hold Option on Mac (Alt on Windows) and drag the Blacks slider. When you hold that modifier key, the canvas goes white and shows you a threshold view - pure black pixels appear as colored or white spots. Drag the Blacks slider left until those spots just begin to disappear, then back off slightly. You’ve now found where true black actually lives in this specific image.
Step two: Set your white point. Same modifier key, this time on the Whites slider. The canvas inverts to black, and clipped highlights show up as colored or white. Drag right until clipping starts to appear, then ease back. You’ve now bracketed the full tonal range of the image - both endpoints are set to the actual data in the file, not to whatever the preset assumed.
Step three: Adjust exposure. Only after both anchor points are locked in do you touch the Exposure slider. At this point, the exposure adjustment is working within a properly defined range. You’re not guessing at brightness - you’re placing the midtones where they belong between two known endpoints.
Three sliders. Done in under thirty seconds once you’ve practiced it a few times. The image is now responsive to the preset in the way the preset was intended.
Why the Order Matters More Than People Expect
I used to do something close to this, but in the wrong sequence. I’d adjust exposure first, then try to manage the blacks and whites. The problem is that moving exposure shifts the entire tonal range, which means your black and white points are chasing a moving target. You end up in a loop of small corrections that never quite settle.
Setting the anchor points first is a locking operation. Once blacks and whites are set to the actual image data, the exposure slider is doing a clean, well-defined job. You’re lifting or lowering midtones within a fixed container, not sliding the whole histogram around and hoping it ends up somewhere useful.
Where I’d Push This Further for Commercial Work
For landscape and portrait work, Ramelli’s three-step sequence handles the full job. For product photography and e-commerce work, I’d add one step before all three of his: a white balance check against a known neutral in the frame.
If a product image has a gray card or a white background that should be neutral, correcting white balance before you set the black and white points means those anchor points are being set against accurate color information. Apply a warm-tinted preset to an already warm-shifted raw file, then try to anchor the blacks - you’re setting a correct luminosity range on top of a color problem. The result looks tonally fine and color-wrong, which in product work means the client calls you about it.
This isn’t a critique of the technique - it’s a category difference. Ramelli’s tutorial is clearly aimed at creative editorial and landscape work, where the preset’s color treatment is part of the aesthetic. In that context, his three steps are complete. For work where color accuracy is a deliverable, the white balance checkpoint comes first.
The Real Takeaway
A preset is a starting point, not a finished result. Treating it as one means every image needs manual repair work that compounds across a shoot. Ramelli’s three-step sequence - blacks, whites, exposure, in that order, using the threshold view each time - transforms preset application from a hopeful approximation into a reproducible process.
That reliability is what actually saves time at scale. Watch the full tutorial on YouTube to see the threshold view in action - the visual demonstration of those color spots appearing and disappearing makes the technique click in a way that text alone can’t quite replicate.
Comments (3)
My workflow just got 10x faster. Not even kidding.
Tried this technique this morning. Game changer for real.
Clear and practical. No fluff. Appreciate that.
Leave a Comment