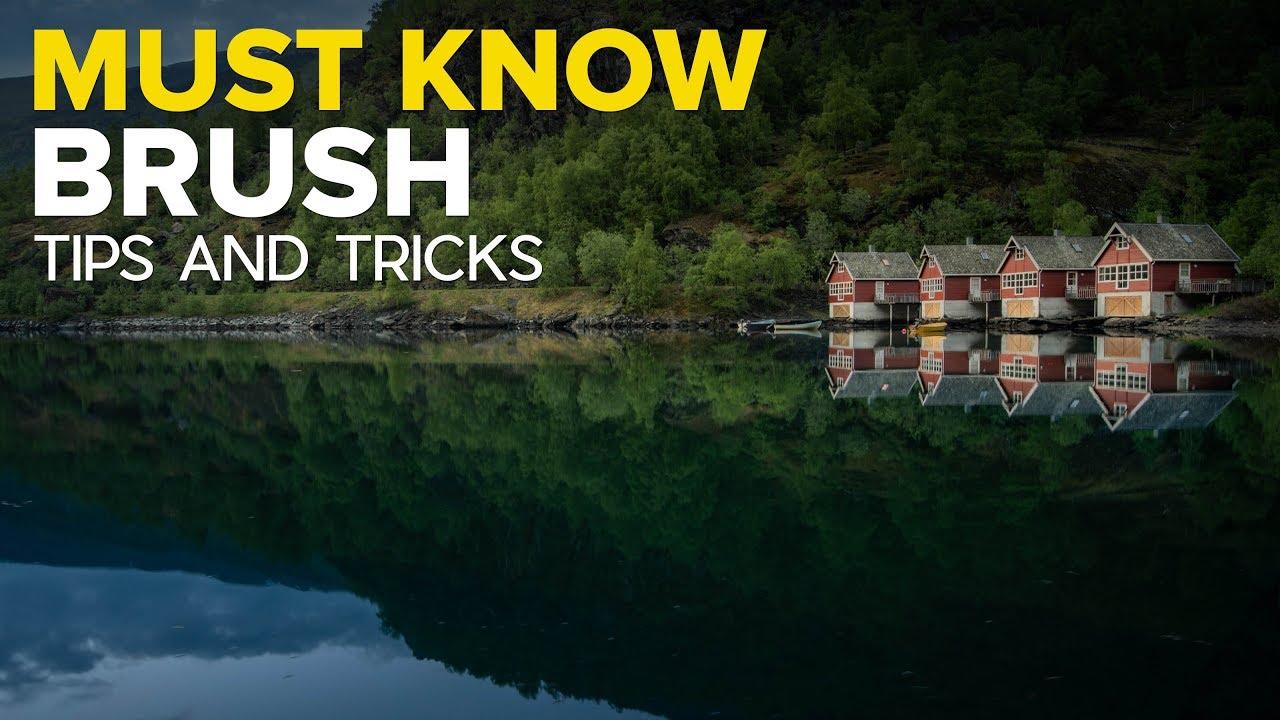
If you shoot anything that requires selective exposure adjustments — portraits, architecture, product work, anything with a foreground subject you want to separate from a background — you already know the adjustment brush is one of the most powerful tools in Lightroom and Camera Raw. You probably also know the frustration of painting too far, blowing past an edge, and having to redo a mask you spent five minutes building. That specific pain is what pulled me into Watch the full tutorial on YouTube from Matt Kloskowski, a photographer and educator whose approach to Lightroom workflow I’ve respected for years.
I’ve been working in post-production for a long time, and I’ll be honest: I thought I knew the adjustment brush cold. I use it constantly on e-commerce and advertising work where precise local adjustments are non-negotiable. But Kloskowski’s tutorial surfaced a shortcut I had completely overlooked, one that cuts the back-and-forth out of edge masking without the performance hit that comes from leaving Auto Mask on all the time. That single tip is worth the entire runtime of the video, and I want to walk through it step by step so you can put it to work immediately.
Step 1: Open the Adjustment Brush and Reset Your Sliders
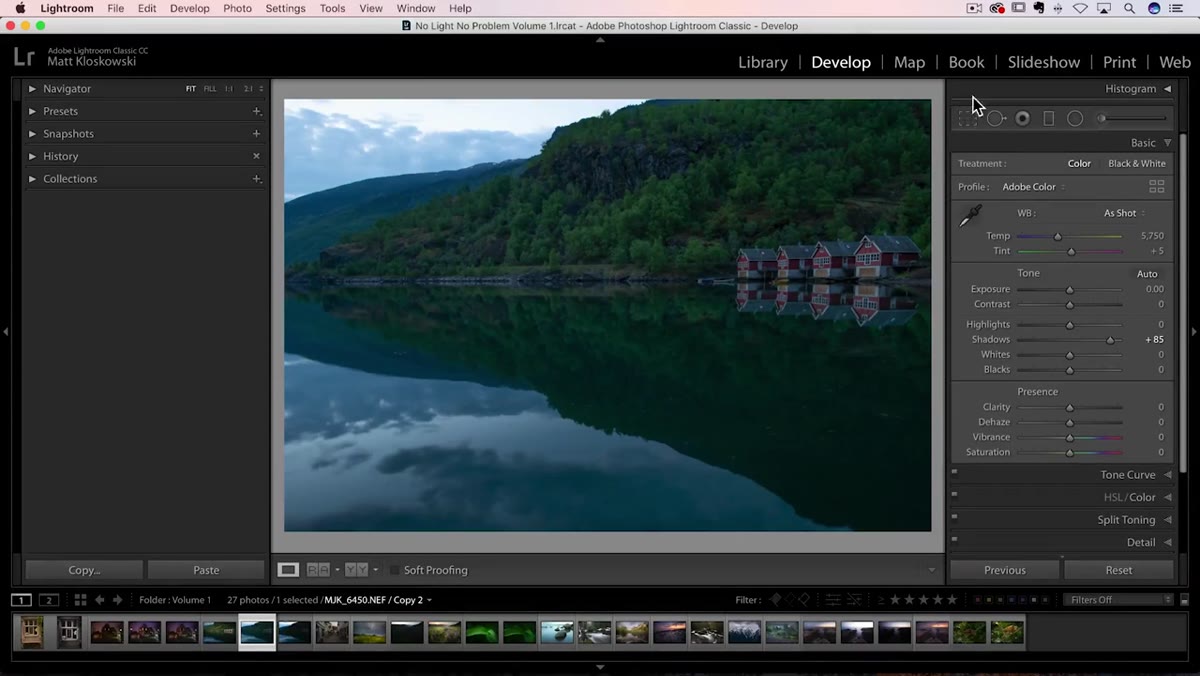 Adjustment brush selected in Lightroom’s Develop module top-right panel
In Lightroom, the adjustment brush lives in the Develop module, top right panel. In Camera Raw inside Photoshop, it’s the same icon sitting in the same relative spot in the toolbar. The behavior is identical in both, so whichever environment you work in, this tutorial applies directly.
Adjustment brush selected in Lightroom’s Develop module top-right panel
In Lightroom, the adjustment brush lives in the Develop module, top right panel. In Camera Raw inside Photoshop, it’s the same icon sitting in the same relative spot in the toolbar. The behavior is identical in both, so whichever environment you work in, this tutorial applies directly.
Before you start brushing, double-click the word “Effect” at the top of the brush panel. This resets every slider to zero so you’re starting clean, not accidentally painting in a stale combination of settings from your last session. It’s a small habit, but it prevents the kind of silent mistakes that only show up when a client is looking over your shoulder.
Step 2: Set Your Adjustment and Paint the Easy Areas First
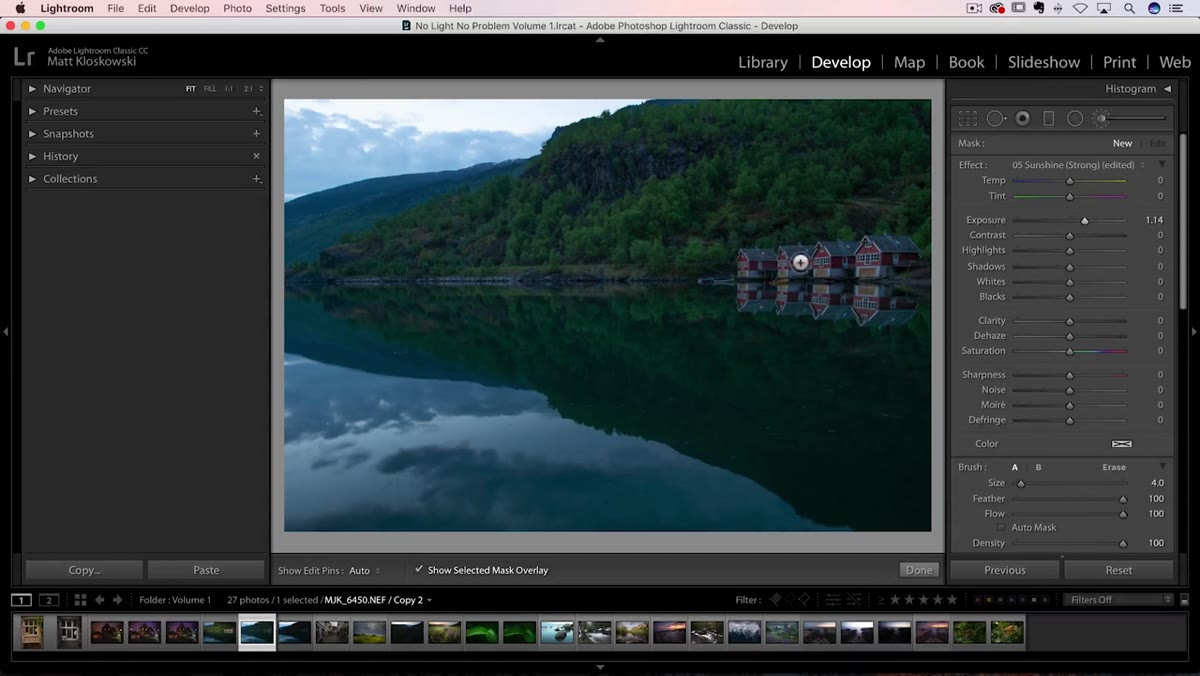 Exposure slider adjusted, brush painting over small houses in the image
Dial in whatever adjustment you’re targeting. In the tutorial, Kloskowski is lifting exposure on a cluster of small buildings in his scene. The specific slider doesn’t matter for this technique, it works across exposure, shadows, clarity, any of it.
Exposure slider adjusted, brush painting over small houses in the image
Dial in whatever adjustment you’re targeting. In the tutorial, Kloskowski is lifting exposure on a cluster of small buildings in his scene. The specific slider doesn’t matter for this technique, it works across exposure, shadows, clarity, any of it.
The key principle here is efficiency: paint the large, open areas of your subject first, with Auto Mask turned off. Auto Mask is the checkbox at the bottom of the brush options panel, and when it’s on, Lightroom analyzes the edge of your brush in real time to avoid color-crossing. That sounds great, but it creates two problems: the rendering slows down noticeably as you paint, and in flat or low-contrast areas, the result looks patchy. So do the easy interior work fast, without the processing overhead.
Step 3: Understand What Auto Mask Actually Does (and Why It Gets Splotchy)
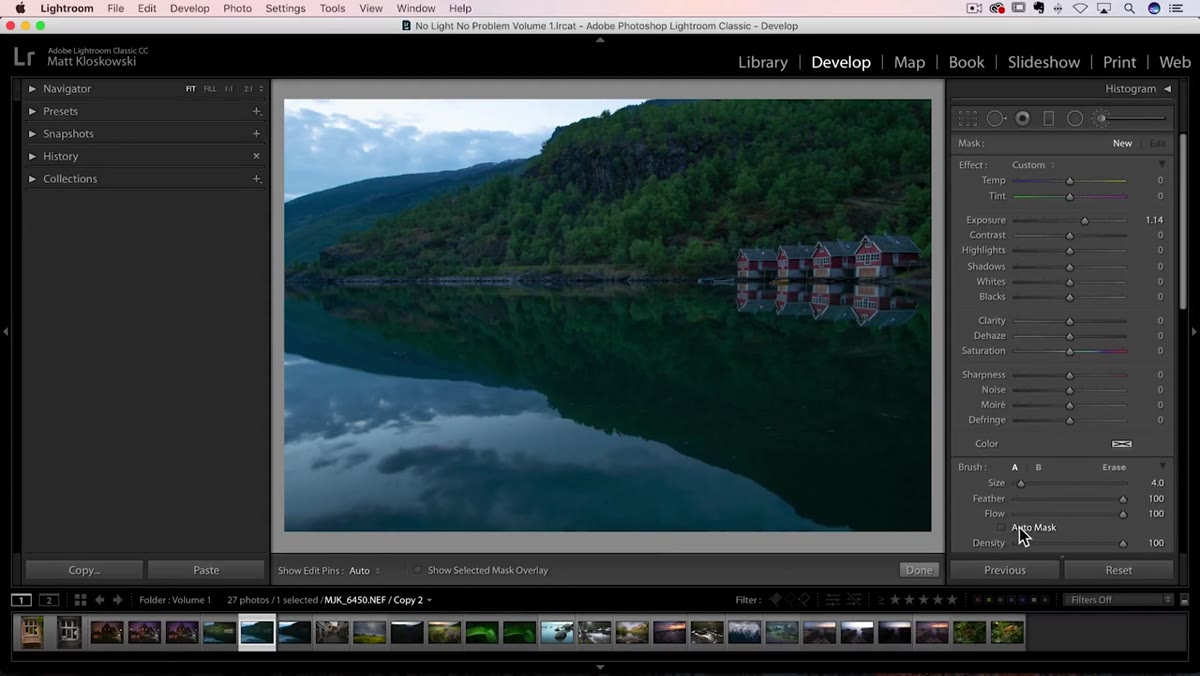 Overlay turned on showing brush mask bleeding past building edge
Kloskowski takes a moment here to demonstrate what happens when you paint without Auto Mask near a defined edge. With the mask overlay enabled (press O to toggle it), you can see the paint bleeding past the boundary of the subject. The brush is circular and dumb by default. It covers everything under it.
Overlay turned on showing brush mask bleeding past building edge
Kloskowski takes a moment here to demonstrate what happens when you paint without Auto Mask near a defined edge. With the mask overlay enabled (press O to toggle it), you can see the paint bleeding past the boundary of the subject. The brush is circular and dumb by default. It covers everything under it.
Auto Mask works by reading the color value under the center crosshair of your brush and restricting the painted area to pixels that match that value. If the crosshair is on your subject, Lightroom keeps the paint on your subject. But it’s looking at color contrast to make that call, so it works best when there’s a clear tonal difference between your subject and the background behind it.
Step 4: Use the Keyboard Shortcut to Toggle Auto Mask On the Fly
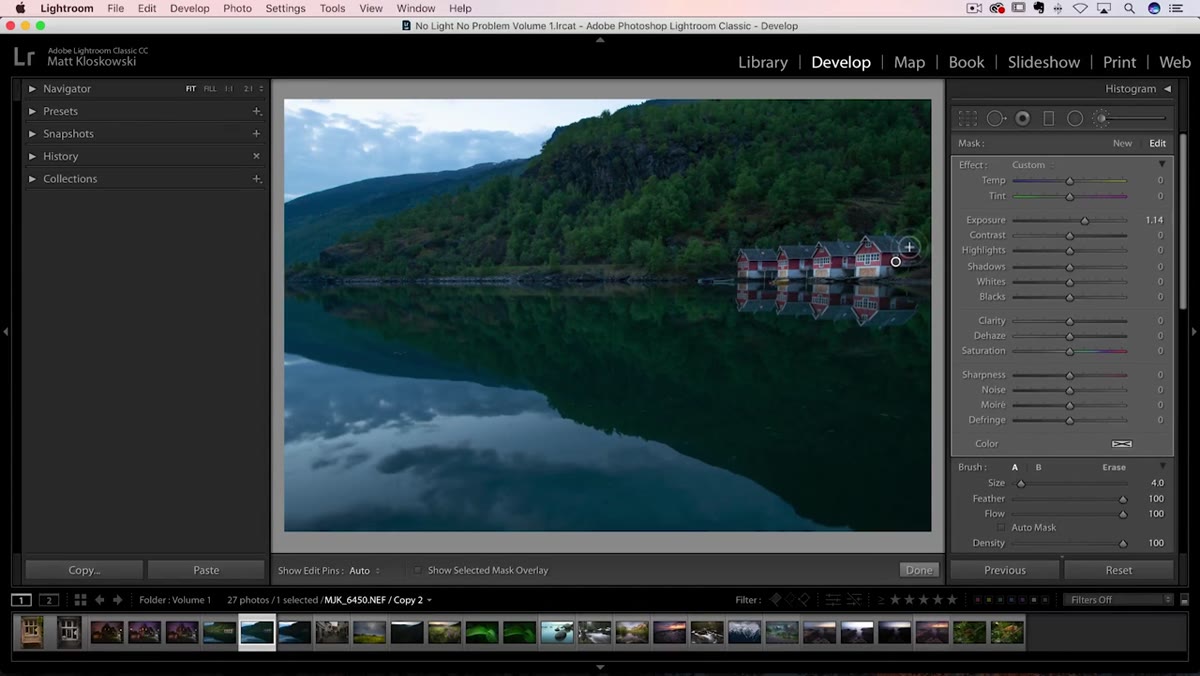 Brush painting near roofline with Command/Ctrl key held, mask staying within edge
Here’s the part I hadn’t seen before. Instead of checking and unchecking the Auto Mask box as you move toward edges, you can hold Command on Mac or Ctrl on Windows while you paint. That keyboard shortcut activates Auto Mask temporarily, only for as long as you hold the key down. Release it, and you’re back to the fast, unrestricted brush.
Brush painting near roofline with Command/Ctrl key held, mask staying within edge
Here’s the part I hadn’t seen before. Instead of checking and unchecking the Auto Mask box as you move toward edges, you can hold Command on Mac or Ctrl on Windows while you paint. That keyboard shortcut activates Auto Mask temporarily, only for as long as you hold the key down. Release it, and you’re back to the fast, unrestricted brush.
The workflow becomes: paint freely across the main body of your subject, then hold Command/Ctrl as you approach any edge that matters. Keep that center crosshair positioned over your subject and let the brush overlap the boundary. Lightroom will do the edge-finding work without you having to slow down to a pixel-peeping crawl. It’s the same toggle, just without the trip to the checkbox.
Step 5: Keep the Crosshair on Your Subject, Not on the Edge
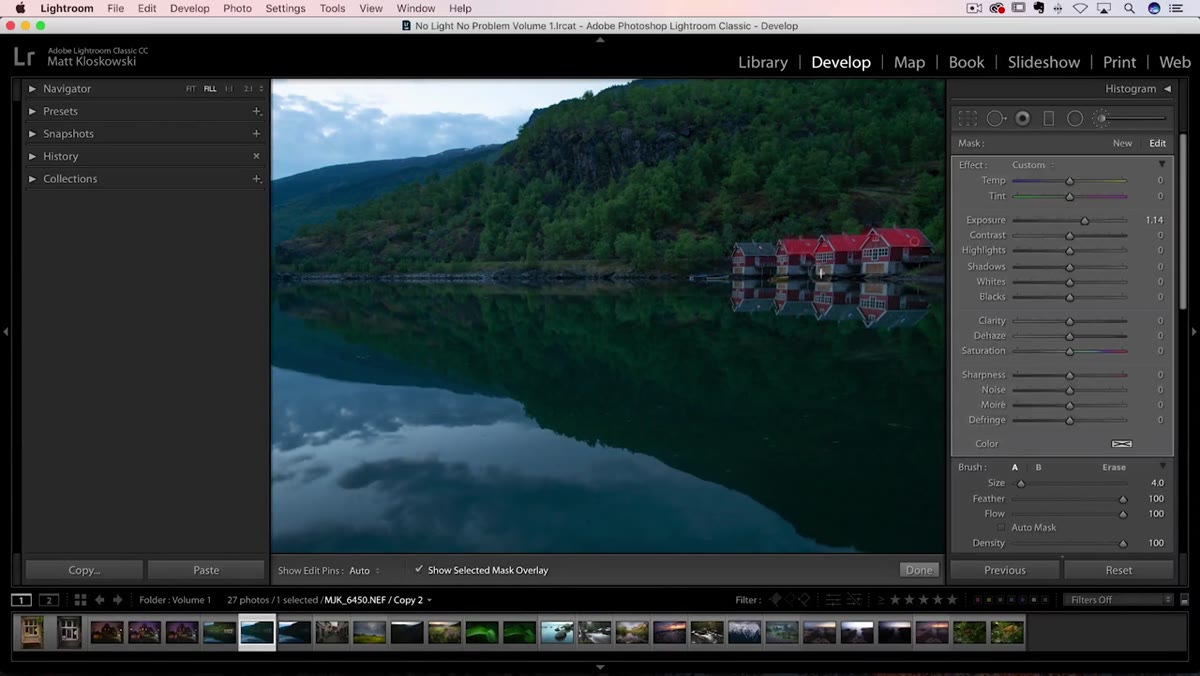 Close-up showing center crosshair positioned inside building boundary near roofline
This is the detail that makes or breaks the shortcut. The Auto Mask algorithm reads from the center crosshair, not the outer circle of the brush. If that crosshair drifts over the edge or onto the background, Lightroom starts reading the background color and the mask inverts on you.
Close-up showing center crosshair positioned inside building boundary near roofline
This is the detail that makes or breaks the shortcut. The Auto Mask algorithm reads from the center crosshair, not the outer circle of the brush. If that crosshair drifts over the edge or onto the background, Lightroom starts reading the background color and the mask inverts on you.
Keep the crosshair clearly inside your subject while letting the outer ring of the brush extend past the edge. This lets you work with a reasonable brush size instead of shrinking down to a three-pixel brush and inching along. Kloskowski is honest that it’s not pixel-perfect in every situation, particularly when the edge contrast is low, but in most lighting conditions it saves significant time.
Step 6: Use the Overlay to Check Your Work
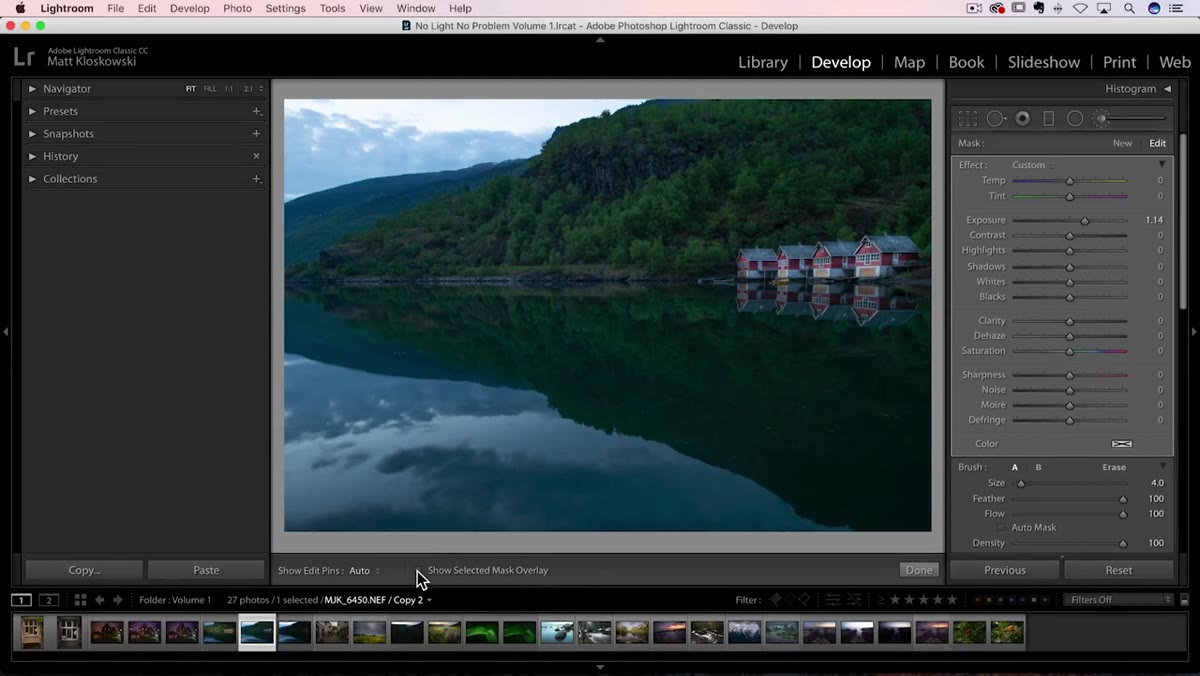 Mask overlay displayed in red showing clean edge along building roofline
Press O at any point to see a red overlay of your masked area. This is how you verify that the edges are clean before you commit to the adjustment. Look for any unintended spill past your subject boundary, and check for gaps inside the mask where the paint didn’t land cleanly.
Mask overlay displayed in red showing clean edge along building roofline
Press O at any point to see a red overlay of your masked area. This is how you verify that the edges are clean before you commit to the adjustment. Look for any unintended spill past your subject boundary, and check for gaps inside the mask where the paint didn’t land cleanly.
If you see bleed-through, you can erase it by holding Alt (Windows) or Option (Mac) while brushing, which switches the tool to erase mode. The same Command/Ctrl shortcut still works in erase mode if you need Auto Mask while removing paint near an edge.
What I’d Add From My Own Work
The Command/Ctrl toggle is useful beyond just edges. On product photography, I often need to mask reflective surfaces where the tonal boundary shifts across the frame. I’ll paint the flat areas with Auto Mask off, then switch to the shortcut as I approach curved edges or specular highlights. The approach Kloskowski describes translates directly into that context.
One thing I’d emphasize that the tutorial touches on briefly: the technique works significantly better when your subject has a clean contrast edge against its background. If you’re working with a subject on a similarly toned background, no amount of Auto Mask magic will save you. In that case, you’re better off building the mask in Photoshop and bringing it back into Lightroom as a Smart Object workflow. But for the majority of situations with a definable edge, this shortcut removes the biggest friction point in local adjustment work.
The single most important idea from this tutorial is that you don’t have to choose between speed and precision when brushing in Lightroom. The Command/Ctrl toggle lets you move fast through the open areas and get careful only when you actually need to be, which is how efficient masking should feel. Watch the full tutorial on YouTube to see Kloskowski demonstrate it in real time on his own images.
Comments (1)
Finally someone explains this in a way that actually makes sense.
Leave a Comment