Lightroom's Density Slider Is Not What You Think (And That's the Point)

Lightroom's Density Slider Is Not What You Think (And That's the Point)

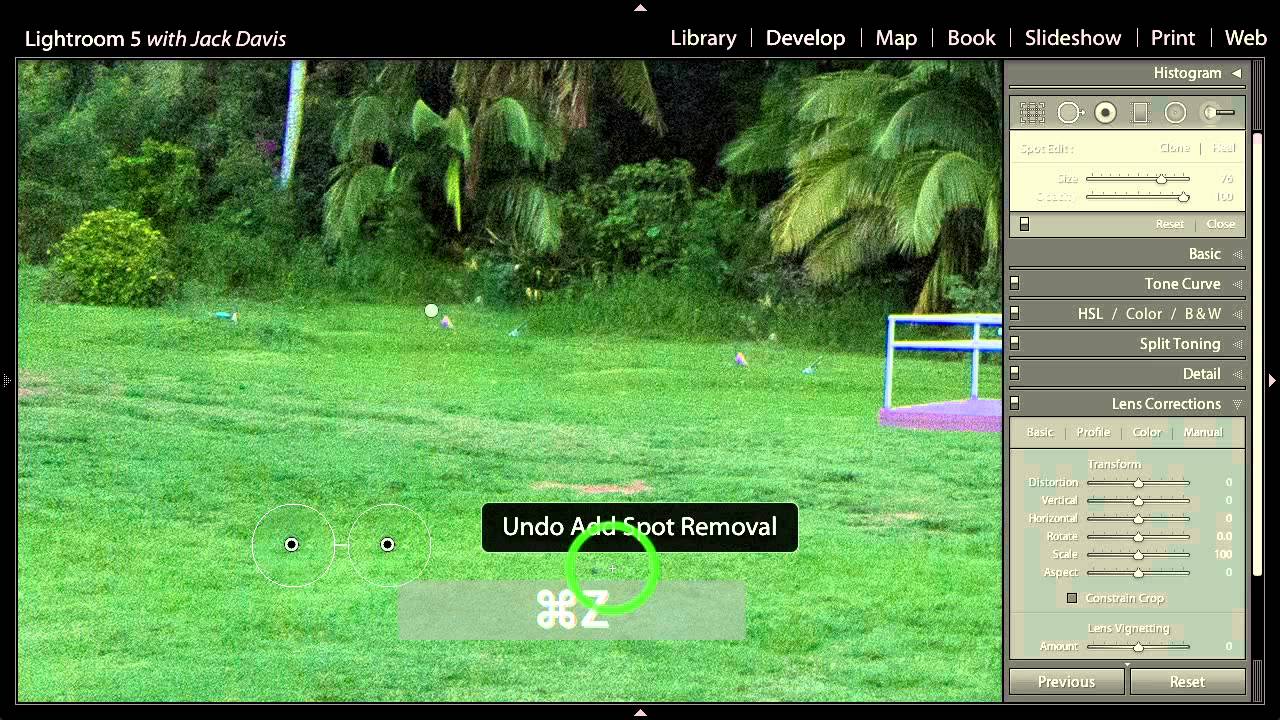
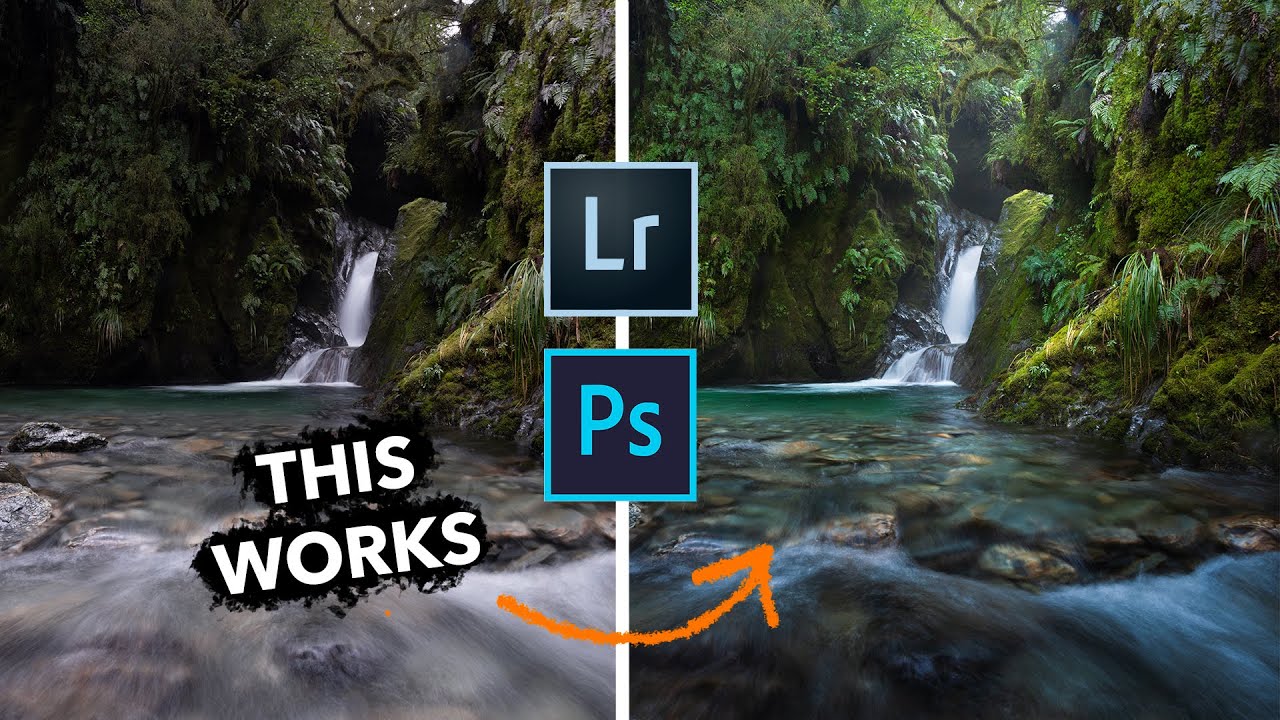
There’s a specific kind of frustration that comes from knowing exactly what you want a tool to do and feeling like it’s fighting you. I ran into this with Lightroom’s Adjustment Brush embarrassingly late in my career. I’d spent years in Photoshop building actions, dialing in brush opacity and flow to get precise, repeatable results on skin, product surfaces, backgrounds. Then I’d jump into Lightroom for a raw edit and the Adjustment Brush would just feel… blunt.

Fake Light Rays That Actually Look Real: A Lightroom Brush Technique Worth Stealing

Fake Light Rays That Actually Look Real: A Lightroom Brush Technique Worth Stealing

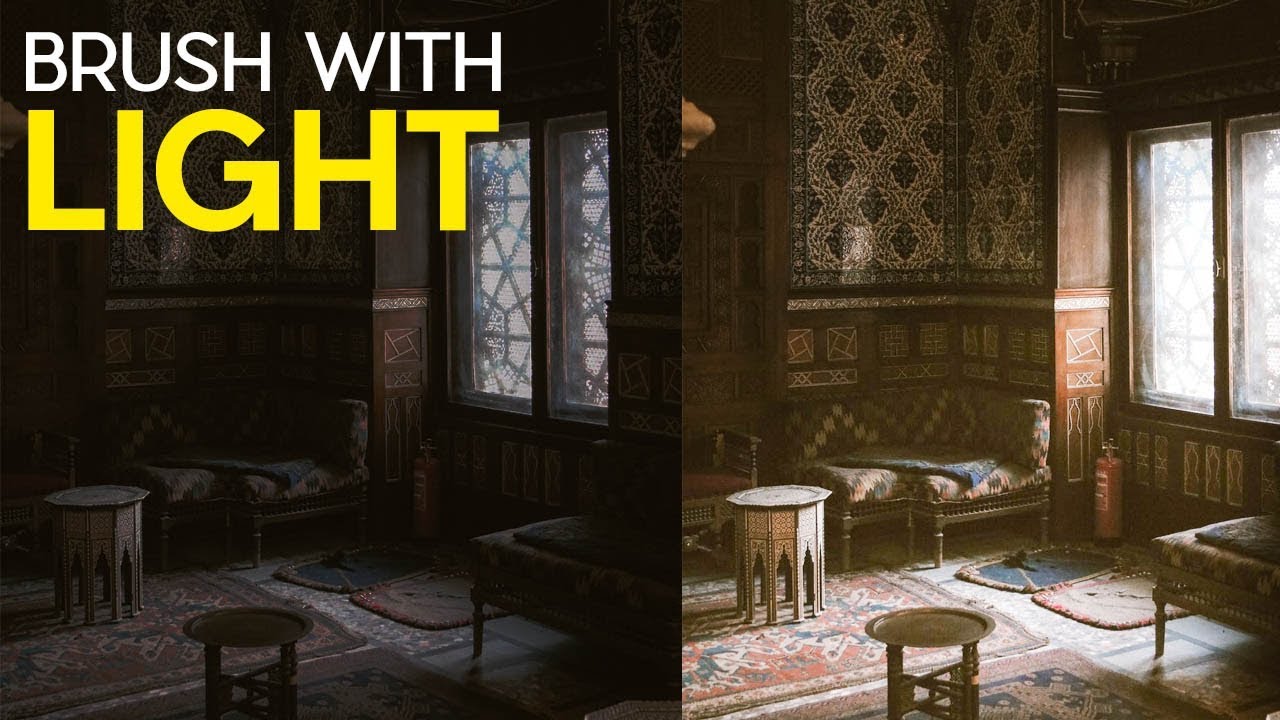
Most of my work lands in front of art directors who’ve seen every Photoshop trick in the book. When I show them a before-and-after with added light rays, the question is never “did you add that?” It’s “how did you do it so fast?” That’s the bar I care about: techniques that look intentional and take almost no time to execute. I came across this one in a Matt Kloskowski tutorial on painting light with Lightroom’s adjustment brush, and it earned a permanent spot in my toolkit within about ten minutes of watching it.

Presets Aren't Shortcuts — They're a Thinking Tool (Here's How to Use Them That Way)

Presets Aren't Shortcuts — They're a Thinking Tool (Here's How to Use Them That Way)

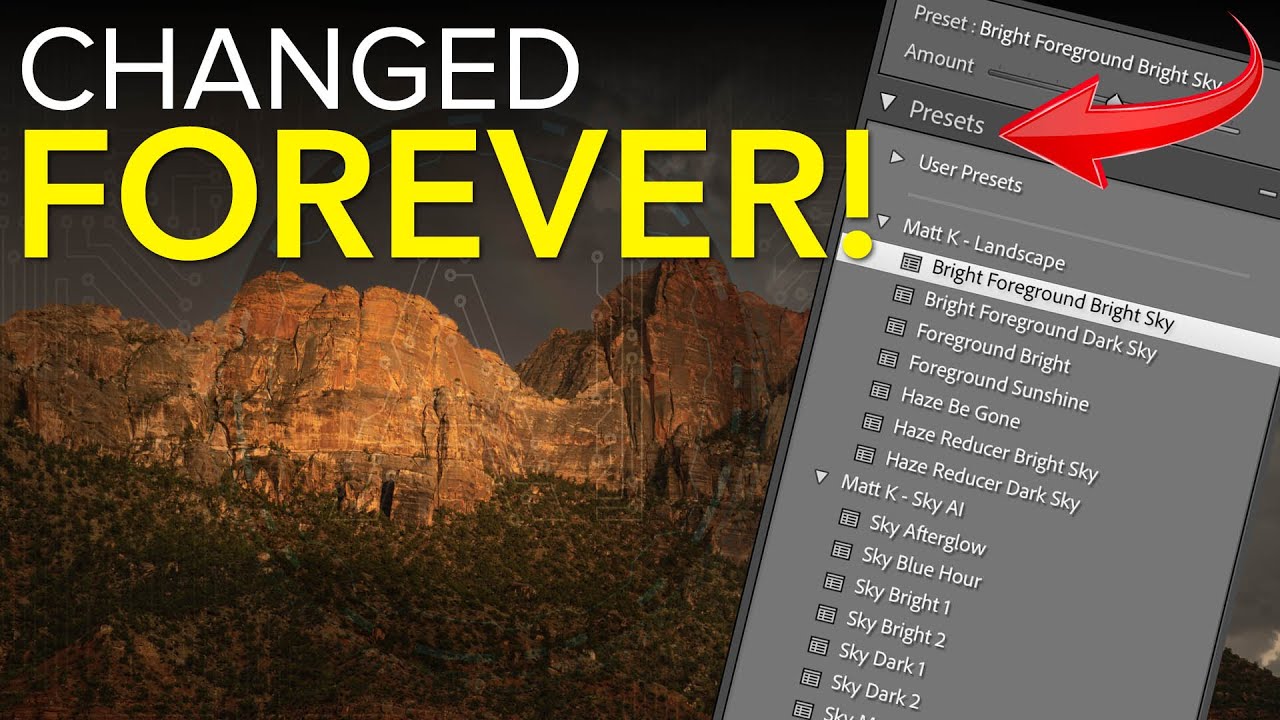
I’ll be honest with you. Early in my commercial work, I treated presets the way a lot of people do: click, hope, move on. I bought packs, applied them wholesale to client images, and wondered why the results felt borrowed rather than intentional. It took a few years of production pressure, and eventually watching people who actually knew what they were doing, to understand that presets are a diagnostic tool first and a finishing tool second.

Work Smarter With Lightroom's Adjustment Brush: The Auto Mask Shortcut That Changes Everything

Work Smarter With Lightroom's Adjustment Brush: The Auto Mask Shortcut That Changes Everything

If you shoot anything that requires selective exposure adjustments — portraits, architecture, product work, anything with a foreground subject you want to separate from a background — you already know the adjustment brush is one of the most powerful tools in Lightroom and Camera Raw. You probably also know the frustration of painting too far, blowing past an edge, and having to redo a mask you spent five minutes building. That specific pain is what pulled me into Watch the full tutorial on YouTube from Matt Kloskowski, a photographer and educator whose approach to Lightroom workflow I’ve respected for years.

A Focused Lightroom Landscape Workflow That Respects Your Time

A Focused Lightroom Landscape Workflow That Respects Your Time

I have a bad habit of over-engineering things. Fifteen years in commercial studios will do that to you. I’ve built Photoshop action sets with 40 steps, color-coded folder structures across four backup drives, and batch pipelines that could process half a year’s worth of product shots before lunch. So when I come across a landscape photographer who strips a complex editing process down to only what actually matters, I pay attention.

Lightroom's AI Edit Order Warning: What That Color-Coded Icon Actually Means for Your Workflow

Lightroom's AI Edit Order Warning: What That Color-Coded Icon Actually Means for Your Workflow

Order matters. I learned that the hard way running a commercial studio where consistency across hundreds of images isn’t a preference, it’s a contract requirement. When Adobe quietly added a new AI edit status icon to the Lightroom Classic toolbar, my first reaction was the same one I have whenever Adobe ships something new: is this going to break my existing workflow, or make it better? In this Matt Kloskowski tutorial, Watch the full tutorial on YouTube, Matt does something I appreciate in a good instructor: he doesn’t just explain the feature, he tells you when to ignore the rules it suggests.

Lightroom Profiles Are the Non-Destructive Edit Layer I Didn't Know I Needed

Lightroom Profiles Are the Non-Destructive Edit Layer I Didn't Know I Needed

I’ve spent fifteen years building systems that save time in post-production. My entire consultancy runs on the idea that repetitive manual steps are the enemy of good work. So when a feature ships inside a tool I use every single day and I completely miss it, that stings a little. That’s what happened with Lightroom Profiles. I’d been clicking past them for weeks before I actually stopped and paid attention.

How to Get Your Lightroom Classic Presets onto Your Phone in Three Steps

How to Get Your Lightroom Classic Presets onto Your Phone in Three Steps

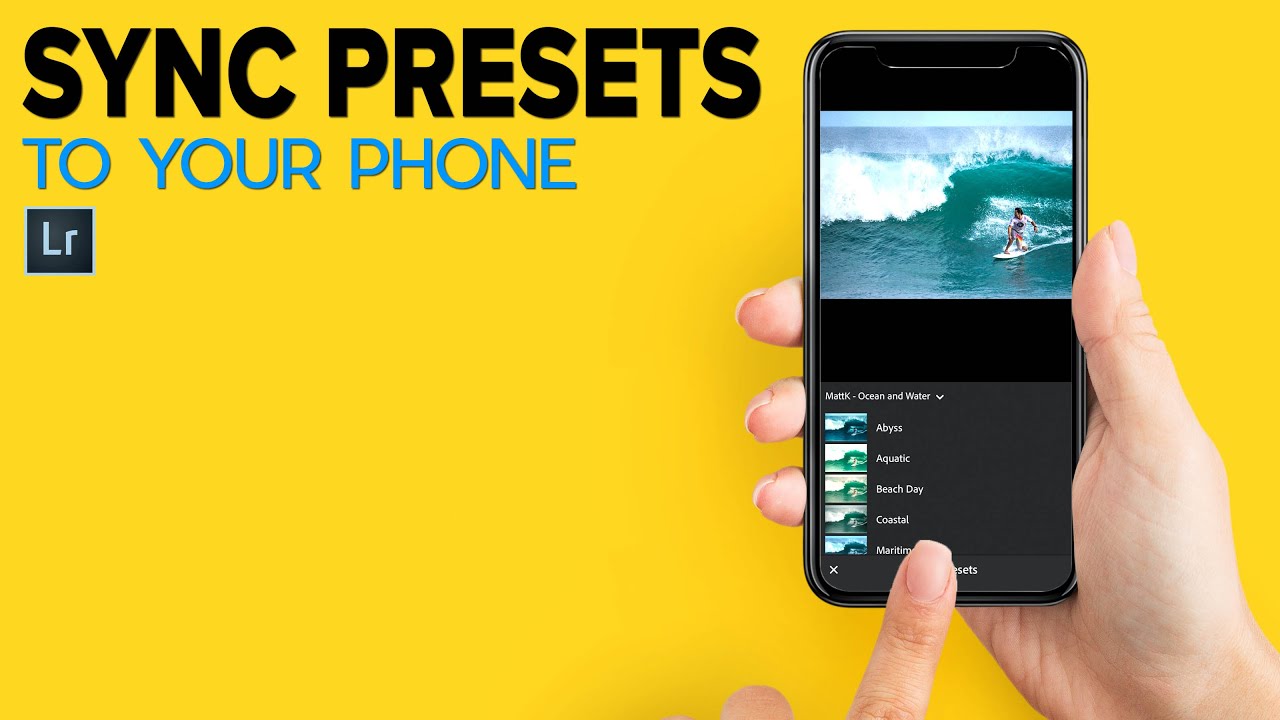
I spend a lot of time building systems so I don’t have to think twice on a deadline. Presets are a big part of that. Over the years I’ve developed a library of custom Lightroom adjustments tuned specifically for the kind of work I do – product photography, e-commerce, the occasional ad campaign. They live in Lightroom Classic, which is where I do all my serious editing. But more and more, clients want quick turnaround on selects reviewed from a phone, or they want me to make a light pass on tethered shots while I’m still on location.

Remove People From Photos Automatically: Lightroom's June 2025 AI Update Is the Real Deal

Remove People From Photos Automatically: Lightroom's June 2025 AI Update Is the Real Deal

Every commercial shoot I run ends with the same conversation with a client: “Can you get rid of that person in the background?” Sometimes it’s a tourist, sometimes it’s a crew member who wandered into frame, sometimes it’s just a stranger whose presence undermines the whole composition. My answer used to involve a lot of time in Photoshop, careful masking, and Content-Aware Fill working harder than it wanted to. That workflow is not dead, but it just got a serious competitor.

LUTs in Lightroom Are More Powerful Than You Think (Especially With a Profile Intensity Slider)

LUTs in Lightroom Are More Powerful Than You Think (Especially With a Profile Intensity Slider)

If you do any volume of editing, you have probably felt the friction of applying a LUT-based look to still photos. LUTs live comfortably in Premiere and DaVinci, but getting them to behave inside Lightroom has historically required workarounds that feel more like duct tape than a real system. That problem gets worse when you work with clients who want their product photography and video content to feel like they came from the same shoot.