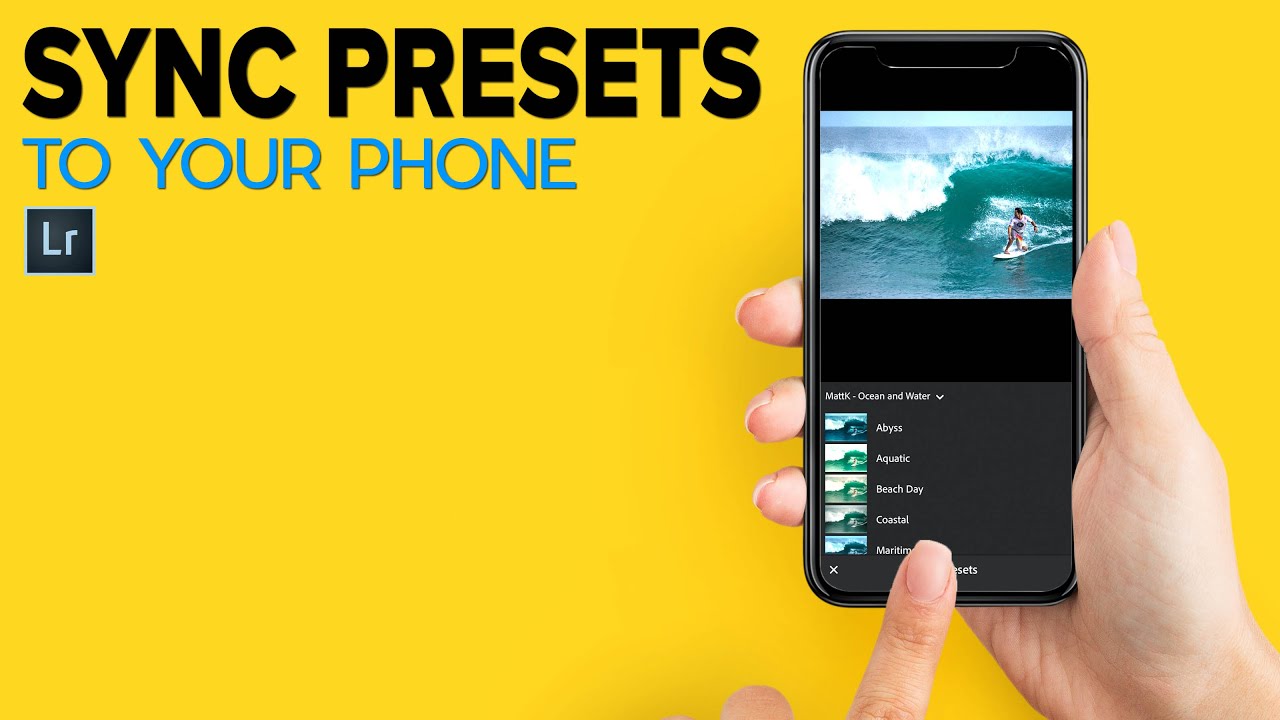
I edit a lot of images on tight deadlines. Between client reviews, revision rounds, and the general chaos of running post-production for ad agencies, consistency is everything. One of the things that quietly costs me time is the gap between my desktop editing setup and what’s available when I’m on my phone. I have years of carefully tuned Lightroom presets on my Mac. On my phone? A fraction of them, if I’m lucky. That inconsistency meant I was either doing rough mobile edits I’d have to redo later, or just waiting until I got back to my desk. Neither option is great.
In this Matt Kloskowski tutorial, he walks through exactly how to bridge that gap by syncing your desktop Lightroom presets to Lightroom Mobile using Adobe’s cloud infrastructure. It sounds like it should be automatic. It isn’t, quite. There’s a specific chain of steps that has to happen, and if you skip one, nothing shows up on your phone. Once you know the sequence, though, it’s straightforward and genuinely useful. Watch the full tutorial on YouTube alongside this breakdown if you want to see it in motion.
The core idea is that Lightroom’s cloud sync, when configured correctly, will push your preset library from your desktop application to the mobile app. That means the same look you’ve been applying to landscape shots or product photos on your workstation becomes available when you’re shooting tethered on location or handing off quick selects from your phone. For anyone who’s built up a meaningful preset library over the years, this is a real quality-of-life upgrade.
Step 1: Confirm Your Adobe Cloud Sync Is Active
 Lightroom desktop with cloud sync icon in top bar
Before anything else, Lightroom Classic needs to be talking to Adobe’s cloud. Look for the cloud icon in the top-right corner of Lightroom Classic. If it shows a sync status (uploading, idle, or a checkmark), you’re connected. If there’s a warning icon or it prompts you to log in, sort that first. Your Adobe ID needs to be the same one linked to your Lightroom Mobile installation. This sounds obvious, but it’s the most common reason the sync doesn’t work. People have multiple Adobe accounts and don’t realize they’re logged into different ones on each device.
Lightroom desktop with cloud sync icon in top bar
Before anything else, Lightroom Classic needs to be talking to Adobe’s cloud. Look for the cloud icon in the top-right corner of Lightroom Classic. If it shows a sync status (uploading, idle, or a checkmark), you’re connected. If there’s a warning icon or it prompts you to log in, sort that first. Your Adobe ID needs to be the same one linked to your Lightroom Mobile installation. This sounds obvious, but it’s the most common reason the sync doesn’t work. People have multiple Adobe accounts and don’t realize they’re logged into different ones on each device.
Step 2: Locate Your Presets in Lightroom Classic
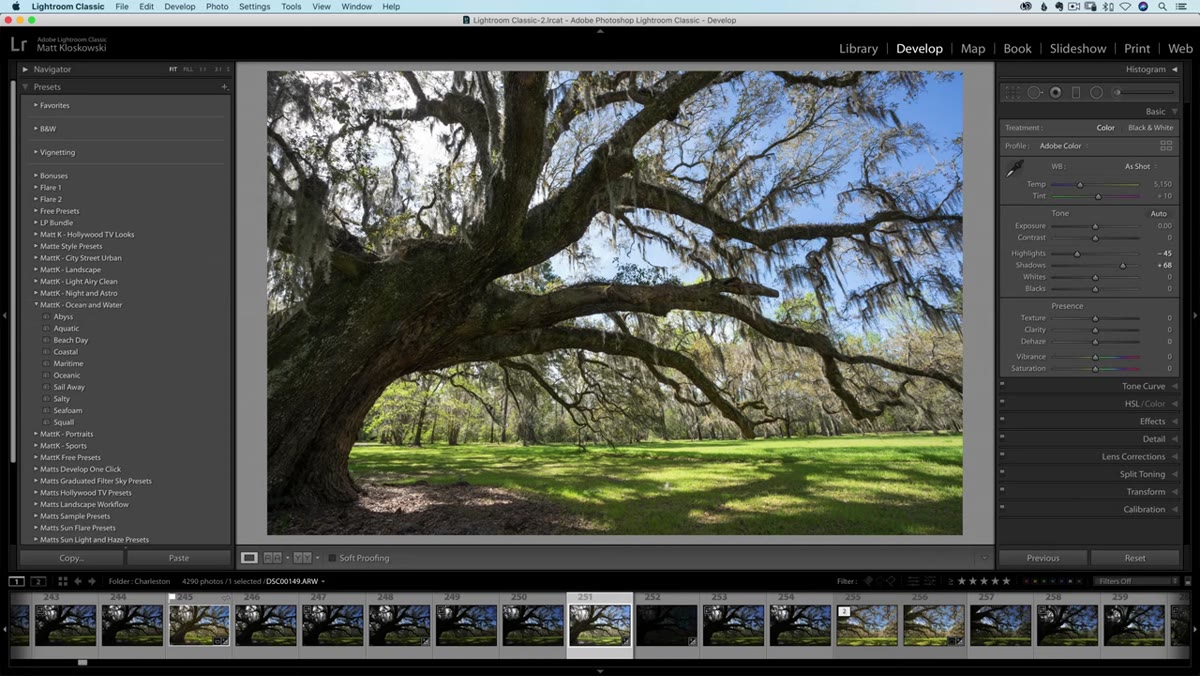
 Develop module open, Presets panel visible on left side
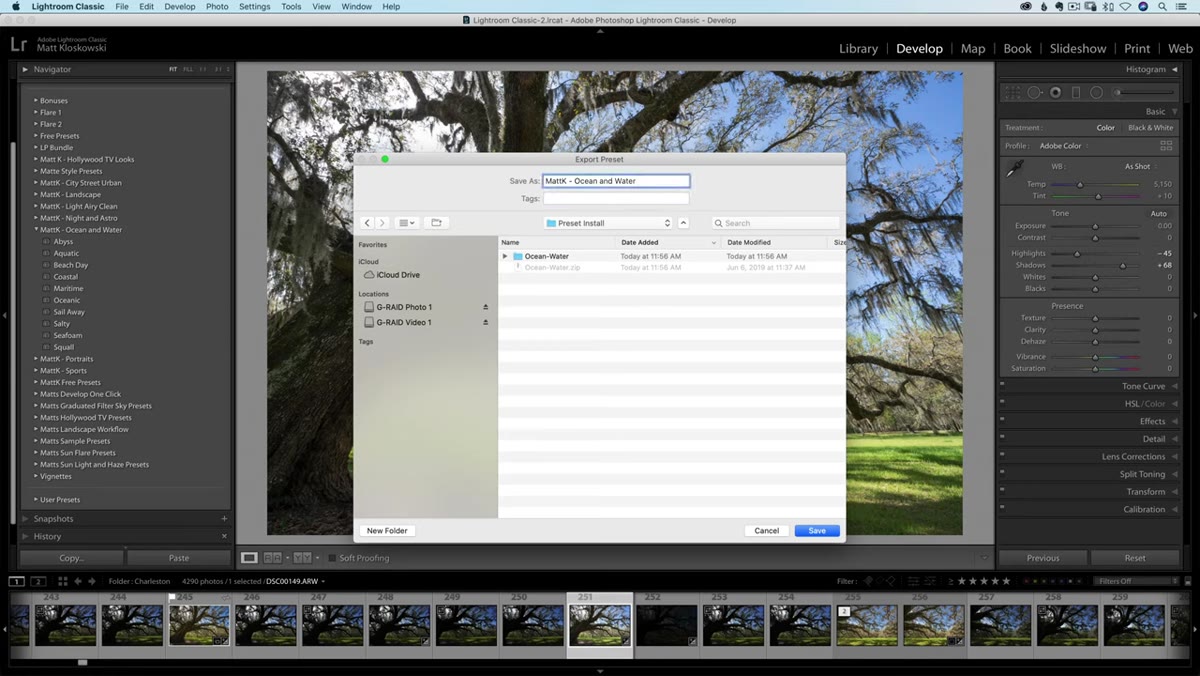
Open the Develop module in Lightroom Classic and expand the Presets panel on the left side. You should see all your preset folders listed there. Matt’s point here is that these presets live locally on your desktop, inside a specific folder on your hard drive. They do not automatically move to the cloud just because you have an Adobe account. There is an additional configuration step that needs to happen, which is what the rest of the process addresses. Take a moment to identify which preset folders you actually want on your phone. You may not need everything, and keeping the mobile library focused makes it easier to work quickly in the field.
Develop module open, Presets panel visible on left side
Open the Develop module in Lightroom Classic and expand the Presets panel on the left side. You should see all your preset folders listed there. Matt’s point here is that these presets live locally on your desktop, inside a specific folder on your hard drive. They do not automatically move to the cloud just because you have an Adobe account. There is an additional configuration step that needs to happen, which is what the rest of the process addresses. Take a moment to identify which preset folders you actually want on your phone. You may not need everything, and keeping the mobile library focused makes it easier to work quickly in the field.
Step 3: Access Lightroom Preferences and Enable Mobile Sync Settings
 Lightroom Preferences dialog, open to correct tab
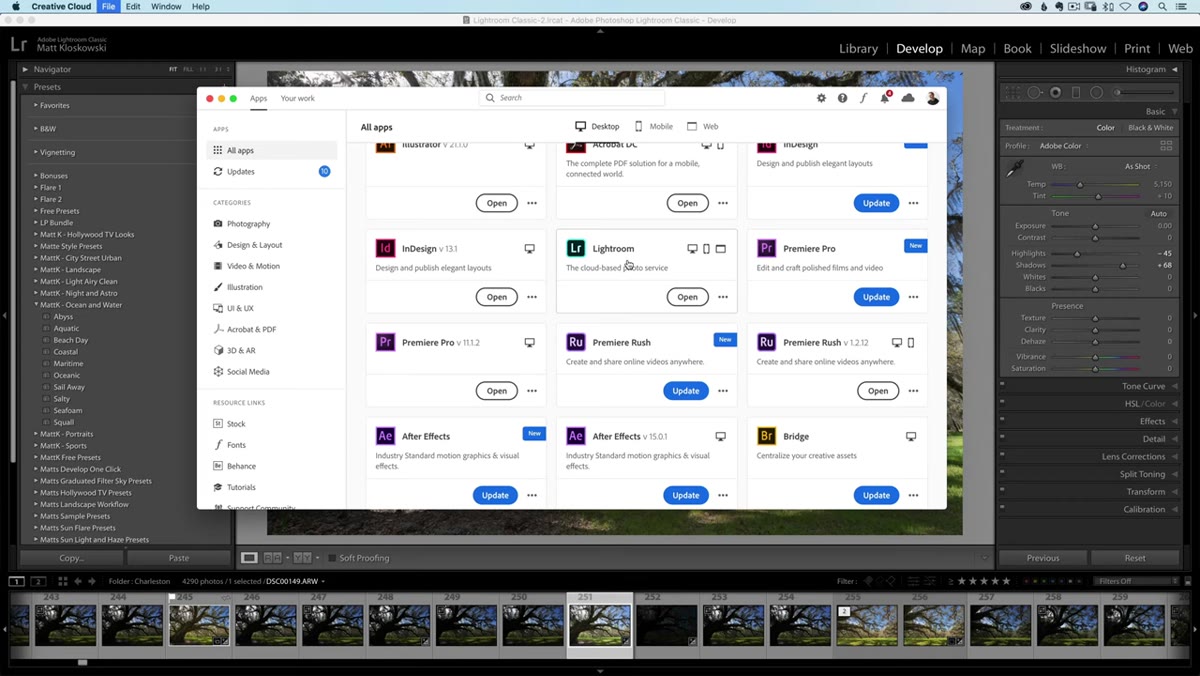
Go to Edit (Windows) or Lightroom (Mac) in the menu bar and open Preferences. Inside Preferences, navigate to the Lightroom Sync section. This is the control panel for how your desktop Lightroom instance communicates with Lightroom Mobile and the Adobe cloud. Make sure the sync option is turned on. If this setting has been off, Lightroom hasn’t been pushing anything to the cloud, including presets. Enable it here and let Lightroom establish the connection before moving to the next step. Depending on the size of your catalog, this initial sync can take a few minutes.
Lightroom Preferences dialog, open to correct tab
Go to Edit (Windows) or Lightroom (Mac) in the menu bar and open Preferences. Inside Preferences, navigate to the Lightroom Sync section. This is the control panel for how your desktop Lightroom instance communicates with Lightroom Mobile and the Adobe cloud. Make sure the sync option is turned on. If this setting has been off, Lightroom hasn’t been pushing anything to the cloud, including presets. Enable it here and let Lightroom establish the connection before moving to the next step. Depending on the size of your catalog, this initial sync can take a few minutes.
Step 4: Store Presets with the Catalog
 Preferences option to store presets with catalog, checkbox visible
This is the step that trips most people up. Still inside Preferences, look for the option that reads something like “Store presets with this catalog.” Check that box if it isn’t already checked. What this does is move your presets into a location that Lightroom’s sync engine can actually see and push to the cloud. By default, presets are stored in a global application folder that the sync process doesn’t reach. Moving them into the catalog folder structure is what makes them eligible for cloud delivery to your mobile device. After checking this box, Lightroom will likely need to restart for the change to take effect.
Preferences option to store presets with catalog, checkbox visible
This is the step that trips most people up. Still inside Preferences, look for the option that reads something like “Store presets with this catalog.” Check that box if it isn’t already checked. What this does is move your presets into a location that Lightroom’s sync engine can actually see and push to the cloud. By default, presets are stored in a global application folder that the sync process doesn’t reach. Moving them into the catalog folder structure is what makes them eligible for cloud delivery to your mobile device. After checking this box, Lightroom will likely need to restart for the change to take effect.
Step 5: Verify the Presets Appear in Lightroom Mobile
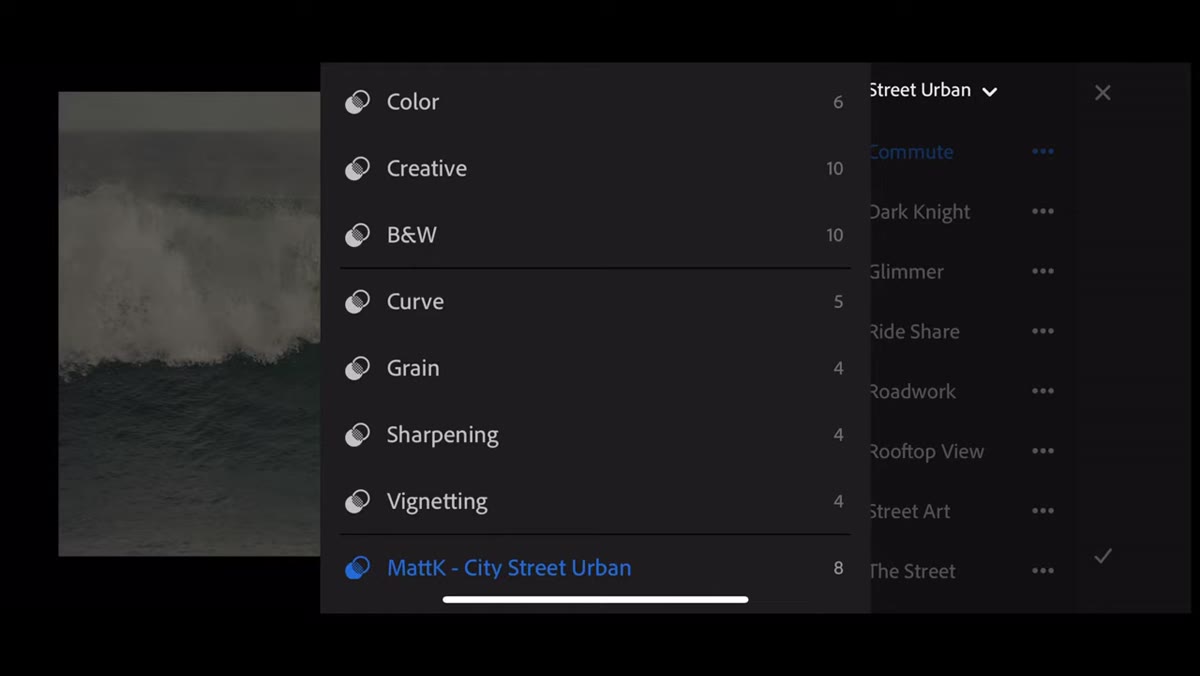
 Lightroom Mobile app open on phone, Presets section visible
Open Lightroom on your phone and pull up any photo in the editing view. Tap into the Presets section at the bottom of the screen. If the sync worked, you should start seeing your desktop preset folders appear here. It may not be instant. Give it several minutes, and make sure your phone is on WiFi with a solid connection. If nothing shows up after 10 or 15 minutes, go back to your desktop and check the cloud icon in Lightroom Classic. There should be active sync activity. If it’s stalled, toggling the sync off and on again in Preferences usually kicks it back into motion.
Lightroom Mobile app open on phone, Presets section visible
Open Lightroom on your phone and pull up any photo in the editing view. Tap into the Presets section at the bottom of the screen. If the sync worked, you should start seeing your desktop preset folders appear here. It may not be instant. Give it several minutes, and make sure your phone is on WiFi with a solid connection. If nothing shows up after 10 or 15 minutes, go back to your desktop and check the cloud icon in Lightroom Classic. There should be active sync activity. If it’s stalled, toggling the sync off and on again in Preferences usually kicks it back into motion.
Step 6: Test a Preset on a Mobile Image
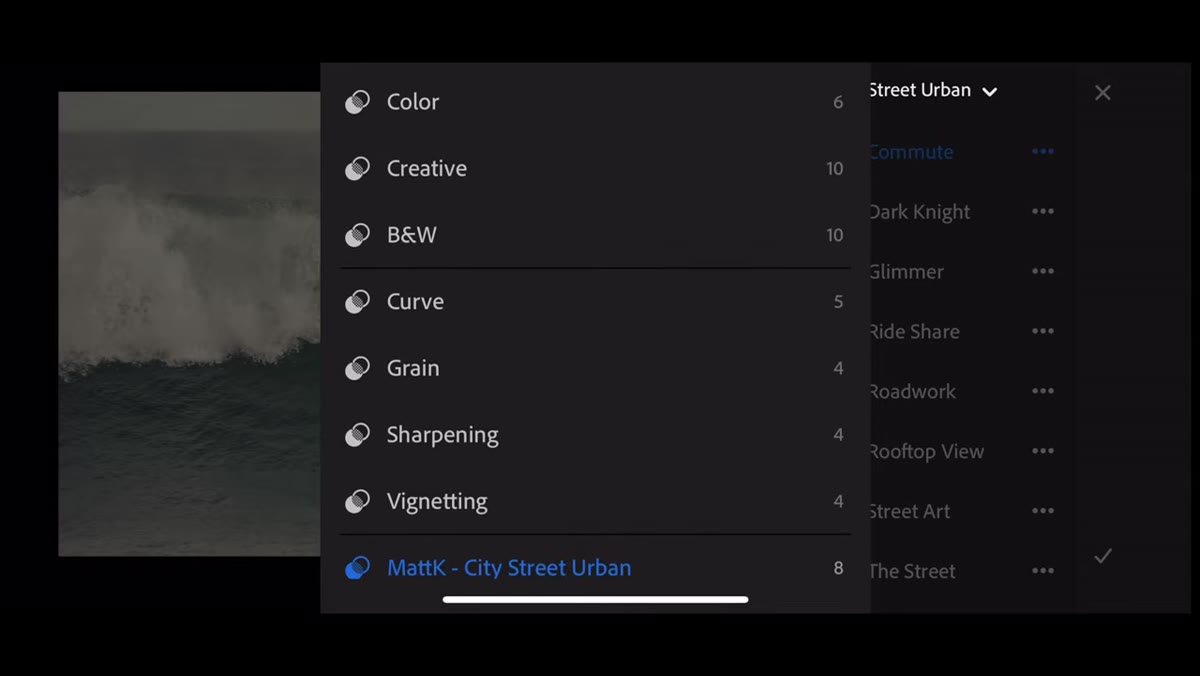
 Preset being applied to photo inside Lightroom Mobile
Once the presets are visible on your phone, actually test a few before you rely on them on a shoot. Tap a preset and confirm the image responds the way you’d expect based on your desktop experience. Mobile rendering is very close to desktop, but if a preset uses features that Lightroom Mobile doesn’t fully support yet, you might see a slight difference. For most standard presets built around tone, color grading, and HSL adjustments, the result should be consistent. This is worth checking ahead of time rather than discovering a discrepancy when you’re trying to show a client a quick proof.
Preset being applied to photo inside Lightroom Mobile
Once the presets are visible on your phone, actually test a few before you rely on them on a shoot. Tap a preset and confirm the image responds the way you’d expect based on your desktop experience. Mobile rendering is very close to desktop, but if a preset uses features that Lightroom Mobile doesn’t fully support yet, you might see a slight difference. For most standard presets built around tone, color grading, and HSL adjustments, the result should be consistent. This is worth checking ahead of time rather than discovering a discrepancy when you’re trying to show a client a quick proof.
One Thing I’d Add From My Own Workflow
Matt’s tutorial handles the sync setup cleanly, but there’s a practical layer worth adding. Once you have presets on your phone, name and organize them as if a stranger will use them in a hurry, because you will be that stranger at 7am on a shoot day. I went back through my mobile-synced presets and renamed anything with a cryptic shorthand code I’d invented three years ago. I also created a separate preset folder called “Mobile First” with only the 10 to 15 presets I realistically reach for in the field. The full library is there if I need it, but having a curated folder cuts the decision time considerably. Efficiency in editing isn’t just about the tools. It’s about how quickly you can get to the right tool.
The single most important takeaway here is the “Store presets with catalog” setting. Everything else in this process is logical and intuitive, but that one checkbox is the hinge. Miss it, and no amount of fiddling with sync settings will push your presets to your phone. Get it right, and your entire desktop preset library becomes available wherever you shoot.
Watch the full tutorial on YouTube to follow along with Matt’s walkthrough directly inside Lightroom.
Comments
Leave a Comment