Photoshop 2025's Adjustment Brush Tool Is the Shortcut Your Masking Workflow Has Been Missing

Photoshop 2025's Adjustment Brush Tool Is the Shortcut Your Masking Workflow Has Been Missing

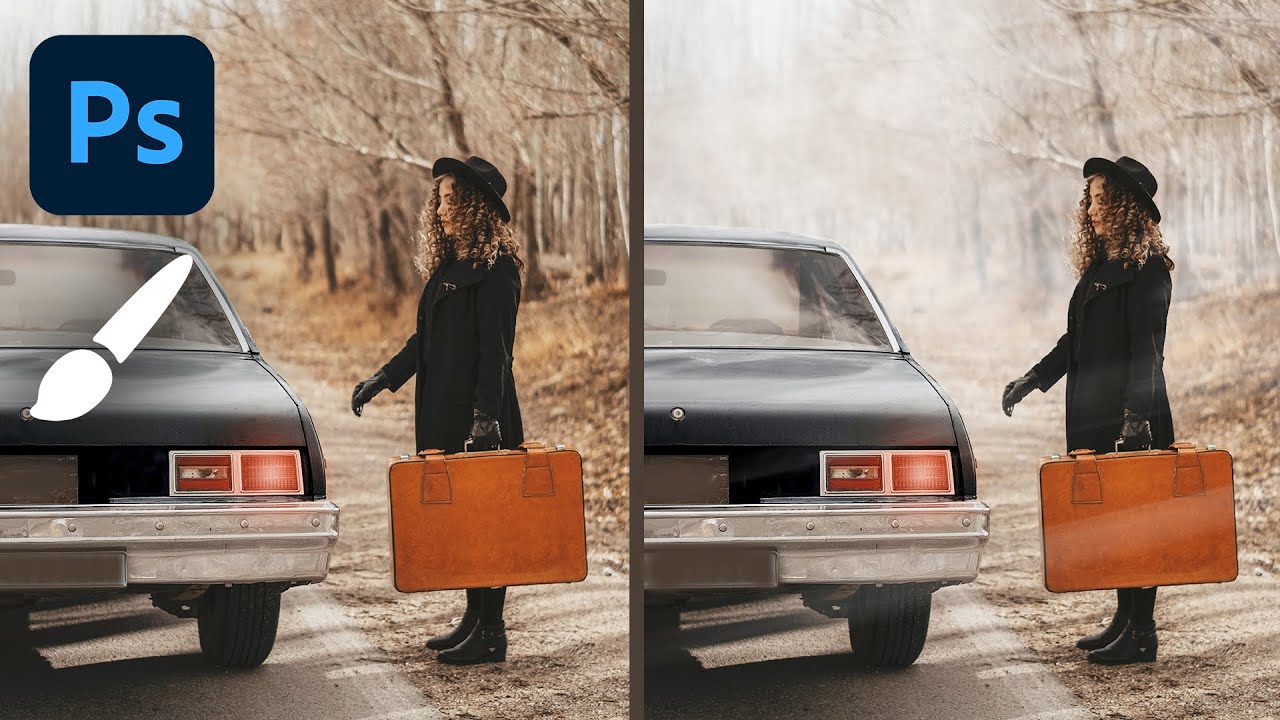
I run post-production for e-commerce and advertising clients, which means I spend a lot of time making isolated edits to specific objects in a photo. Change the color of that product. Brighten just this element. Keep everything else untouched. For years, my workflow for this was: create an adjustment layer, manually paint or refine a mask, adjust the settings, check the mask, fix the edges, repeat. It works. But it adds up fast when you’re moving through dozens of images in a session.

Stop Fighting Distractions in Post: A Practical Guide to Cleaning Up Location Shots with Generative Fill

Stop Fighting Distractions in Post: A Practical Guide to Cleaning Up Location Shots with Generative Fill

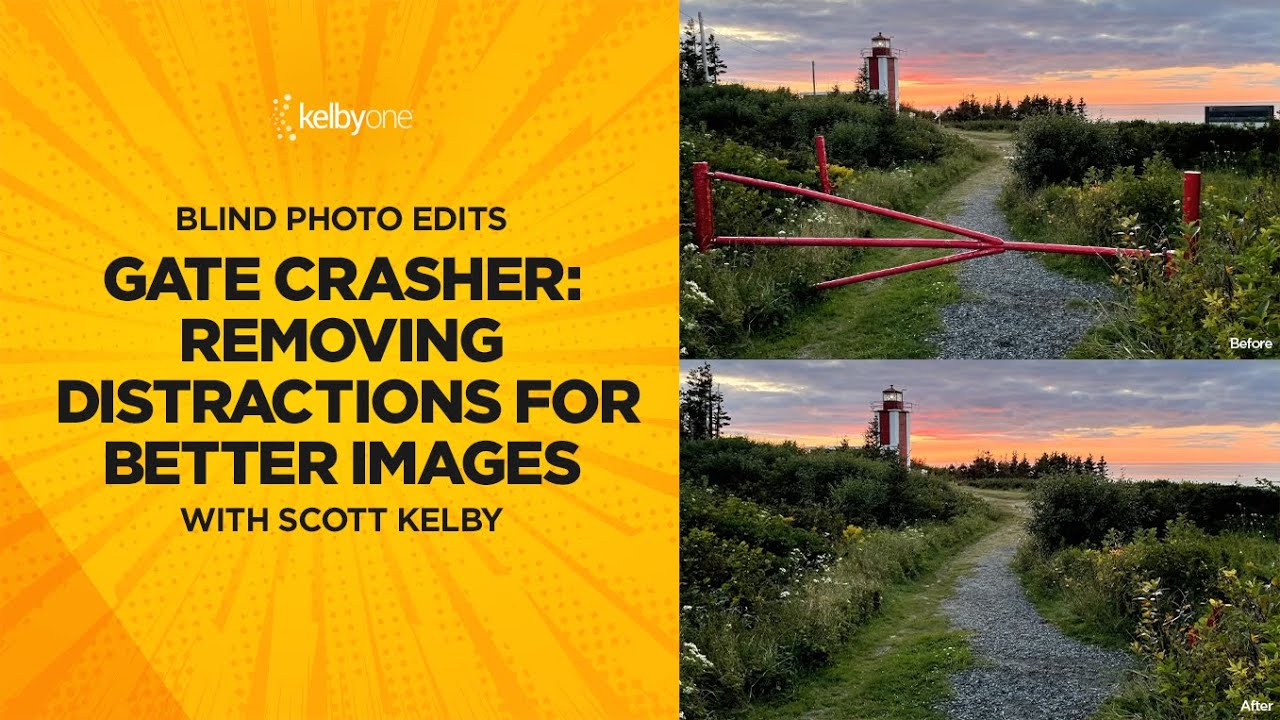
Every location shoot comes with baggage. Fences, utility poles, stray branches, the occasional gate that someone definitely could have walked around. I’ve been cleaning up this kind of environmental noise for clients for years, and the honest truth is that the tools have never been better than they are right now. The challenge isn’t capability anymore. It’s knowing the exact sequence and settings that get you to a clean result without burning an hour on a single frame.

Stop Exporting Images One at a Time: A Practical Guide to Lightroom Export Presets

Stop Exporting Images One at a Time: A Practical Guide to Lightroom Export Presets

There is a certain kind of pain that only photographers know. You finish editing a set of images, they look great, and then you spend the next forty-five minutes manually exporting the same files at different sizes for Instagram, your client’s website, and the print lab. Same dialog box, slightly different numbers, over and over. I spent an embarrassing amount of time doing exactly this before I finally sat down and built a proper export preset system in Lightroom.

Lightroom's Adaptive Color Profiles Are the Starting Point I Wish I'd Had Years Ago

Lightroom's Adaptive Color Profiles Are the Starting Point I Wish I'd Had Years Ago

I track time obsessively. I have a spreadsheet that logs every hour my automation tools have saved me, and right now it’s sitting at over 2,400 hours. So when I see a feature that genuinely changes how fast I can get from import to edit-ready, I pay attention. Presets have always been my first line of defense against flat RAW files, but I’ve quietly suspected there was a smarter way to handle that initial color foundation.

From One Edit to Thousands: How to Build Photoshop Actions and Droplets That Actually Save Time

From One Edit to Thousands: How to Build Photoshop Actions and Droplets That Actually Save Time

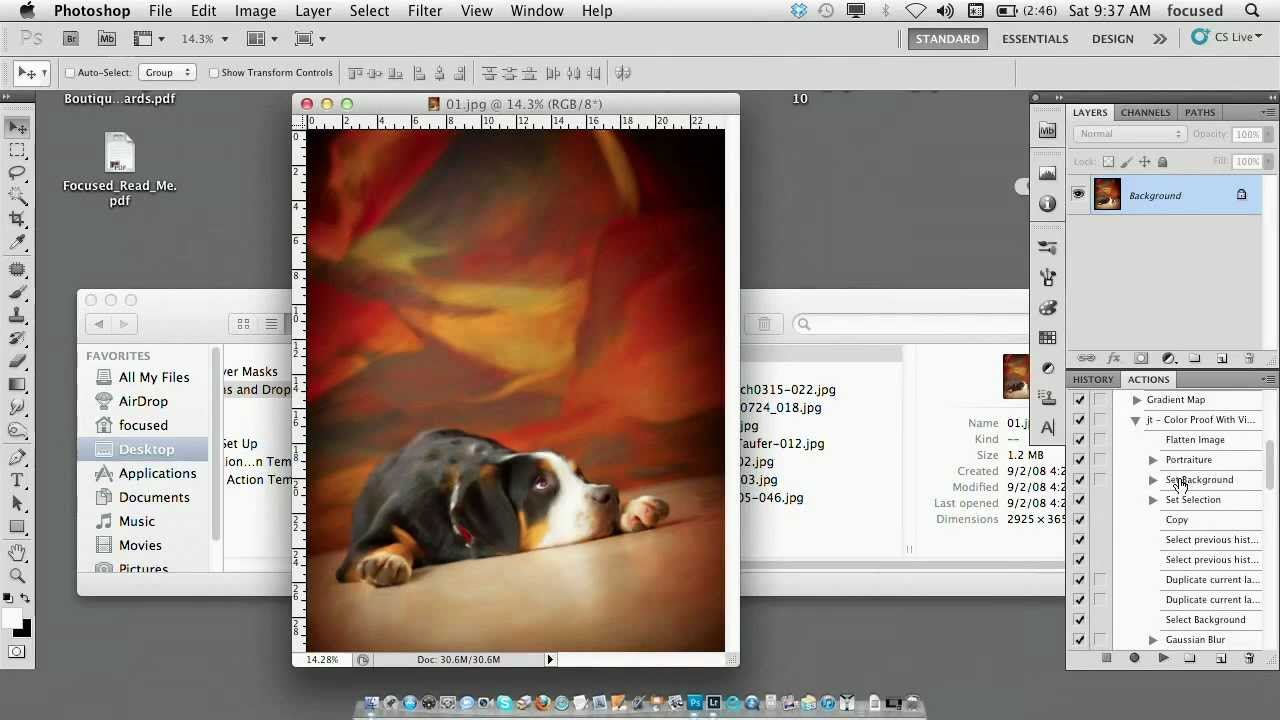
I built my first Photoshop action at 26 and I have not manually repeated a task since. That is not an exaggeration - I keep a spreadsheet. Right now it sits at over 2,400 hours saved across fifteen years of studio and consultancy work. So when I came across Vicki Taufer’s segment on actions and droplets in her CreativeLive tutorial on pets and people photography, I watched it twice. Not because the concepts were new to me, but because Vicki explains the mental model behind actions in a way that finally makes the whole system click for photographers who have been avoiding it.

How to Turn a Real-World Texture Into a Custom Photoshop Brush (Using Nothing But a Phone Photo)

How to Turn a Real-World Texture Into a Custom Photoshop Brush (Using Nothing But a Phone Photo)

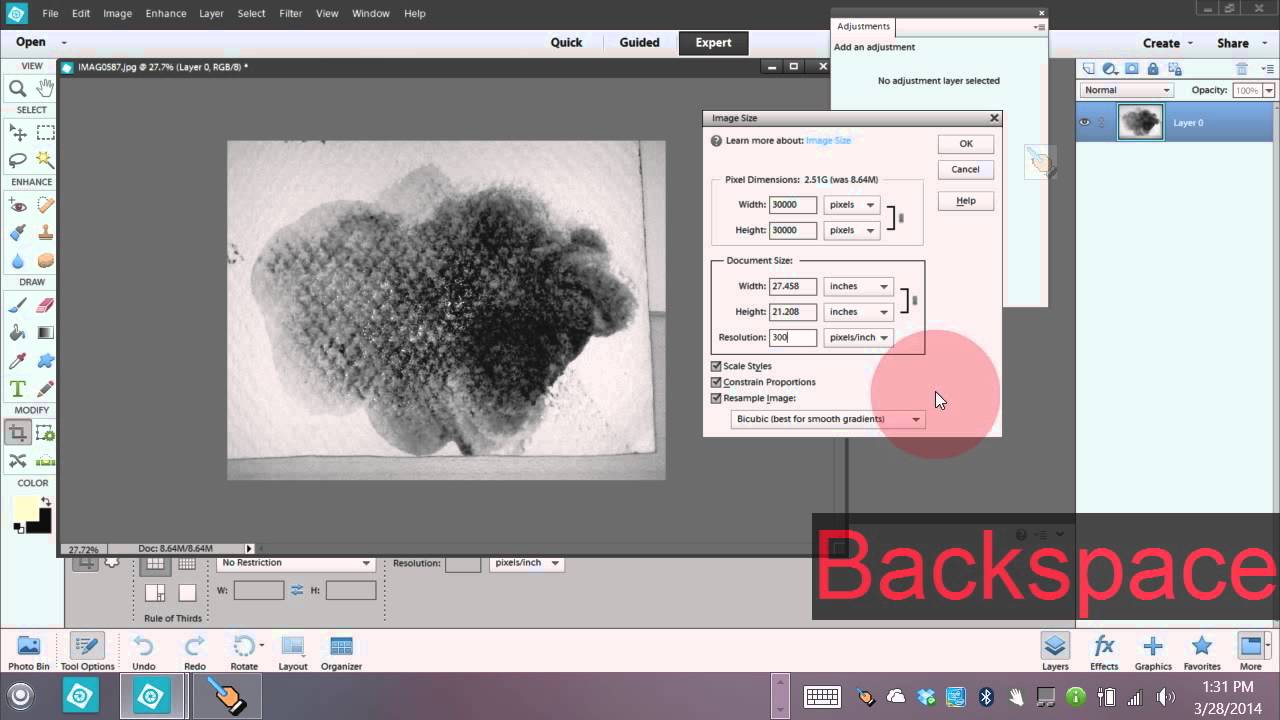
Most custom brush packs feel like someone else’s handwriting. You install them, they look great in the preview, and then you spend twenty minutes trying to make them fit your actual project. I’ve been there. After fifteen years in commercial studios, I’ve got folders full of brush sets I downloaded once and never opened again. The ones I actually reach for are the ones I made myself - because they carry the specific texture, weight, and imperfection that a stock pack can never replicate.

How to Wipe Out Power Lines, Signs, and Visual Clutter Using Photoshop's Content-Aware Patch Tool

How to Wipe Out Power Lines, Signs, and Visual Clutter Using Photoshop's Content-Aware Patch Tool

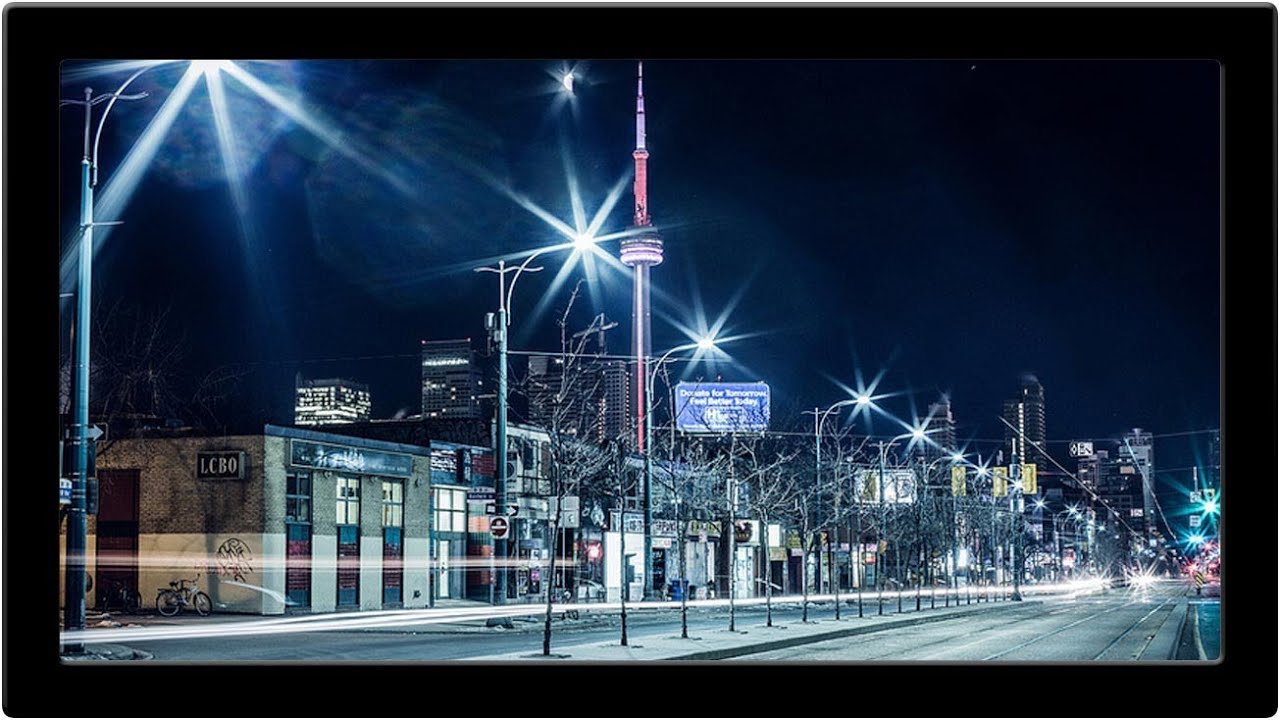
Anyone who has delivered location photography to an ad agency knows the sinking feeling: you get back to your desk, open the raw files, and there’s a power line cutting straight through the hero shot. Or a parking sign. Or a stray person in the background of what was supposed to be a clean architectural image. These aren’t artistic problems. They’re time problems. Every minute spent cloning and healing manually is a minute you’re not billing for, and the cumulative drag on a busy retouching day is real.

How to Create a Glitter Sparkle Effect in Photoshop Using Blend Modes and Custom Brushes

How to Create a Glitter Sparkle Effect in Photoshop Using Blend Modes and Custom Brushes

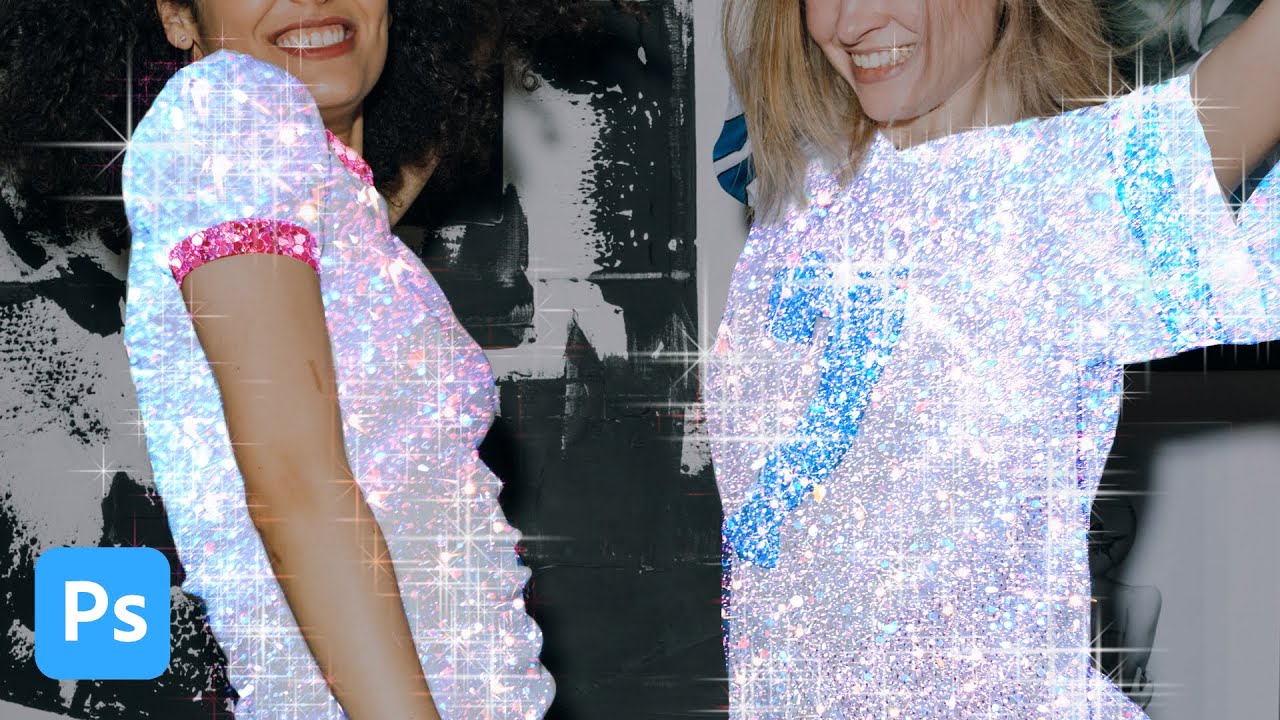
My clients come in two flavors: the ones who know exactly what they want, and the ones who send me a Pinterest board full of Instagram-aesthetic images and say “make it look like that.” The glitter sparkle effect falls firmly into the second category. I’ve been seeing it on product shots and portrait campaigns for a couple of years now, and every time a client sends me a reference I’ve had to reverse-engineer it on the fly.

How to Edit Aviation Photos in Lightroom: A Fast 5-Step Workflow That Actually Works

How to Edit Aviation Photos in Lightroom: A Fast 5-Step Workflow That Actually Works

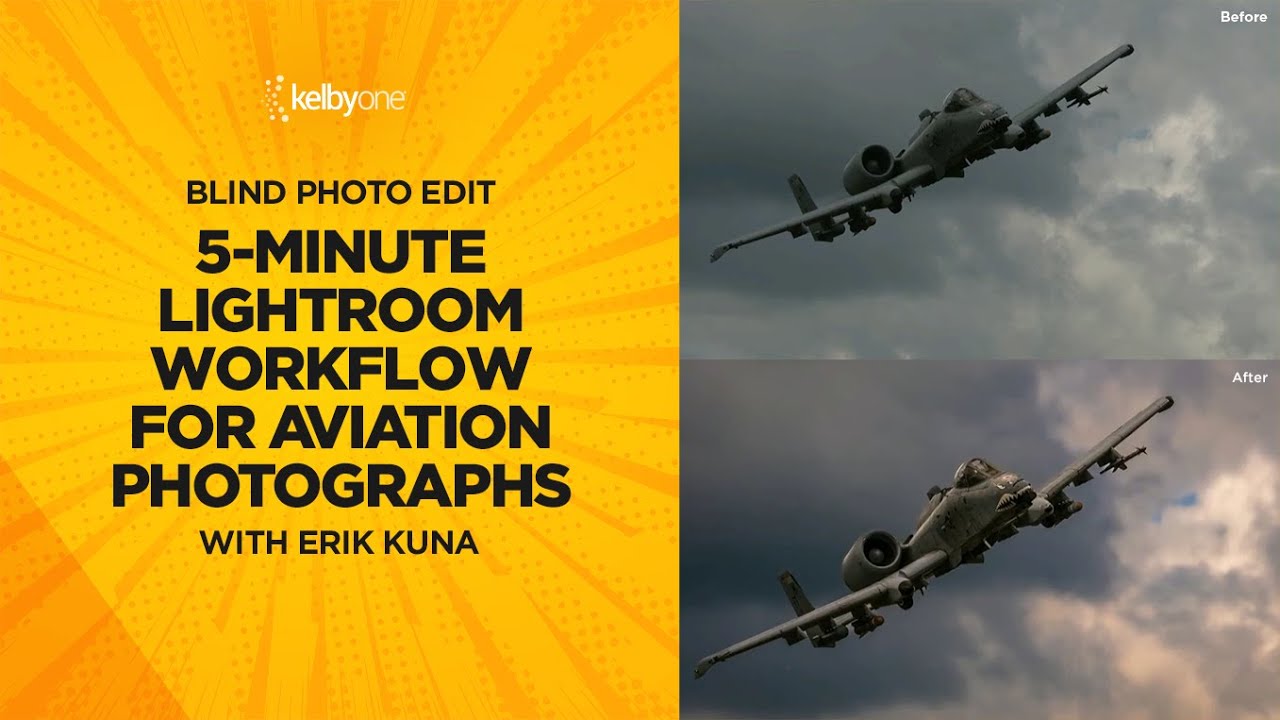
Most of my clients shoot products or campaigns under controlled light. Aviation photographers get none of that luxury. They’re chasing fast-moving metal across unpredictable skies, handing off RAW files that are flat, noisy, and frequently lacking the contrast that makes a military jet look like it’s actually moving. When those files land in Lightroom, the edit has to work harder than usual — and it has to work fast. In this KelbyOne tutorial, photographer and educator Scott Kelby runs a blind edit on a reader-submitted A-10 Warthog photo, and the workflow he uses maps cleanly onto almost any aviation or airshow shot.

How to Record a Photoshop Action and Batch Process an Entire Folder of Images

How to Record a Photoshop Action and Batch Process an Entire Folder of Images

I built my first Photoshop Action at 26 and I have not manually repeated a multi-step edit since. That sounds like an exaggeration but I track this stuff obsessively, and the number currently sits at over 2,400 hours saved across my career. So when someone asks me why Actions are worth learning, I don’t give them a philosophical answer. I give them a number. The specific workflow I want to walk you through today comes from a tutorial by Aaron Nace over at PHLEARN.

Building a Fall Color Preset in Lightroom: A Layer-by-Layer Breakdown

Building a Fall Color Preset in Lightroom: A Layer-by-Layer Breakdown

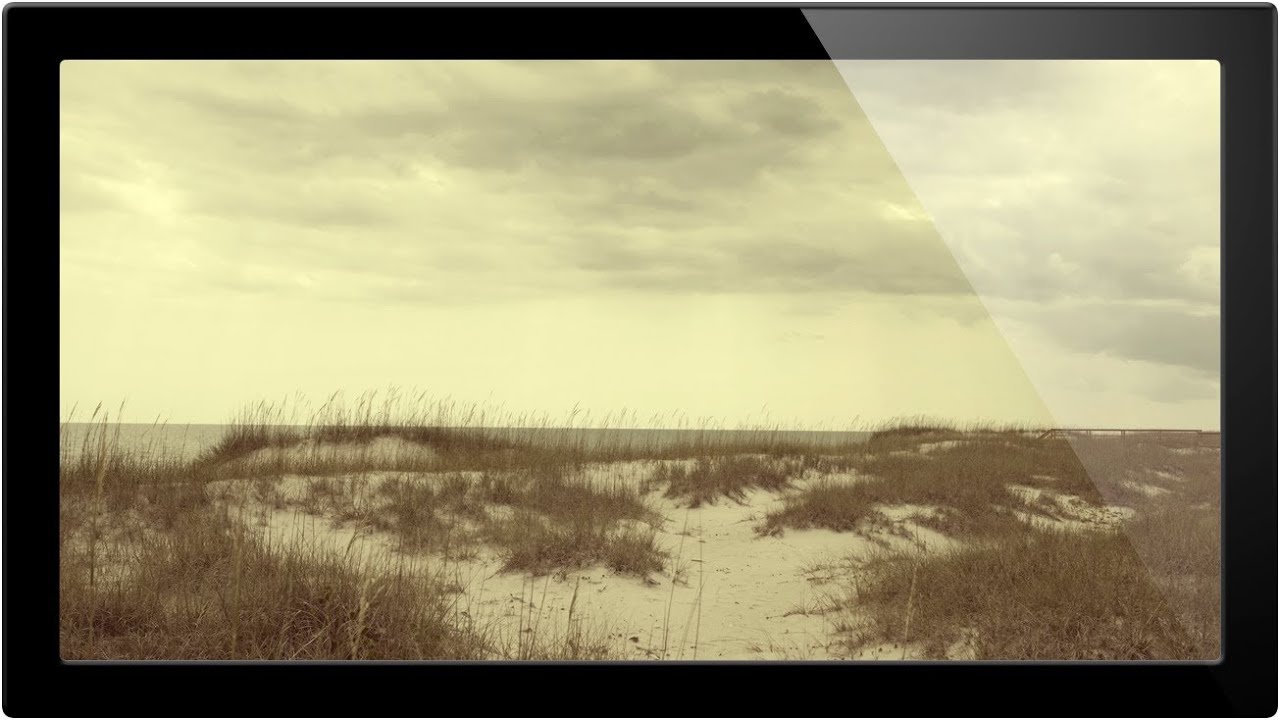
Every autumn I get a flood of requests from agency clients who shot outdoor campaigns in September and October and are now staring at RAW files that look like any other month. The foliage was stunning on location. On screen it reads beige. The problem isn’t exposure or white balance. It’s that fall color lives in a very specific tonal and hue relationship, and your all-purpose travel preset was never built to honor it.

Lightroom Preset Tips You Probably Haven't Thought About (But Should)

Lightroom Preset Tips You Probably Haven't Thought About (But Should)

I keep a spreadsheet of the hours my automated workflows have saved me. Over 2,400 hours at last count. That number didn’t happen by accident. It happened because I’ve spent years paying attention to the small details that most people skip past, the kind of thing you notice when you’re processing hundreds of images for an e-commerce client and one weird behavior in your software costs you twenty minutes of confused clicking.