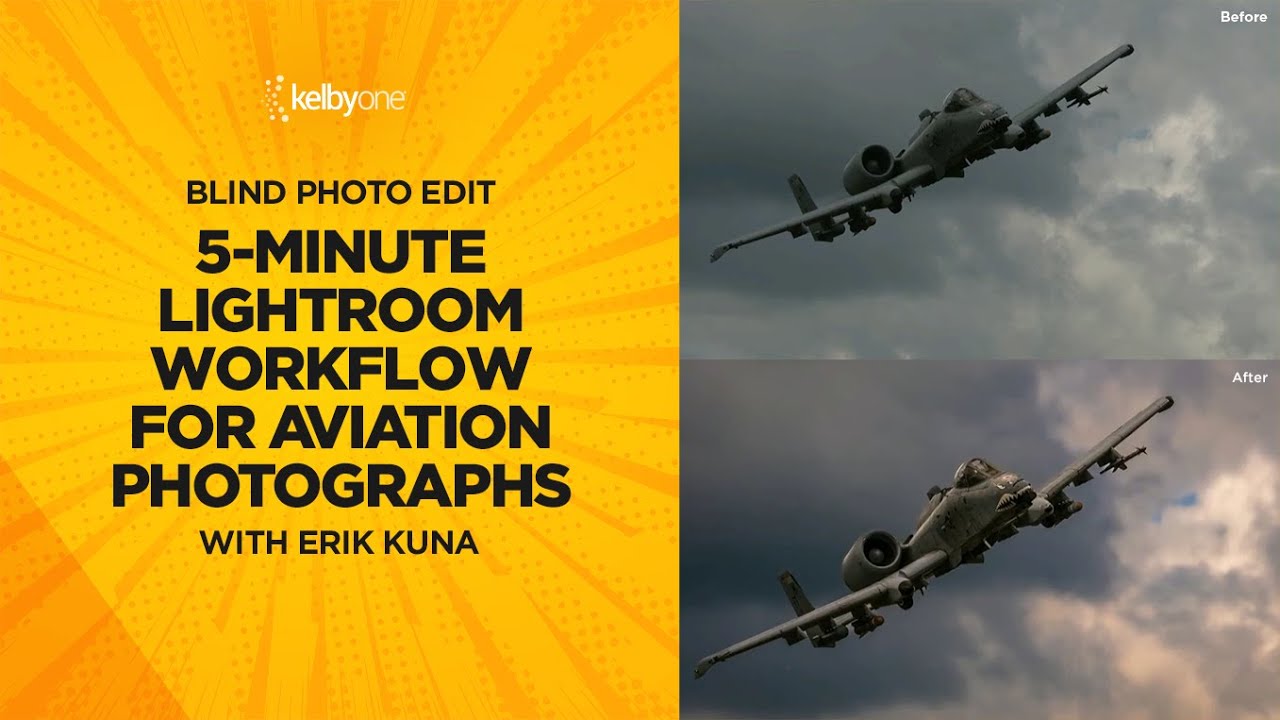
Most of my clients shoot products or campaigns under controlled light. Aviation photographers get none of that luxury. They’re chasing fast-moving metal across unpredictable skies, handing off RAW files that are flat, noisy, and frequently lacking the contrast that makes a military jet look like it’s actually moving. When those files land in Lightroom, the edit has to work harder than usual — and it has to work fast.
In this KelbyOne tutorial, photographer and educator Scott Kelby runs a blind edit on a reader-submitted A-10 Warthog photo, and the workflow he uses maps cleanly onto almost any aviation or airshow shot. Watch the full tutorial on YouTube — but if you want a step-by-step breakdown you can actually follow in your own edits, that’s what this article is for.
What struck me watching this wasn’t any single trick. It was the structural logic: get a strong crop first, set a profile before you touch any sliders, use Auto as a calibrated starting point rather than a crutch, then split the subject and background into separate masked adjustments. In that order. Every time. That kind of consistent sequence is exactly what I look for when I’m building a workflow I can repeat without thinking.
Step 1: Crop Aggressively and Add Intentional Tilt
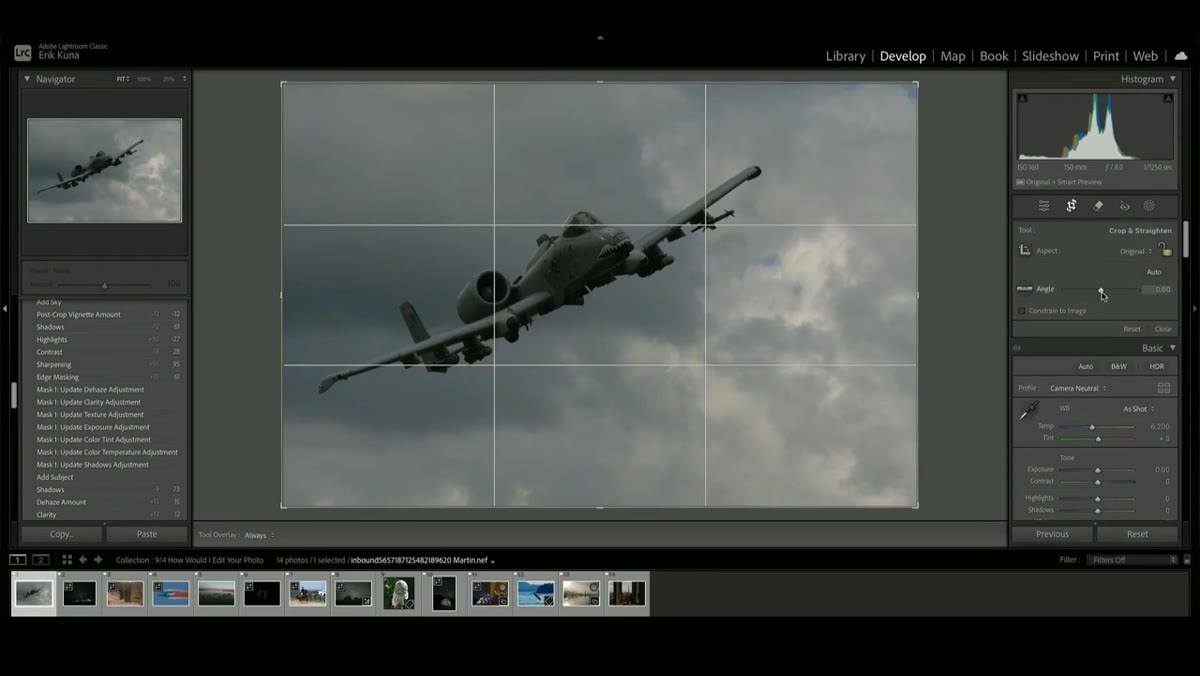 Crop tool active, plane tilted slightly into bank
Aviation photos often suffer from too much breathing room around the subject. The sky behind a jet is usually empty and uninteresting, so leaving it in frame dilutes the image. Kelby’s first move is to crop in tighter than feels comfortable at first, bringing the viewer closer to the aircraft. More importantly, he introduces a slight rotational tilt to the crop so the plane reads as banking rather than flying flat. This is a narrative choice as much as a compositional one.
Crop tool active, plane tilted slightly into bank
Aviation photos often suffer from too much breathing room around the subject. The sky behind a jet is usually empty and uninteresting, so leaving it in frame dilutes the image. Kelby’s first move is to crop in tighter than feels comfortable at first, bringing the viewer closer to the aircraft. More importantly, he introduces a slight rotational tilt to the crop so the plane reads as banking rather than flying flat. This is a narrative choice as much as a compositional one.
When applying this yourself, keep the rule about directional space in mind: leave more room in front of the aircraft than behind it. The plane should appear to be flying into the frame, not out of it. A tilt of 2 to 5 degrees is usually enough to suggest motion without making the horizon look broken.
Step 2: Switch Your Camera Profile Before Touching Sliders
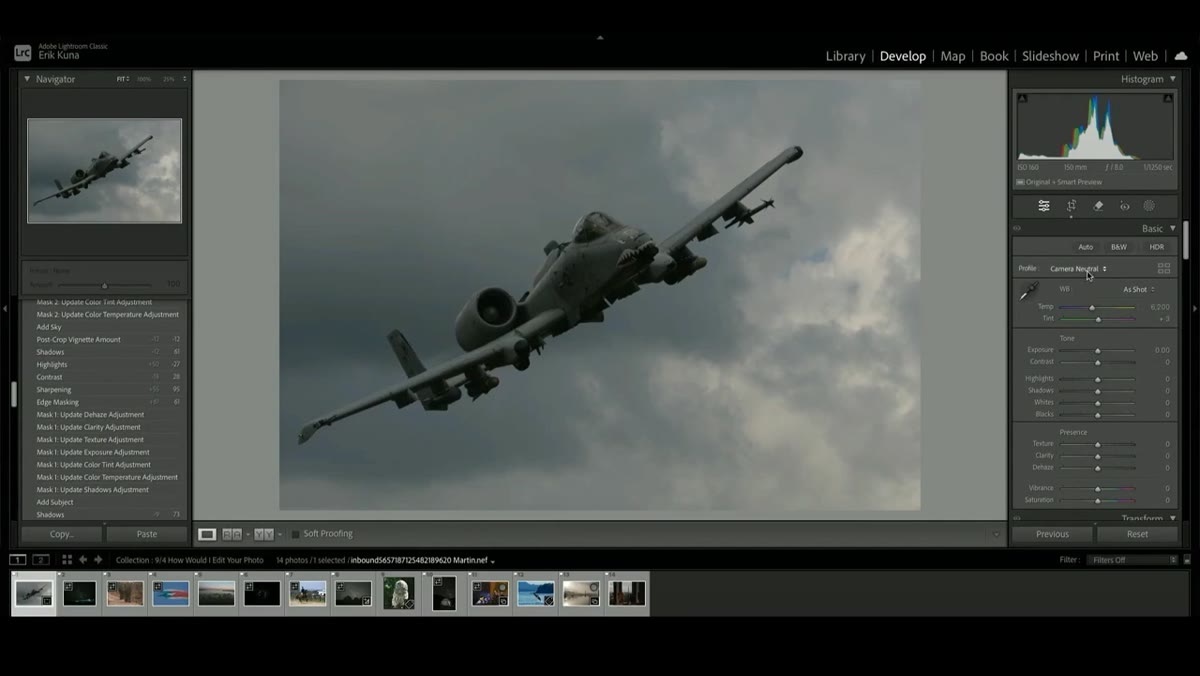 Camera Calibration panel open, Landscape profile selected
This step gets skipped constantly, and it costs editors contrast and color before they even start. In Lightroom’s Camera Calibration panel (or the Profile section in more recent versions), RAW files default to a neutral or Adobe Standard profile. Kelby switches to the Landscape profile for aviation work, and his reasoning is practical: even when the sky is overcast or pale, the Landscape profile pulls a little more out of the color channels before any manual adjustment. It gives you a better foundation to build on.
Camera Calibration panel open, Landscape profile selected
This step gets skipped constantly, and it costs editors contrast and color before they even start. In Lightroom’s Camera Calibration panel (or the Profile section in more recent versions), RAW files default to a neutral or Adobe Standard profile. Kelby switches to the Landscape profile for aviation work, and his reasoning is practical: even when the sky is overcast or pale, the Landscape profile pulls a little more out of the color channels before any manual adjustment. It gives you a better foundation to build on.
Set your profile immediately after cropping and before you do anything else. The profile affects how the entire image data is interpreted, so any sliders you move after the fact will read differently depending on which profile is active. Getting this in the right order is a small discipline that pays off every single edit.
Step 3: Use Auto as a Calibrated Baseline
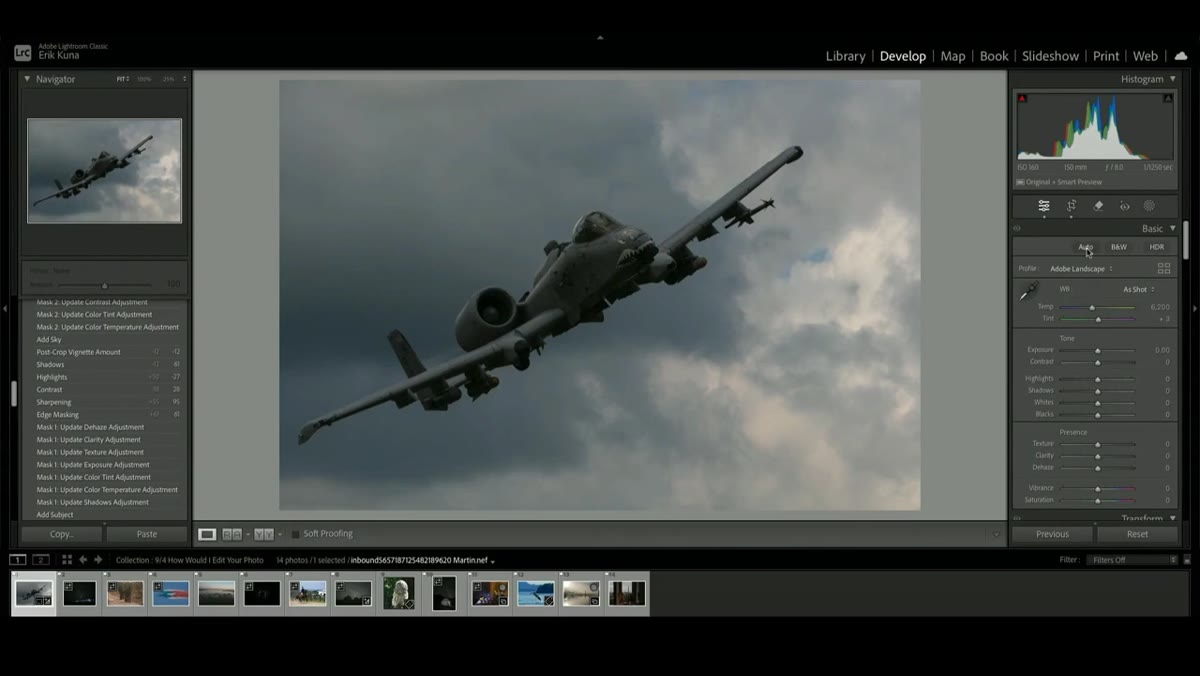 Auto button highlighted, tone sliders shifting automatically
The Auto button in Lightroom’s Basic panel is significantly smarter than it used to be. Kelby hits it early and doesn’t apologize for it. On a flat RAW file like this A-10 shot, Auto does a credible job of lifting shadows, adding contrast, and nudging exposure into a usable range. He describes it as doing roughly 70% of the work right there, which is accurate in my experience.
Auto button highlighted, tone sliders shifting automatically
The Auto button in Lightroom’s Basic panel is significantly smarter than it used to be. Kelby hits it early and doesn’t apologize for it. On a flat RAW file like this A-10 shot, Auto does a credible job of lifting shadows, adding contrast, and nudging exposure into a usable range. He describes it as doing roughly 70% of the work right there, which is accurate in my experience.
The key reframe here is to treat Auto as a starting point, not a finished edit. After clicking it, look at what it chose to do and ask whether those choices match your read of the image. Then adjust from there. For aviation shots specifically, the tonal separation between the aircraft and the sky is usually what needs the most attention after Auto runs.
Step 4: Adjust White Balance for Warmth and Green Reduction
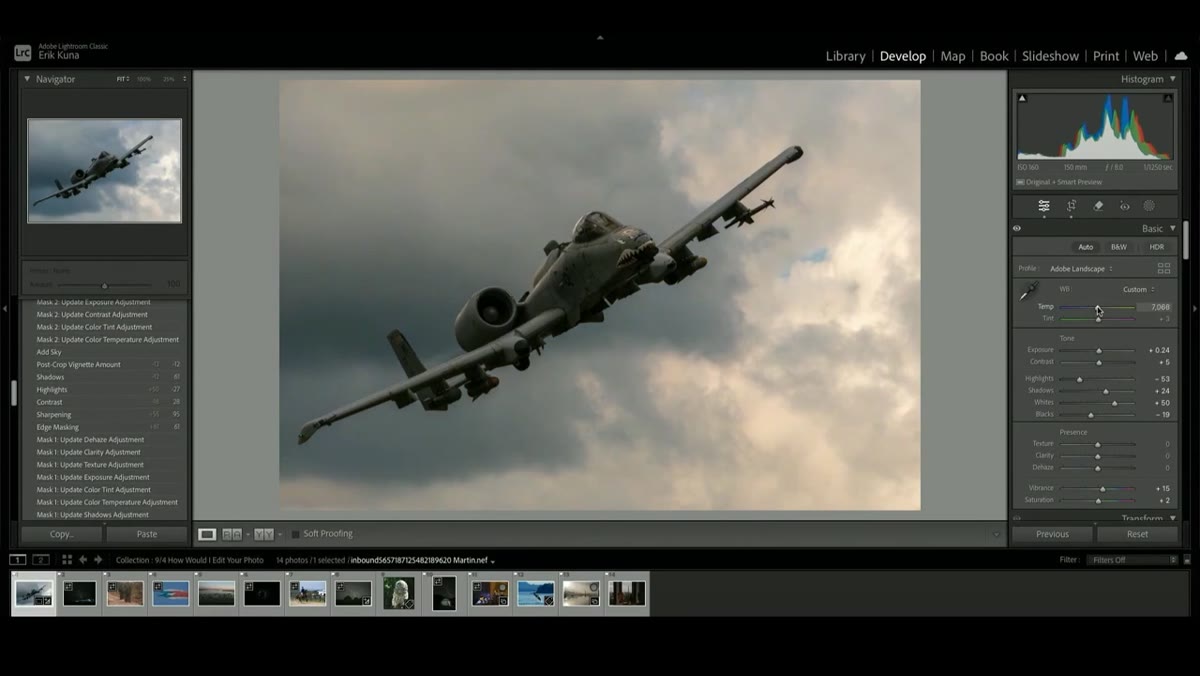 White Balance sliders adjusted, temperature increased slightly
RAW files from outdoor aviation shoots frequently have a cool or slightly greenish cast, especially under high overcast or at airshows where the light is diffuse. After running Auto, Kelby nudges the temperature slider warmer and pulls back on the tint slider to reduce green. Neither change is dramatic — this is about giving the image a sense of light rather than making it look like a sunset.
White Balance sliders adjusted, temperature increased slightly
RAW files from outdoor aviation shoots frequently have a cool or slightly greenish cast, especially under high overcast or at airshows where the light is diffuse. After running Auto, Kelby nudges the temperature slider warmer and pulls back on the tint slider to reduce green. Neither change is dramatic — this is about giving the image a sense of light rather than making it look like a sunset.
For airshow or military aviation photos, a slightly warm tone communicates energy and heat in a way that a neutral or cool balance doesn’t. Keep the adjustment subtle. If you can consciously see that the photo is warm, you’ve probably gone too far.
Step 5: Mask the Subject and Push It Forward
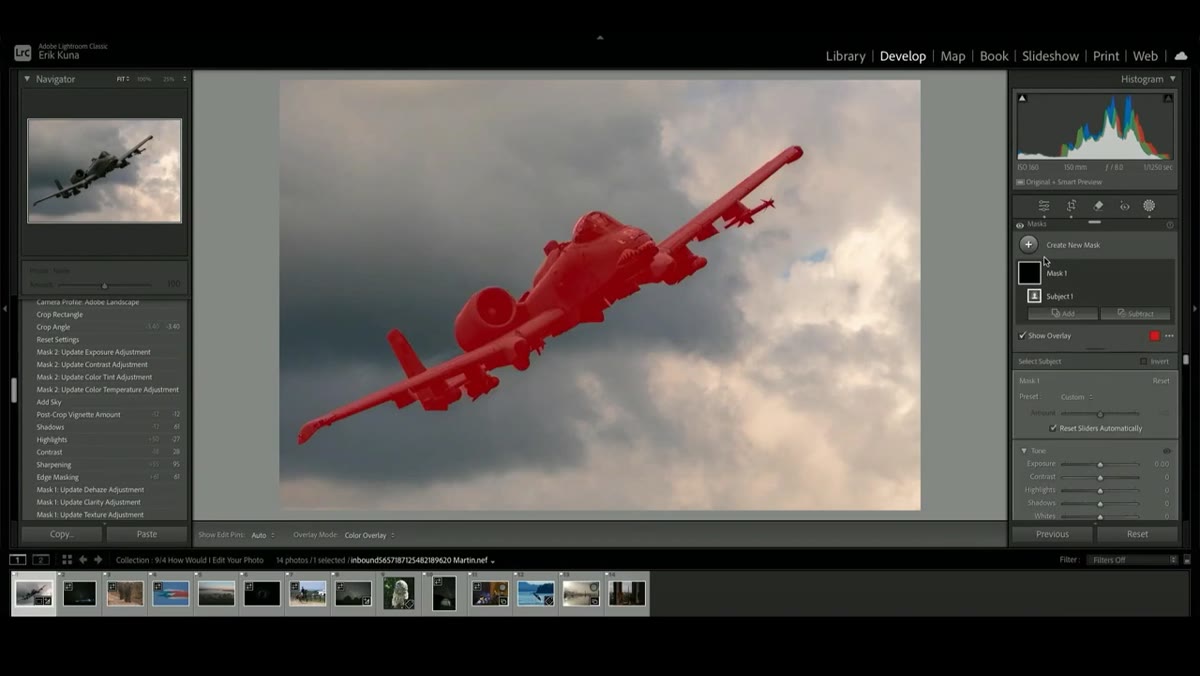 Select Subject mask active, exposure and clarity raised on plane
This is where the edit separates itself from a generic tone adjustment. Kelby uses Lightroom’s AI-powered Select Subject masking to isolate the aircraft, then applies a distinct set of adjustments to it independently from the background. He bumps exposure slightly (roughly a quarter stop), lifts shadows, and adds texture and clarity to bring out the surface detail of the plane.
Select Subject mask active, exposure and clarity raised on plane
This is where the edit separates itself from a generic tone adjustment. Kelby uses Lightroom’s AI-powered Select Subject masking to isolate the aircraft, then applies a distinct set of adjustments to it independently from the background. He bumps exposure slightly (roughly a quarter stop), lifts shadows, and adds texture and clarity to bring out the surface detail of the plane.
The clarity slider deserves particular attention here. On a machine with rivets, panels, and hard geometric edges, clarity creates a sense of tactile sharpness that makes the aircraft feel physical. Don’t use it on faces, but on metal and mechanical subjects it’s one of the most effective tools in the panel.
Step 6: Mask the Background and Push It Back
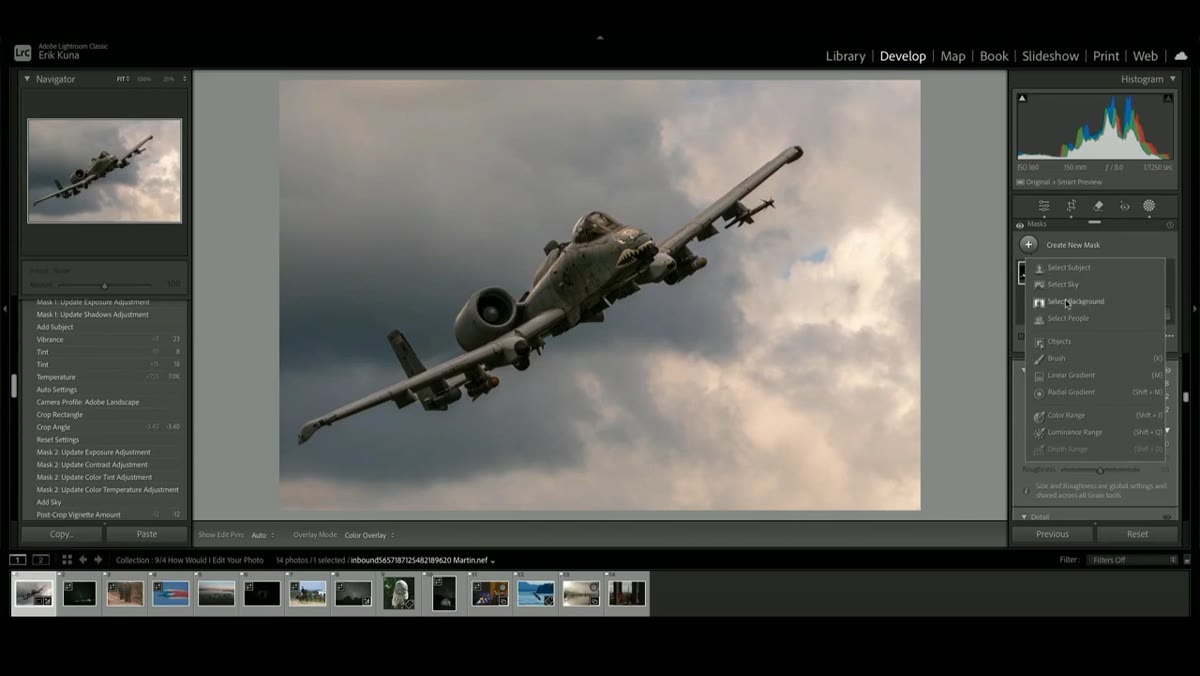 Select Background mask active, exposure lowered, temperature cooled
Once the subject mask is done, Kelby creates a second mask using Select Background and does the opposite of everything he just applied to the plane. He pulls exposure down slightly, cools the temperature, and optionally reduces texture and clarity in the background. The result is a tonal and color separation between the aircraft and the sky that reads naturally but is entirely constructed in post.
Select Background mask active, exposure lowered, temperature cooled
Once the subject mask is done, Kelby creates a second mask using Select Background and does the opposite of everything he just applied to the plane. He pulls exposure down slightly, cools the temperature, and optionally reduces texture and clarity in the background. The result is a tonal and color separation between the aircraft and the sky that reads naturally but is entirely constructed in post.
This is the move that makes the jet pop without looking composited or over-processed. Because you’re working in opposite directions on two separate masks rather than cranking a single global slider, the result stays believable. Cooling the background also reinforces the warmth you added to the plane in the previous step, so the two masks work together rather than independently.
A Note on Stacking This Into a Repeatable Workflow
Kelby’s sequence here is clean enough to partially automate. The profile switch, the Auto run, and the white balance adjustment are all things I’d consider wrapping into a Lightroom preset that fires at import. You won’t be able to automate the masking step since Subject Select requires the actual image data, but you can apply everything before that step as a starting preset and save yourself two to three minutes per image on a long editing session.
If you’re processing a set of 50 airshow photos from the same day, even a partial preset that handles steps 2 through 4 is meaningful. The masking work in steps 5 and 6 still needs your eyes, but it goes faster when your baseline is already solid.
The most transferable idea in this entire workflow is the subject-background tonal split. It’s not a new concept, but the combination of Lightroom’s AI masking tools and the intentional warm-cool contrast between plane and sky is straightforward enough that you can execute it in under 5 minutes once you’ve done it a few times. That’s the edit that makes aviation photos look finished rather than just corrected.
Watch the full tutorial on YouTube to see Kelby walk through the live edit in real time.
Comments
Leave a Comment