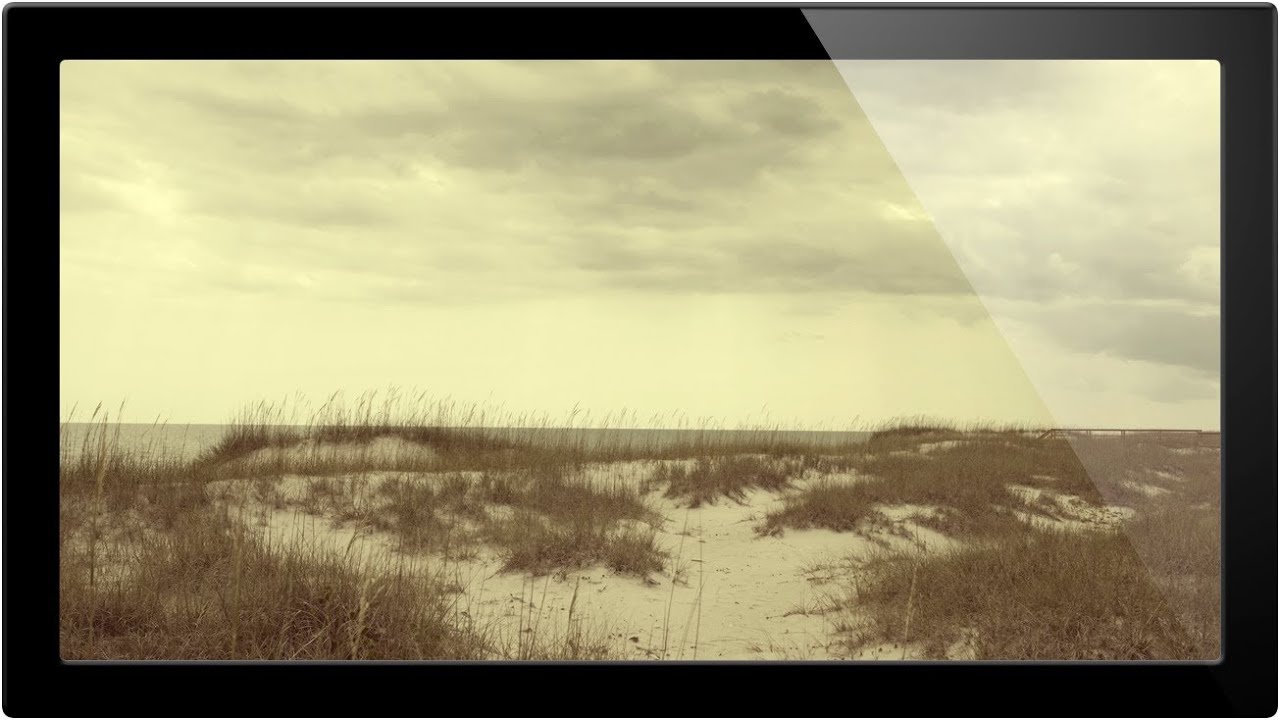
I built my first Photoshop Action at 26 and I have not manually repeated a multi-step edit since. That sounds like an exaggeration but I track this stuff obsessively, and the number currently sits at over 2,400 hours saved across my career. So when someone asks me why Actions are worth learning, I don’t give them a philosophical answer. I give them a number.
The specific workflow I want to walk you through today comes from a tutorial by Aaron Nace over at PHLEARN. In this Aaron Nace (PHLEARN) tutorial, he walks through recording a black-and-white stylizing action and then running it as a batch process across an entire folder of images. The use case is exactly the kind of thing that comes up constantly in real work: you shoot a set of images, you land on a look you like, and then you need to apply that look to 50 or 500 files without sitting there clicking through each one manually. Watch the full tutorial on YouTube
What I appreciate about Aaron’s approach is that it stays practical. He is working from actual photos he shot at his brother’s wedding, not a manufactured demo image. That grounding matters, because the messiness of real photos is exactly where a well-built Action proves its value.
Step 1: Open the Actions Panel
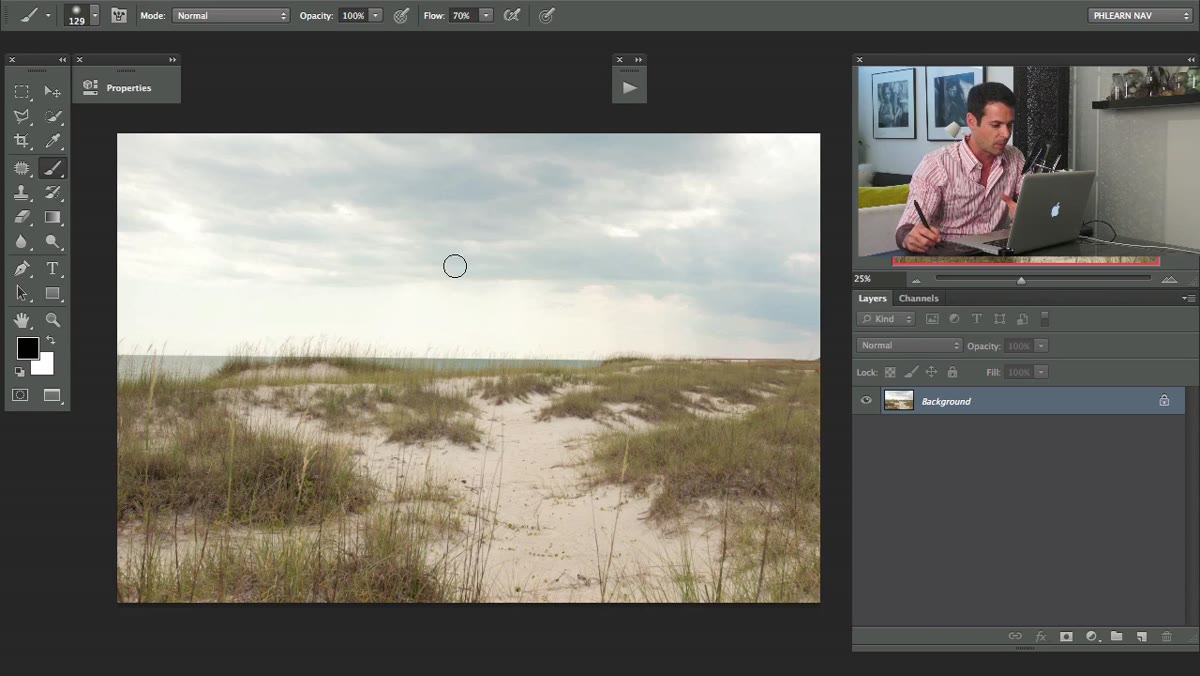 Opening the Actions panel via the Window menu
Go to Window in the top menu bar and select Actions. This opens the Actions panel, which is your recording and playback console for everything that follows. If you have never used it before, Photoshop ships with a default set of actions already loaded. Ignore those for now. You are going to create your own set.
Opening the Actions panel via the Window menu
Go to Window in the top menu bar and select Actions. This opens the Actions panel, which is your recording and playback console for everything that follows. If you have never used it before, Photoshop ships with a default set of actions already loaded. Ignore those for now. You are going to create your own set.
Step 2: Create a New Action and Start Recording
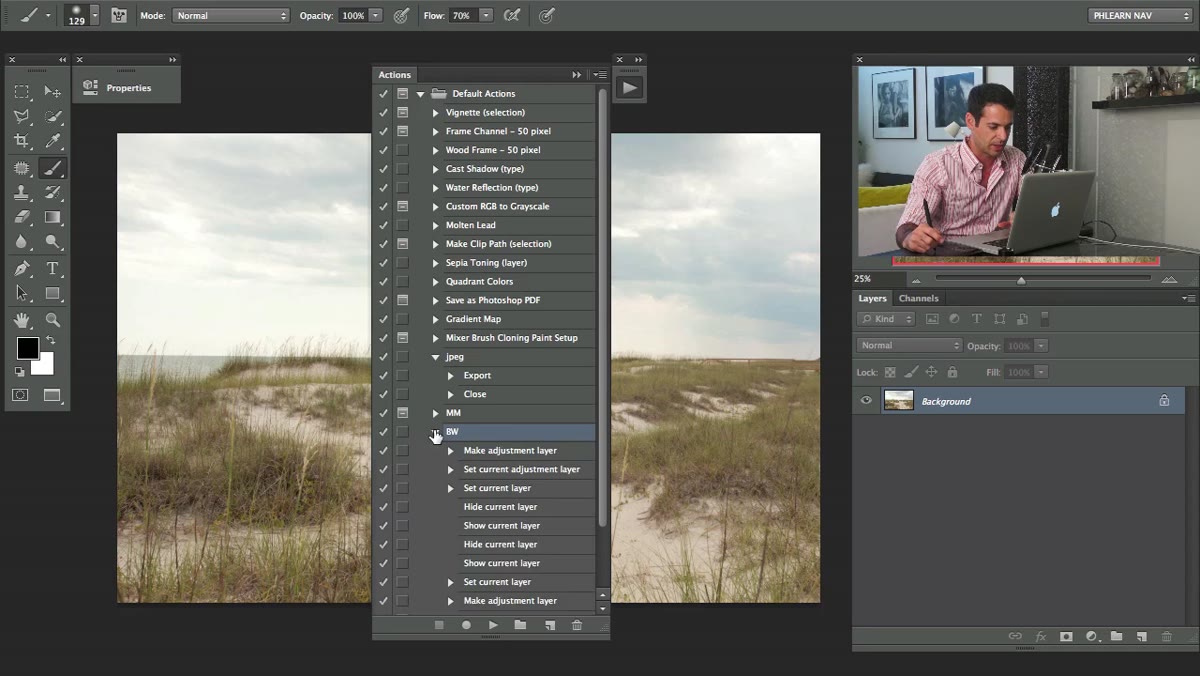 Clicking the New Action button in the Actions panel
At the bottom of the Actions panel, click the New Action button. It looks like a small page icon, similar to the New Layer button. Give your action a descriptive name. Aaron names his after the style it will produce, which is a habit worth copying. Once you name it and click Record, Photoshop starts logging every move you make. The red record indicator appears in the panel. From this point forward, every adjustment, every menu command, every panel interaction is being captured.
Clicking the New Action button in the Actions panel
At the bottom of the Actions panel, click the New Action button. It looks like a small page icon, similar to the New Layer button. Give your action a descriptive name. Aaron names his after the style it will produce, which is a habit worth copying. Once you name it and click Record, Photoshop starts logging every move you make. The red record indicator appears in the panel. From this point forward, every adjustment, every menu command, every panel interaction is being captured.
One thing to understand immediately: recording does not mean real-time. Photoshop is not capturing the time you spend thinking or hovering. It captures discrete commands. That means you can take your time making decisions.
Step 3: Add a Black and White Adjustment Layer
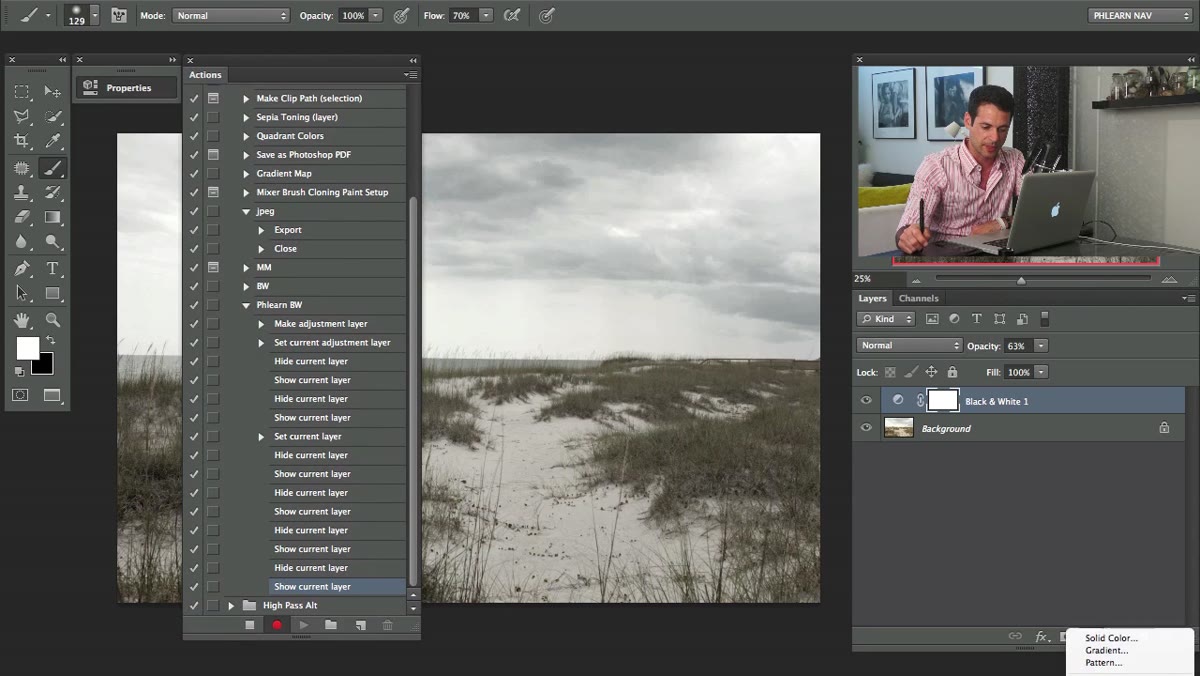
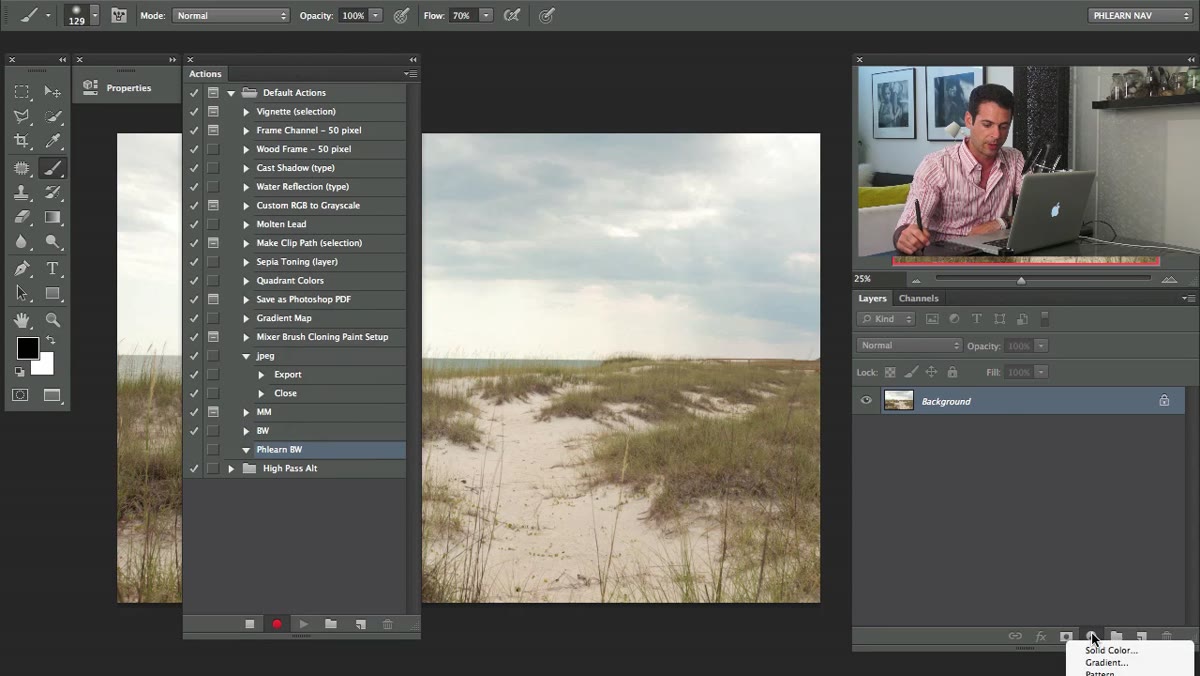 Adding a Black and White adjustment layer from the Layers panel
With recording active, go to the Adjustments panel or click the adjustment layer icon at the bottom of the Layers panel and choose Black and White. This adds a non-destructive adjustment layer and opens the Properties panel where you can push and pull individual color channels. Aaron brings the Reds down and lifts the Cyans slightly, which opens up sky tones. He also nudges the Yellows and Greens to shape the midtone contrast.
Adding a Black and White adjustment layer from the Layers panel
With recording active, go to the Adjustments panel or click the adjustment layer icon at the bottom of the Layers panel and choose Black and White. This adds a non-destructive adjustment layer and opens the Properties panel where you can push and pull individual color channels. Aaron brings the Reds down and lifts the Cyans slightly, which opens up sky tones. He also nudges the Yellows and Greens to shape the midtone contrast.
After dialing in the black-and-white mix, he drops the opacity of the adjustment layer slightly. This is a move I use all the time on commercial work. Reducing the opacity softens the desaturation effect so the image reads as toned rather than fully converted, which gives you more flexibility in the output.
Step 4: Add a Levels Adjustment Layer for Color Toning
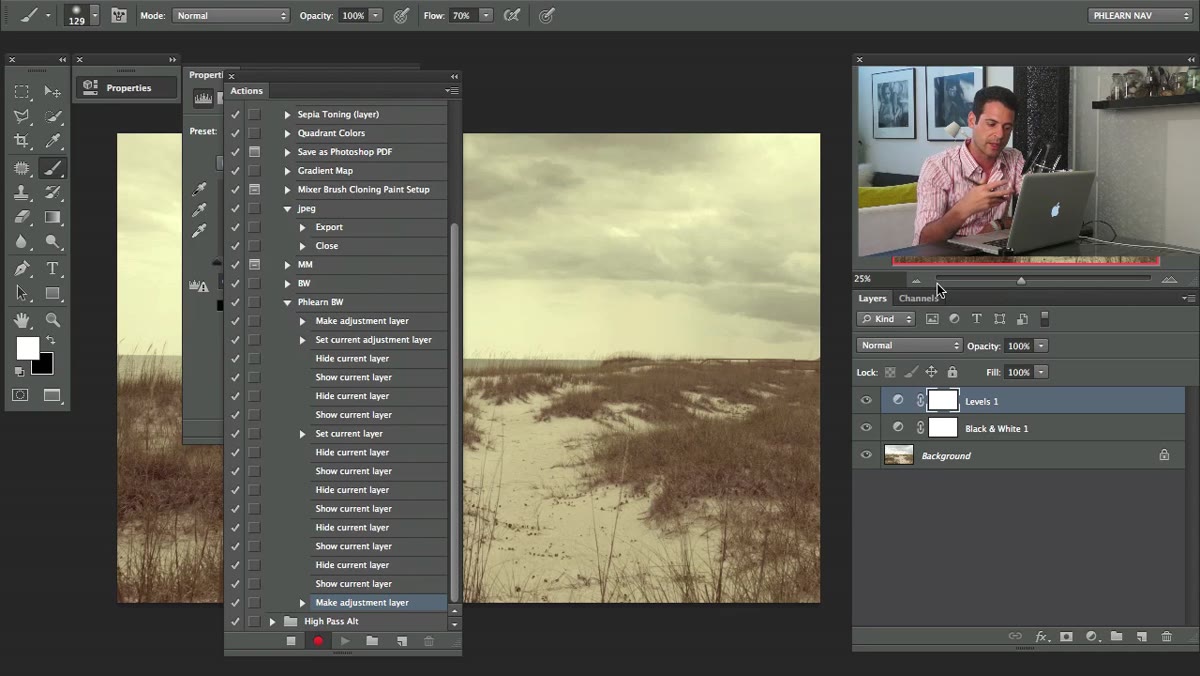
 Adjusting the Blue channel in a Levels adjustment layer
Next, add a Levels adjustment layer. In the Properties panel, switch from the default composite channel (RGB) to the Blue channel using the dropdown at the top. Pull the shadow input slider inward slightly. This pushes a cool blue tone into the darker areas of the image. Then switch to the Green channel and do the same, adding a subtle green shift to the shadows.
Adjusting the Blue channel in a Levels adjustment layer
Next, add a Levels adjustment layer. In the Properties panel, switch from the default composite channel (RGB) to the Blue channel using the dropdown at the top. Pull the shadow input slider inward slightly. This pushes a cool blue tone into the darker areas of the image. Then switch to the Green channel and do the same, adding a subtle green shift to the shadows.
This two-channel levels trick is a simple and repeatable way to add a film-like color cast without reaching for Color Grading or Hue/Saturation. Because it lives in an adjustment layer, the Action records the exact input values you set, so every image in the batch will receive precisely the same treatment.
Step 5: Flatten the Image
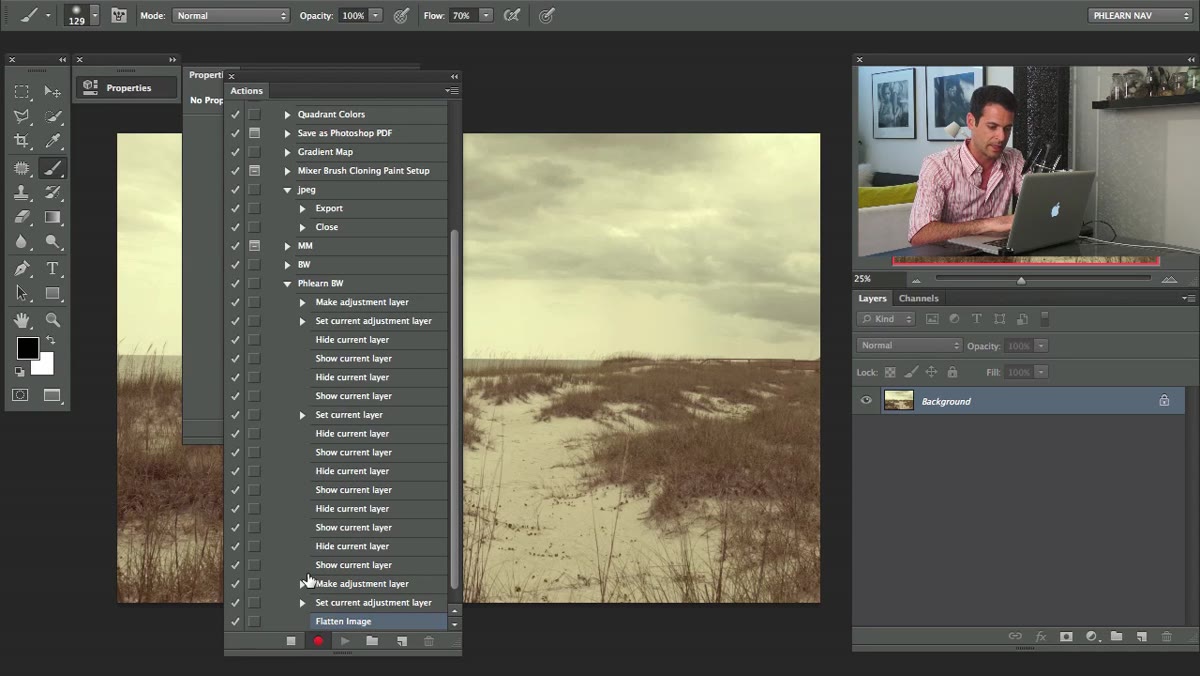
 Using Layer > Flatten Image to merge all layers
Go to Layer in the top menu and choose Flatten Image. This merges all your adjustment layers down to a single background layer. Aaron includes this step because he is saving out JPEGs, and merging first keeps the file clean and predictable. Every image that runs through this action will be flattened the same way before saving.
Using Layer > Flatten Image to merge all layers
Go to Layer in the top menu and choose Flatten Image. This merges all your adjustment layers down to a single background layer. Aaron includes this step because he is saving out JPEGs, and merging first keeps the file clean and predictable. Every image that runs through this action will be flattened the same way before saving.
If you are working with files you want to keep editable, you could substitute Flatten Image with File > Save As to a different folder before this step. But for delivery files, flattening and saving is the cleaner path.
Step 6: Save the File and Stop Recording
 Saving the file with Command S before stopping the action recording
With the image flattened, hit Command+S (Mac) or Control+S (Windows) to save. Photoshop will present a Save As dialog. Choose JPEG, set quality to 12 (maximum), and confirm. Important note from Aaron: this saves directly over the source file. His workaround, and mine too, is to always work from a duplicate folder so your originals are never touched. Once the save completes, click the Stop button at the bottom of the Actions panel. Your action is recorded.
Saving the file with Command S before stopping the action recording
With the image flattened, hit Command+S (Mac) or Control+S (Windows) to save. Photoshop will present a Save As dialog. Choose JPEG, set quality to 12 (maximum), and confirm. Important note from Aaron: this saves directly over the source file. His workaround, and mine too, is to always work from a duplicate folder so your originals are never touched. Once the save completes, click the Stop button at the bottom of the Actions panel. Your action is recorded.
What I Do Differently in Production Work
Aaron’s tutorial covers the core workflow cleanly, and it is exactly right for personal projects or small sets. In a commercial context, where I might be processing 300 product shots for an e-commerce client, I add one layer before running the batch: I pre-sort the source images into subfolders by lighting condition. An action built on one exposure does not always translate cleanly to an image that was shot two stops darker. Running a consistent action across inconsistent source files produces inconsistent output.
The fix is simple. Spend ten minutes sorting before you batch, and your action will do the rest. I also always configure the Batch dialog (File > Automate > Batch) to save into a destination folder rather than letting it overwrite, even if I am already working from a copy. That extra safety step has saved me from myself more than once.
The single most important thing to take away from this workflow is that the Action is only as good as the edit you record. Spend real time getting the look right on one representative image before you hit record. Rushing through the recording to get to the batch is backwards. Nail the single-image edit first, then capture it. Everything after that is just Photoshop doing the repetitive work for you.
Watch the full tutorial on YouTube to see Aaron walk through the batch automation setup in the second half of the video, including how he configures the File > Automate > Batch dialog to process an entire folder in one pass.
Comments
Leave a Comment