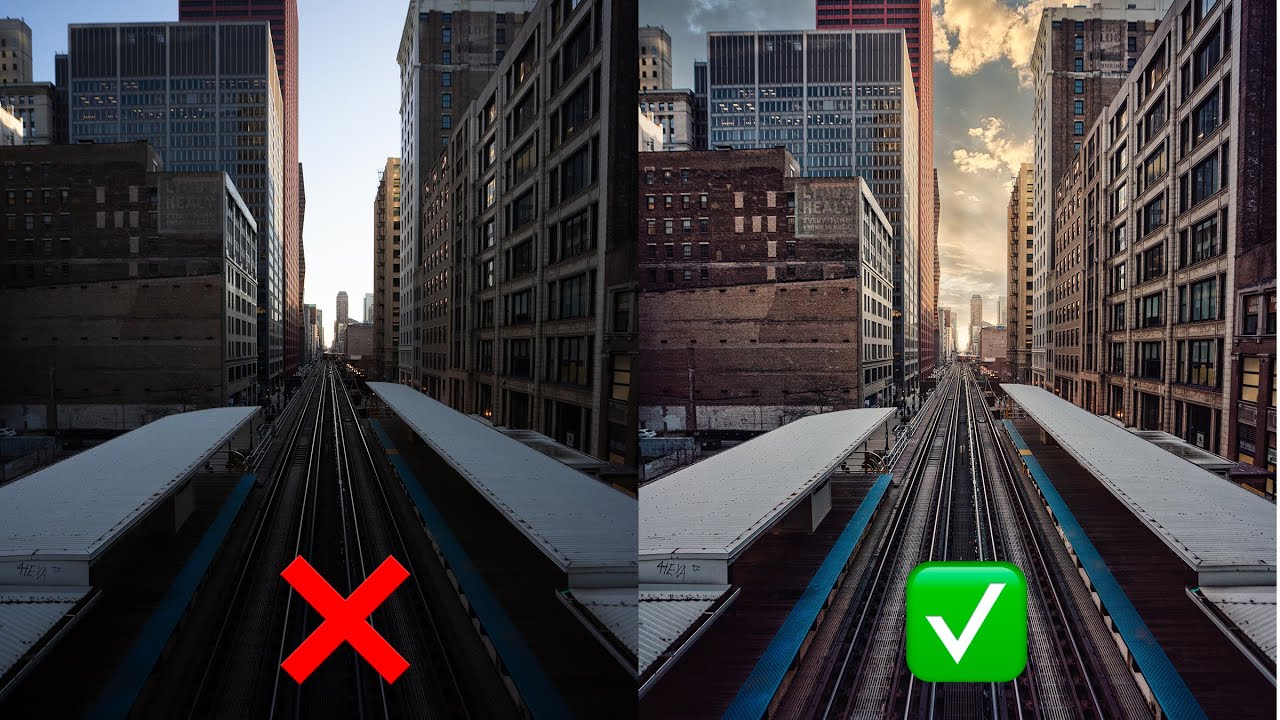
Why Your Presets Keep Failing You (And How to Choose Ones That Actually Work)

Why Your Presets Keep Failing You (And How to Choose Ones That Actually Work)

I have a spreadsheet that tracks every hour I’ve saved through automation. Right now it sits at over 2,400 hours. That number didn’t come from being lazy. It came from being obsessive about building systems that hold up under pressure, whether that’s a batch of 500 product shots for an e-commerce client or a full commercial campaign where consistency across every frame is non-negotiable. Presets are part of that system, but only when they’re built the right way.

Stop Asking How Do I Make This Look Better? — Ask This Instead

Stop Asking How Do I Make This Look Better? — Ask This Instead

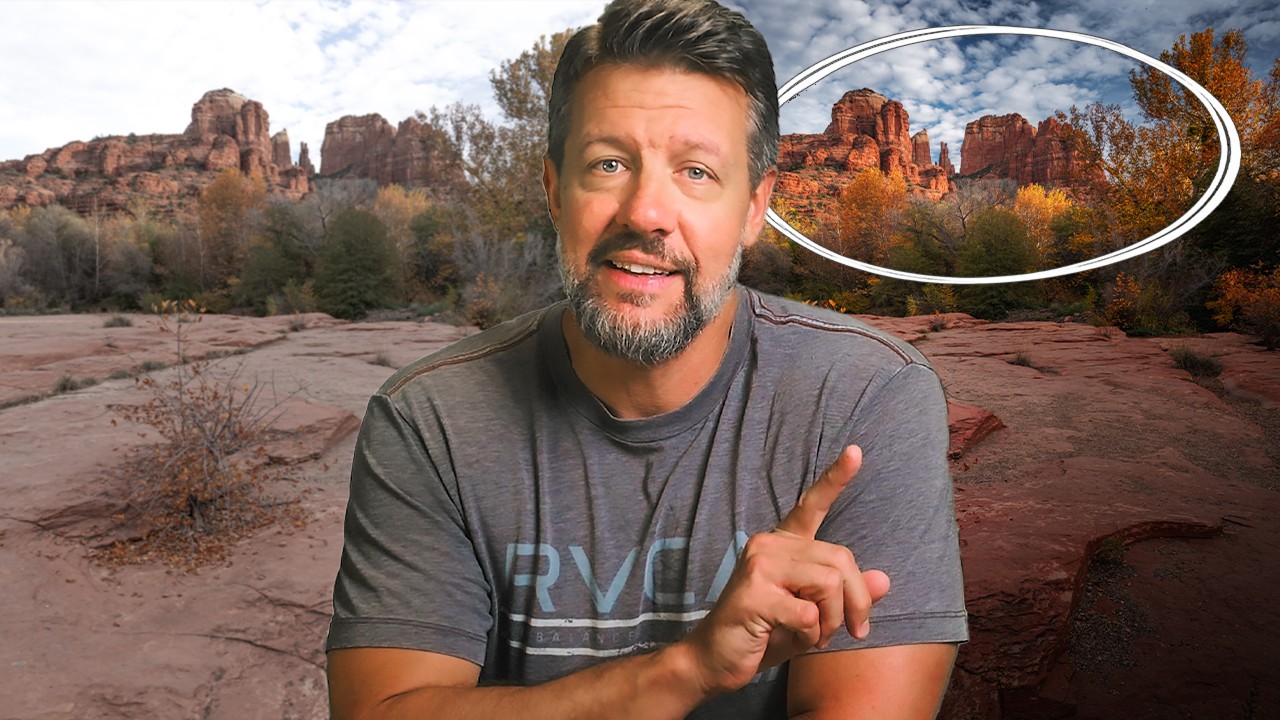
I spent the first few years of my post-production career convinced that getting faster and better meant learning more software. More shortcuts, more panel combinations, more batch scripts. And I did get faster. But the commercial work I was turning around for ad agencies still felt flat in ways I couldn’t name. The images were correct. They weren’t compelling. It wasn’t until I started thinking about where I wanted the viewer to look — before touching a single slider — that the quality of my edits actually jumped.

Clone Stamp vs. Healing Brush: The Decision That Changes How You Retouch Forever

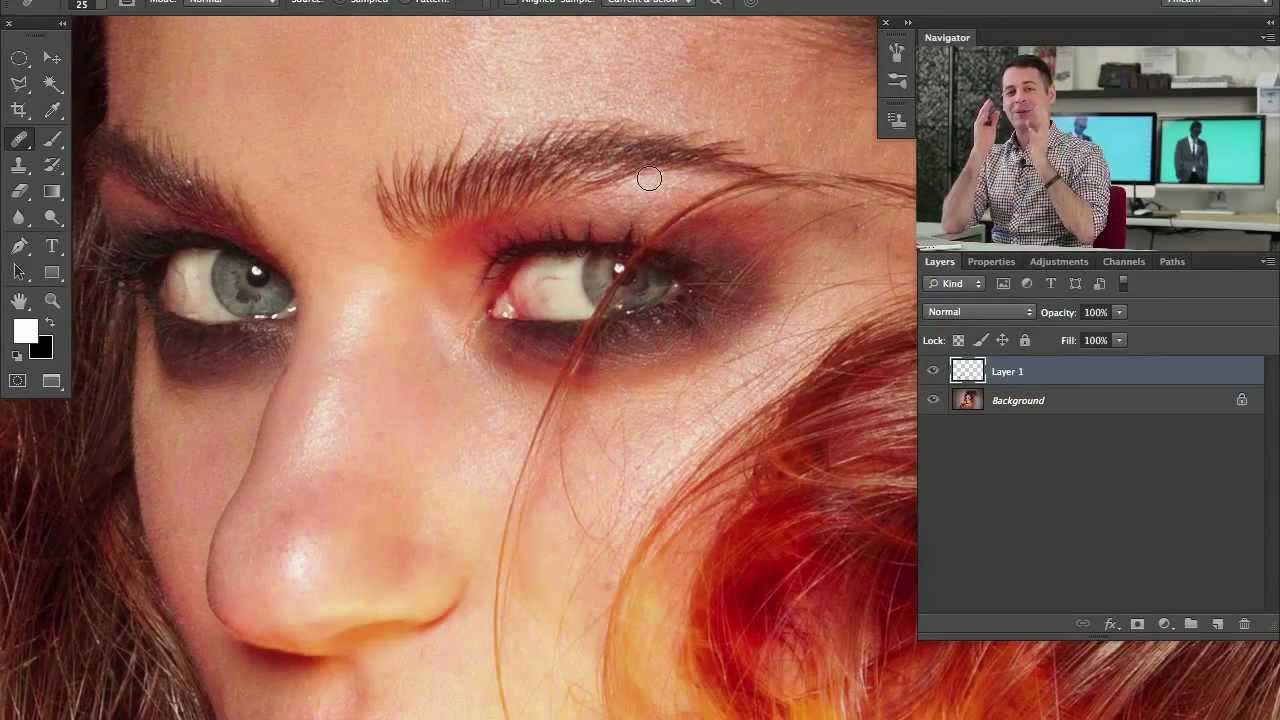
Clone Stamp vs. Healing Brush: The Decision That Changes How You Retouch Forever

Fifteen years of production work will teach you things no tutorial ever explicitly states. One of them is this: the photographers who retouch slowly are almost never slow because they lack speed. They’re slow because they’re using the wrong tool and compensating with effort. I’ve watched junior retouchers spend forty minutes on a skin cleanup that should take eight, mostly because nobody ever sat them down and explained the actual mechanical difference between two tools that look, on the surface, like they do the same job.

Rethinking Your Landscape Editing Order in ON1 Photo RAW 2019

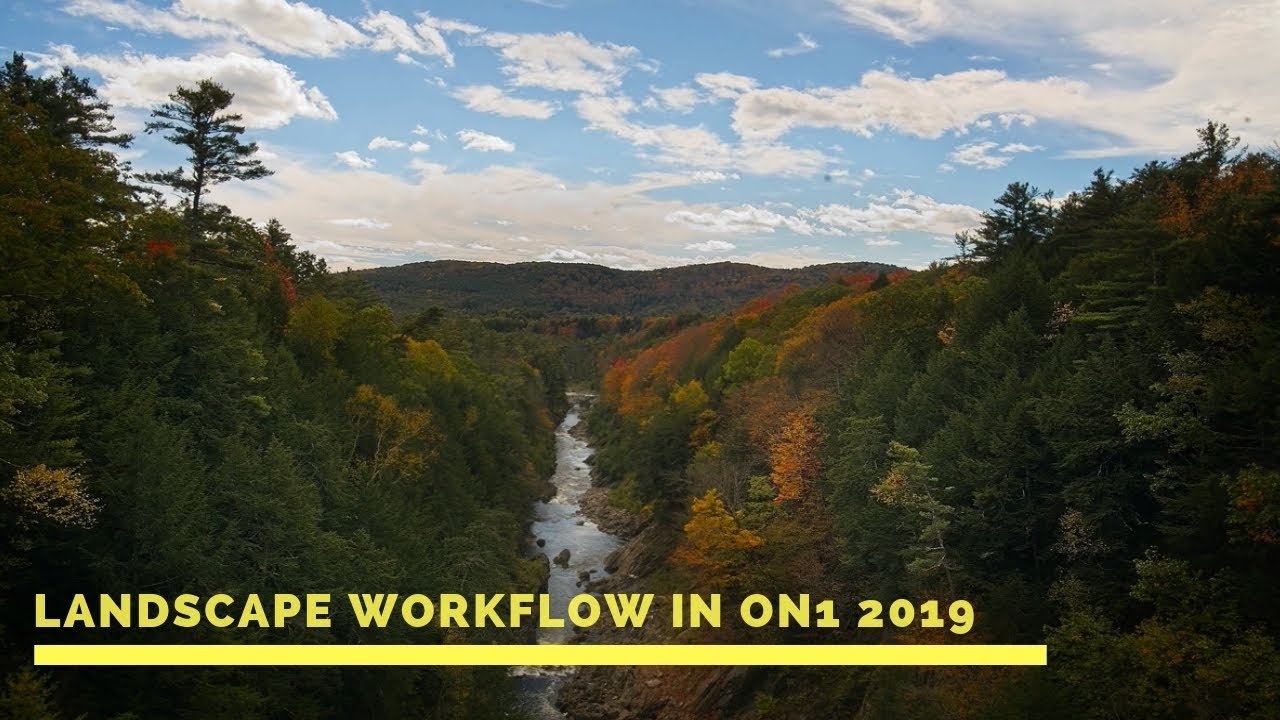
Rethinking Your Landscape Editing Order in ON1 Photo RAW 2019

I have a spreadsheet that tracks every hour I’ve recovered through better workflow systems. It’s embarrassing how much of that time was lost not to bad tools, but to doing things in the wrong order. Sequence matters enormously in post-production, whether you’re batch-processing 500 product shots or sitting down with a single landscape file you actually care about. That’s why I keep coming back to tutorials from photographers who think systematically, not just creatively.

One-Click Consistency: How the Phil Chester Lightroom Presets Actually Hold Up Across Real Shoots

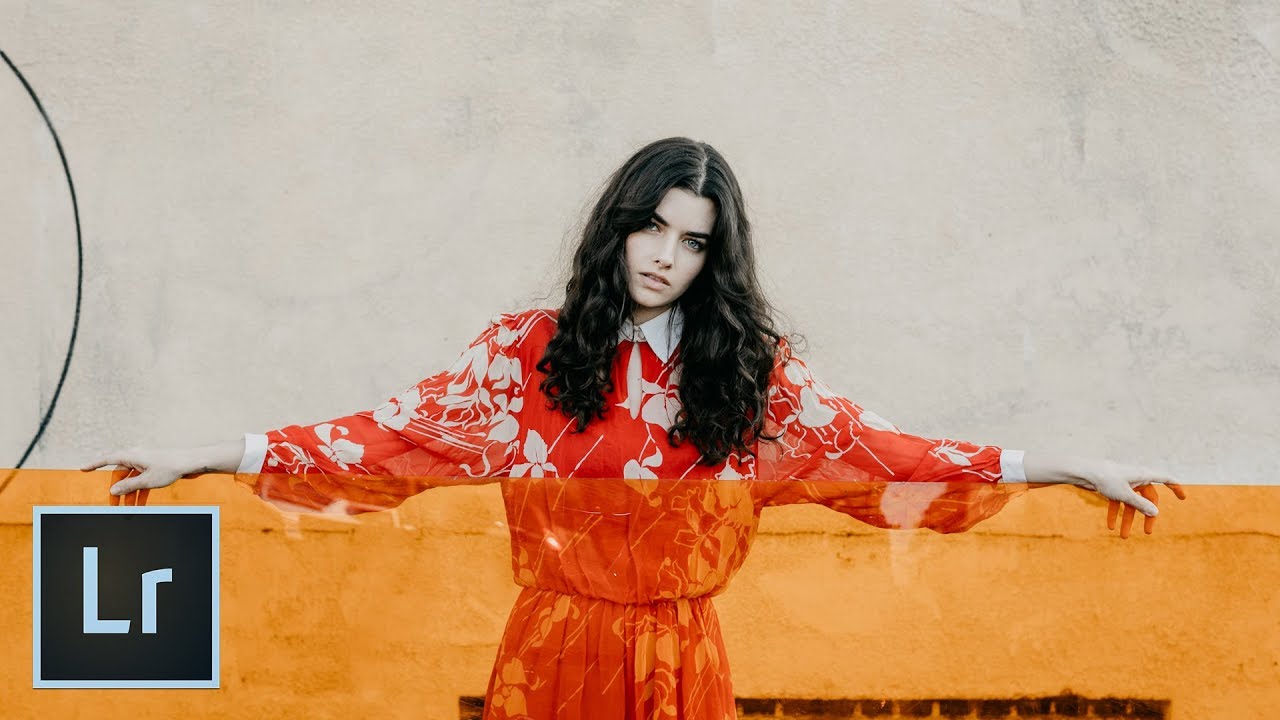
One-Click Consistency: How the Phil Chester Lightroom Presets Actually Hold Up Across Real Shoots

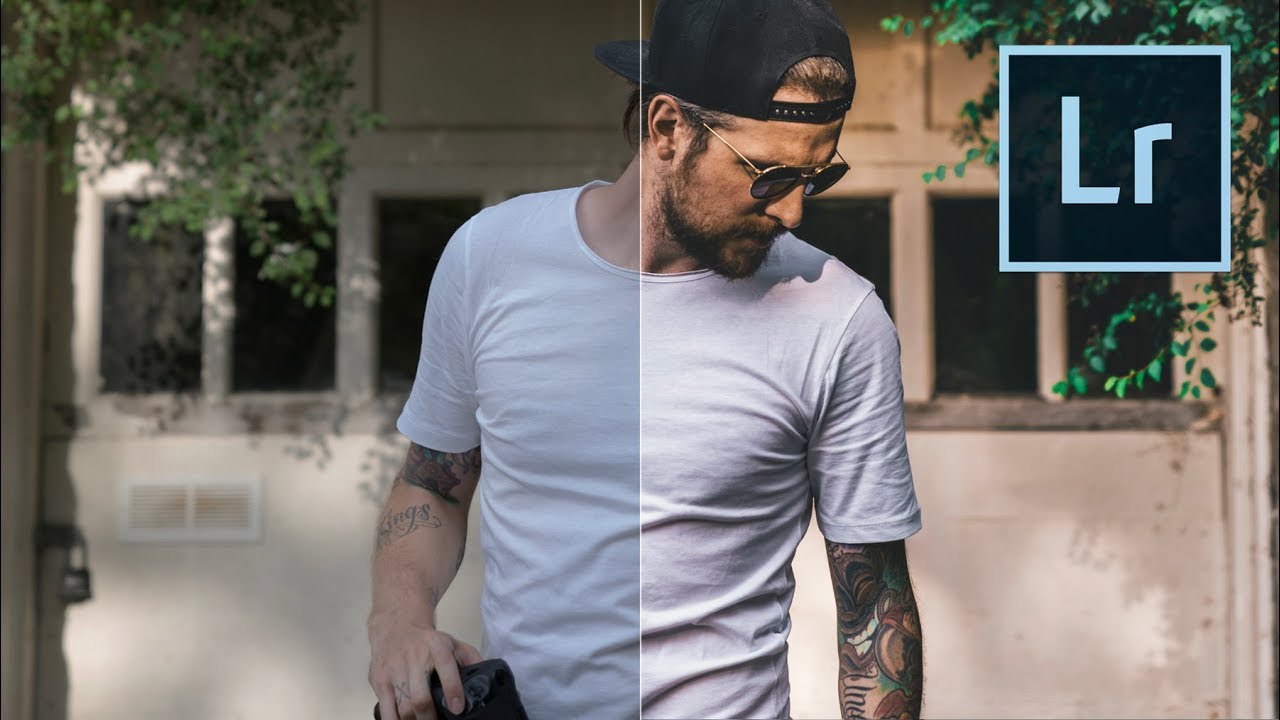
I’ve spent fifteen years in commercial photography studios watching editors burn hours on color work that should take minutes. The problem is rarely skill. It’s the absence of a reliable starting point. You can be an excellent retoucher and still waste forty-five minutes per image just trying to land on a baseline look that feels consistent with the last shoot. That inconsistency is what clients notice, even when they can’t articulate why a gallery feels “off.

AI Presets in Lightroom: What They Actually Do and When to Use Them

AI Presets in Lightroom: What They Actually Do and When to Use Them

I track the hours my batch systems save me. Obsessively, actually — I’ve got a spreadsheet that currently sits at over 2,400 hours recovered from repetitive post-processing tasks. So when a tool promises to make presets smarter and faster, I pay attention. Not out of optimism, but because I’ve been burned before by “intelligent” features that just added extra steps in disguise. AI presets in Lightroom are different, and it took watching William Patino work through his own philosophy on them for me to fully articulate why.

One-Click Lightroom Presets That Actually Work Across Different Photos (Mango Street Breakdown)

One-Click Lightroom Presets That Actually Work Across Different Photos (Mango Street Breakdown)

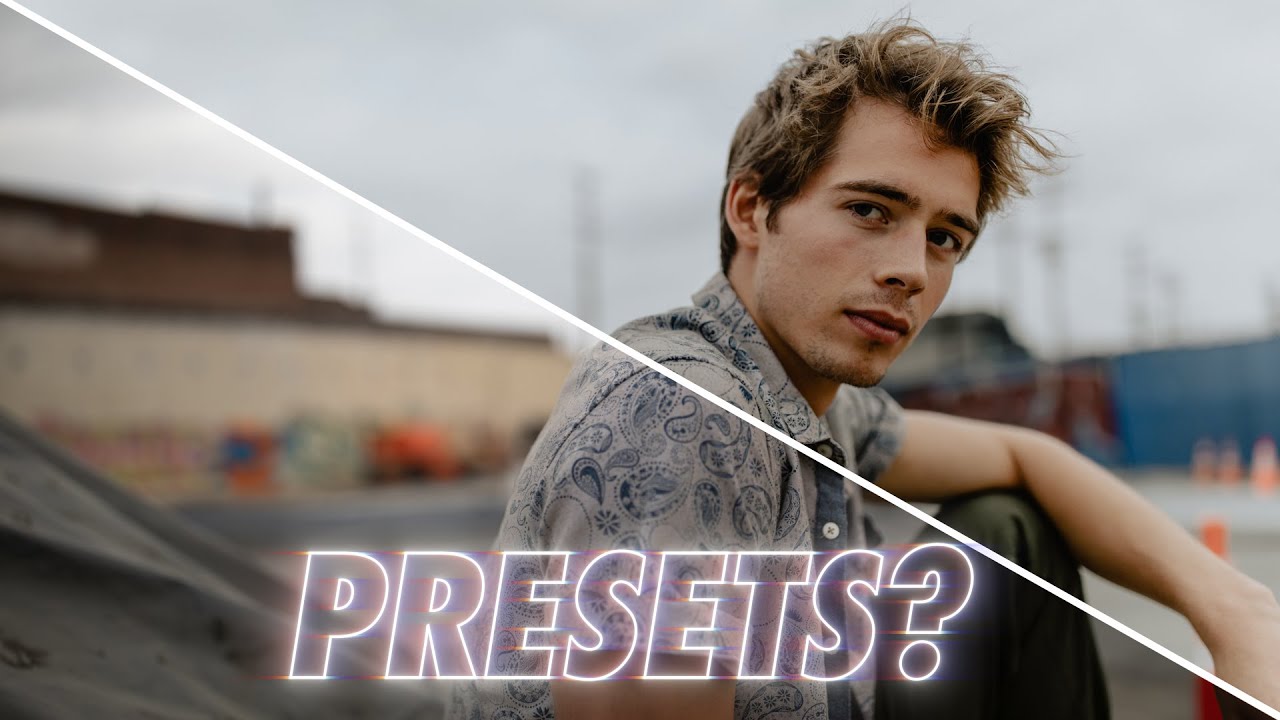
I have a rule in my consultancy: if I’m doing the same thing more than three times, I build a system for it. That rule applies to Lightroom just as much as it does to Photoshop batch processing. Presets are one of the fastest ways to compress your editing time without sacrificing style consistency, but most preset packs fall apart the moment a photo doesn’t match the exact lighting conditions of the demo shot.

Three Rules for Building Lightroom Presets That Actually Work Across Every Shot

Three Rules for Building Lightroom Presets That Actually Work Across Every Shot

There’s a particular kind of frustration that comes from applying a preset to a batch of client images and watching half of them go sideways. Skin turns swamp green. Shadows collapse. The look that seemed locked in during testing falls apart the moment the subject changes. I’ve been there more times than I’d like to admit, and for a while I chalked it up to presets just being unreliable. Turns out, the presets weren’t the problem.