I track the hours my batch systems save me. Obsessively, actually — I’ve got a spreadsheet that currently sits at over 2,400 hours recovered from repetitive post-processing tasks. So when a tool promises to make presets smarter and faster, I pay attention. Not out of optimism, but because I’ve been burned before by “intelligent” features that just added extra steps in disguise. AI presets in Lightroom are different, and it took watching William Patino work through his own philosophy on them for me to fully articulate why.
In this William Patino tutorial, he unpacks what AI presets actually are under the hood, how they differ from the presets photographers have been using for over a decade, and why the question of whether to use them is really a question about your own relationship to the craft. That last part surprised me coming from a product tutorial. It’s worth sitting with. Here’s how it all breaks down.
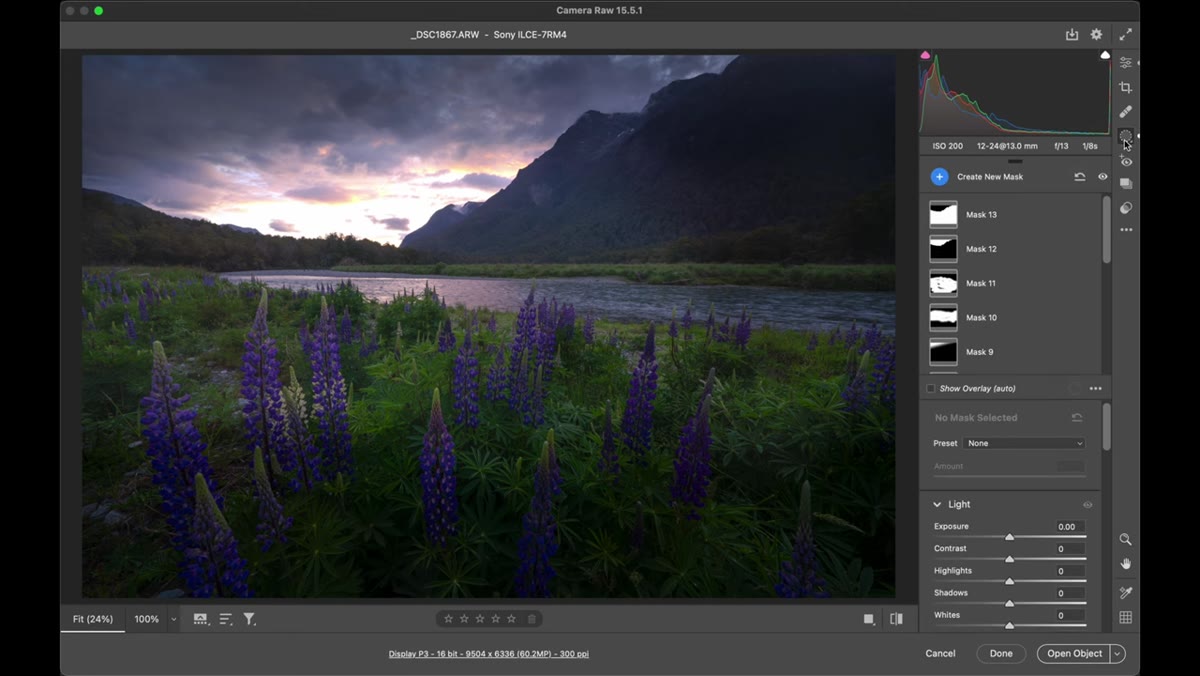
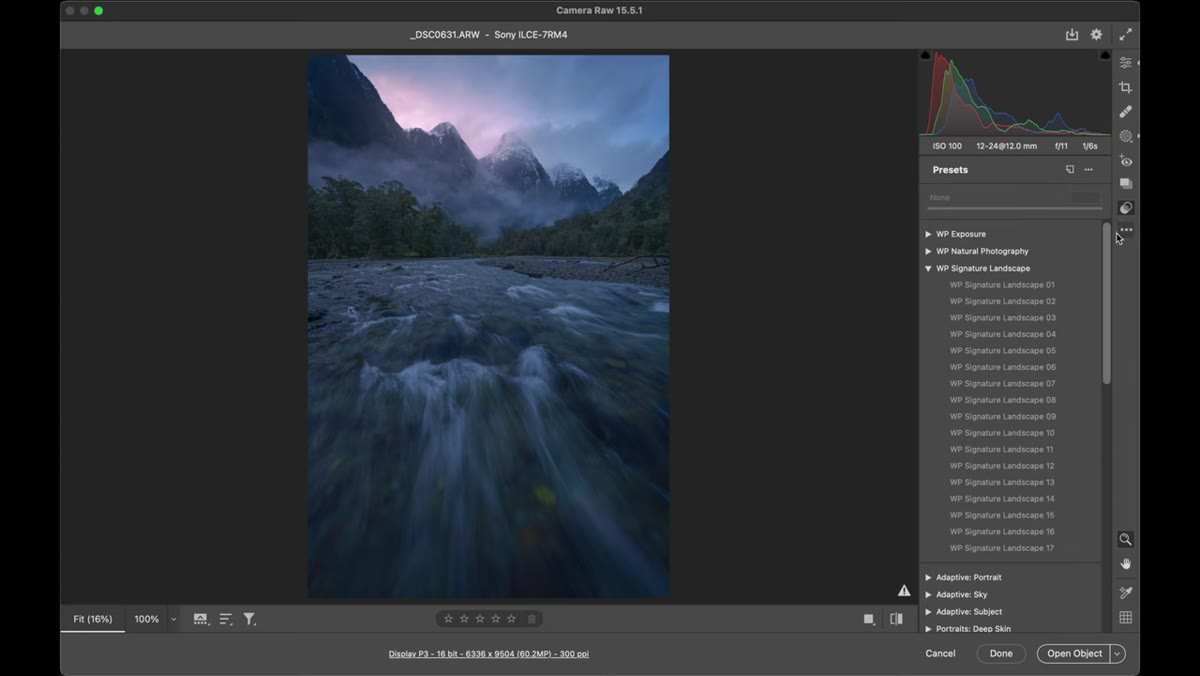
Step 1: Understand What a Preset Actually Is
 Lightroom preset panel with saved adjustments visible
Before you can appreciate what makes AI presets useful, you need a clear picture of what a standard preset does. A preset is a saved collection of edit settings applied to a raw file. You build an edit you like, save those adjustments, and then apply them to other images with a single click. That’s it. The value is in repeatability. If your style tends toward cooler shadows and lifted highlights, you encode that once and stop rebuilding it from scratch every session.
Lightroom preset panel with saved adjustments visible
Before you can appreciate what makes AI presets useful, you need a clear picture of what a standard preset does. A preset is a saved collection of edit settings applied to a raw file. You build an edit you like, save those adjustments, and then apply them to other images with a single click. That’s it. The value is in repeatability. If your style tends toward cooler shadows and lifted highlights, you encode that once and stop rebuilding it from scratch every session.
Presets have been a staple of Lightroom workflows for well over a decade. They’re used by beginners who want a starting point and by working professionals who need consistent output across hundreds of images. The tool itself is neutral. What matters is how intelligently it’s applied.
Step 2: Recognize the Core Problem With Traditional Presets
 Split-screen showing global preset applied to full landscape image
Here’s where traditional presets break down. When you apply a standard preset, the adjustments land globally across the entire image. Every pixel gets the same treatment. That’s fine if your subject and your sky need identical corrections, but in practice they almost never do. A preset built to open up shadow detail in a foreground will often blow out or shift the tone of a sky. You end up spending time manually dialing back the parts of the edit that don’t fit.
Split-screen showing global preset applied to full landscape image
Here’s where traditional presets break down. When you apply a standard preset, the adjustments land globally across the entire image. Every pixel gets the same treatment. That’s fine if your subject and your sky need identical corrections, but in practice they almost never do. A preset built to open up shadow detail in a foreground will often blow out or shift the tone of a sky. You end up spending time manually dialing back the parts of the edit that don’t fit.
For landscape photographers especially, this global behavior creates extra work rather than saving it. You apply the preset, then start undoing portions of it with local adjustments. At that point you’re not really using the preset as intended. This is the problem AI masking was built to solve.
Step 3: See How AI Masking Changes the Equation
 Masking panel showing AI-generated subject mask over mountain
When Patino opens the masking panel on one of his raw files, the difference becomes concrete. The AI reads the image content and automatically masks specific regions before applying the preset adjustments. In his demonstration, the preset is intelligently withheld from the mountain subject while it modifies the sky separately. That kind of subject isolation used to require manual masking work that could add significant time to any edit.
Masking panel showing AI-generated subject mask over mountain
When Patino opens the masking panel on one of his raw files, the difference becomes concrete. The AI reads the image content and automatically masks specific regions before applying the preset adjustments. In his demonstration, the preset is intelligently withheld from the mountain subject while it modifies the sky separately. That kind of subject isolation used to require manual masking work that could add significant time to any edit.
What makes this more than a gimmick is that the masking adapts to each individual raw file. Open a different image with different subject matter, and the AI re-reads that scene and generates a new mask accordingly. The preset itself isn’t changing, but the way it’s applied is specific to what’s actually in the frame. That’s a meaningful shift from the blunt-instrument approach of global adjustments.
Step 4: Apply the Preset and Check the Mask Output
 Second raw file open with AI mask automatically updated for new subject
The practical workflow here is straightforward. Load your raw file, apply the AI preset from the Presets panel, and then open the Masking panel to review what the AI has selected. You’re not flying blind. Lightroom shows you exactly which areas received the full preset treatment and which were protected. If the AI missed something, you can refine the mask manually.
Second raw file open with AI mask automatically updated for new subject
The practical workflow here is straightforward. Load your raw file, apply the AI preset from the Presets panel, and then open the Masking panel to review what the AI has selected. You’re not flying blind. Lightroom shows you exactly which areas received the full preset treatment and which were protected. If the AI missed something, you can refine the mask manually.
Patino makes a point of showing this step because it’s where new users often get confused. They apply the preset, see that it looks different from what they expected, and assume the preset is broken. Usually the AI mask is just protecting areas they didn’t realize it was protecting. Checking the mask first tells you exactly what’s happening before you start chasing phantom issues in the tone curve.
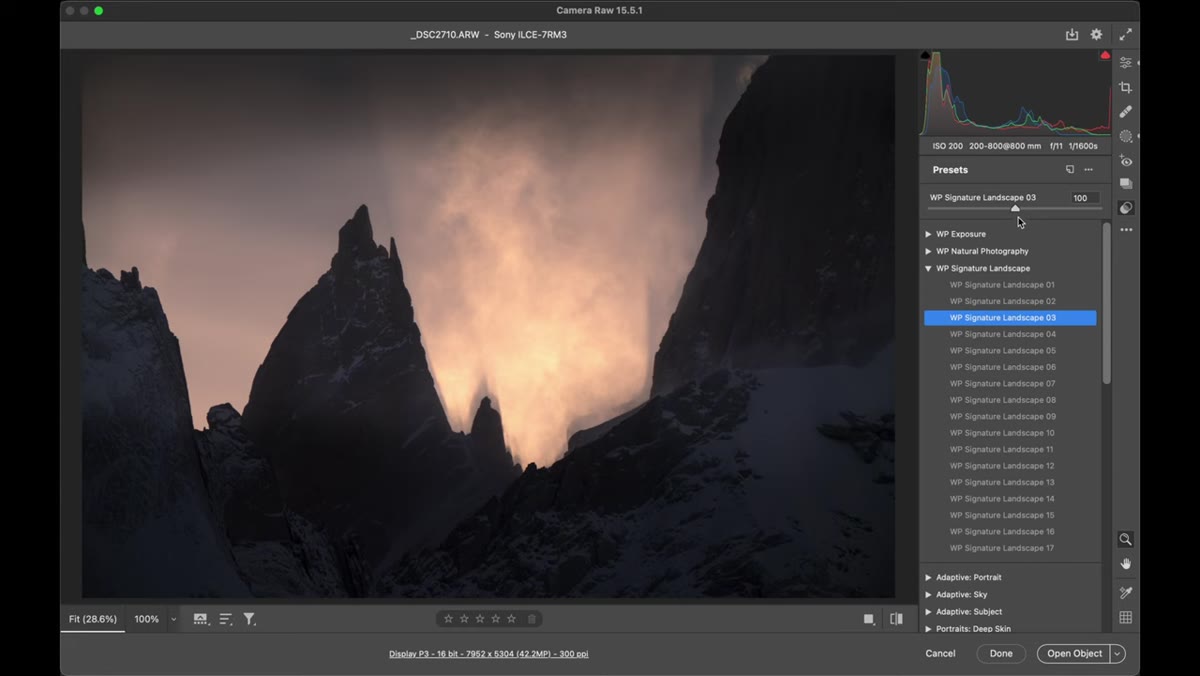
Step 5: Decide Where AI Assistance Ends for Your Workflow
 Patino discussing different use cases for AI tools in photography
Patino is deliberate about drawing a line here, and I think it’s the most practically useful part of the tutorial. AI tools in Lightroom and Photoshop exist on a spectrum. On one end: using AI to remove a dust spot or a raindrop on a lens, something that used to require five to ten minutes of manual clone-stamping. On the other end: generating entire photographic scenes from text prompts with no camera involved at all.
Patino discussing different use cases for AI tools in photography
Patino is deliberate about drawing a line here, and I think it’s the most practically useful part of the tutorial. AI tools in Lightroom and Photoshop exist on a spectrum. On one end: using AI to remove a dust spot or a raindrop on a lens, something that used to require five to ten minutes of manual clone-stamping. On the other end: generating entire photographic scenes from text prompts with no camera involved at all.
Neither end of that spectrum is inherently wrong. But knowing where you want to sit on it shapes how you build your workflow. If your goal is efficiency on real captured images, AI presets and AI cleanup tools are straightforward wins. If you’re using AI to construct scenes wholesale, you’re making a different kind of work entirely, and you should be clear-eyed about that distinction when you share it.
Step 6: Match the Tool to Your Actual Goals
 Patino explaining photography philosophy and personal motivation
The tutorial closes on something that’s less about button-clicking and more about workflow design at a philosophical level. Who is this tool actually for? Patino’s answer: photographers who are starting out, who want to experiment with looks quickly, or who want to spend less time in front of a screen and more time shooting. AI presets are an on-ramp, not a ceiling.
Patino explaining photography philosophy and personal motivation
The tutorial closes on something that’s less about button-clicking and more about workflow design at a philosophical level. Who is this tool actually for? Patino’s answer: photographers who are starting out, who want to experiment with looks quickly, or who want to spend less time in front of a screen and more time shooting. AI presets are an on-ramp, not a ceiling.
For someone further along, they function as a time compressor. You’re not learning anything new about the edit by applying a preset. But if you already know what you’re doing and you need to move through a volume of images, that’s the right trade-off.
How I’d Extend This in a Commercial Workflow
In product and e-commerce work, the global-versus-masked-adjustment problem shows up constantly. A preset tuned for warm product tones can contaminate a white background, forcing a rebuild of the adjustment structure. The AI masking approach Patino demonstrates translates directly to this: the product gets the color treatment, the background stays neutral, and the mask updates file-to-file without manual intervention.
One thing I’d add that the tutorial doesn’t cover: test your AI preset on raw files with high-contrast edges before committing it to a large batch. The masking is very good, but it’s not perfect on fine hair, translucent fabrics, or subjects with similar tonal value to their backgrounds. Know where the seams are before you run 300 files through overnight.
The single biggest takeaway from this tutorial is that “AI preset” is not a category separate from good editing practice. It’s a delivery mechanism for the same adjustments you’d make manually, now smart enough to know where not to apply itself. That changes the time math significantly without changing what a well-edited image requires.
Watch the full tutorial on YouTube to see Patino walk through the masking panel live and hear his broader thinking on where AI fits into a photography practice built on real field work.
Comments
Leave a Comment