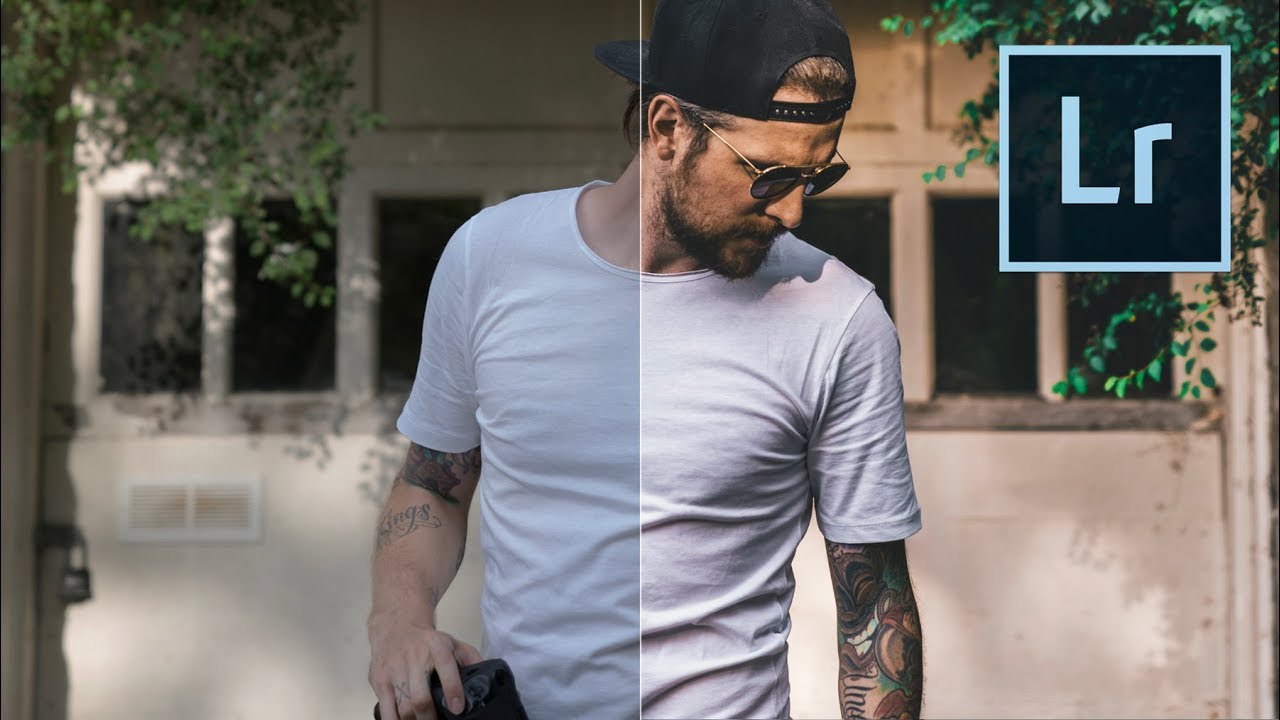
I keep a spreadsheet that tracks how many hours automation has saved me over my career. Fifteen years of commercial work, somewhere north of 2,400 hours recovered. That number didn’t happen by accident. It happened because early on I learned that any task you repeat more than ten times deserves a system. Presets, actions, batch scripts, whatever the tool, the logic is the same: build it once, deploy it forever.
That’s why this Peter McKinnon tutorial landed differently for me than it might for a hobbyist. McKinnon isn’t just showing off a product pack. He’s describing a workflow philosophy that professional photographers arrive at eventually, whether someone teaches them or they grind their way there alone. If you’re still dialing in curves, tweaking HSL, adjusting grain, and nudging shadows manually on every single file after a shoot, this tutorial is the intervention you didn’t know you needed. Watch the full tutorial on YouTube and follow along with the breakdown below.
The core idea is straightforward: presets encode your aesthetic decisions so you stop making them from scratch on every photo. McKinnon walks through his own 15-preset pack, but the technique applies to any presets, including ones you build yourself.
Step 1: Understand What a Preset Actually Is
 McKinnon explaining the concept of presets in Lightroom
A Lightroom preset is a saved collection of develop settings. Every slider you touch in the Develop module, exposure, contrast, whites, blacks, HSL, tone curve, grain, color grading, can be bundled together and applied as a single click. Think of it as a recorded macro for your photo’s look.
McKinnon explaining the concept of presets in Lightroom
A Lightroom preset is a saved collection of develop settings. Every slider you touch in the Develop module, exposure, contrast, whites, blacks, HSL, tone curve, grain, color grading, can be bundled together and applied as a single click. Think of it as a recorded macro for your photo’s look.
McKinnon makes a point that gets overlooked in a lot of preset marketing: presets represent someone’s artistic style. When you buy or download a preset pack, you’re not buying a magic filter. You’re borrowing a set of aesthetic decisions that someone else arrived at through their own experimentation. That context matters when you’re evaluating whether a pack fits your work.
Step 2: Recognize Why Presets Exist Beyond Convenience
 McKinnon discussing workflow speed and developing a consistent aesthetic
Speed is the obvious benefit, but consistency is the real one. McKinnon describes coming home from a trip and running through his presets across a batch of images to find which one fits each shot. That process only works if you’ve shot enough and edited enough to have a developed aesthetic in the first place.
McKinnon discussing workflow speed and developing a consistent aesthetic
Speed is the obvious benefit, but consistency is the real one. McKinnon describes coming home from a trip and running through his presets across a batch of images to find which one fits each shot. That process only works if you’ve shot enough and edited enough to have a developed aesthetic in the first place.
For my own work, the moment presets became indispensable was when I started handling e-commerce batches. Product photography needs visual coherence across hundreds of shots. A preset that nails the white balance treatment and shadow recovery for a particular lighting setup turns a four-hour edit into a 40-minute one. The preset doesn’t replace judgment. It focuses your judgment on the exceptions rather than the routine.
Step 3: Install Your Preset Pack in Lightroom
 Navigating the presets panel in Lightroom’s Develop module
To install presets in Lightroom Classic, go to the Develop module and locate the Presets panel on the left side. Right-click anywhere in that panel and choose “Import Presets.” Navigate to your downloaded .lrtemplate or .xmp files and select them. Lightroom will sort them into folders based on how they were packaged.
Navigating the presets panel in Lightroom’s Develop module
To install presets in Lightroom Classic, go to the Develop module and locate the Presets panel on the left side. Right-click anywhere in that panel and choose “Import Presets.” Navigate to your downloaded .lrtemplate or .xmp files and select them. Lightroom will sort them into folders based on how they were packaged.
If you’re using the cloud-based Lightroom (not Classic), the path is slightly different: go to File, then Import Profiles and Presets. Either way, once imported, your presets appear in the left panel and are accessible from any photo in your catalog. Keep your preset folders organized, ideally by shoot type or mood, so you’re not scrolling through 200 options every time you open a file.
Step 4: Apply a Preset and Evaluate the Starting Point
 McKinnon clicking through presets on a photo to preview different looks
Click any preset in the panel while a photo is selected in the Develop module. The image updates instantly. In newer versions of Lightroom, you can hover over preset names to get a live preview in the Navigator panel without committing to the change, which speeds up the evaluation process significantly.
McKinnon clicking through presets on a photo to preview different looks
Click any preset in the panel while a photo is selected in the Develop module. The image updates instantly. In newer versions of Lightroom, you can hover over preset names to get a live preview in the Navigator panel without committing to the change, which speeds up the evaluation process significantly.
McKinnon is honest here in a way that a lot of preset sellers aren’t: some photos will look terrible with a given preset. That’s not a flaw in the preset or the photo. It’s physics. A preset built around lifted shadows and muted highlights is going to fight hard against a flat, overcast image. One built for golden hour warmth will clash with a blue-toned interior shot. Apply the preset, look at the result honestly, and treat it as a starting point rather than a finished product.
Step 5: Adjust the Preset to Match Your Specific Photo
 Demonstrating how exposure and lighting conditions affect preset results
After applying a preset, the basic sliders are your first adjustment layer. Check exposure first. A preset calibrated on a well-exposed raw file may blow highlights or crush shadows on a differently exposed image. Bring the exposure slider back toward neutral until the histogram looks clean, then check the whites and blacks sliders for clipping.
Demonstrating how exposure and lighting conditions affect preset results
After applying a preset, the basic sliders are your first adjustment layer. Check exposure first. A preset calibrated on a well-exposed raw file may blow highlights or crush shadows on a differently exposed image. Bring the exposure slider back toward neutral until the histogram looks clean, then check the whites and blacks sliders for clipping.
Next look at the white balance. Many presets include a white balance shift as part of the look. If that shift doesn’t match your shooting conditions, use the Temp and Tint sliders to correct it without touching the other preset settings. The goal is to keep the preset’s color character while making the base exposure appropriate for your specific image.
Step 6: Use Shooting Knowledge to Feed the Preset System
 McKinnon explaining how field awareness of presets changes how you shoot
This is the step most tutorials skip entirely, and McKinnon raises it almost in passing, but it’s actually the most advanced idea in the video. Once you know your presets well, you start shooting differently in the field. If a particular preset performs best with slightly underexposed shadows and warm highlights, you’ll instinctively expose for that when the light is right.
McKinnon explaining how field awareness of presets changes how you shoot
This is the step most tutorials skip entirely, and McKinnon raises it almost in passing, but it’s actually the most advanced idea in the video. Once you know your presets well, you start shooting differently in the field. If a particular preset performs best with slightly underexposed shadows and warm highlights, you’ll instinctively expose for that when the light is right.
That feedback loop between editing and shooting is what separates photographers with a coherent visual style from those who just apply random filters and hope. After spending a few weeks working heavily with a preset pack, you develop intuition about what scenes will respond well. You stop being surprised by bad results and start anticipating great ones.
What I’d Add From 15 Years of Batch Work
McKinnon’s tutorial is primarily aimed at individual photo editing, which makes sense given his audience. But if you’re handling volume, the next step is combining presets with Lightroom’s sync and batch-apply tools. Select all images from the same shoot, apply the preset to one, then use “Sync Settings” to push it across the entire selection. You can choose exactly which settings to sync and which to leave independent.
For e-commerce or product work where the lighting is controlled and consistent, this approach turns preset-based editing into something closer to a batch processing pipeline. I’ve processed full product catalogs this way in a single afternoon, which is the kind of workflow that keeps clients coming back and keeps your margins reasonable.
The single most important idea from this tutorial is one McKinnon states simply but it deserves to be repeated: presets speed up workflow only after you’ve developed an aesthetic. Use them to encode decisions you’ve already made through real experimentation, not to skip the experimentation entirely. Build them, test them, refine them, and let them do the repetitive work so your creative attention goes where it belongs.
Watch the full tutorial on YouTube to see McKinnon apply the presets live and walk through the full pack in detail.
Comments (2)
Tried this technique this morning. Game changer for real.
This is exactly what I needed today. Been struggling with this for weeks.
Leave a Comment