If you’ve worked in Lightroom long enough, you know the feeling: your preset panel looks like someone knocked over a filing cabinet, you can’t find the one you want, and you’re wasting time on organizational problems instead of actually editing. I’ve spent 15 years running post-production workflows for ad agencies and e-commerce clients, and I can tell you that a messy preset library is the kind of slow leak that quietly costs you hours every month. You don’t notice it day to day, but I’ve tracked enough of my own workflow inefficiencies to know it adds up fast.
I came across this Matt Kloskowski tutorial on Lightroom preset tips and it covers several techniques that most people either don’t know about or haven’t thought to combine into a real system. Watch the full tutorial on YouTube if you want to see it in action. What follows is my breakdown of each technique with enough specificity that you can implement it right now without pausing and replaying.
Step 1: Create Custom Preset Groups (Without an Obvious Menu Option)
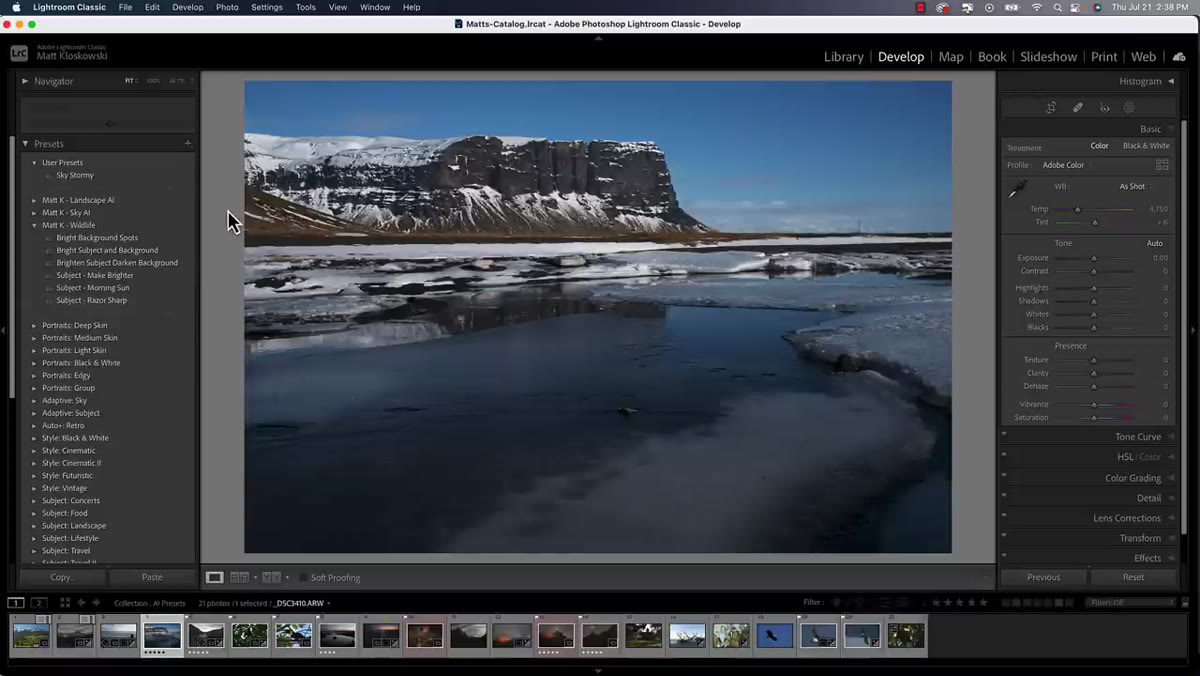 Creating a new preset group inside the Develop module panel
Here’s the frustrating thing: Lightroom doesn’t give you a “New Folder” button in the preset panel. If you click the small plus icon expecting a folder creation dialog, you won’t find one. The workaround is a bit indirect but it works reliably. When you save any preset, the save dialog includes an option to assign it to a new group. Type your desired folder name there, and Lightroom creates the group on the spot.
Creating a new preset group inside the Develop module panel
Here’s the frustrating thing: Lightroom doesn’t give you a “New Folder” button in the preset panel. If you click the small plus icon expecting a folder creation dialog, you won’t find one. The workaround is a bit indirect but it works reliably. When you save any preset, the save dialog includes an option to assign it to a new group. Type your desired folder name there, and Lightroom creates the group on the spot.
The fastest way to set this up is to create what Matt calls a “dummy preset.” Don’t change any settings. Just open the save dialog, name the group whatever you need (say, “Black and White” or “Skin Tones”), and save a blank preset into it. Now the folder exists and you can drag other presets into it from anywhere in your panel. It takes a handful of clicks but once the folder structure is in place, you’re done.
Step 2: Move Existing Presets Into Groups via Right-Click
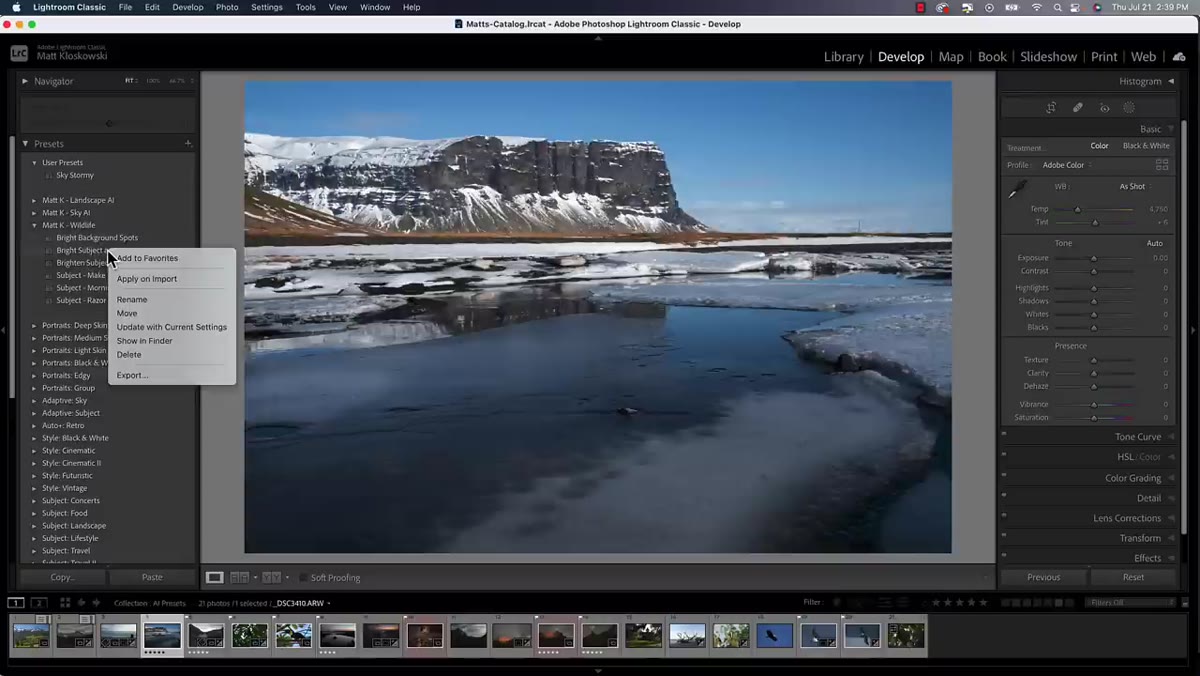 Right-click context menu showing Move option for a preset
If you have presets scattered across your panel that need to be reorganized into the new groups you just created, you don’t have to drag everything manually. Right-click any preset and choose “Move.” A dialog comes up with a group dropdown. If the target group already exists, select it from the list. If not, you can type a new group name right there and create one on the fly.
Right-click context menu showing Move option for a preset
If you have presets scattered across your panel that need to be reorganized into the new groups you just created, you don’t have to drag everything manually. Right-click any preset and choose “Move.” A dialog comes up with a group dropdown. If the target group already exists, select it from the list. If not, you can type a new group name right there and create one on the fly.
Both methods (drag-and-drop and right-click Move) take roughly the same number of clicks, so pick whichever feels more natural to you. I tend to use the right-click method when I’m doing bulk reorganization because it’s more precise, especially when your panel is long and the target folder is far from the source preset.
Step 3: Add Frequently Used Presets to Favorites
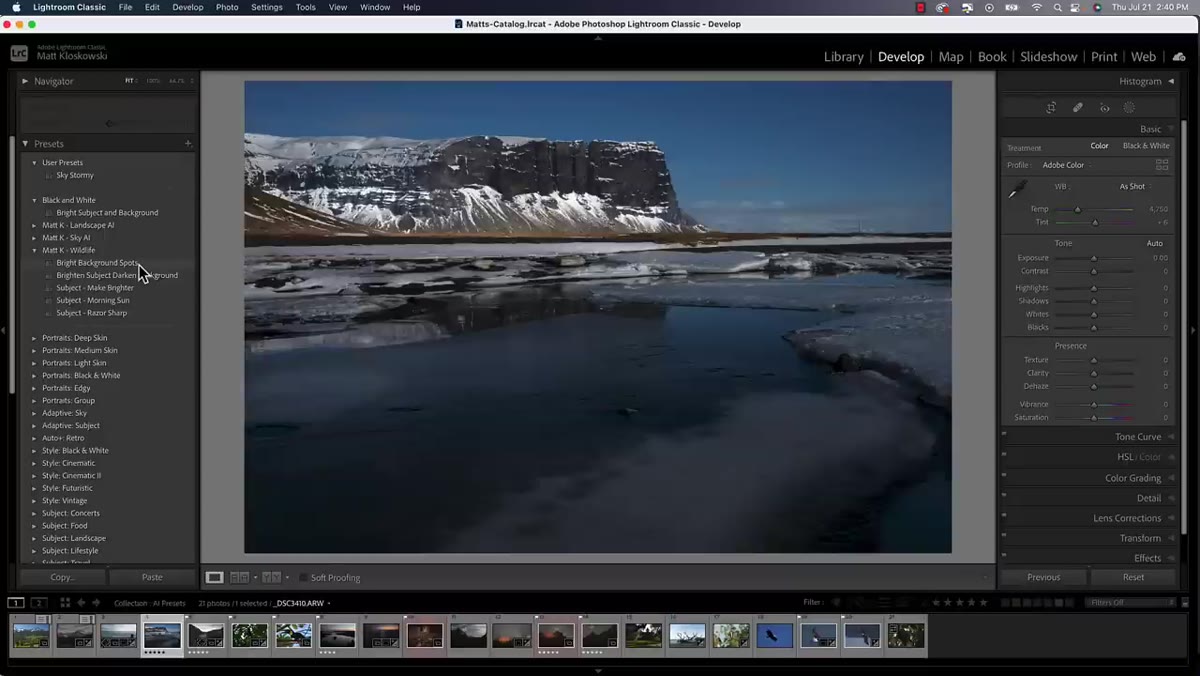 Right-click menu showing Add to Favorites option for a preset
This is the feature most people walk right past. If you have presets you reach for constantly, whether it’s a base exposure correction or a specific color grade you use for product photography, right-click on it and choose “Add to Favorites.” Lightroom will create a Favorites folder at the top of your preset panel and put a starred copy of that preset there.
Right-click menu showing Add to Favorites option for a preset
This is the feature most people walk right past. If you have presets you reach for constantly, whether it’s a base exposure correction or a specific color grade you use for product photography, right-click on it and choose “Add to Favorites.” Lightroom will create a Favorites folder at the top of your preset panel and put a starred copy of that preset there.
The star icon also appears on the preset wherever it lives in your regular folder structure, so you can always tell at a glance which ones have been favorited. To remove something from Favorites, right-click again and choose “Remove from Favorites.” It doesn’t delete the preset, just pulls it out of the curated group. Think of Favorites as your quick-access toolbar inside the preset panel.
Step 4: Drag and Drop to Reorganize Across Groups
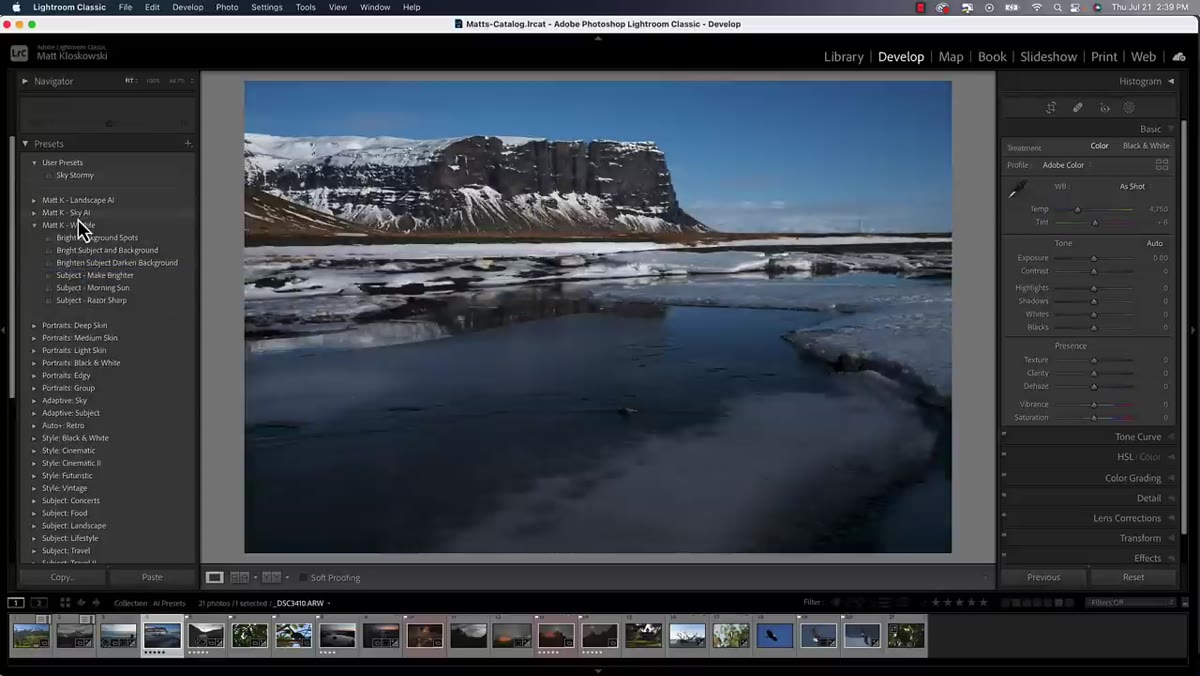 Dragging a preset from one group folder to another in the panel
Once your group folders exist, Lightroom lets you drag presets between them directly in the panel. Click and hold on any preset, then drag it onto a different group folder. This is useful when you’re doing a larger reorganization session rather than moving one preset at a time through the right-click menu.
Dragging a preset from one group folder to another in the panel
Once your group folders exist, Lightroom lets you drag presets between them directly in the panel. Click and hold on any preset, then drag it onto a different group folder. This is useful when you’re doing a larger reorganization session rather than moving one preset at a time through the right-click menu.
One practical tip: collapse all your groups first except the source and destination. When the panel is fully expanded with dozens of presets visible, drag-and-drop can get messy. Collapse everything down to just the two folders you’re working with and the operation becomes much cleaner.
Step 5: Leverage AI-Powered Adaptive Presets for Sky and Subject Work
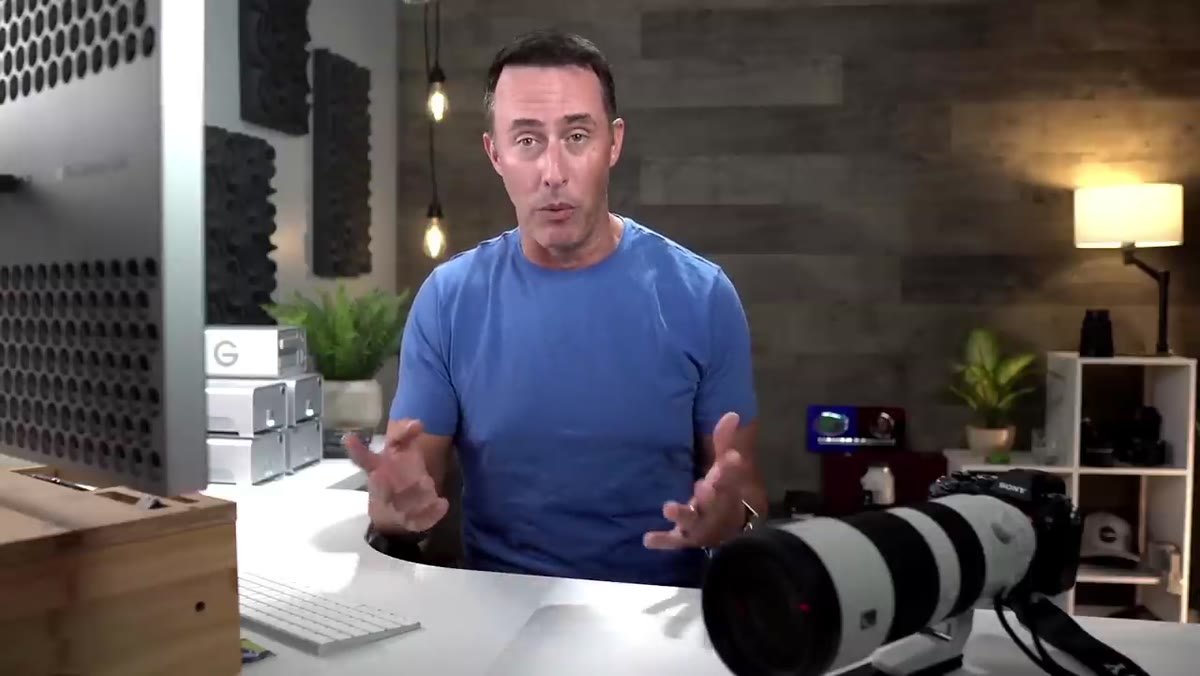 Hovering over a sky preset showing real-time adaptive preview on a photo
This is where things get genuinely interesting from a workflow standpoint. Matt walks through a newer capability in Lightroom where presets can use the AI-driven Select Sky and Select Subject tools as their targeting mechanism. The practical difference is significant. With an older gradient-based sky preset, applying it to a different photo would require you to manually reposition the gradient to match the new horizon line. That’s friction. With an AI-adaptive preset, Lightroom recomputes the mask automatically based on the actual sky in each photo.
Hovering over a sky preset showing real-time adaptive preview on a photo
This is where things get genuinely interesting from a workflow standpoint. Matt walks through a newer capability in Lightroom where presets can use the AI-driven Select Sky and Select Subject tools as their targeting mechanism. The practical difference is significant. With an older gradient-based sky preset, applying it to a different photo would require you to manually reposition the gradient to match the new horizon line. That’s friction. With an AI-adaptive preset, Lightroom recomputes the mask automatically based on the actual sky in each photo.
For anyone processing large batches of landscape or outdoor images, this changes what presets can realistically do for you. You’re not just applying a global look anymore. You’re applying targeted adjustments to the sky or the subject specifically, and Lightroom figures out the geometry for each individual image. If you’ve built your own preset library over the years, this is worth experimenting with even if you just rebuild two or three of your most-used presets using this approach.
How I’d Apply This in a Commercial Workflow
I run batches that sometimes hit 300 to 500 images in a single session, primarily product photography and ad campaign assets. The organizational habits Matt covers here map directly onto the kind of system I’d recommend to anyone doing volume work. I use a tiered folder structure: one group for base correction presets (exposure, white balance starting points), one for brand-specific color grades keyed to specific client accounts, and one for output-ready finishing presets.
The Favorites feature is something I’d use to surface the three or four presets I’m actively using on a current project, then swap them out when the project changes. It keeps the panel from becoming a cognitive load problem. The AI-adaptive preset concept is newer territory for me personally, but the logic is sound: anything that removes a manual repositioning step on a per-image basis is worth the upfront setup cost, especially if you’re working with varied source material from different shoots.
The single biggest shift here is treating your preset panel like a tool you actually design, rather than a drawer where presets accumulate. Group intentionally. Favorite aggressively. Let the AI tools handle the geometry so you can focus on the look.
Watch the full tutorial on YouTube for Matt Kloskowski’s complete walkthrough, including a few additional tips that didn’t fit into this breakdown.
Comments (2)
Just used this on a wedding shoot edit. Client was thrilled.
Simple but effective. Sometimes that's all you need.
Leave a Comment