Lightroom's Advanced Healing Brush: The Freeform Retouching Tool That Changes How You Work

Lightroom's Advanced Healing Brush: The Freeform Retouching Tool That Changes How You Work

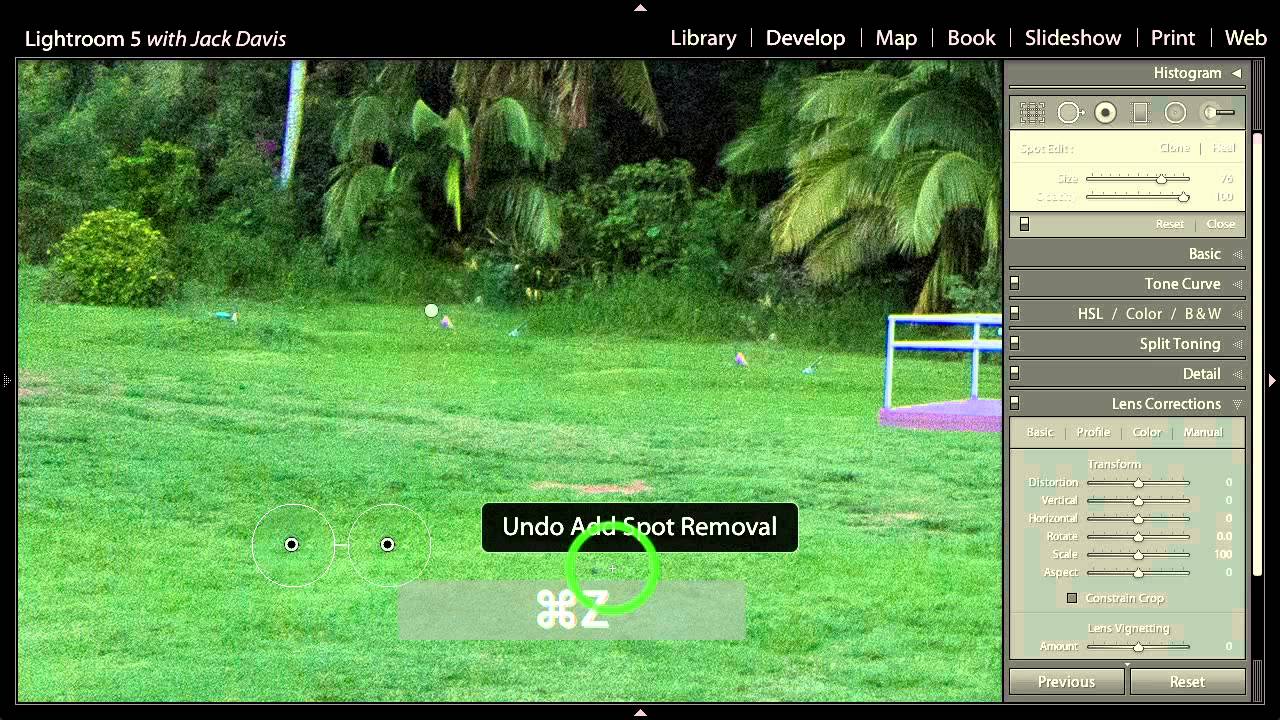
Real estate, product, and portrait work all share one common post-production headache: removing things that shouldn’t be there. Power lines. Lawn debris. Shadows under eyes. For years, my go-to move was to handle all of that in Photoshop, which meant breaking my Lightroom-first workflow every time a client needed a clean sky or a smoother complexion. I kept that exit ramp open because I didn’t trust Lightroom’s healing tools to handle anything more complex than a dust spot.

Lightroom's Density Slider Is Not What You Think (And That's the Point)

Lightroom's Density Slider Is Not What You Think (And That's the Point)

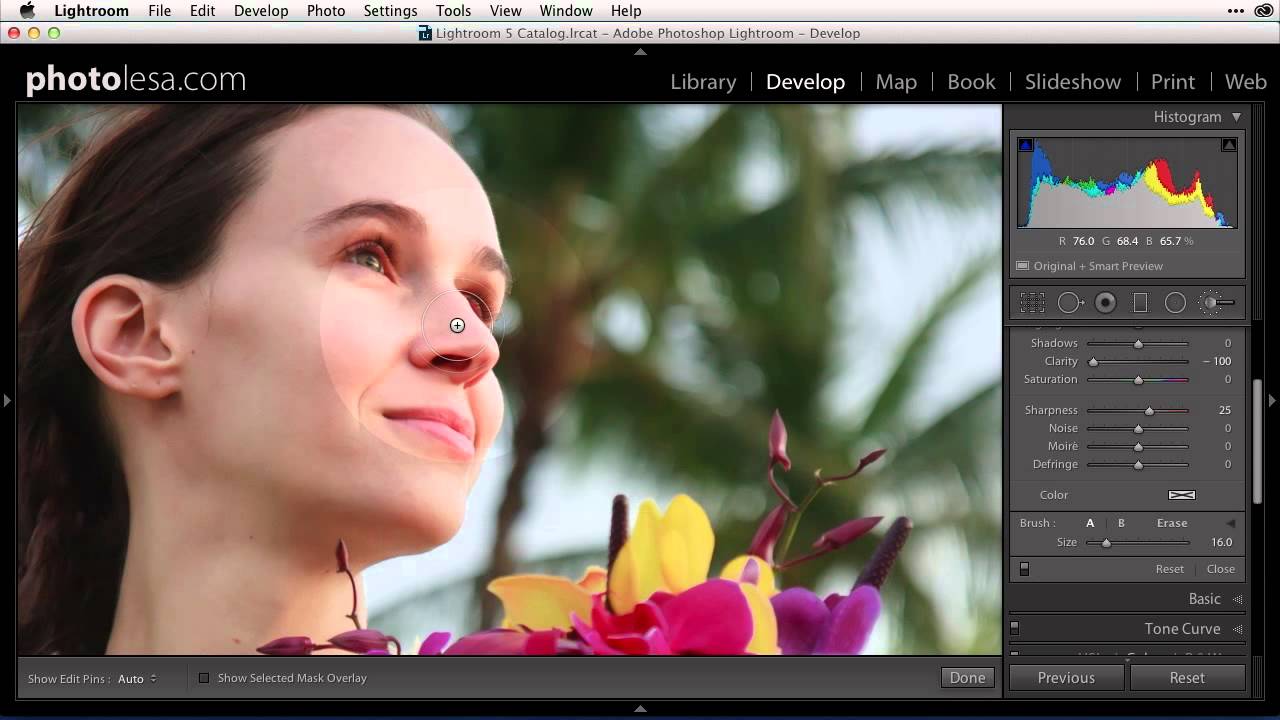
There’s a specific kind of frustration that comes from knowing exactly what you want a tool to do and feeling like it’s fighting you. I ran into this with Lightroom’s Adjustment Brush embarrassingly late in my career. I’d spent years in Photoshop building actions, dialing in brush opacity and flow to get precise, repeatable results on skin, product surfaces, backgrounds. Then I’d jump into Lightroom for a raw edit and the Adjustment Brush would just feel… blunt.

Generative Fill vs. Content-Aware Fill: A Working Photographer's Guide to Removing Distractions in Photoshop

Generative Fill vs. Content-Aware Fill: A Working Photographer's Guide to Removing Distractions in Photoshop

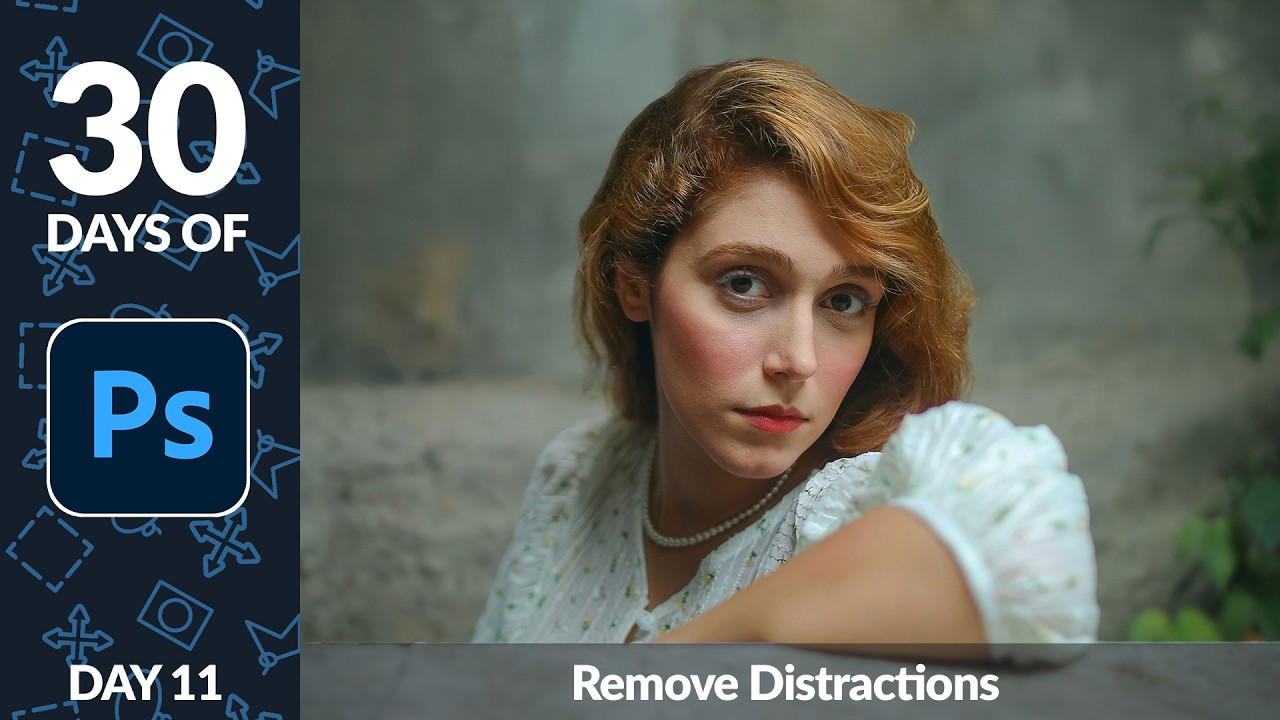
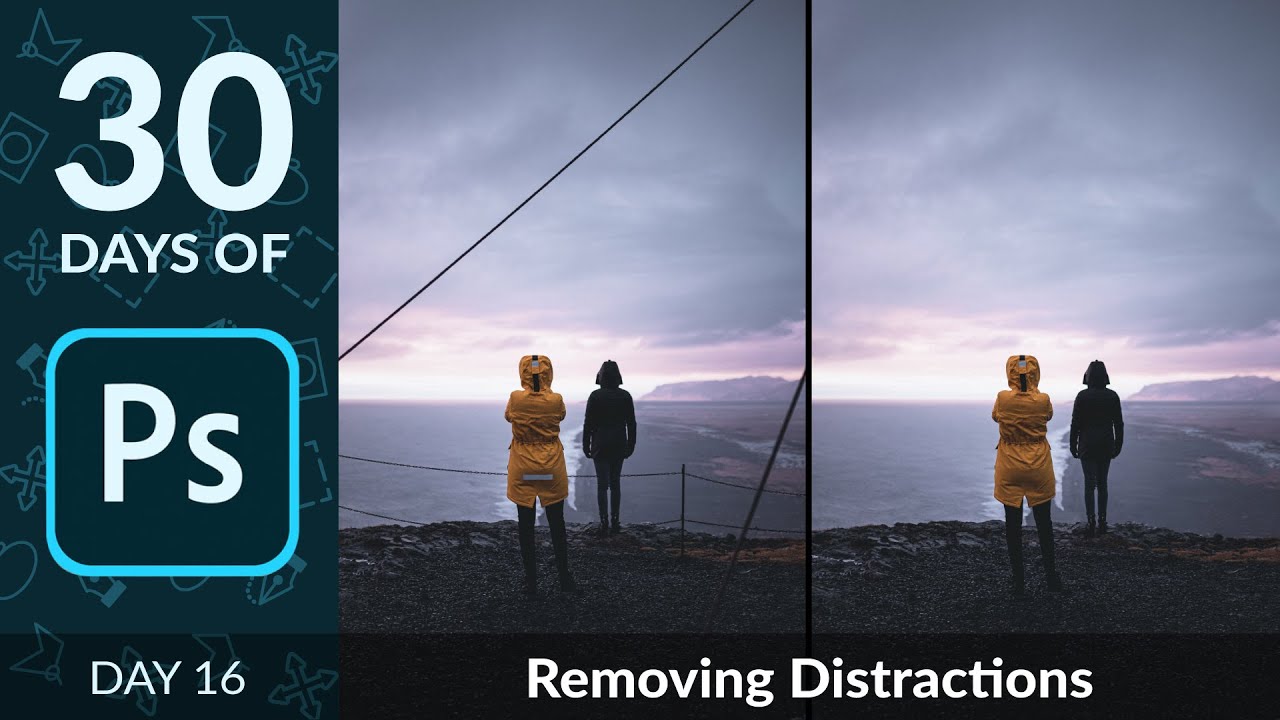
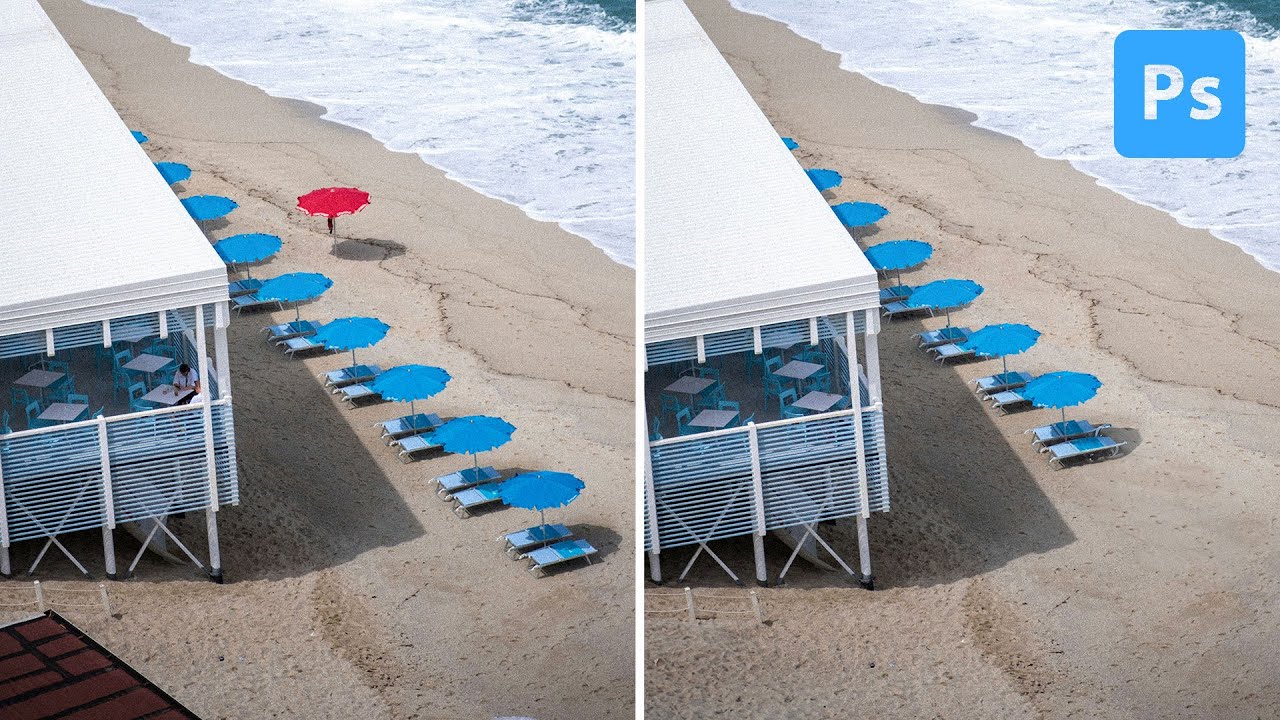
Distraction removal is one of those tasks that sounds simple until you’re staring at a client’s hero shot with a rogue piece of equipment cutting through an otherwise clean frame. I’ve been in that position more times than I can count, and the solution has changed dramatically over the last few years. What used to require careful cloning, patch work, and a lot of crossed fingers has become something closer to a creative decision than a technical grind.

Four Photoshop Tools That Cut My Portrait Cleanup Time in Half

Four Photoshop Tools That Cut My Portrait Cleanup Time in Half

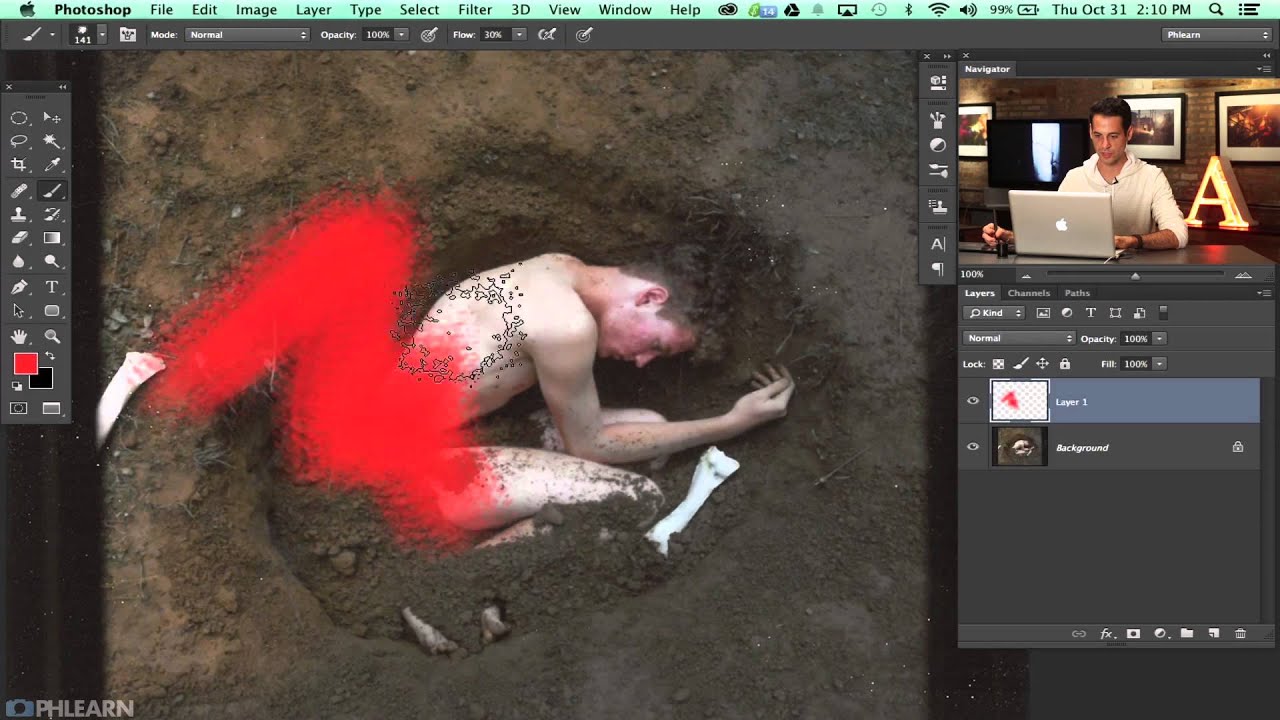
There’s a category of retouching work that never makes it into anyone’s portfolio but eats up a surprising chunk of billable hours. Background clutter. Stray wires. A parking cone that somehow wandered into the corner of a lifestyle shoot. For most of my career I handled these the same way everyone else did: Clone Stamp, Patch tool, Content-Aware Fill, rinse and repeat. It worked, but on a heavy e-commerce day it could chew through an hour before I’d even started the actual color work.

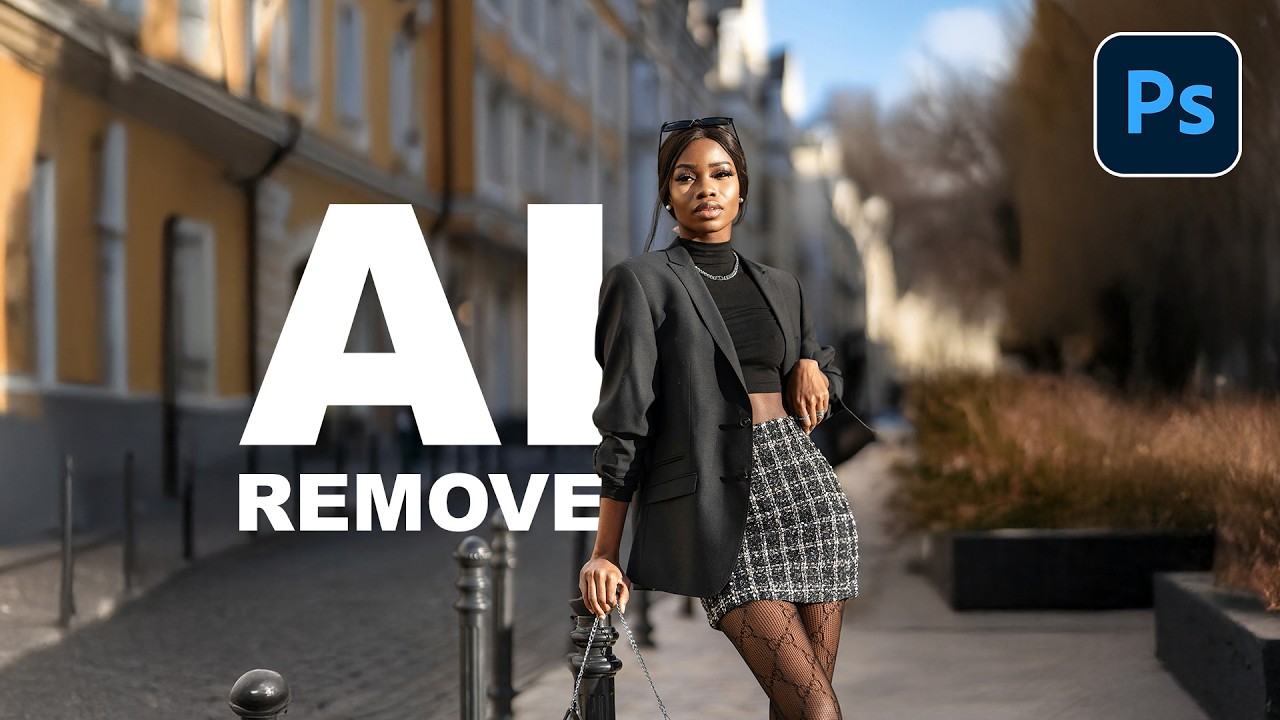
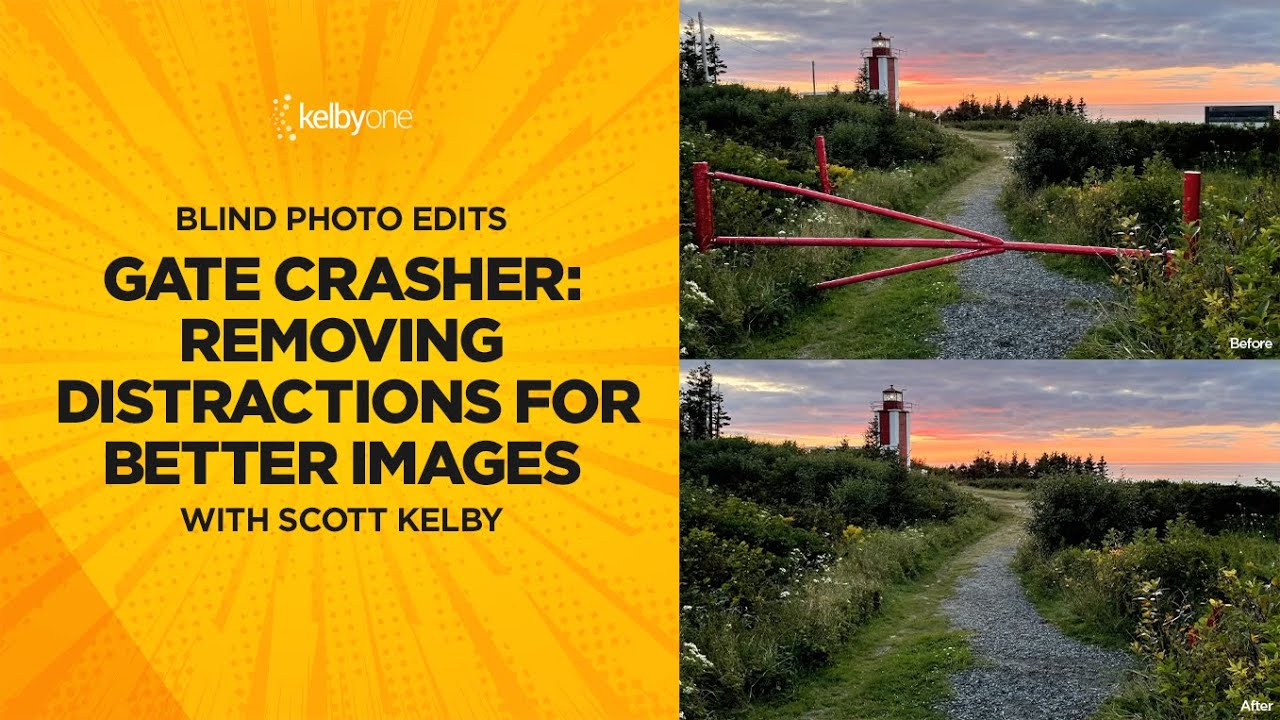
Photoshop's Updated Remove Tool Is the Closest Thing to Magic I've Added to My Workflow

Photoshop's Updated Remove Tool Is the Closest Thing to Magic I've Added to My Workflow

I track time obsessively. Not in a vague, “I should be more productive” way, but in a literal spreadsheet-with-color-coded-columns way. So when a tool promises to save hours on a task I repeat constantly across client work, I pay attention immediately. The Remove Tool in Photoshop has always been solid, but the latest update pushes it into genuinely different territory. Instead of painting over distractions manually one by one, Photoshop can now scan your entire image, identify what doesn’t belong, and remove it all in a single operation.

Building a Skin Smoothing Action That Looks Natural

Building a Skin Smoothing Action That Looks Natural

Most skin smoothing actions produce results that look obviously retouched — waxy, pore-free skin that belongs in a video game, not a photograph. Building a natural-looking skin smoothing action requires understanding what makes skin look like skin, and carefully preserving those qualities while reducing what you don’t want. What Natural Skin Looks Like Real skin has texture at multiple scales. There are large-scale features (bone structure, muscle contour), medium-scale features (pores, fine lines), and small-scale features (micro-texture that gives skin its matte quality).

How to Create Custom Brush Presets for Retouching

How to Create Custom Brush Presets for Retouching

Photoshop’s default brushes are general purpose. They work, but they’re not optimized for the specific demands of portrait retouching. Building custom brush presets tuned for skin work, dodge and burn, and detail editing makes a measurable difference in both speed and quality. Here’s how to create the three brushes every retoucher needs. Brush 1: The Skin Smoother This brush is designed for painting on masks over skin areas — typically for frequency separation smoothing layers or noise reduction layers.