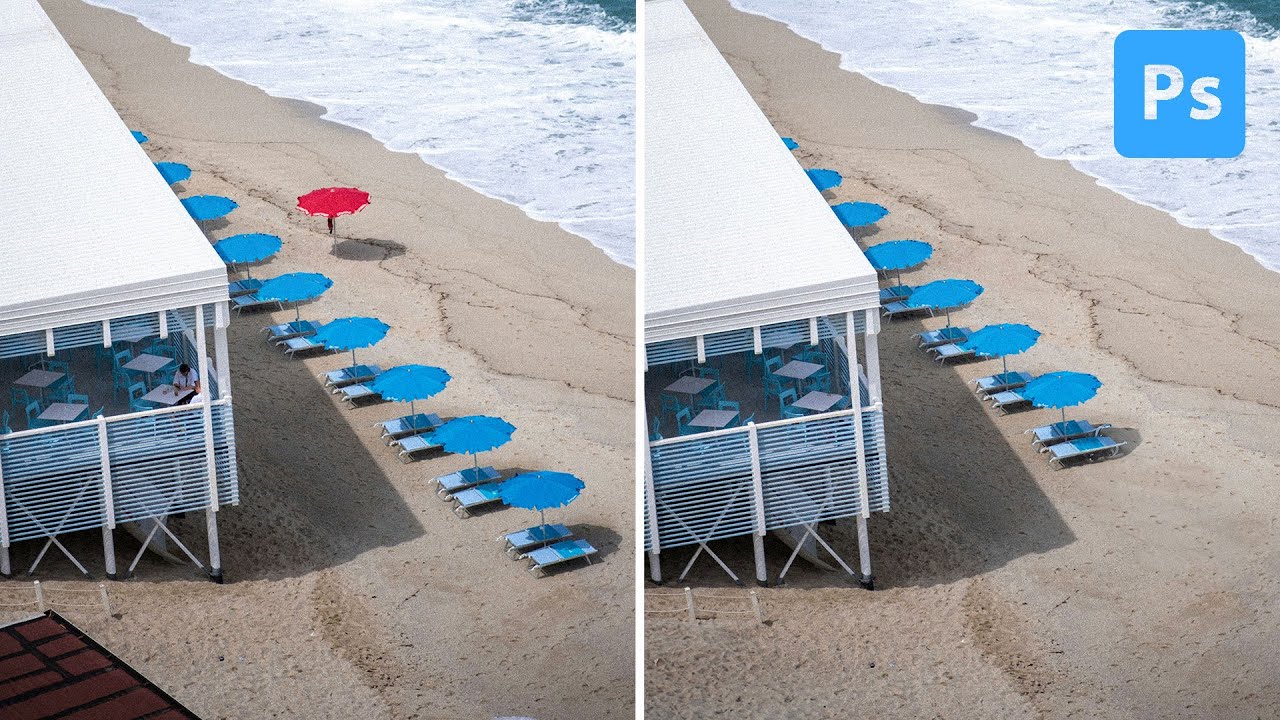
A question I keep getting from clients and newer retouchers goes something like this: “Why would I ever use the Clone Stamp tool when Generative Fill exists?” It’s a fair question on the surface. But after fifteen years of studio work, I’ve learned that choosing the wrong tool for a removal job doesn’t just affect quality. These days, it can affect how your image gets labeled across every platform you publish to. That’s a real business problem for photographers who care about how their work is categorized.
In this Aaron Nace (PHLEARN) tutorial, Watch the full tutorial on YouTube, Aaron does something I genuinely appreciate: he slows down and puts three tools side by side so you can see exactly what each one is doing under the hood. The subject is simple, removing a red umbrella from a street scene, but the real lesson is about understanding which tool is appropriate for which situation. Here’s my breakdown of what he covers, with the notes I’d add from my own workflow.
Step 1: Set Up a Non-Destructive Layer Before You Touch Anything
 Creating a new blank layer above the background layer
Before picking up any removal tool, create a new empty layer above your background. Click the new layer icon in the Layers panel. This is non-negotiable for any professional workflow. Working on a separate layer means your original pixel data stays untouched, and you can throw away any mistake without starting over. For the Clone Stamp tool specifically, set the Sample dropdown in the options bar to “Current and Below.” That tells Photoshop to pull pixel data from the layers underneath while painting your corrections onto the clean layer above.
Creating a new blank layer above the background layer
Before picking up any removal tool, create a new empty layer above your background. Click the new layer icon in the Layers panel. This is non-negotiable for any professional workflow. Working on a separate layer means your original pixel data stays untouched, and you can throw away any mistake without starting over. For the Clone Stamp tool specifically, set the Sample dropdown in the options bar to “Current and Below.” That tells Photoshop to pull pixel data from the layers underneath while painting your corrections onto the clean layer above.
Step 2: Use the Clone Stamp for Precise, Controlled Copying
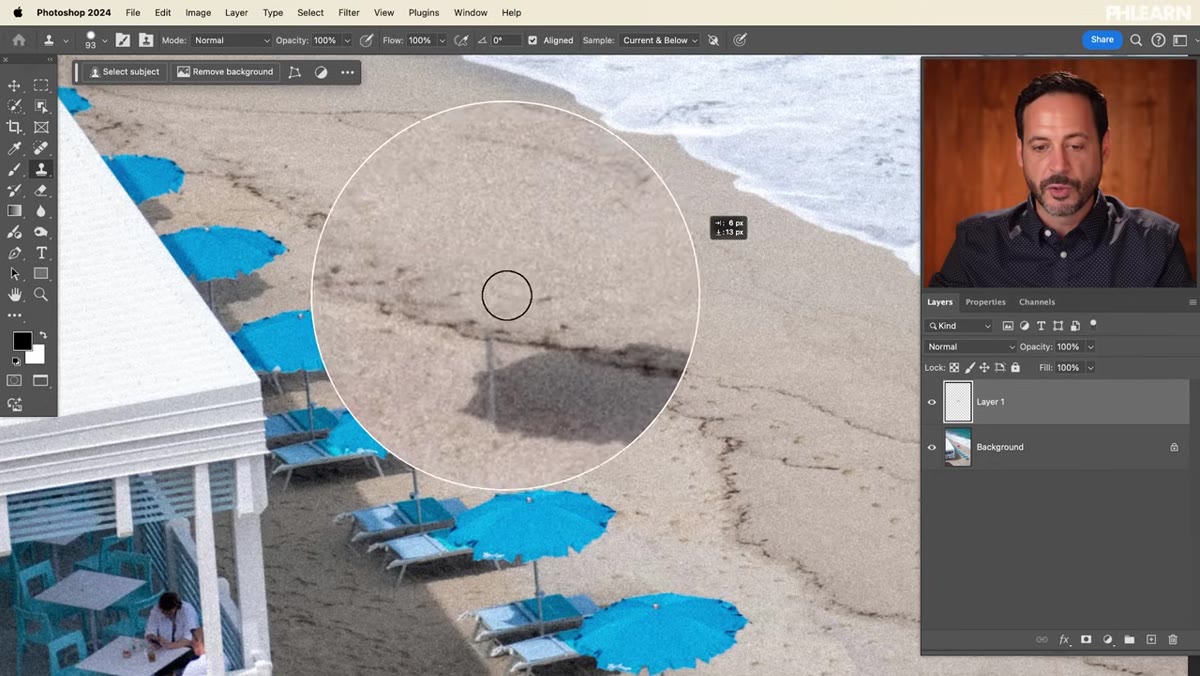
 Clone Stamp tool selected with Sample set to Current and Below
Press S to grab the Clone Stamp tool. Hold Alt (Option on Mac) and click to set your sample point. This is where you’re telling Photoshop, “Copy from here.” Then paint over the area you want to remove. The tool duplicates pixels from your sample point exactly, one-to-one, with no blending or interpretation. That precision is both its strength and its limitation.
Clone Stamp tool selected with Sample set to Current and Below
Press S to grab the Clone Stamp tool. Hold Alt (Option on Mac) and click to set your sample point. This is where you’re telling Photoshop, “Copy from here.” Then paint over the area you want to remove. The tool duplicates pixels from your sample point exactly, one-to-one, with no blending or interpretation. That precision is both its strength and its limitation.
For a structured subject like the umbrella in Aaron’s example, you resample frequently by holding Alt and clicking a new source area. If you don’t, you’ll see repeating patterns that look obviously artificial. Aaron works through this methodically, sampling from the surrounding architecture and floor to reconstruct what would have been behind the umbrella. It’s slow. It requires real spatial thinking. But the result is completely free of any AI processing, which matters more than most people realize right now.
Step 3: Understand Where Clone Stamp Breaks Down
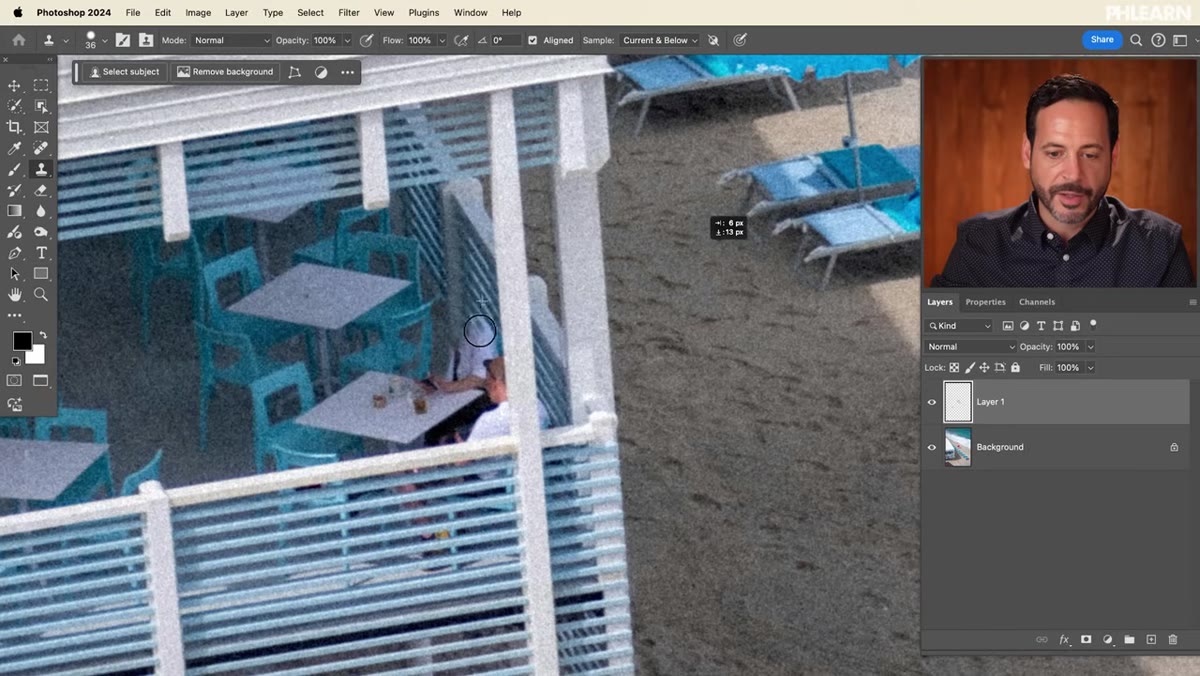
 Attempting to clone stamp over complex background with multiple people
When Aaron tries to extend the same technique to remove people standing in front of architectural elements, you see the Clone Stamp’s ceiling clearly. You’re dealing with a pillar, a floor pattern, a chair, and the edge of a shadow all overlapping in the same small area. Every one of those elements needs to be reconstructed individually. You sample the pillar, paint it in. Sample the floor tile, paint it in. Sample a nearby chair for reference, paint that in too.
Attempting to clone stamp over complex background with multiple people
When Aaron tries to extend the same technique to remove people standing in front of architectural elements, you see the Clone Stamp’s ceiling clearly. You’re dealing with a pillar, a floor pattern, a chair, and the edge of a shadow all overlapping in the same small area. Every one of those elements needs to be reconstructed individually. You sample the pillar, paint it in. Sample the floor tile, paint it in. Sample a nearby chair for reference, paint that in too.
It works. Aaron demonstrates that you absolutely can get a clean, professional result this way. But for complex scenes with multiple overlapping elements, you’re spending serious time on manual reconstruction. Knowing this going in helps you decide upfront whether the task justifies the tool.
Step 4: Switch to the Spot Healing Brush for Faster Blending
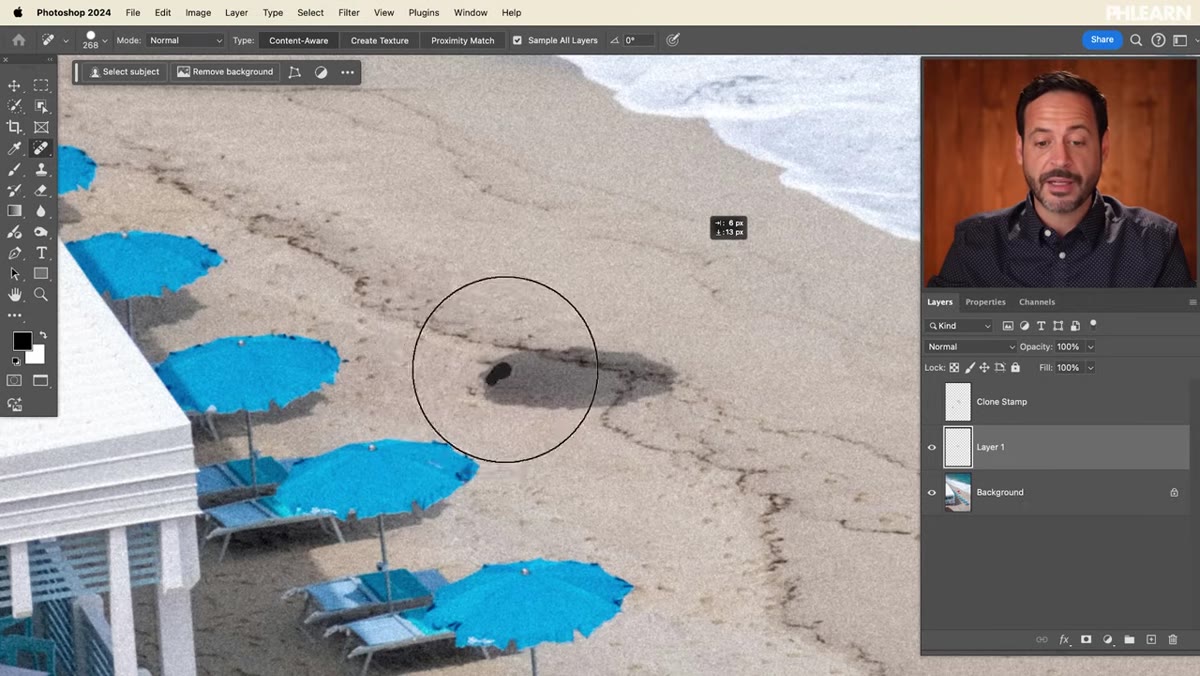
 Spot Healing Brush painting over a selected area to auto-blend
The Spot Healing Brush is a step up in automation. Instead of manually defining a source point, you simply paint over the area you want removed and Photoshop analyzes the surrounding texture to blend a replacement. It’s particularly effective on organic textures like skin, grass, gravel, or fabric where there’s no hard geometric pattern the algorithm needs to match.
Spot Healing Brush painting over a selected area to auto-blend
The Spot Healing Brush is a step up in automation. Instead of manually defining a source point, you simply paint over the area you want removed and Photoshop analyzes the surrounding texture to blend a replacement. It’s particularly effective on organic textures like skin, grass, gravel, or fabric where there’s no hard geometric pattern the algorithm needs to match.
The important setting here is Content-Aware in the options bar. Make sure that’s selected rather than the older Proximity Match or Create Texture options. Content-Aware gives the tool a much wider analysis radius to work from, which produces dramatically better results on larger removals. The trade-off versus Clone Stamp is control: the Spot Healing Brush makes its own decisions about what to fill in, and on geometric subjects like walls, windows, or tile floors, it can produce smearing or obvious repeated texture patches that need cleanup.
Step 5: Apply Generative Fill for Complex Removals and AI-Assisted Reconstruction
 Making a selection around the umbrella before opening Generative Fill
Generative Fill changes the equation entirely for difficult removals. Select the object you want to remove using any selection tool, then expand the selection slightly to include a thin border of the surrounding area. Open the Contextual Task Bar or go to Edit, then Generative Fill, leave the prompt blank, and hit Generate. Photoshop uses Adobe’s Firefly AI to synthesize replacement content based on the context of the surrounding image.
Making a selection around the umbrella before opening Generative Fill
Generative Fill changes the equation entirely for difficult removals. Select the object you want to remove using any selection tool, then expand the selection slightly to include a thin border of the surrounding area. Open the Contextual Task Bar or go to Edit, then Generative Fill, leave the prompt blank, and hit Generate. Photoshop uses Adobe’s Firefly AI to synthesize replacement content based on the context of the surrounding image.
The results on complex scenes are remarkable. Background elements that would take significant manual reconstruction with Clone Stamp are handled in seconds. Aaron’s street scene with overlapping people and architecture is a genuinely hard test case, and Generative Fill produces a plausible, clean result fast. You also get multiple variations to choose from, which is useful when the first generation has an artifact you don’t love.
The catch, and this is the reason Aaron built the whole tutorial around this comparison, is that using Generative Fill writes metadata to your file that platforms like Instagram and others use to flag the image as AI-generated. Even if 99% of your photograph is untouched, that tag goes on the whole file.
What I’d Add From My Own Work
I run a post-production consultancy and a lot of my volume work is e-commerce product photography. For product shots where the object being removed is small and the background is a simple sweep or flat surface, the Spot Healing Brush on a content-aware basis is almost always my first move. It’s faster than Clone Stamp and it doesn’t trigger AI metadata flags. I keep a simple Photoshop action that creates the working layer, sets the healing brush to the right mode, and switches me into the correct sampling behavior automatically. That single action has probably saved me four or five hours a month across high-volume projects.
Where I reach for Generative Fill is on hero images and editorial composites where the removal is genuinely complex and the image won’t be published anywhere that penalizes the AI tag. For anything going to a photographer’s portfolio or a context where that label matters to the client, I stay with traditional tools. That’s a business decision as much as a technical one, and it’s worth having that conversation explicitly with clients before you start.
The single most useful thing Aaron Nace demonstrates here is that these tools aren’t competing replacements for each other. They’re a tiered system. You reach for the tool that matches the complexity of the task and the requirements of the deliverable. Clone Stamp for precision on geometric content. Spot Healing for organic textures and speed. Generative Fill when the complexity of the scene justifies it and the AI tag is acceptable. Get clear on those three scenarios and you’ll stop second-guessing your tool choice mid-project.
Watch the full tutorial on YouTube to see Aaron work through each tool on the same image from start to finish. Seeing all three approaches applied to identical source material is what makes this one worth bookmarking.
Comments
Leave a Comment