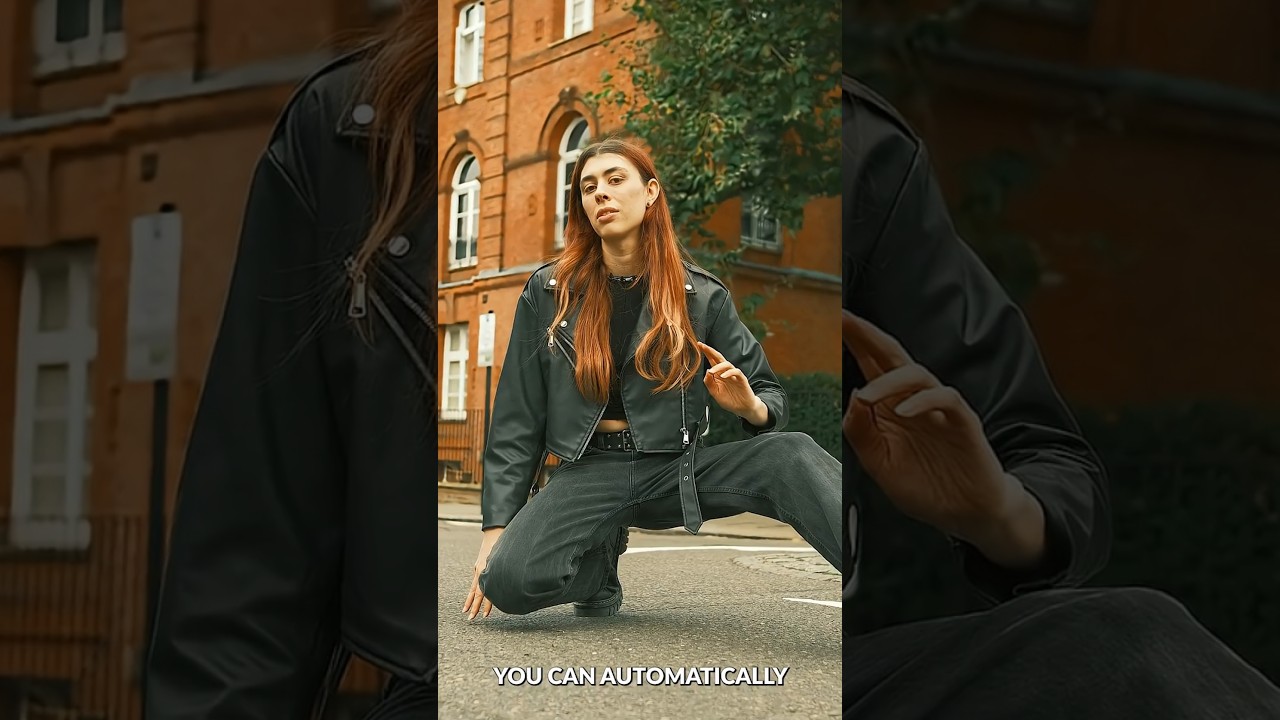
I track time obsessively. Not in a vague, “I should be more productive” way, but in a literal spreadsheet-with-color-coded-columns way. So when a tool promises to save hours on a task I repeat constantly across client work, I pay attention immediately. The Remove Tool in Photoshop has always been solid, but the latest update pushes it into genuinely different territory. Instead of painting over distractions manually one by one, Photoshop can now scan your entire image, identify what doesn’t belong, and remove it all in a single operation. That’s not a minor improvement. For anyone doing volume retouching on location shots, product photography, or lifestyle images for ad campaigns, this changes the math on how long a batch actually takes.
Watch the full tutorial on YouTube
In this PHLEARN tutorial, the technique is demonstrated cleanly in under a minute, which is exactly the right format for a feature this focused. But a one-minute video moves fast, so I want to break it down step by step with the kind of detail that lets you actually replicate it on your own image without rewinding three times. I’ll also flag one workflow consideration that matters specifically for commercial retouching contexts, which the tutorial doesn’t cover but comes up constantly in my own work.
Step 1: Select the Remove Tool from the Toolbar
 Remove Tool selected in the Photoshop toolbar
The Remove Tool lives in the left toolbar, grouped with other healing and patch tools. If you’ve been in Photoshop for a while, you know this area well. Click it to activate it. If you’re running an older version and don’t see the options we’re about to use, check your Creative Cloud app first. This particular update is only in the current full build of Photoshop, not the beta.
Remove Tool selected in the Photoshop toolbar
The Remove Tool lives in the left toolbar, grouped with other healing and patch tools. If you’ve been in Photoshop for a while, you know this area well. Click it to activate it. If you’re running an older version and don’t see the options we’re about to use, check your Creative Cloud app first. This particular update is only in the current full build of Photoshop, not the beta.
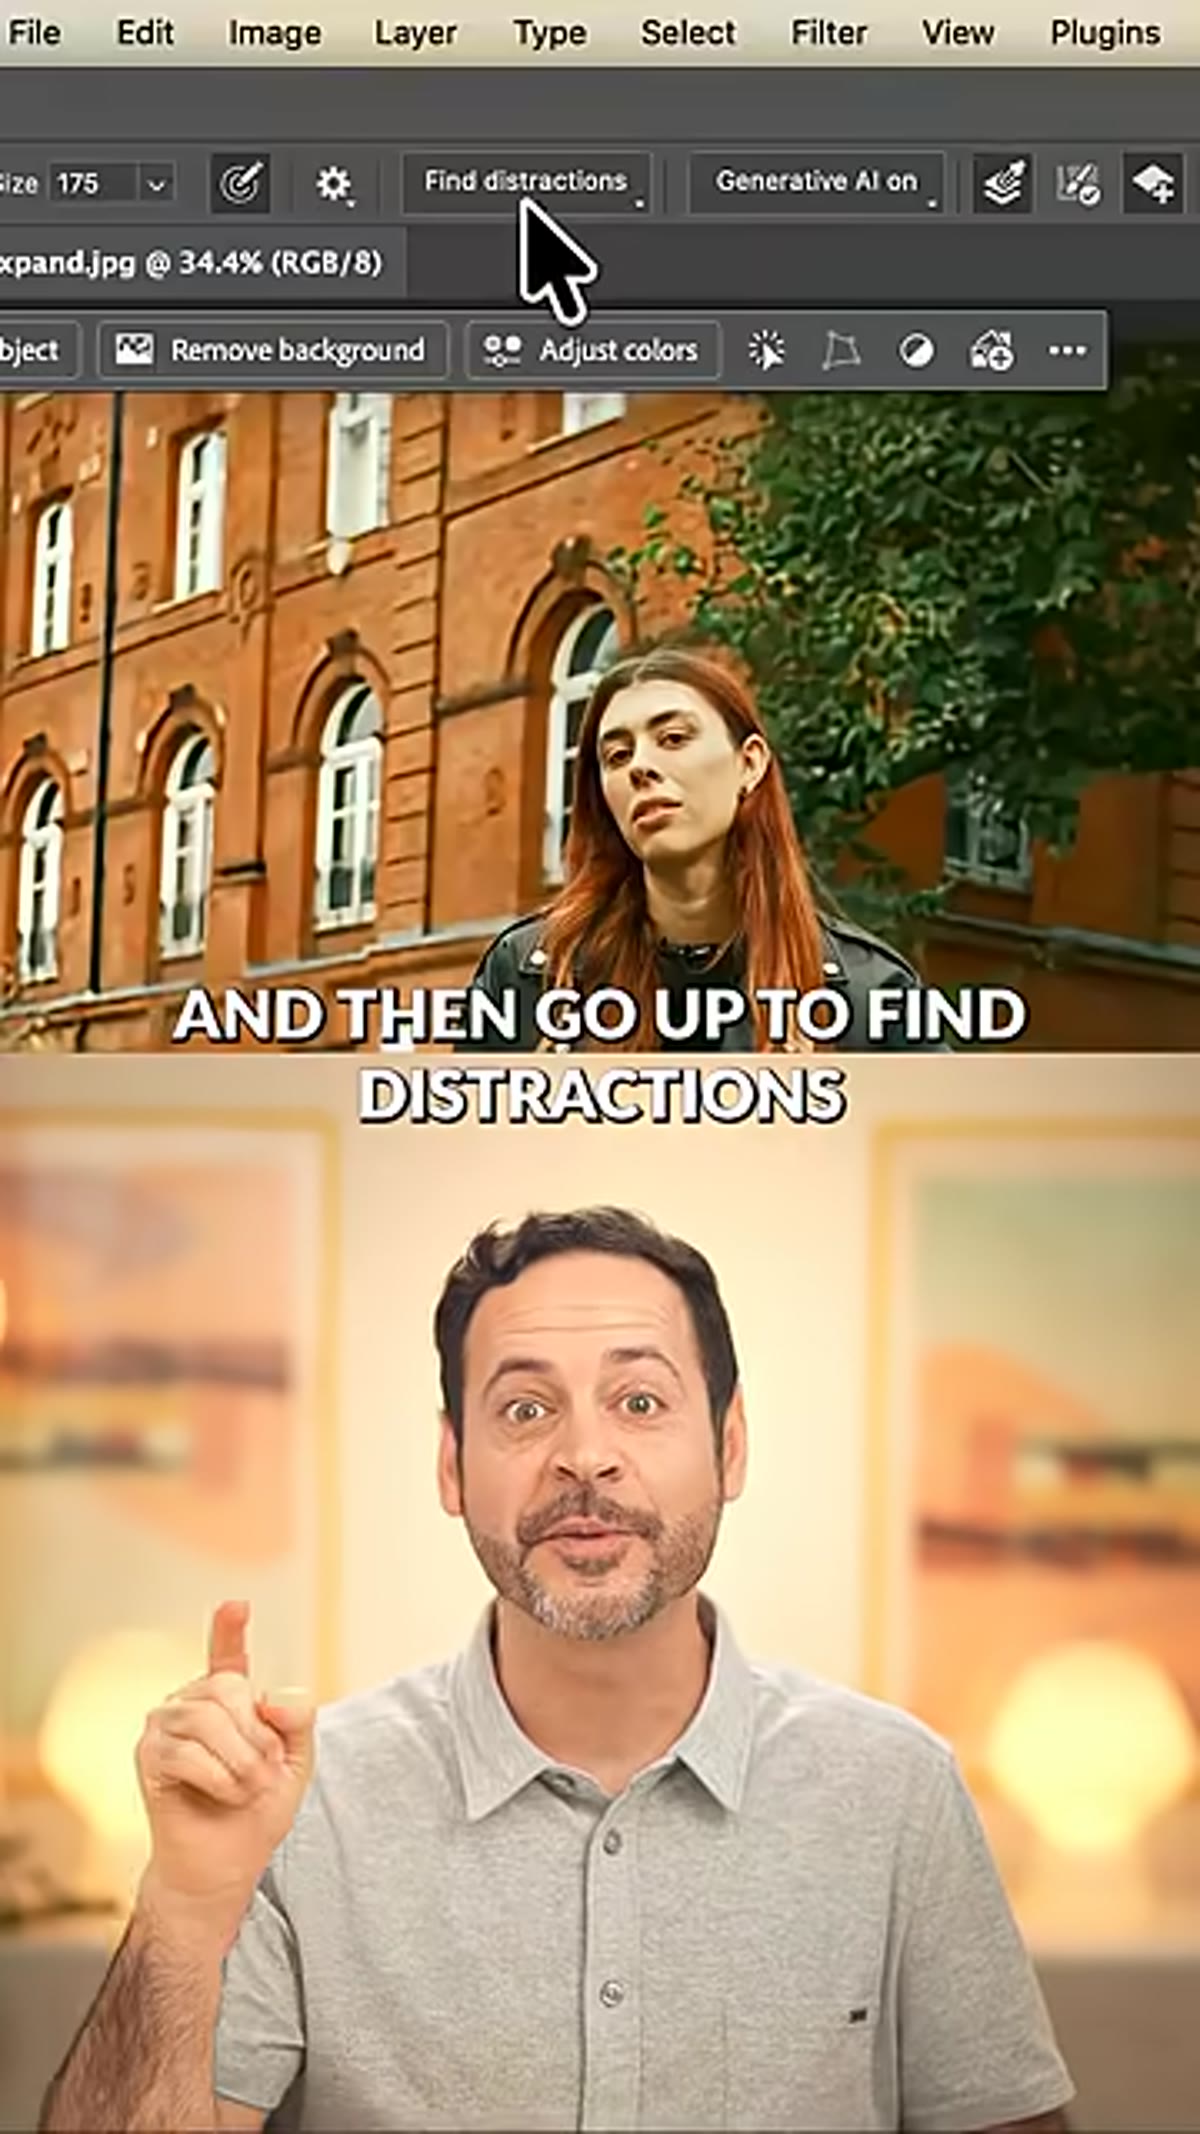
Step 2: Open the Find Distractions Panel
 “Find Distractions” option visible in the Remove Tool options bar
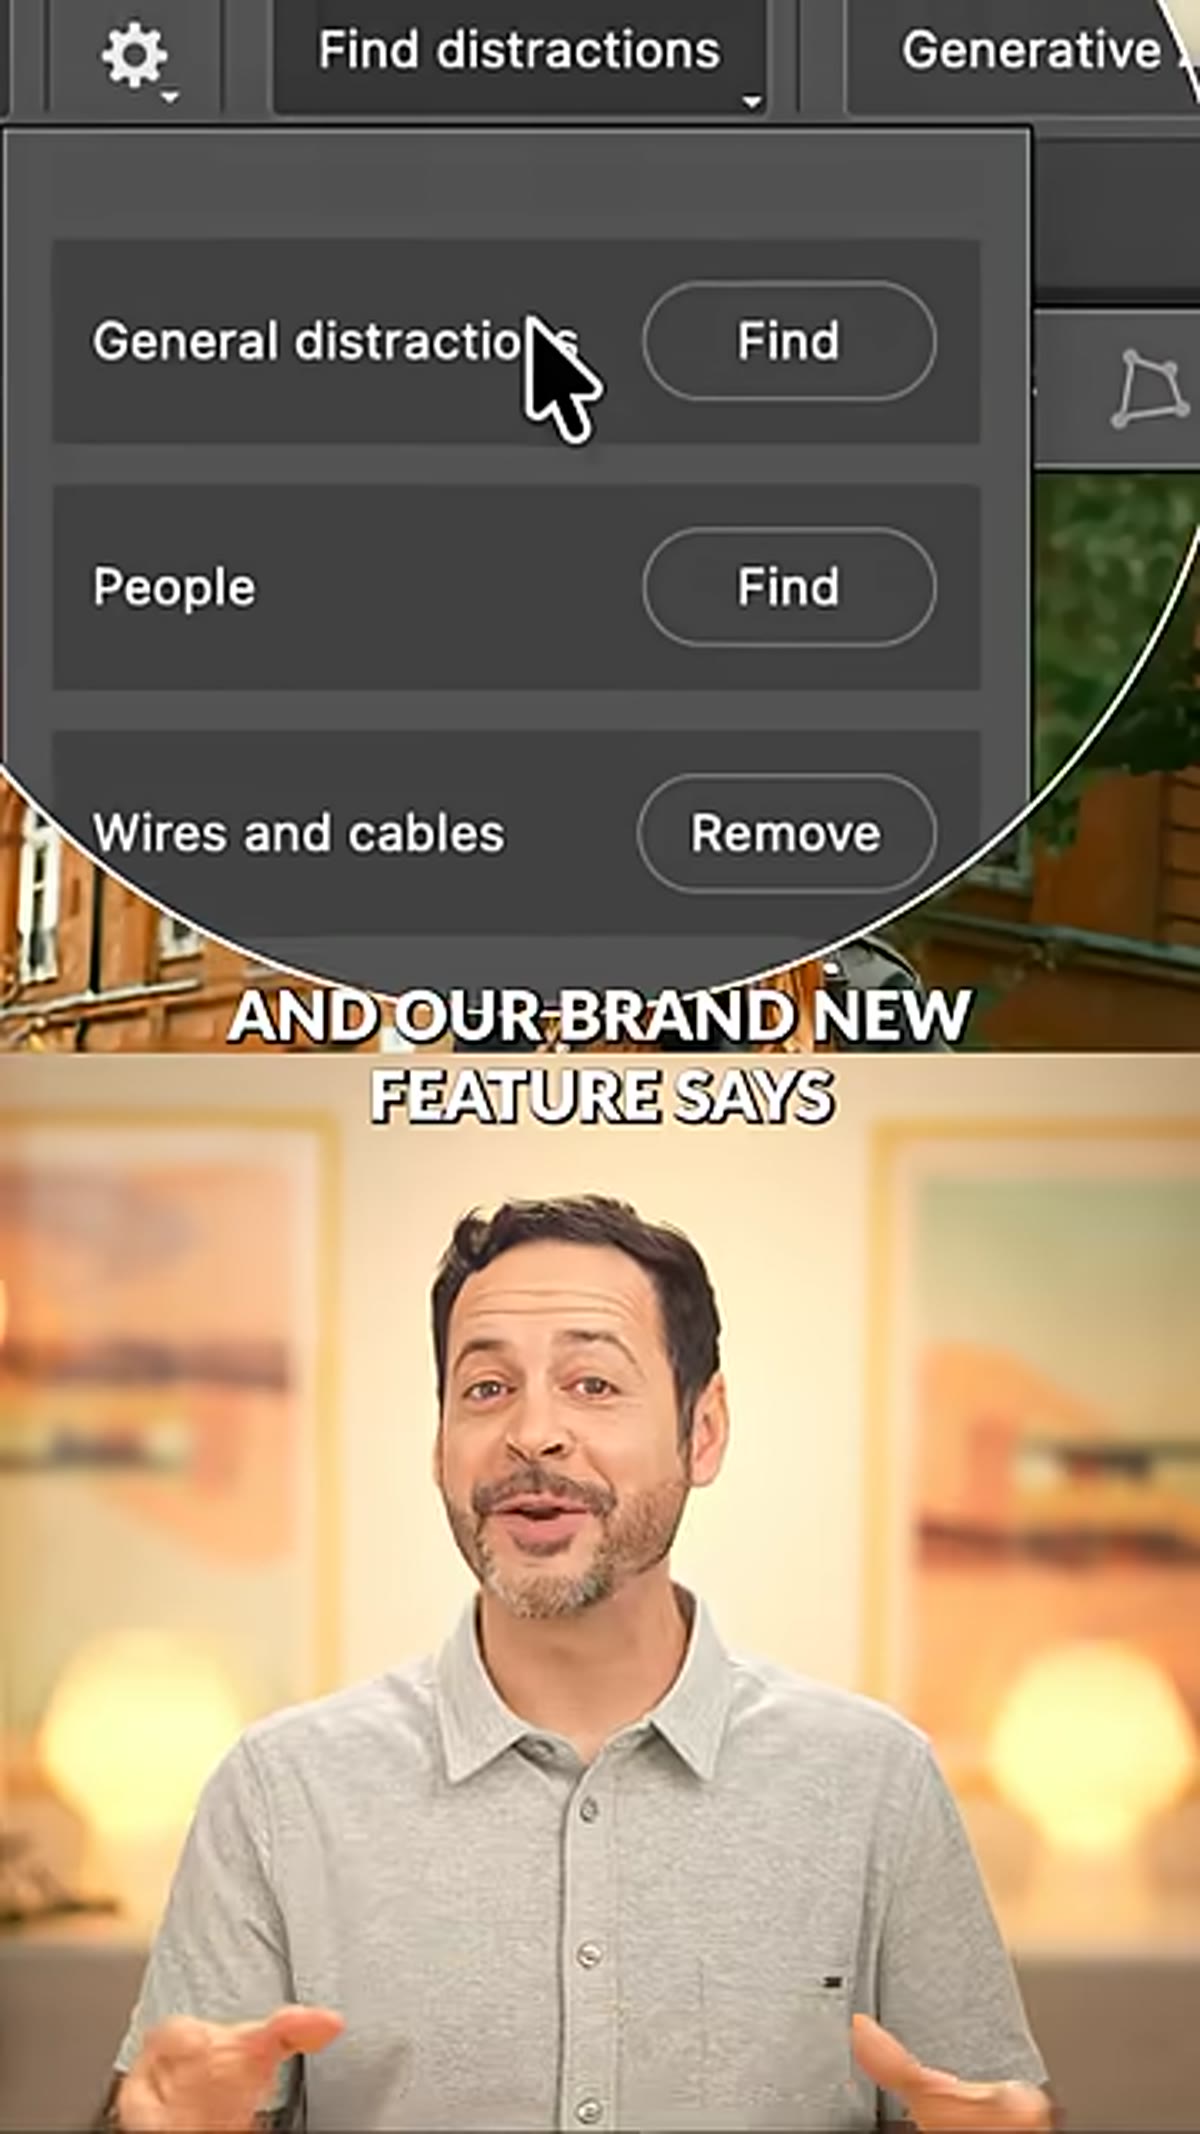
With the Remove Tool active, look at the options bar running across the top of your workspace. You’ll see a button or dropdown labeled “Find Distractions.” Click it. A panel or set of options will appear with a “Find” button. This is the entry point for the AI-powered scanning feature. You haven’t committed to anything yet at this stage. You’re just telling Photoshop to look at the image and report back.
“Find Distractions” option visible in the Remove Tool options bar
With the Remove Tool active, look at the options bar running across the top of your workspace. You’ll see a button or dropdown labeled “Find Distractions.” Click it. A panel or set of options will appear with a “Find” button. This is the entry point for the AI-powered scanning feature. You haven’t committed to anything yet at this stage. You’re just telling Photoshop to look at the image and report back.
Step 3: Run the AI Scan
 AI scan in progress, loading indicator visible
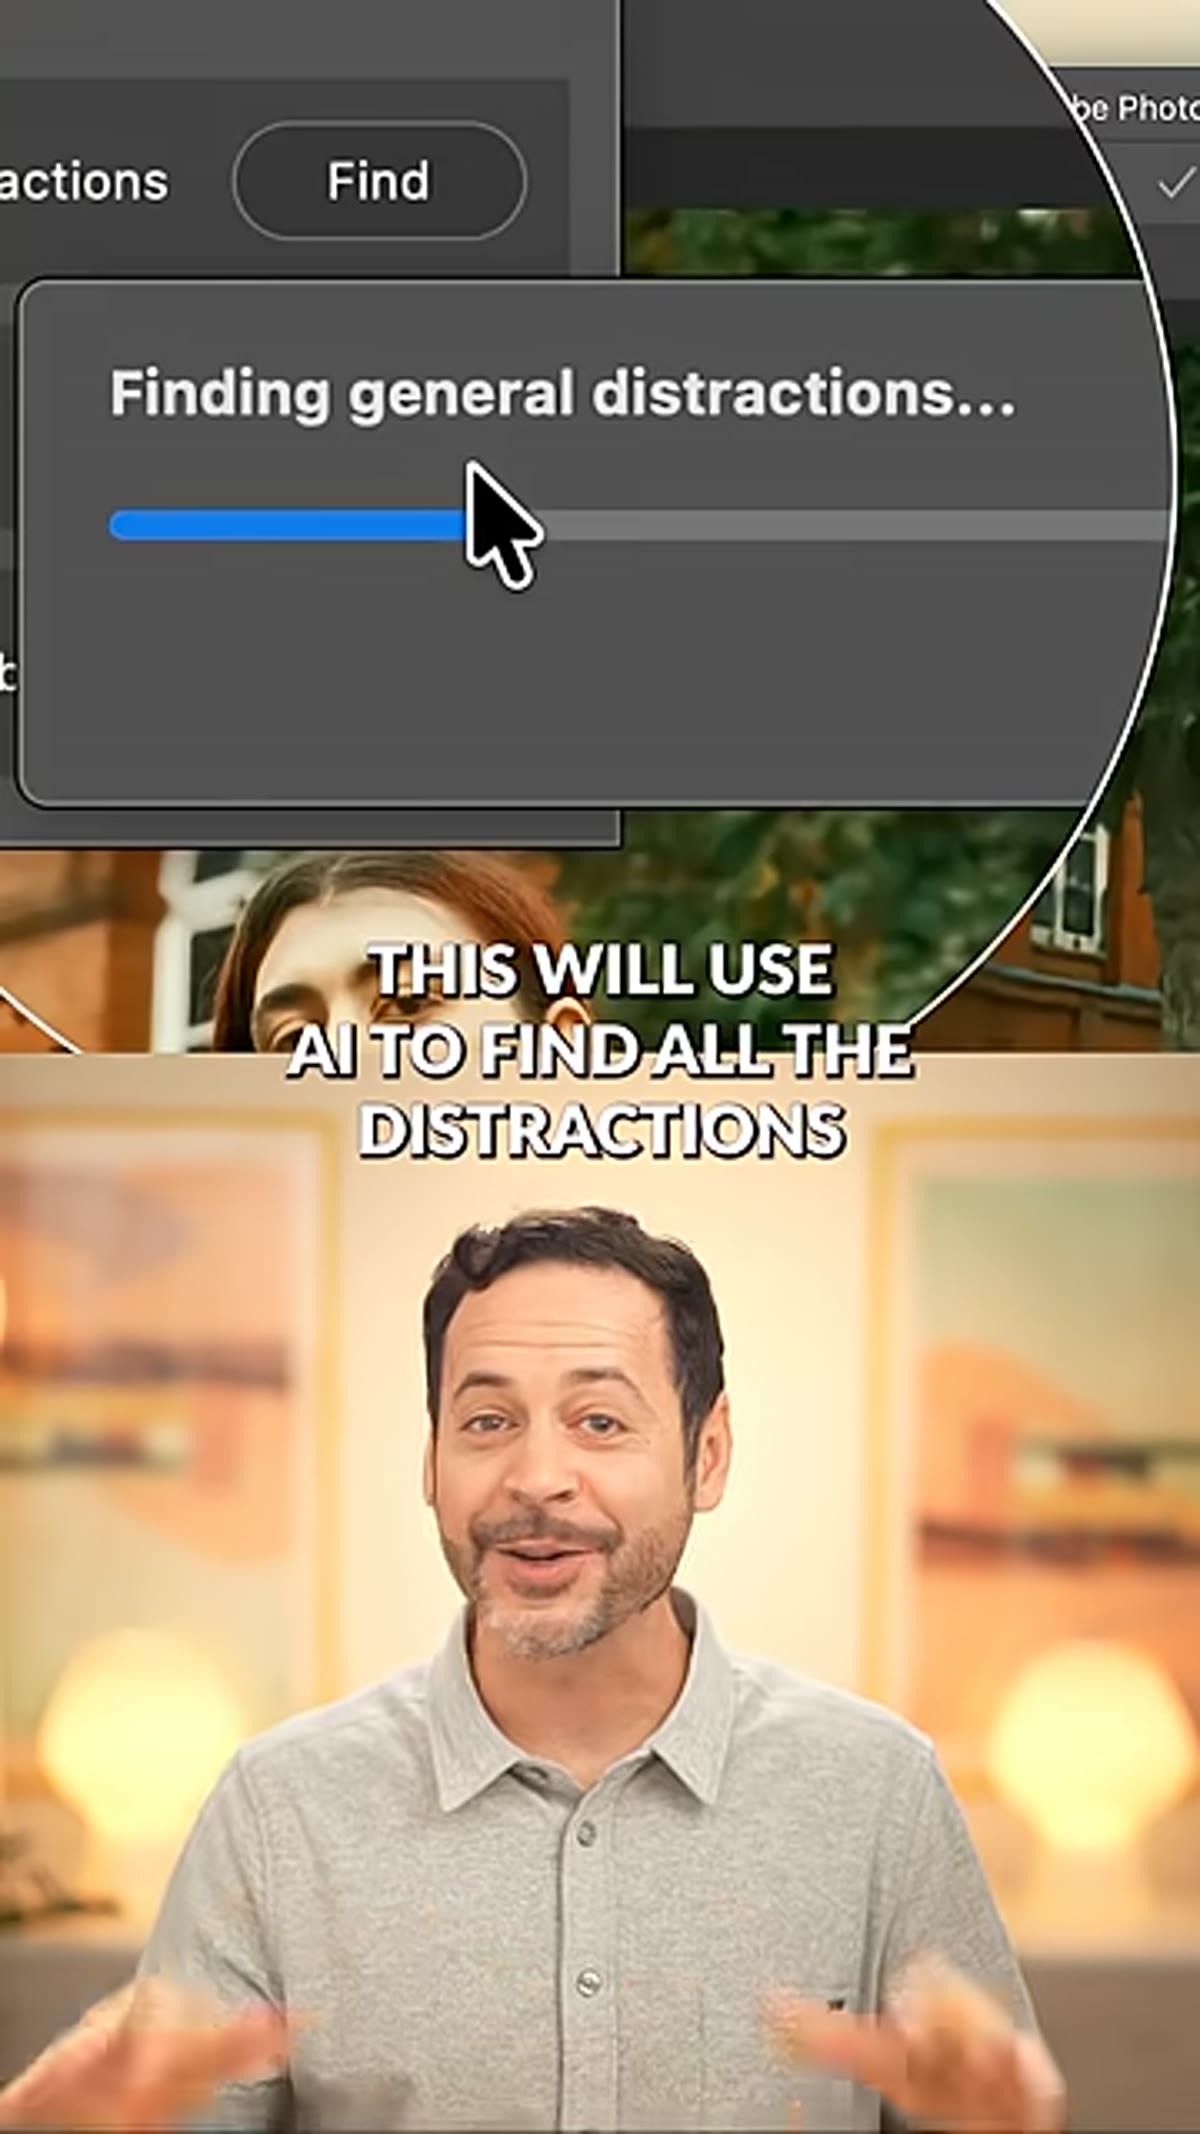
Click “Find.” Photoshop will process the image using Adobe’s AI to identify elements it classifies as distractions. Depending on the complexity of your image and your machine’s hardware, this takes anywhere from a few seconds to maybe fifteen or twenty seconds on a heavy file. What it returns is more useful than a simple selection. The distractions get categorized and color-coded, so you can see at a glance what the AI has flagged and how it has grouped those elements. This is where the feature moves from “nice” to genuinely thoughtful.
AI scan in progress, loading indicator visible
Click “Find.” Photoshop will process the image using Adobe’s AI to identify elements it classifies as distractions. Depending on the complexity of your image and your machine’s hardware, this takes anywhere from a few seconds to maybe fifteen or twenty seconds on a heavy file. What it returns is more useful than a simple selection. The distractions get categorized and color-coded, so you can see at a glance what the AI has flagged and how it has grouped those elements. This is where the feature moves from “nice” to genuinely thoughtful.
Step 4: Review and Adjust the Categories
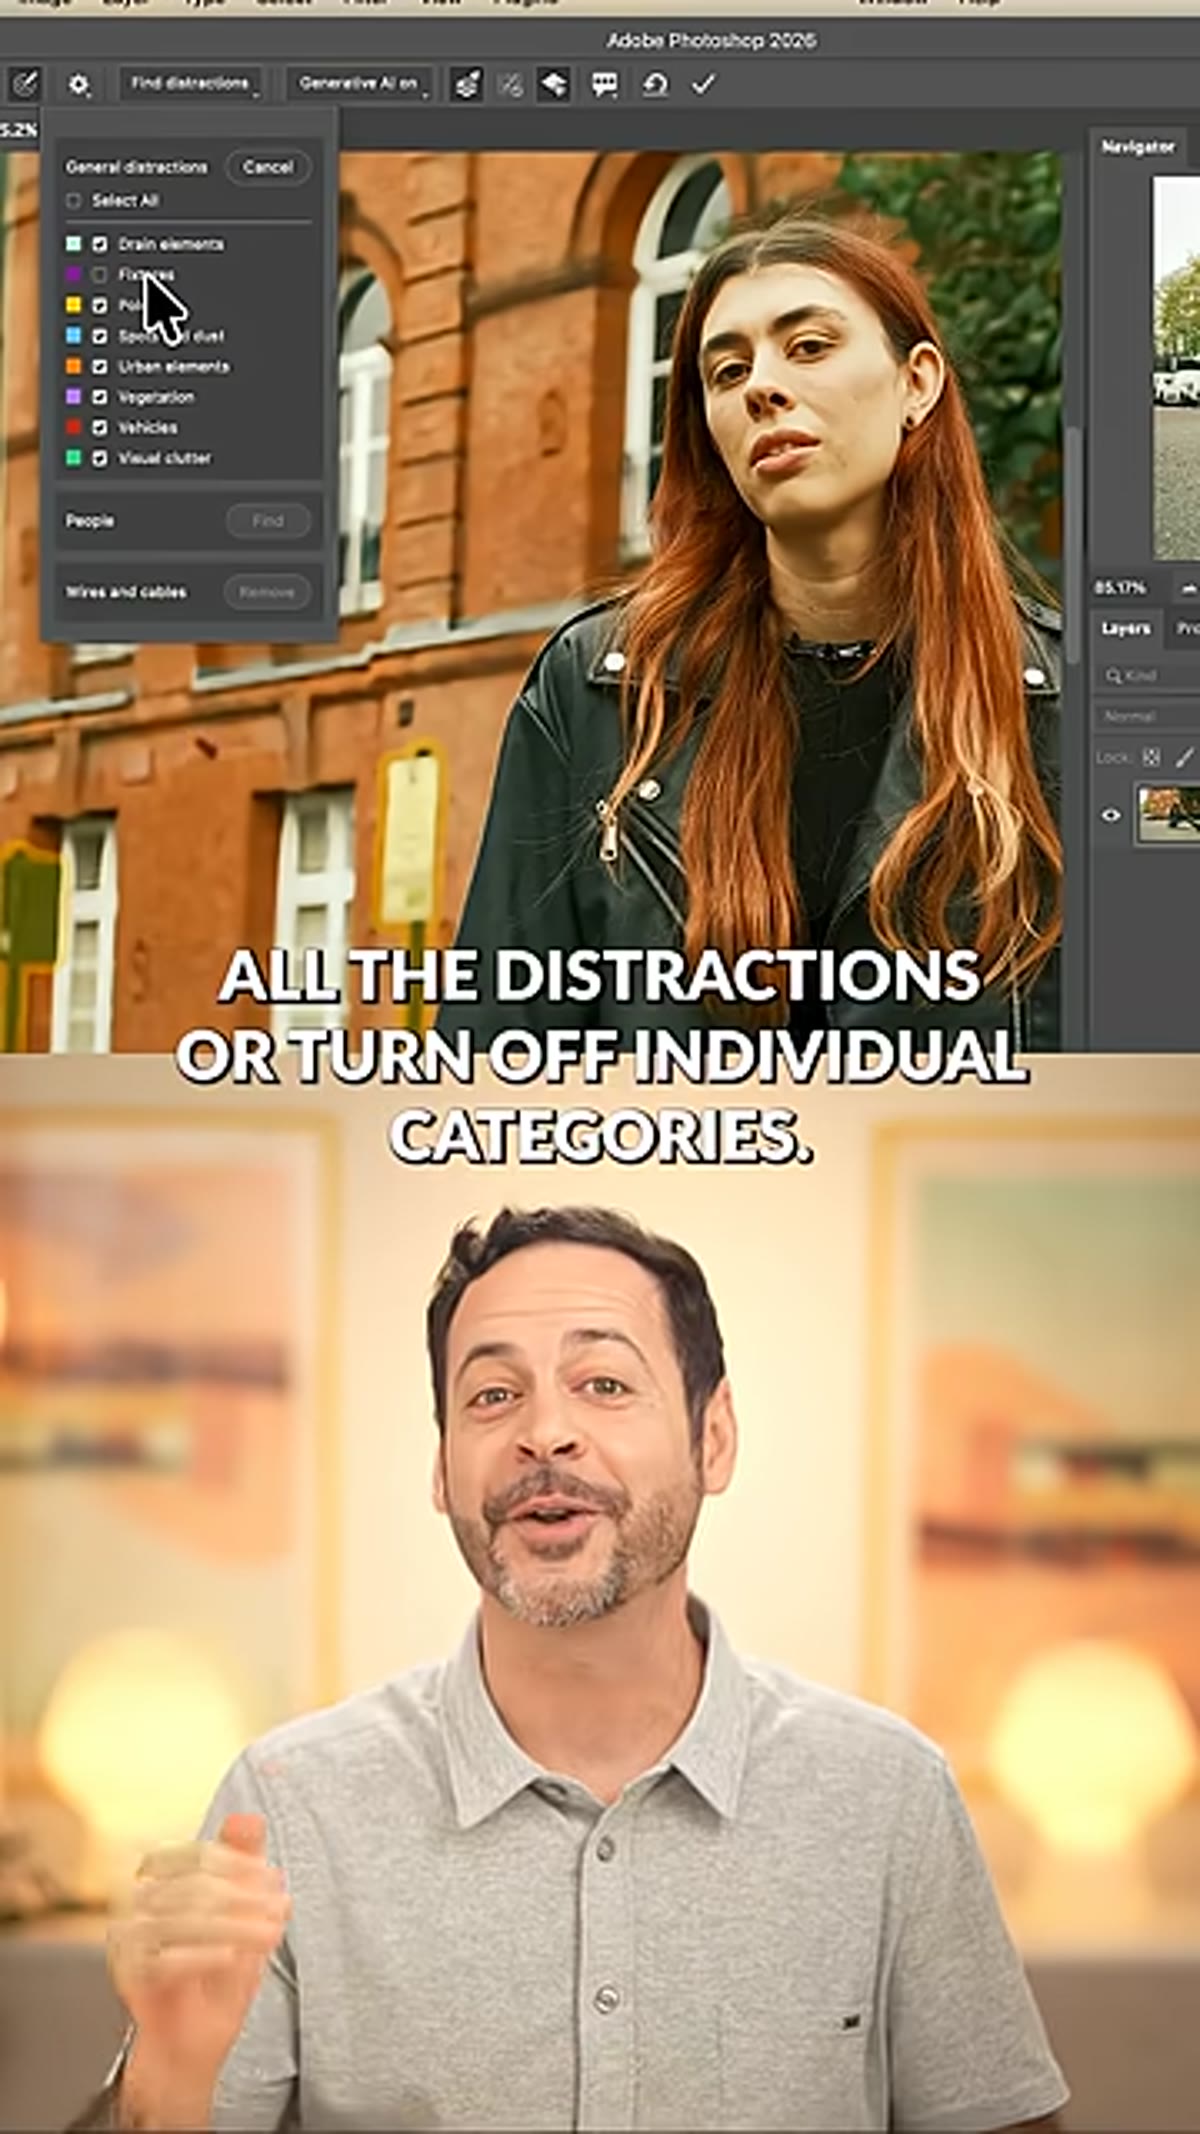 Color-coded distraction categories shown on the image
Before you let the AI remove anything, review what it found. Each category of distraction appears as a distinct color overlay on your image, and you can toggle individual categories on or off. This step matters more than it might seem. AI scanning is impressive, but it doesn’t know your creative intent. A background element that looks like noise to the algorithm might be contextually important in your shot. Turn off any categories you want to preserve before proceeding. For product work especially, you want to stay in control of what gets treated as unwanted.
Color-coded distraction categories shown on the image
Before you let the AI remove anything, review what it found. Each category of distraction appears as a distinct color overlay on your image, and you can toggle individual categories on or off. This step matters more than it might seem. AI scanning is impressive, but it doesn’t know your creative intent. A background element that looks like noise to the algorithm might be contextually important in your shot. Turn off any categories you want to preserve before proceeding. For product work especially, you want to stay in control of what gets treated as unwanted.
Step 5: Apply the Removal
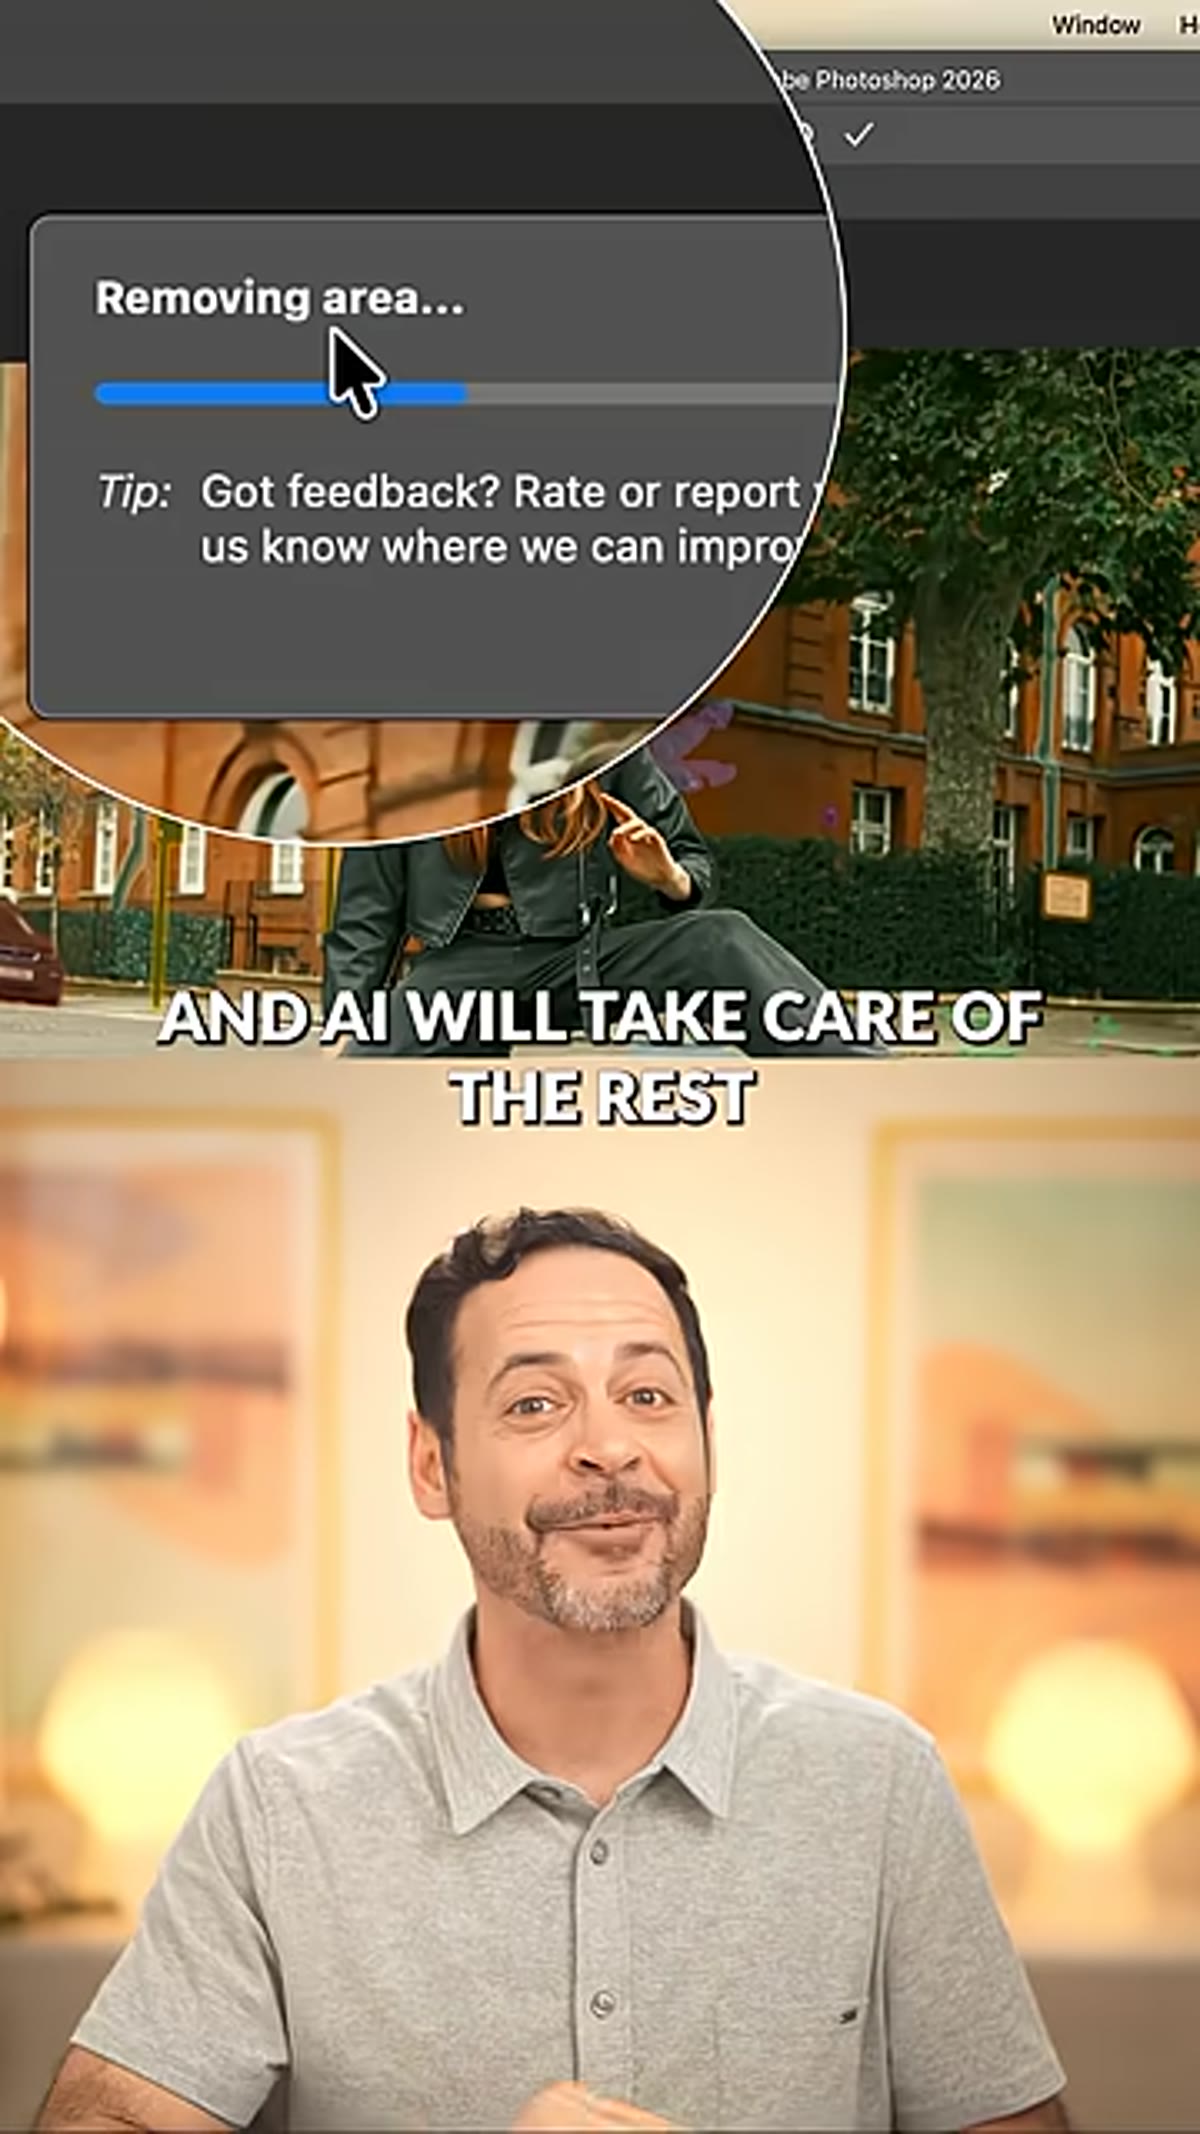 Checkmark button clicked, AI removal processing
Once you’re satisfied with the selection, click the checkmark to confirm. Photoshop takes over from here. The AI fills, blends, and rebuilds the affected areas automatically. This is the same underlying technology as the Remove Tool’s brush mode, but applied at scale across multiple regions simultaneously. The result lands on a new layer, which is a critical detail covered in the next step.
Checkmark button clicked, AI removal processing
Once you’re satisfied with the selection, click the checkmark to confirm. Photoshop takes over from here. The AI fills, blends, and rebuilds the affected areas automatically. This is the same underlying technology as the Remove Tool’s brush mode, but applied at scale across multiple regions simultaneously. The result lands on a new layer, which is a critical detail covered in the next step.
Step 6: Evaluate the Result on Its Own Layer
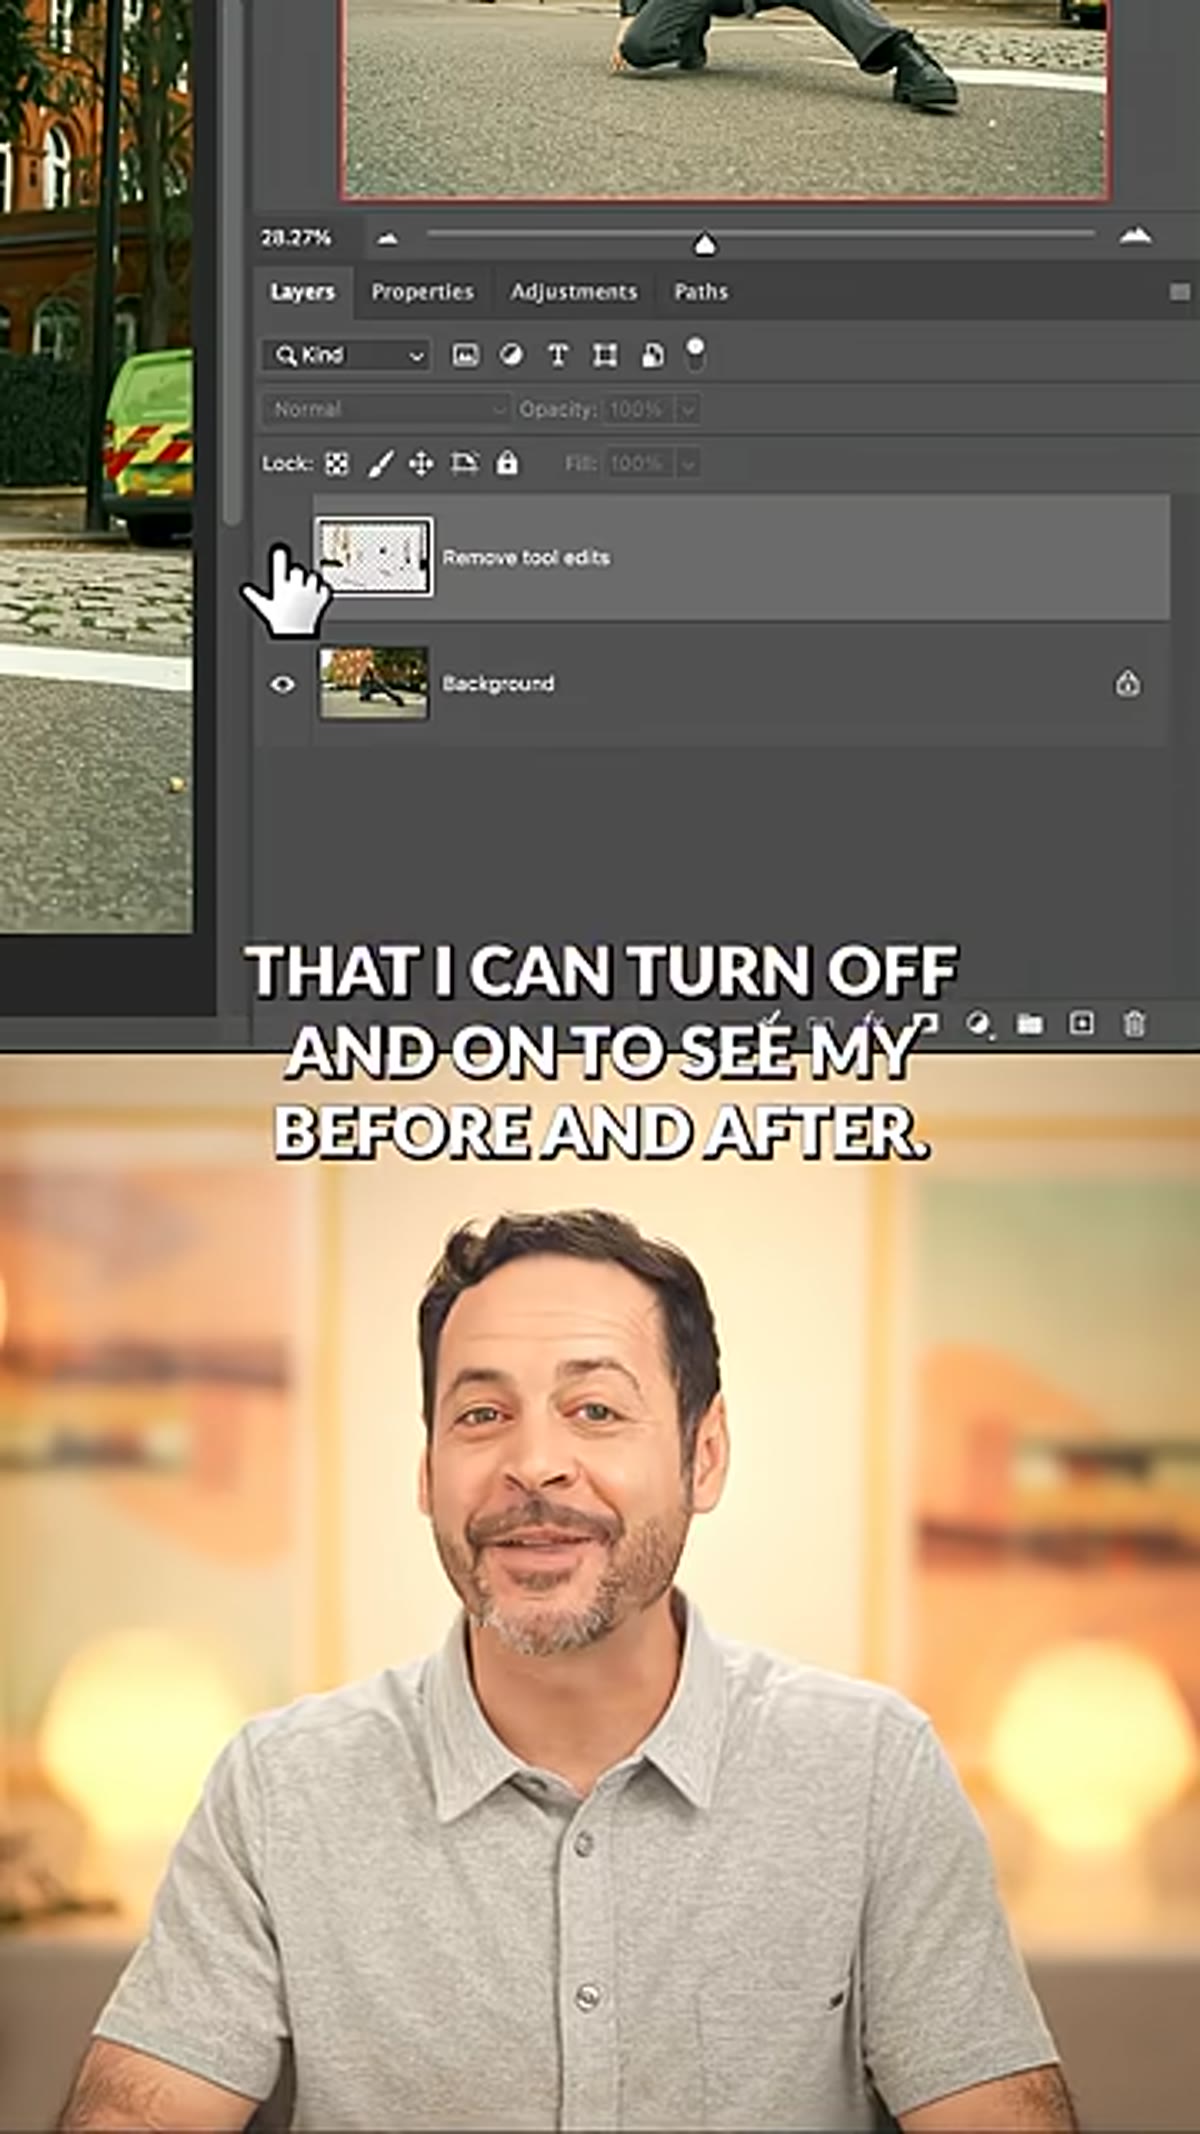 New layer visible in Layers panel with before/after toggle
The output appears as a separate layer above your original. Toggle it on and off in the Layers panel to compare before and after. This non-destructive approach is the right call, and it gives you an easy rollback if something looks wrong. Check edges carefully, particularly around organic shapes like hair, foliage, or complex backgrounds. AI-generated fills are remarkably good but not flawless, and catching a problem now is faster than rebuilding the composite later.
New layer visible in Layers panel with before/after toggle
The output appears as a separate layer above your original. Toggle it on and off in the Layers panel to compare before and after. This non-destructive approach is the right call, and it gives you an easy rollback if something looks wrong. Check edges carefully, particularly around organic shapes like hair, foliage, or complex backgrounds. AI-generated fills are remarkably good but not flawless, and catching a problem now is faster than rebuilding the composite later.
Step 7: Clean Up Anything the AI Missed
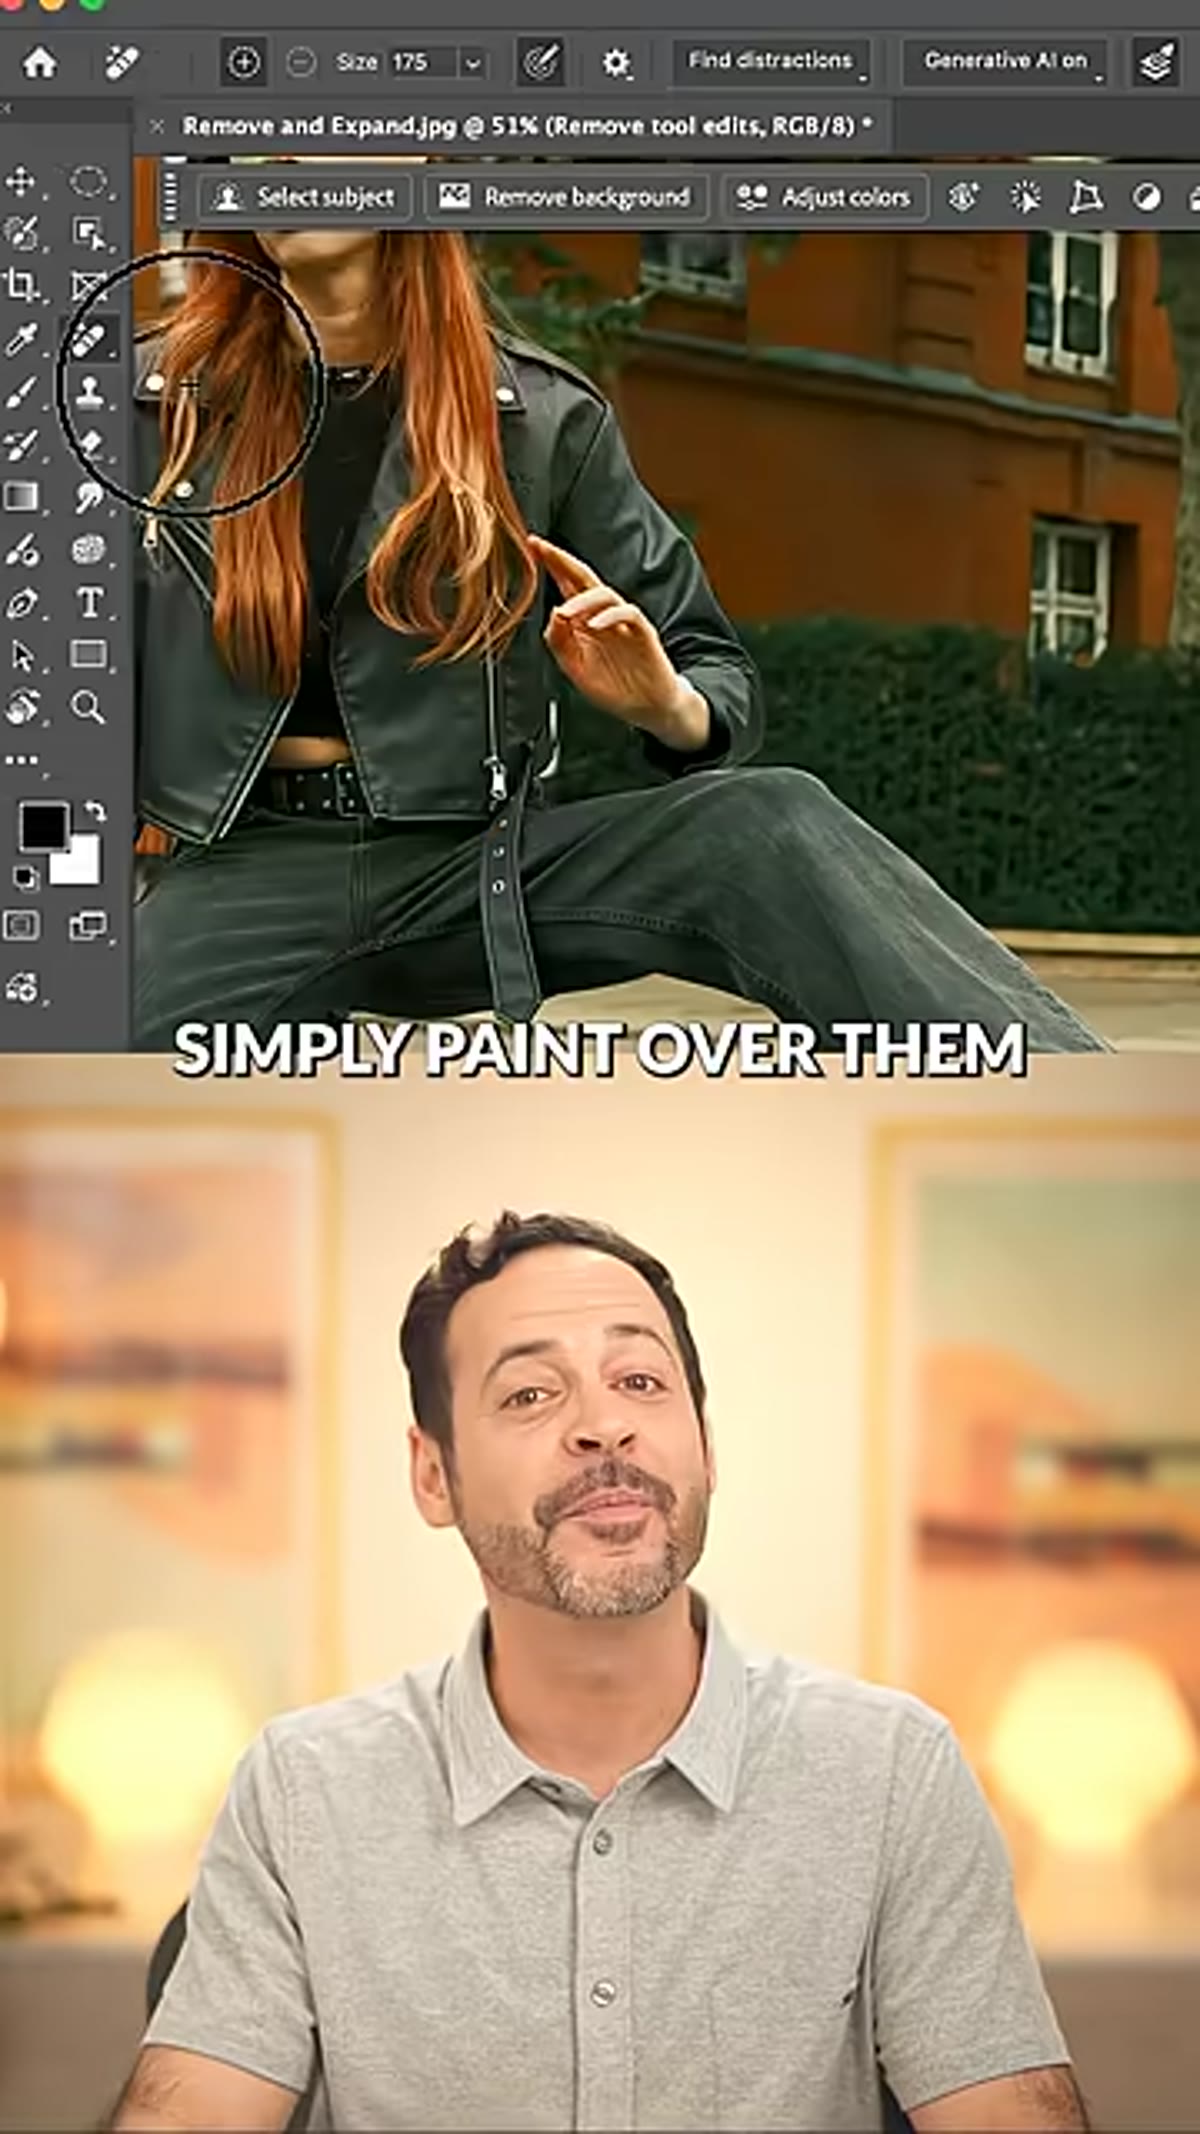 Remove Tool brush being painted manually over a remaining distraction
For anything that didn’t get caught in the initial scan, or that you deliberately excluded from a category, switch back to the Remove Tool’s manual brush mode. Paint over the area and click the checkmark again. This targeted cleanup works exactly as it did before the update. Think of the Find Distractions scan as a first pass that handles the bulk of the work, and the manual brush as your precision tool for finishing. Used together, they cover almost every situation.
Remove Tool brush being painted manually over a remaining distraction
For anything that didn’t get caught in the initial scan, or that you deliberately excluded from a category, switch back to the Remove Tool’s manual brush mode. Paint over the area and click the checkmark again. This targeted cleanup works exactly as it did before the update. Think of the Find Distractions scan as a first pass that handles the bulk of the work, and the manual brush as your precision tool for finishing. Used together, they cover almost every situation.
How I’m Thinking About This for Client Work
One thing I want to flag that doesn’t come up in the tutorial: when you’re handing files to an agency or a brand team, your layer stack tells a story. I’ve started naming the Find Distractions output layer something descriptive rather than leaving it at the Photoshop default. “AI_Distractions_Removal_v1” takes three seconds to type and saves a confusing conversation later when someone else opens the file.
I’m also running this feature as an early step in my retouching order before color grading and any frequency separation work. If you apply Find Distractions after you’ve already done detailed retouching on the same layer, you risk the AI treating your existing edits as part of the scene and making decisions based on a version of the image that’s already been modified. Start with a clean raw-converted file, run the distraction removal, then build your retouching stack on top of it.
The bigger-picture point is this: tools like Find Distractions don’t replace retouching judgment. They compress the time it takes to do the obvious part of the job so you can spend your attention on the decisions that actually require it. For high-volume commercial work, that compression adds up fast, and I suspect my tracking spreadsheet is going to look very different six months from now because of it.
Comments (8)
My workflow just got 10x faster. Not even kidding.
Love how you break down complex stuff into manageable steps.
Love how you break down complex stuff into manageable steps.
Love how you break down complex stuff into manageable steps.
Great article! I actually covered something related on my site — the gear angle is really complementary to this.
Simple but effective. Sometimes that's all you need.
I tried this on a client project yesterday and the results were way better than expected.
Excellent tutorial. I'd add that from a business standpoint, this technique is incredibly versatile.
Leave a Comment