Smart Objects Done Right: How to Build Photoshop Campaigns That Update Themselves

Smart Objects Done Right: How to Build Photoshop Campaigns That Update Themselves

If you work in commercial production long enough, you develop a sixth sense for fragile files. You know the ones. Five versions of a logo buried across twelve layers, each one manually resized, each one slightly different because someone eyeballed the transform. A client calls with a color change and suddenly you’re hunting through every PSD you built over the last three weeks. I’ve been there more times than I’d like to admit, and it’s the kind of workflow problem that quietly eats hours every month.

Smart Objects in Photoshop: The Workflow That Saves Commercial Composites (and Your Sanity)

Smart Objects in Photoshop: The Workflow That Saves Commercial Composites (and Your Sanity)

There’s a specific kind of dread that hits when a client emails at 4 p.m. asking for their logo to be swapped across 47 mockup files you built three weeks ago. If those files aren’t structured correctly, you’re spending your evening clicking through layers one by one. I’ve been there. Early in my commercial work I treated Smart Objects like a nice-to-have, something I’d use when I remembered. It took one particularly brutal product campaign revision round to make me treat them like load-bearing structure on every single project.

How to Give Flat Textures Real Depth Using Photoshop's 3D Lighting Tools

How to Give Flat Textures Real Depth Using Photoshop's 3D Lighting Tools

There’s a category of client request that used to slow me down more than it should have: “Make it feel like it has weight.” Usually this comes from an art director staring at a perfectly sharp texture image that looks, despite being beautiful, completely flat on screen. No shadows cutting across the surface. No sense that light is raking across the grain or the cracks. Just a photo sitting there looking like a photo.

How to Install Custom Brushes in Photoshop (And Actually Use Them Well)

How to Install Custom Brushes in Photoshop (And Actually Use Them Well)

Every time I onboard a new retoucher at my consultancy, the same conversation happens within the first week. They’ve downloaded a beautiful custom brush pack, they open Photoshop, and then they stare at it like it’s a locked door with no handle. Brush installation is one of those things that feels like it should be obvious but genuinely isn’t the first time. And if you get it wrong, you end up with a brush that loads but doesn’t appear where you expect, or duplicates stacking up invisibly in your panel while you wonder why nothing looks right.

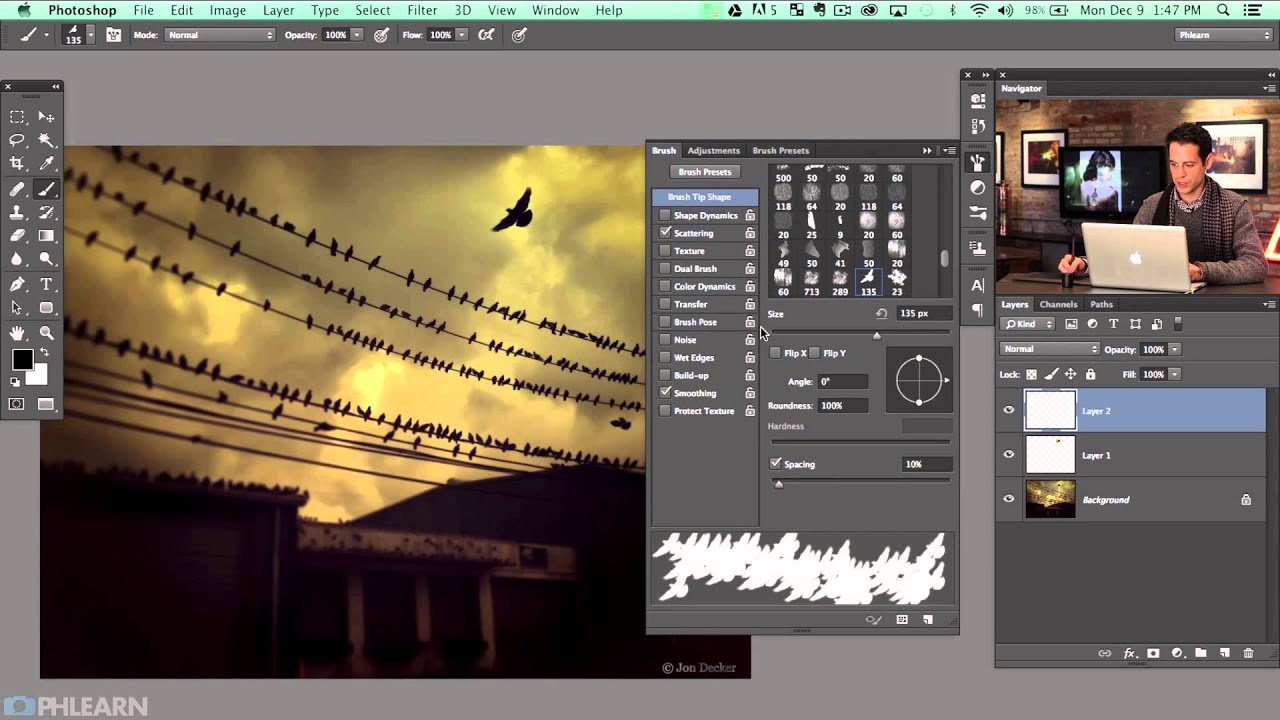
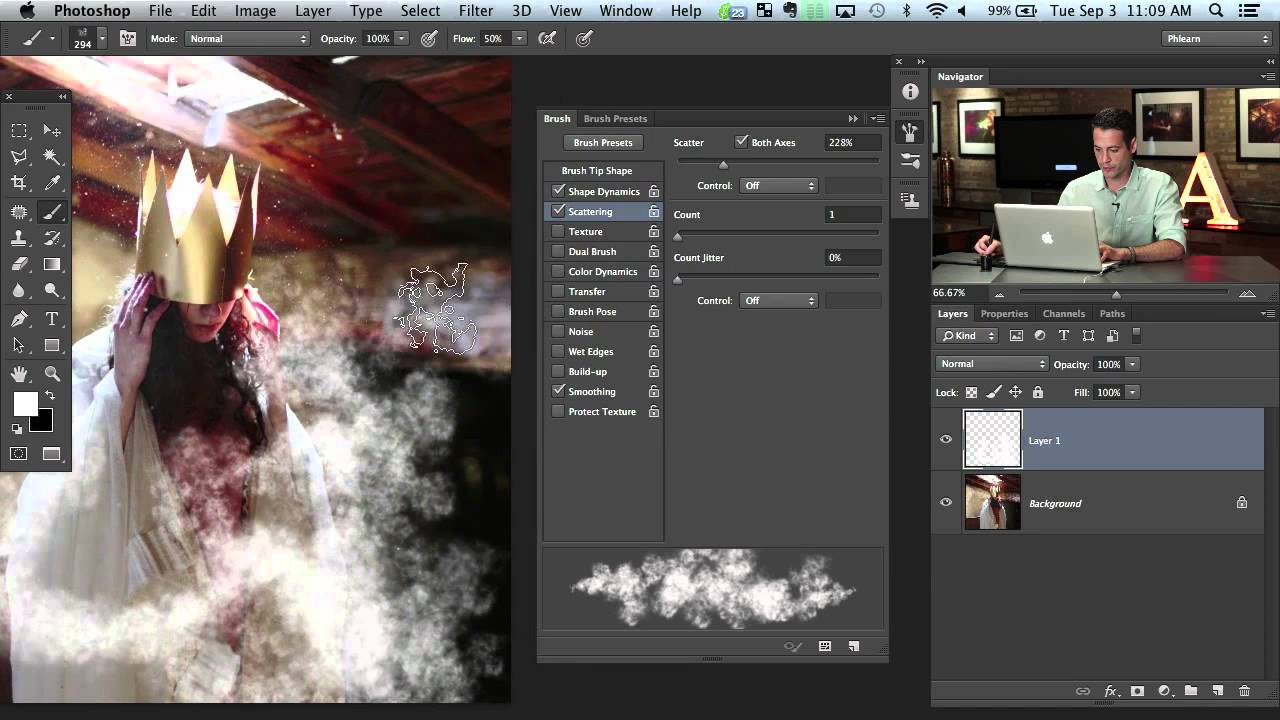
Mastering the Brush Tool in Photoshop: Dodge, Burn, and Custom Cloud Brushes

Mastering the Brush Tool in Photoshop: Dodge, Burn, and Custom Cloud Brushes

Most tools in Photoshop get their moment in the spotlight. The Pen tool has its cult following. The healing brush gets tutorials dedicated entirely to skin retouching. But the brush tool? People tend to gloss over it because it seems obvious. You paint. That’s it. What I’ve found after fifteen years of working in commercial post-production is that the brush tool is quietly responsible for some of the most important work happening in any comp, and most people are using it at maybe 30 percent of its capability.

Stop Painting with Generic Brushes: How to Build Free, High-Quality Custom Brushes in Photoshop

Stop Painting with Generic Brushes: How to Build Free, High-Quality Custom Brushes in Photoshop

Every so often I’ll be retouching a composite for a client and I hit the same wall: the default Photoshop brush set just doesn’t have what I need. The standard round brushes are fine for blocking in masks, but the moment a project calls for realistic texture, organic edges, or painterly detail, they fall flat fast. I’ve bought brush packs over the years, and some of them are excellent, but there’s a constant nagging feeling that a pre-made pack is always someone else’s creative fingerprint, not mine.

How to Turn Any Stock Image Into Custom Photoshop Brushes (Spatter Effects the Smart Way)

How to Turn Any Stock Image Into Custom Photoshop Brushes (Spatter Effects the Smart Way)

Every studio I’ve worked in over the past 15 years has had the same gap in its toolkit: people spending money on individual texture assets when a smarter approach to sourcing and defining custom brushes would give them ten times the mileage for the same cost. I hit this wall myself early on in my consultancy work, particularly when clients started asking for grunge and ink-spatter treatments on ad campaigns. I was grabbing one-off stock images, masking them out manually, and dragging them around as smart objects.

Installing and Using Lightroom and Photoshop Presets the Right Way (A Working Pro's Walkthrough)

Installing and Using Lightroom and Photoshop Presets the Right Way (A Working Pro's Walkthrough)

I have a spreadsheet that tracks every hour saved by automated tools in my post-production workflow. After fifteen years running shoots for ad agencies and e-commerce brands, I am obsessive about this. Presets are one of the reasons that number keeps climbing. They are not a shortcut for people who don’t know what they’re doing. They’re a starting point that compresses hours of trial and error into a single click, and then they get out of your way so you can make the image your own.

The Workflow Tools I Actually Use After 15 Years of Commercial Post-Production

The Workflow Tools I Actually Use After 15 Years of Commercial Post-Production

The first time I manually cropped and resized the same image 200 times in a single day, I didn’t get angry. I got methodical. I spent that evening learning Photoshop scripting, built an action the next morning, and ran the whole batch in under four minutes. That was fifteen years ago. I haven’t repeated a manual task since — at least not without asking myself whether a tool should be doing it instead.

The Workflow Tools Actually Worth Installing (After 15 Years of Testing Bad Ones)

The Workflow Tools Actually Worth Installing (After 15 Years of Testing Bad Ones)

The Hidden Cost of “Just Doing It Manually” Last spring I was onboarding a freelancer to help with overflow work from an e-commerce client. She was talented, fast, detail-oriented. And she was doing every single background removal by hand, one at a time, in a 200-image product catalog. Not because she didn’t know better tools existed, but because nobody had ever sat her down and shown her what was actually available.

Color Lookup Tables (LUTs) for Photoshop: The Workflow Game-Changer You're Probably Sleeping On

Color Lookup Tables (LUTs) for Photoshop: The Workflow Game-Changer You're Probably Sleeping On

Color Lookup Tables (LUTs) for Photoshop: The Workflow Game-Changer You’re Probably Sleeping On I didn’t fully appreciate LUTs until I was color grading my 47th product shot of the day and realized I could apply a complex, multi-layer grading setup in literally one click. If you’re still manually building adjustment layers for every single image, I need to tell you about 3D LUTs—because they’ll fundamentally change how you work. What Actually Is a LUT?