There’s a specific kind of dread that hits when a client emails at 4 p.m. asking for their logo to be swapped across 47 mockup files you built three weeks ago. If those files aren’t structured correctly, you’re spending your evening clicking through layers one by one. I’ve been there. Early in my commercial work I treated Smart Objects like a nice-to-have, something I’d use when I remembered. It took one particularly brutal product campaign revision round to make me treat them like load-bearing structure on every single project.
That shift in thinking is exactly what Aaron Nace covers in this PHLEARN tutorial. Watch the full tutorial on YouTube – it’s a completely rebuilt version of one of PHLEARN’s most-watched courses, running over six hours and aimed squarely at intermediate to advanced Photoshop users. What I want to do here is pull out the core workflow logic in a form you can reference without scrubbing through timestamps. If you do any volume of commercial compositing, mockup design, or multi-file layout work, this is the process you need running under everything.
Step 1: Understand What a Smart Object Actually Is (and Isn’t)
 Welcome screen showing the tutorial title card
A Smart Object is a container. It wraps your layer content, whether that’s a raster image, a vector graphic, or even another Photoshop document, inside a protected shell. Every transformation, warp, or filter you apply sits on top of that container rather than baking into the original pixels. The practical consequence is that you can scale something down, change your mind, and scale it back up without any quality loss. That alone is worth the habit. But the deeper power is that multiple Smart Object instances can all point to the same source file. Edit the source once and every instance updates automatically.
Welcome screen showing the tutorial title card
A Smart Object is a container. It wraps your layer content, whether that’s a raster image, a vector graphic, or even another Photoshop document, inside a protected shell. Every transformation, warp, or filter you apply sits on top of that container rather than baking into the original pixels. The practical consequence is that you can scale something down, change your mind, and scale it back up without any quality loss. That alone is worth the habit. But the deeper power is that multiple Smart Object instances can all point to the same source file. Edit the source once and every instance updates automatically.
The distinction that matters most for production work: embedding versus linking. An embedded Smart Object stores the source data inside your PSD. A linked Smart Object references an external file on your drive. For a single mockup, embedded is fine. For a system of mockups sharing the same logo or product shot, linked Smart Objects are what turn a manual update job into a one-click job.
Step 2: Place and Work With Vector Logos Without Destroying Quality
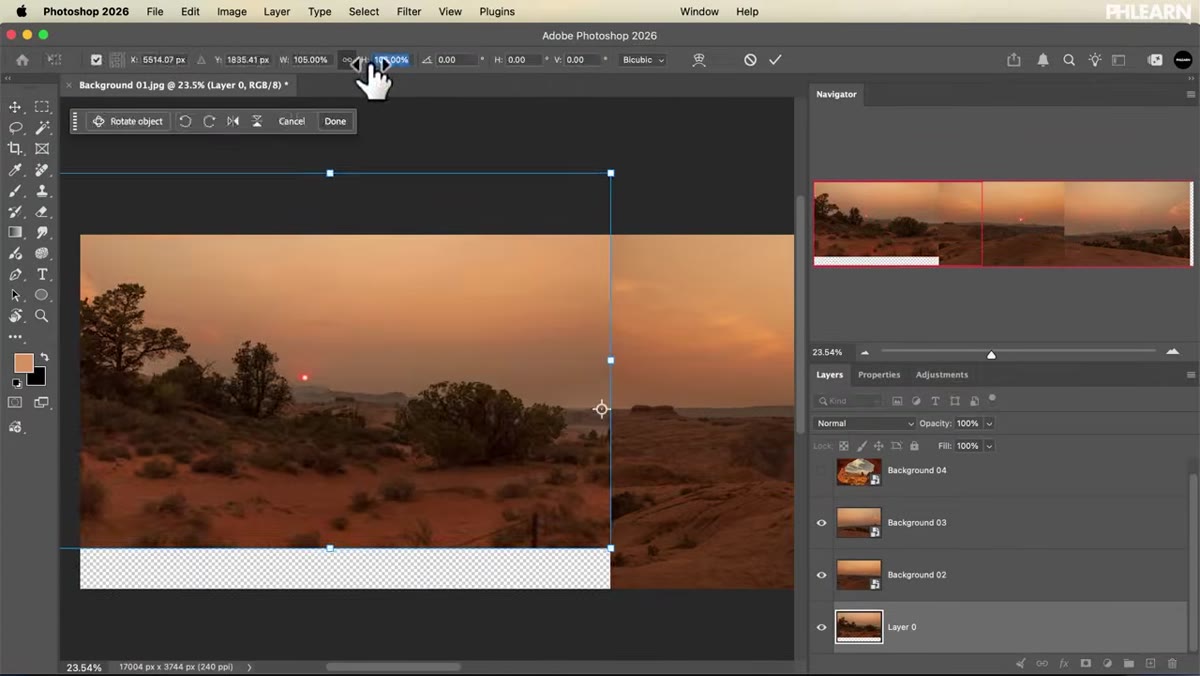 Placing a vector logo file into a Photoshop document
Go to File, then Place Embedded or Place Linked depending on your setup. When you drag in an AI or EPS vector file, Photoshop wraps it as a Smart Object automatically. You’ll see transform handles appear. Hold Shift to constrain proportions, scale it to whatever size you need, and hit Enter. Do not rasterize it. That one menu option is the single most common mistake I see in files that come through my consultancy – someone right-clicks, hits Rasterize, and now the logo falls apart the moment a client asks for a billboard-sized version.
Placing a vector logo file into a Photoshop document
Go to File, then Place Embedded or Place Linked depending on your setup. When you drag in an AI or EPS vector file, Photoshop wraps it as a Smart Object automatically. You’ll see transform handles appear. Hold Shift to constrain proportions, scale it to whatever size you need, and hit Enter. Do not rasterize it. That one menu option is the single most common mistake I see in files that come through my consultancy – someone right-clicks, hits Rasterize, and now the logo falls apart the moment a client asks for a billboard-sized version.
Because the vector data is preserved inside the Smart Object container, you can return to that layer at any point, double-click the thumbnail, and the original vector opens in Illustrator or in Photoshop’s vector environment. Make your edits, save, close, and the placed layer in your composite updates instantly. This is the workflow that makes scaling from a web banner to a print ad a non-event rather than a rebuild.
Step 3: Build Realistic Mockups Using Smart Objects and Warp
 Warping a Smart Object layer to match a surface perspective
The mockup workflow is where Smart Objects shift from a convenience to a genuine production tool. Place your artwork as a Smart Object, then go to Edit, Transform, Warp. Photoshop gives you a mesh you can push and pull to conform your artwork to the surface of a phone screen, a poster on a wall, a t-shirt – whatever the mockup requires. Because the layer is a Smart Object, the warp is stored as a live instruction. The source artwork underneath is untouched.
Warping a Smart Object layer to match a surface perspective
The mockup workflow is where Smart Objects shift from a convenience to a genuine production tool. Place your artwork as a Smart Object, then go to Edit, Transform, Warp. Photoshop gives you a mesh you can push and pull to conform your artwork to the surface of a phone screen, a poster on a wall, a t-shirt – whatever the mockup requires. Because the layer is a Smart Object, the warp is stored as a live instruction. The source artwork underneath is untouched.
Here’s the part that compounds the value: once your warp is set, any change you make to the Smart Object’s source content gets re-rendered through that same warp automatically. This means your mockup template is reusable. Build it once with the warp dialed in, save it as a template PSD, and next time you drop in new artwork the perspective and surface behavior carry over without any additional work. On a product campaign where I’m generating 20 or 30 mockup variations, that reusability is where serious time gets recovered.
Step 4: Create Massive Layouts That Update Across Multiple Files
 Demonstrating linked Smart Objects updating across documents
Linked Smart Objects are the architecture behind scalable layout systems. The workflow is straightforward: place your file using File, Place Linked rather than Place Embedded. Photoshop stores a reference to the external source file rather than a copy of it. In the Layers panel you’ll see a small chain-link icon on the layer thumbnail indicating it’s linked.
Demonstrating linked Smart Objects updating across documents
Linked Smart Objects are the architecture behind scalable layout systems. The workflow is straightforward: place your file using File, Place Linked rather than Place Embedded. Photoshop stores a reference to the external source file rather than a copy of it. In the Layers panel you’ll see a small chain-link icon on the layer thumbnail indicating it’s linked.
Now build your layout, your mockup, your composite – whatever the deliverable is – around that linked layer. When the source file changes, Photoshop flags the linked layer with a small warning icon indicating it’s out of date. Click Update Modified Layers, or go to Layer, Smart Objects, Update All Modified Content, and every instance refreshes. For an agency workflow where a logo or hero product image changes mid-campaign, this is the difference between a 10-minute update and a half-day rebuild.
Step 5: Package Your Assets for Clean Client Delivery
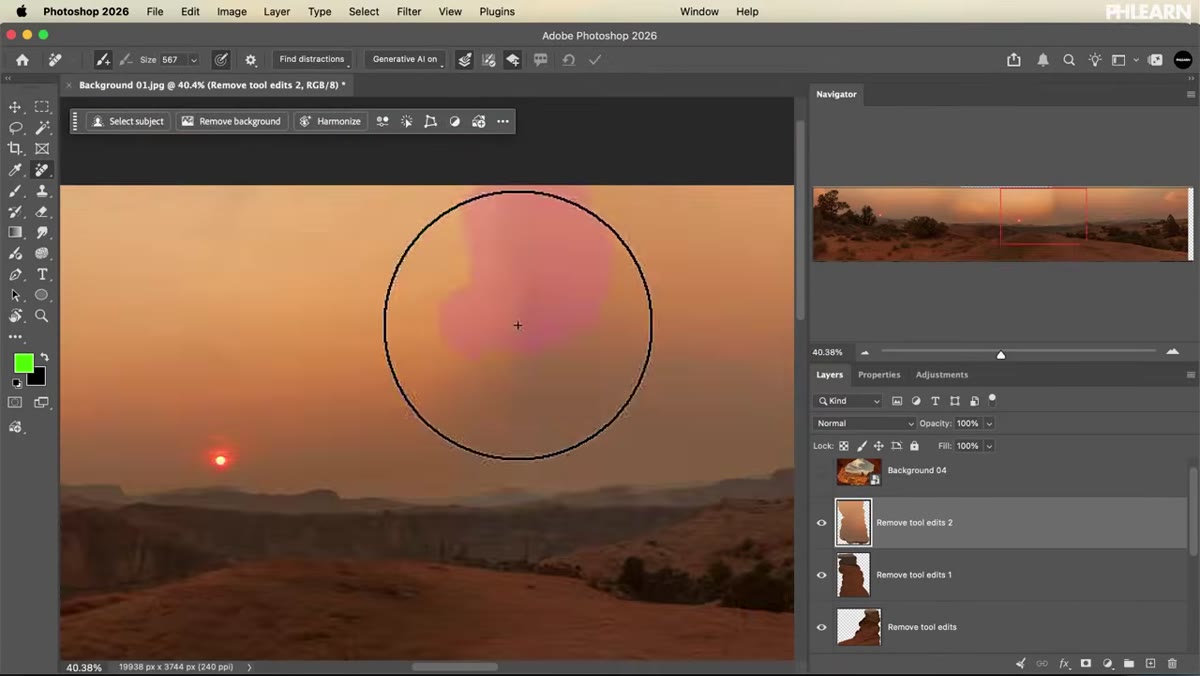 Using the Package function to collect linked files
Linked Smart Objects create a dependency: your PSD needs the external files to be present and accessible. If you send a client or collaborator just the PSD, they’ll open it to find broken links. The fix is File, Package. This collects the PSD and all linked assets into a single folder with the links automatically repointed to the new relative paths. Everything travels together. Nothing breaks on another machine.
Using the Package function to collect linked files
Linked Smart Objects create a dependency: your PSD needs the external files to be present and accessible. If you send a client or collaborator just the PSD, they’ll open it to find broken links. The fix is File, Package. This collects the PSD and all linked assets into a single folder with the links automatically repointed to the new relative paths. Everything travels together. Nothing breaks on another machine.
I run this as a final step on every deliverable, the same way I run a final proof. It’s a 30-second process that has saved me from at least a dozen “the image isn’t showing up” emails. If you’re using a version of Photoshop that doesn’t have Package natively visible, it’s also accessible through Adobe Bridge. Either way, make it a non-negotiable close-out step on any project using linked assets.
How This Fits Into a Broader Batch and Action System
The tutorial focuses on Smart Objects as a design and compositing tool, which is exactly right. Where I’d extend it is in combining this structure with Photoshop Actions and batch processing. Once your mockup template is built with linked Smart Objects, you can write an action that opens a source file, copies the content, pastes it into the Smart Object source, saves, and closes. Run that action as a batch against a folder of 50 product images and you’ve just auto-populated 50 mockups without touching a single one manually.
I track hours saved from systems like this – it’s a habit I picked up after building my first real batch pipeline. The Smart Object architecture Aaron Nace walks through here is foundational to making that kind of automation actually work. Without non-destructive containers holding your layers, batch operations get brittle fast. With them, the whole system becomes reliable enough to trust on a client deadline.
The single most important thing Smart Objects give you isn’t quality preservation or even the warp flexibility – it’s the ability to build something once and have it scale. That’s the logic that makes professional post-production workflows different from one-off file edits. If you’re doing any serious volume of commercial work and you’re not building around Smart Objects, you’re rebuilding work you already did.
Watch the full tutorial on YouTube – the complete course through PHLEARN includes sample PSDs, PDF guides, and over six hours of instruction that goes considerably deeper than what I’ve outlined here.
Comments
Leave a Comment