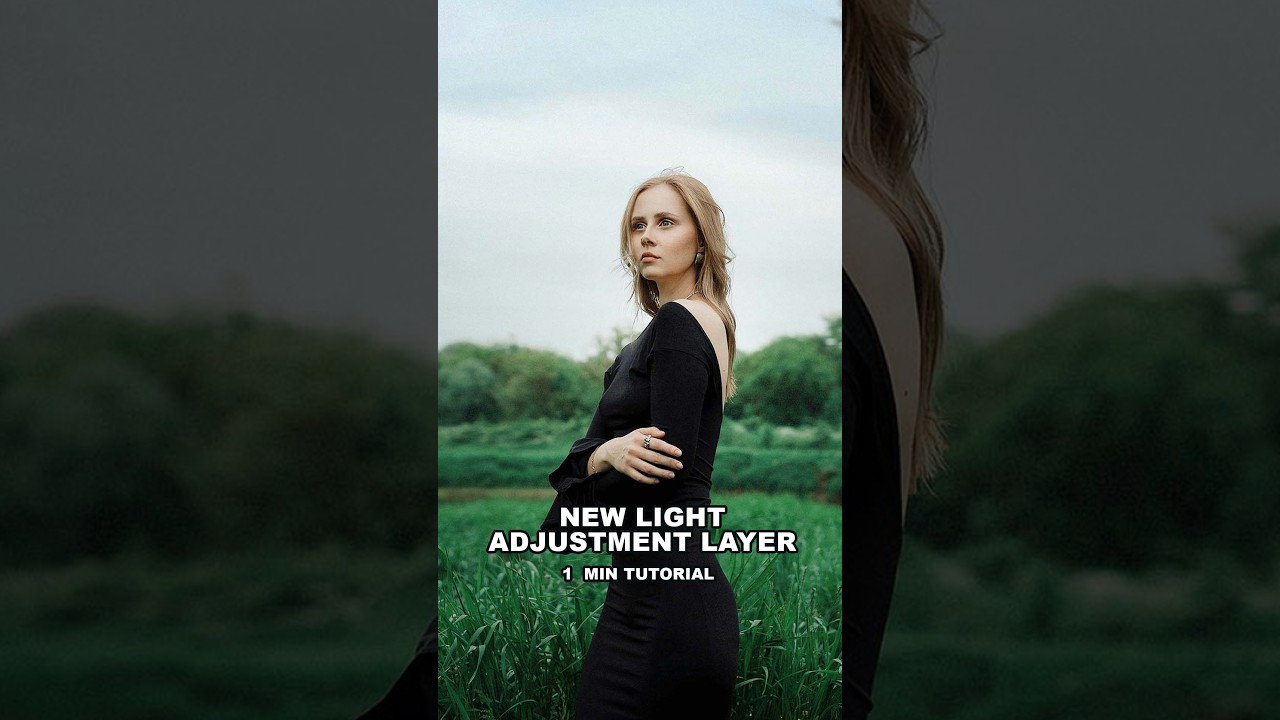
I’ve spent the better part of 15 years building systems to make photo editing faster and more consistent. Most of that time, the Brightness and Contrast adjustment layer sat in my panel like a blunt instrument I tolerated but never loved. It got the job done in the same way that a flathead screwdriver gets the job done on a Phillips screw - technically, but not well. So when Adobe quietly shipped a new adjustment layer called Light, I paid attention immediately.
In this Aaron Nace (PHLEARN) tutorial - Watch the full tutorial on YouTube - Aaron breaks down what this new layer actually is, the correct order to apply its controls, and how to push it further with masks. What caught my eye was the phrase he uses to describe it: a clone from Camera Raw. That’s not marketing language. That’s a meaningful technical statement, and it explains exactly why this tool works better than what it replaced.
The reason I care about tool quality isn’t abstract. When I’m processing a batch of e-commerce shots for an ad agency, the editing decisions I make get baked into actions and applied across hundreds of images. If my base tonal adjustment is imprecise, that imprecision multiplies. A tool that gives me Camera Raw’s tonal range controls inside a standard adjustment layer means tighter results, faster corrections, and fewer manual overrides. That’s real time saved.
Step 1: Find the New Light Adjustment Layer
 Photoshop interface with new Light adjustment layer highlighted
Open your Adjustments panel in Photoshop and look for the Light adjustment layer. Adobe has positioned this as a replacement for Brightness and Contrast, so if you’ve been using that layer out of habit, this is where you make the switch. The layer appears in the same panel alongside your other standard adjustments. Create a new one the same way you always have - click the icon in the Adjustments panel or go to Layer > New Adjustment Layer > Light.
Photoshop interface with new Light adjustment layer highlighted
Open your Adjustments panel in Photoshop and look for the Light adjustment layer. Adobe has positioned this as a replacement for Brightness and Contrast, so if you’ve been using that layer out of habit, this is where you make the switch. The layer appears in the same panel alongside your other standard adjustments. Create a new one the same way you always have - click the icon in the Adjustments panel or go to Layer > New Adjustment Layer > Light.
Step 2: Understand What You’re Actually Working With
 Light adjustment panel showing exposure, highlights, shadows, whites, blacks sliders
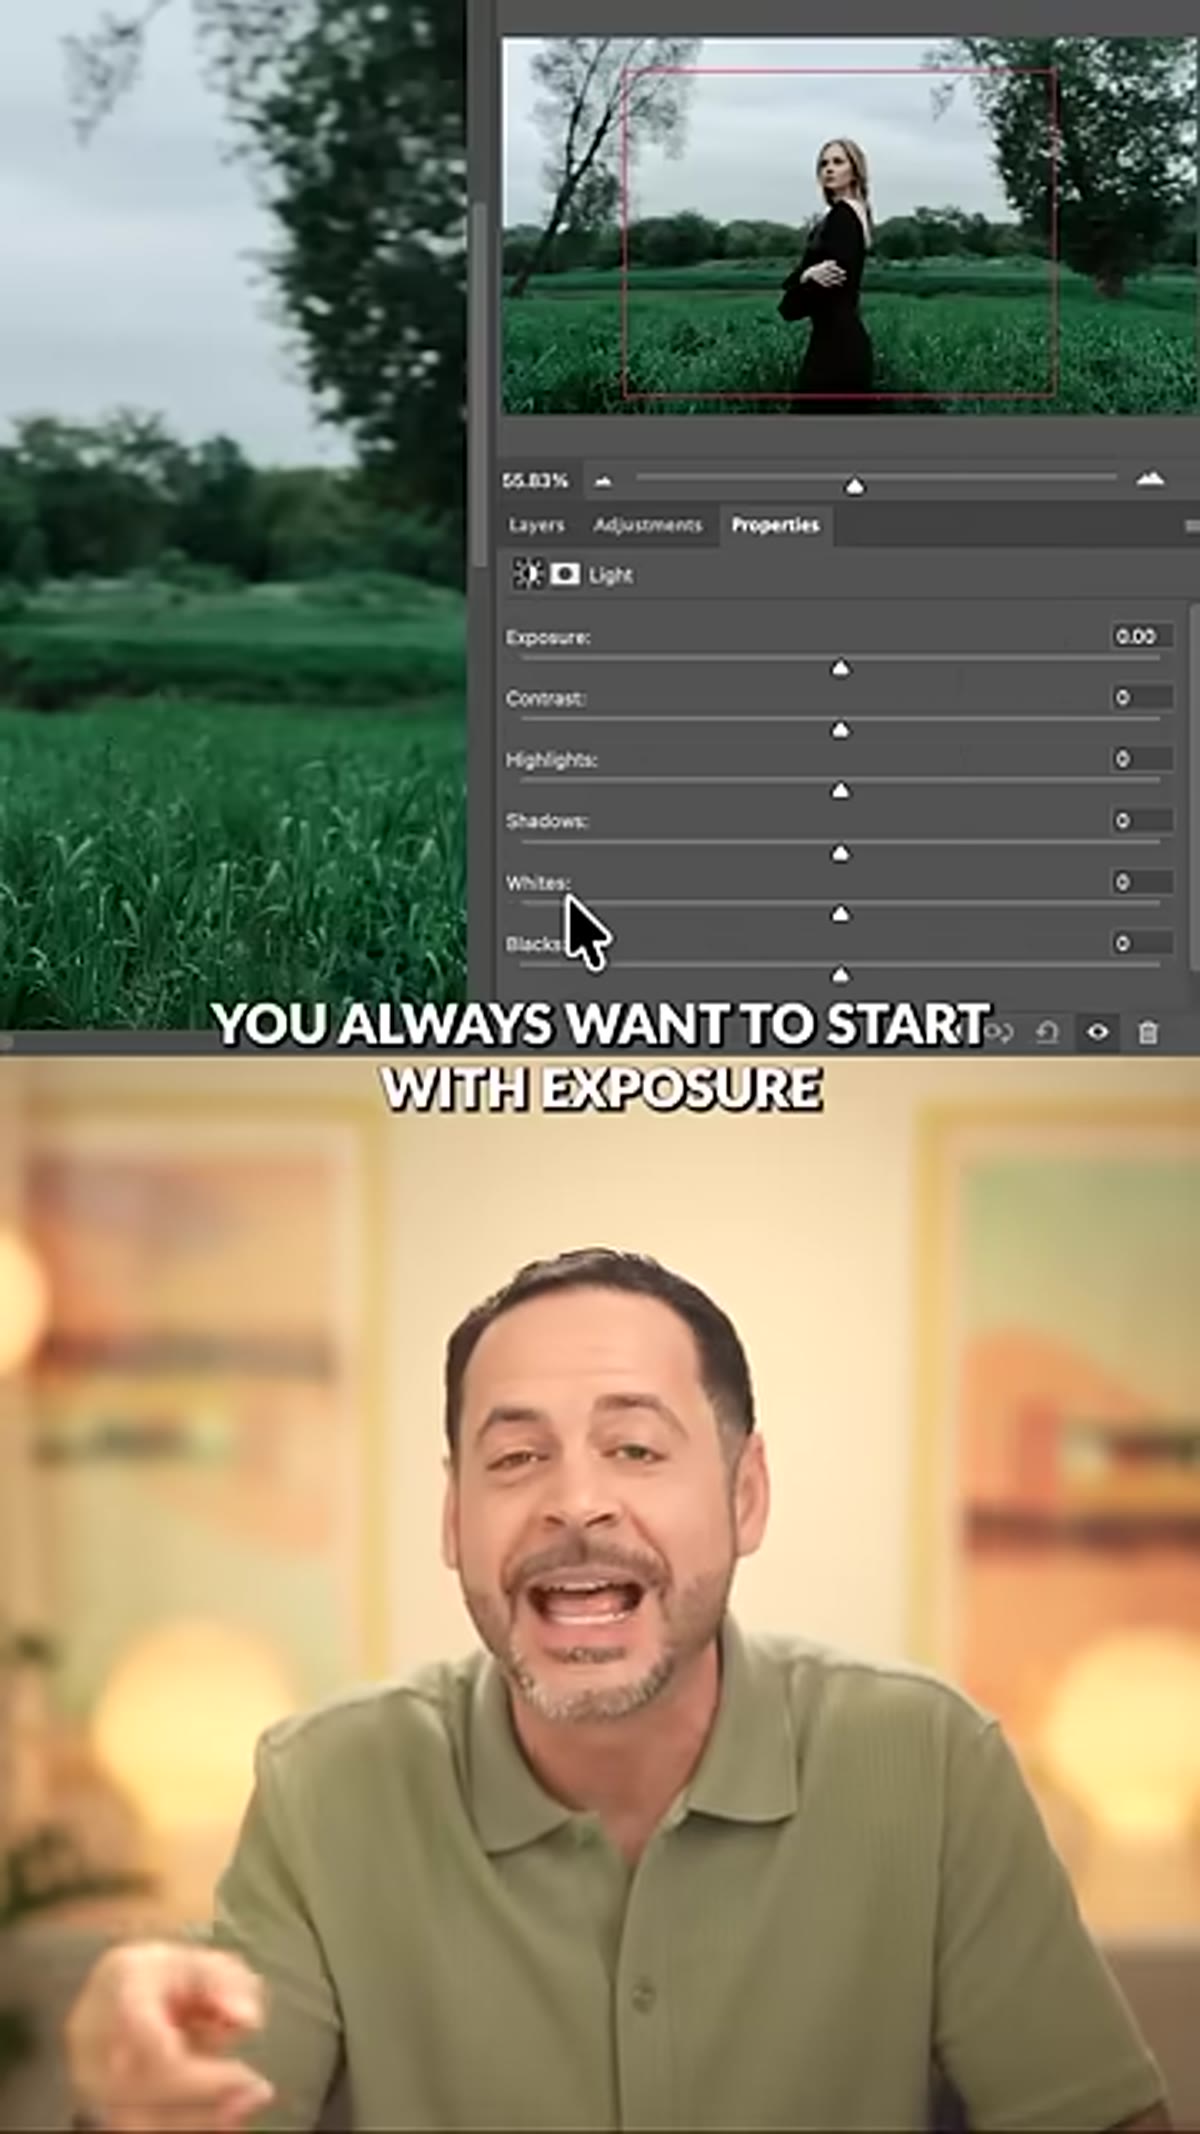
When the panel opens, you’ll see six sliders: Exposure, Contrast, Highlights, Shadows, Whites, and Blacks. If you’ve spent any time in Camera Raw or Lightroom, this layout is immediately familiar. That’s the point. Adobe took the tonal control system that photographers have relied on in Camera Raw for years and built it directly into the standard adjustment layer workflow. Each slider has a distinct and specific function - none of them are redundant, and that’s what makes the set so useful for precise control.
Light adjustment panel showing exposure, highlights, shadows, whites, blacks sliders
When the panel opens, you’ll see six sliders: Exposure, Contrast, Highlights, Shadows, Whites, and Blacks. If you’ve spent any time in Camera Raw or Lightroom, this layout is immediately familiar. That’s the point. Adobe took the tonal control system that photographers have relied on in Camera Raw for years and built it directly into the standard adjustment layer workflow. Each slider has a distinct and specific function - none of them are redundant, and that’s what makes the set so useful for precise control.
Step 3: Start With Exposure
 Exposure slider being adjusted in Light adjustment panel
Exposure is your first move. Think of it as your overall brightness control - it lifts or lowers the entire tonal range of the image before you start making targeted corrections. Aaron is clear about the sequence here, and this order matters. Setting your exposure first gives you a stable foundation. Trying to dial in shadows and highlights before you’ve established your overall brightness level is like adjusting the treble and bass before you’ve set the volume. You’ll spend more time correcting your corrections.
Exposure slider being adjusted in Light adjustment panel
Exposure is your first move. Think of it as your overall brightness control - it lifts or lowers the entire tonal range of the image before you start making targeted corrections. Aaron is clear about the sequence here, and this order matters. Setting your exposure first gives you a stable foundation. Trying to dial in shadows and highlights before you’ve established your overall brightness level is like adjusting the treble and bass before you’ve set the volume. You’ll spend more time correcting your corrections.
Step 4: Set Your Whites and Blacks
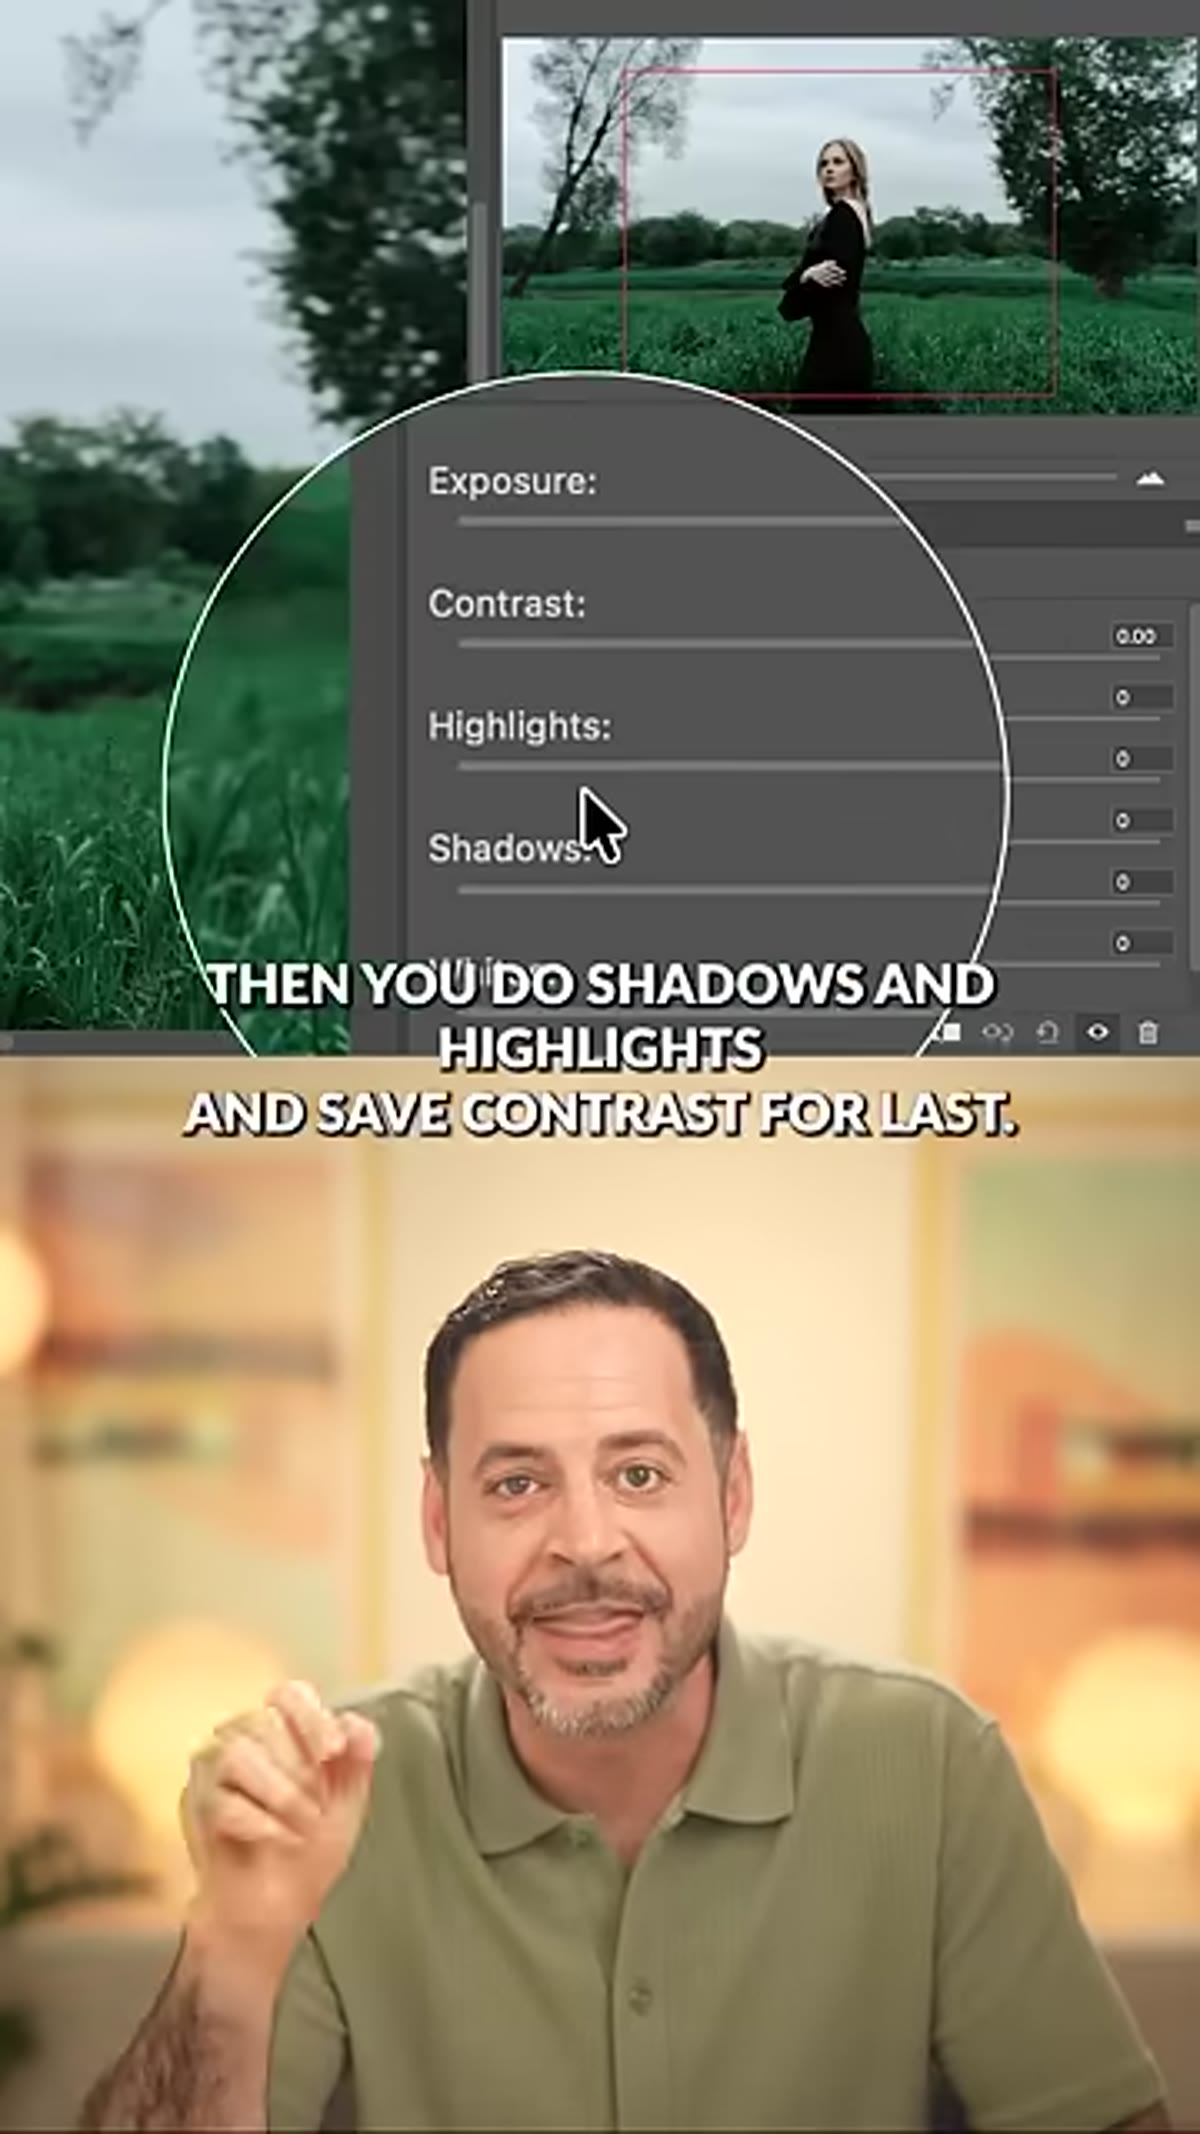 Whites and Blacks sliders being set to define tonal range
Once exposure feels right, move to Whites and then Blacks. These two sliders define the outer edges of your tonal range - the brightest point and the darkest point in the image. Getting these right before you touch anything else means your midtone adjustments will work with a properly defined range rather than against a collapsed or blown-out one. A practical habit: hold Alt (Option on Mac) while dragging either slider to see a clipping display. This shows you exactly where detail starts to disappear at either end of the spectrum.
Whites and Blacks sliders being set to define tonal range
Once exposure feels right, move to Whites and then Blacks. These two sliders define the outer edges of your tonal range - the brightest point and the darkest point in the image. Getting these right before you touch anything else means your midtone adjustments will work with a properly defined range rather than against a collapsed or blown-out one. A practical habit: hold Alt (Option on Mac) while dragging either slider to see a clipping display. This shows you exactly where detail starts to disappear at either end of the spectrum.
Step 5: Refine With Shadows and Highlights
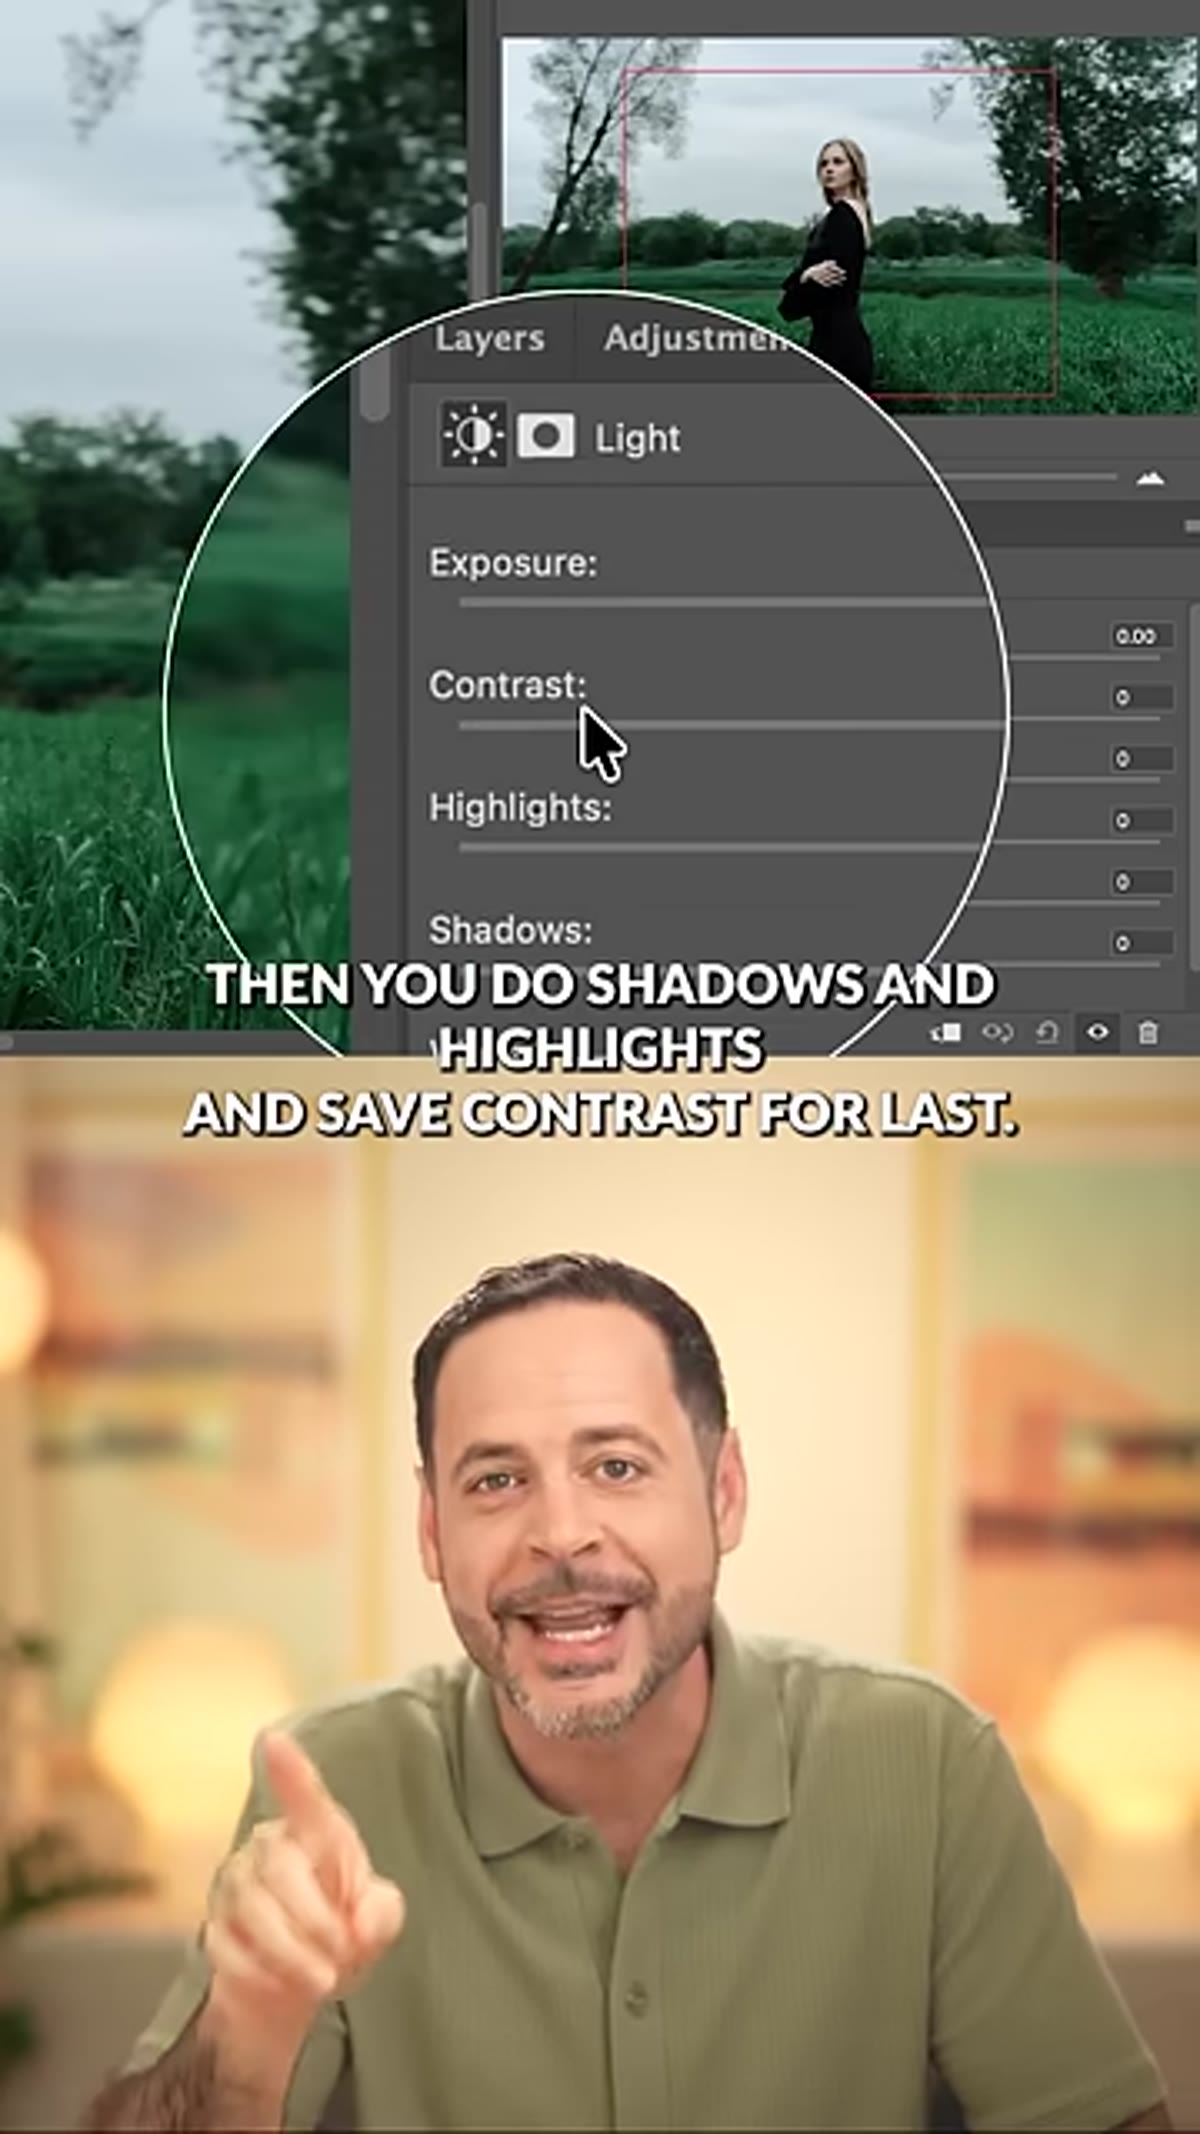 Shadows and Highlights sliders being refined after whites and blacks
With your range set, shadows and highlights let you push or recover detail in the midrange areas without touching the extremes you just locked in. Highlights pulls back blown-out areas in skies, windows, or product surfaces. Shadows lifts underexposed detail in the darker parts of the frame. The reason these come after whites and blacks is technical: if you haven’t capped your range first, recovering highlights and shadows becomes an imprecise exercise. Do it in sequence and each adjustment reinforces the one before it.
Shadows and Highlights sliders being refined after whites and blacks
With your range set, shadows and highlights let you push or recover detail in the midrange areas without touching the extremes you just locked in. Highlights pulls back blown-out areas in skies, windows, or product surfaces. Shadows lifts underexposed detail in the darker parts of the frame. The reason these come after whites and blacks is technical: if you haven’t capped your range first, recovering highlights and shadows becomes an imprecise exercise. Do it in sequence and each adjustment reinforces the one before it.
Step 6: Add Contrast Last
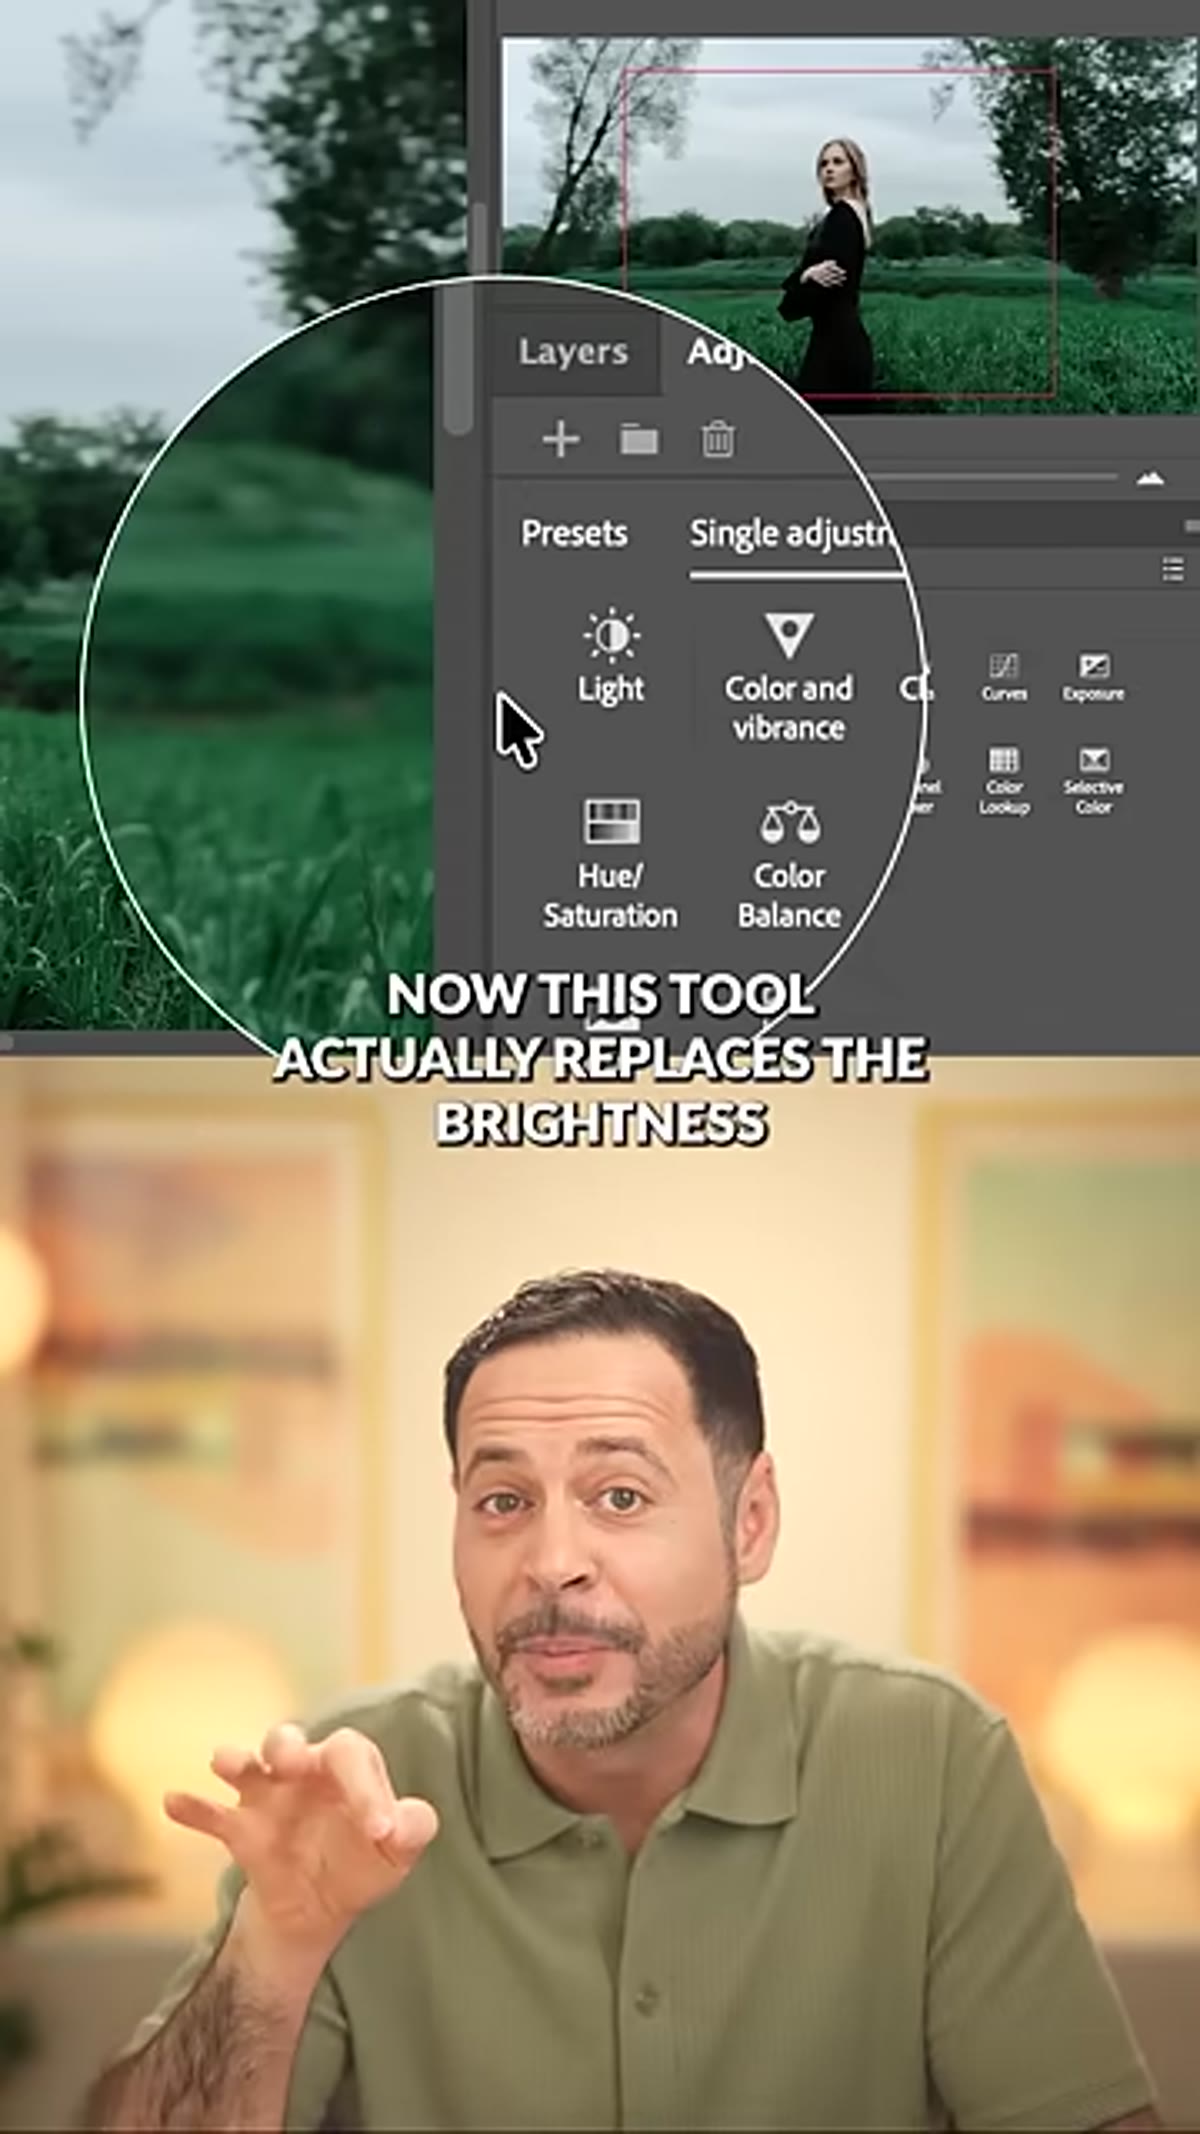 Contrast slider adjusted as the final tonal step
Contrast is the last slider you touch, and this is probably the most counterintuitive part of the sequence for anyone who learned on Brightness and Contrast. Contrast affects the separation between your tones across the whole image. If you add it early, you’re compressing or expanding a range you haven’t finished shaping yet. Apply it after everything else is dialed in and it acts as a finishing step - tightening the overall look without fighting the detailed work you’ve done with the other sliders.
Contrast slider adjusted as the final tonal step
Contrast is the last slider you touch, and this is probably the most counterintuitive part of the sequence for anyone who learned on Brightness and Contrast. Contrast affects the separation between your tones across the whole image. If you add it early, you’re compressing or expanding a range you haven’t finished shaping yet. Apply it after everything else is dialed in and it acts as a finishing step - tightening the overall look without fighting the detailed work you’ve done with the other sliders.
Step 7: Use Masks to Target Your Adjustments
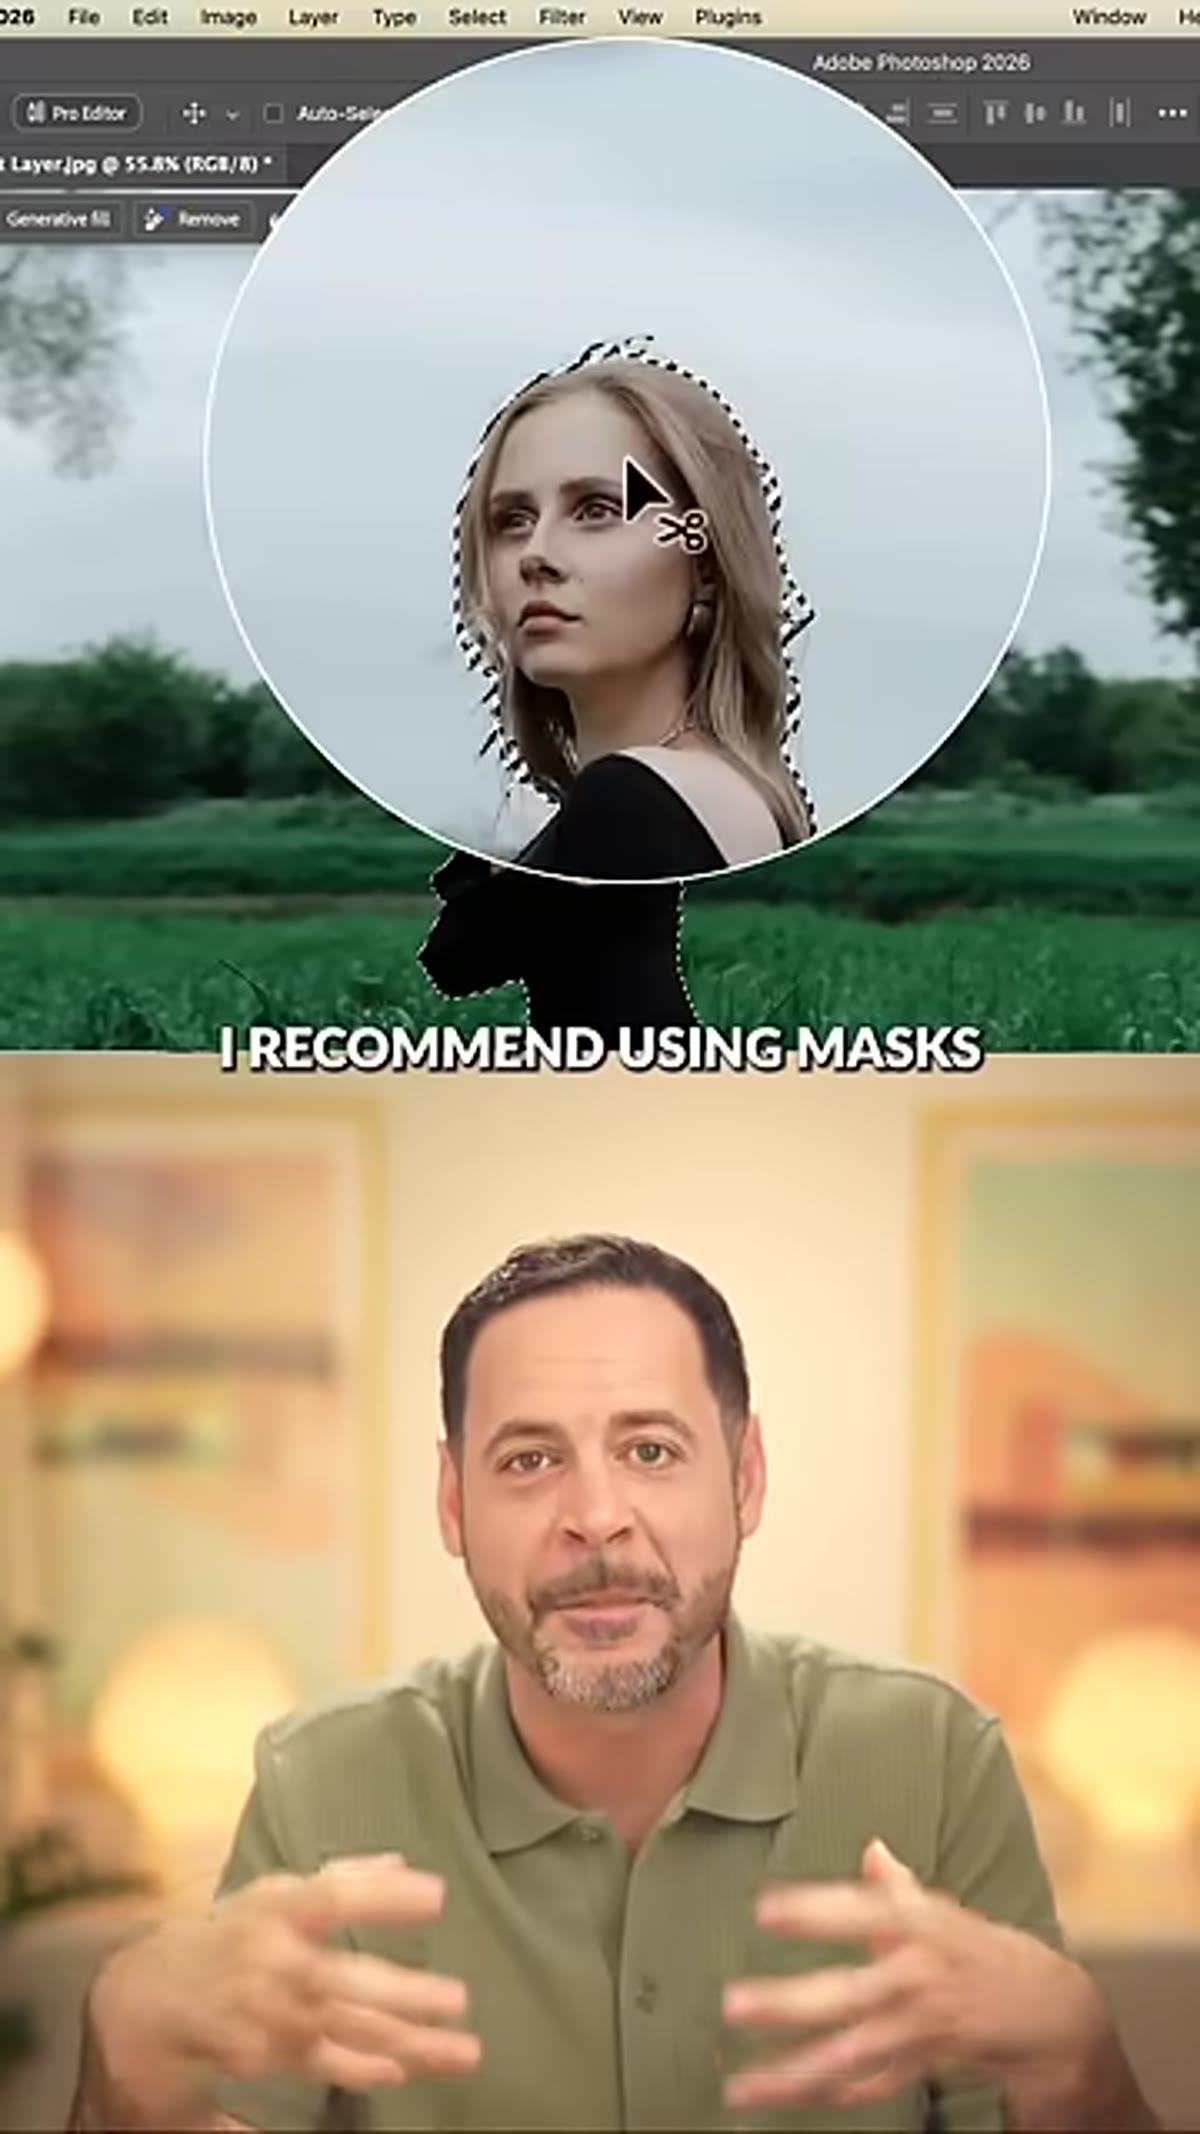 Light adjustment layer with mask applied to isolate subject from background
This is where the Light layer stops being just a better Brightness and Contrast and becomes a genuinely flexible tool. Aaron specifically recommends using masks with this layer, and I’d put that advice in bold. By painting masks on separate Light adjustment layers, you can treat the background and subject independently - correcting the exposure in a sky without blowing out a face, or adding a warm glow behind a subject without affecting the foreground. You can even stack multiple Light layers with different masks to build up a tonal grade that would have taken Camera Raw or Lightroom to achieve previously.
Light adjustment layer with mask applied to isolate subject from background
This is where the Light layer stops being just a better Brightness and Contrast and becomes a genuinely flexible tool. Aaron specifically recommends using masks with this layer, and I’d put that advice in bold. By painting masks on separate Light adjustment layers, you can treat the background and subject independently - correcting the exposure in a sky without blowing out a face, or adding a warm glow behind a subject without affecting the foreground. You can even stack multiple Light layers with different masks to build up a tonal grade that would have taken Camera Raw or Lightroom to achieve previously.
If You Want the Old Layer Back
Adobe didn’t remove Brightness and Contrast - it’s still available as a legacy option. Inside the Light adjustment layer’s panel menu, there’s an option to switch to the legacy version. I don’t anticipate going back, but it’s worth knowing the escape hatch is there. For anyone who has Photoshop actions built around specific Brightness and Contrast behavior, test those actions before you assume they’ll translate. In my case, any action touching tonal adjustment gets a review and rebuild when the underlying tool changes.
My Take: Build This Into Your Action Sets Now
I keep a spreadsheet that tracks the hours I’ve saved through automated workflows. The number currently sits north of 2,400 hours. The reason I mention it here is that tools like the Light adjustment layer are exactly what move that number. When a new layer type offers Camera Raw precision inside Photoshop’s native workflow, the right move is to rebuild your tonal adjustment actions around it immediately - not eventually. The consistency gains compound over time, especially if you’re processing high volumes of images where any drift in quality gets multiplied across the whole batch.
The single most important takeaway from Aaron’s tutorial: respect the order. Exposure, then whites and blacks, then shadows and highlights, then contrast. That sequence is deliberate, and working through it correctly means every adjustment you make supports the one that follows.
Watch the full tutorial on YouTube and then head to PHLEARN’s site for their extended step-by-step version, which includes sample images you can download and follow along with directly.
Comments (11)
This is exactly what I needed today. Been struggling with this for weeks.
Simple but effective. Sometimes that's all you need.
Solid advice. Especially the part about taking your time with it.
Printing this out and pinning it next to my monitor. That good.
Applied this to my portfolio shots and the improvement is noticeable.
Just used this on a wedding shoot edit. Client was thrilled.
This is the kind of content that keeps me coming back.
Never thought of approaching it this way. Really creative.
This is the kind of content that keeps me coming back.
This is going in my reference folder. Incredibly useful.
I keep coming back to this article. It's that useful.
Leave a Comment