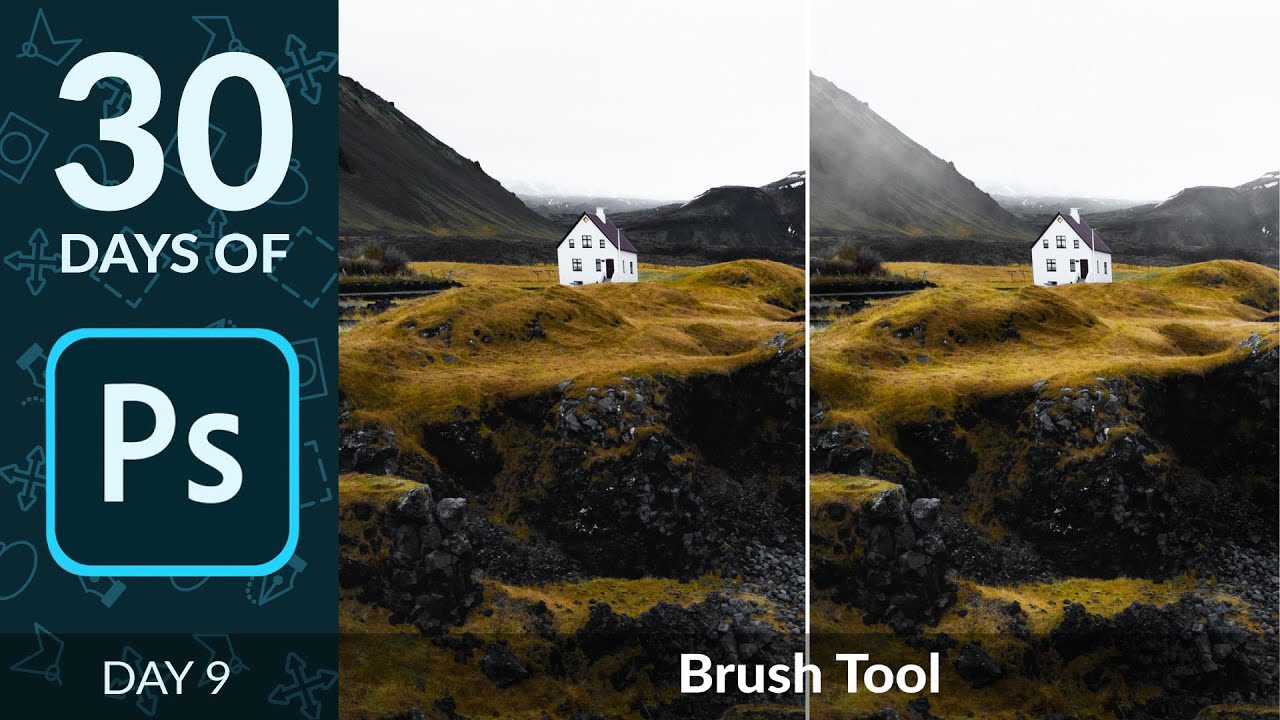
Most tools in Photoshop get their moment in the spotlight. The Pen tool has its cult following. The healing brush gets tutorials dedicated entirely to skin retouching. But the brush tool? People tend to gloss over it because it seems obvious. You paint. That’s it. What I’ve found after fifteen years of working in commercial post-production is that the brush tool is quietly responsible for some of the most important work happening in any comp, and most people are using it at maybe 30 percent of its capability.
In this Aaron Nace (PHLEARN) tutorial, Watch the full tutorial on YouTube, Aaron covers two genuinely useful workflows: using the brush tool with adjustment layer masks to dodge and burn non-destructively, and converting a real photograph of a cloud into a custom brush for painting atmospheric fog. Both of these come up constantly in the kind of work I do for ad agencies and e-commerce clients. The dodge-and-burn technique in particular is something I’ve baked into a reusable action, and the time savings add up fast.
What follows is a step-by-step breakdown you can work through in Photoshop right now, whether you’re watching the video alongside it or not.
Step 1: Set Up Your Workspace and Input Device
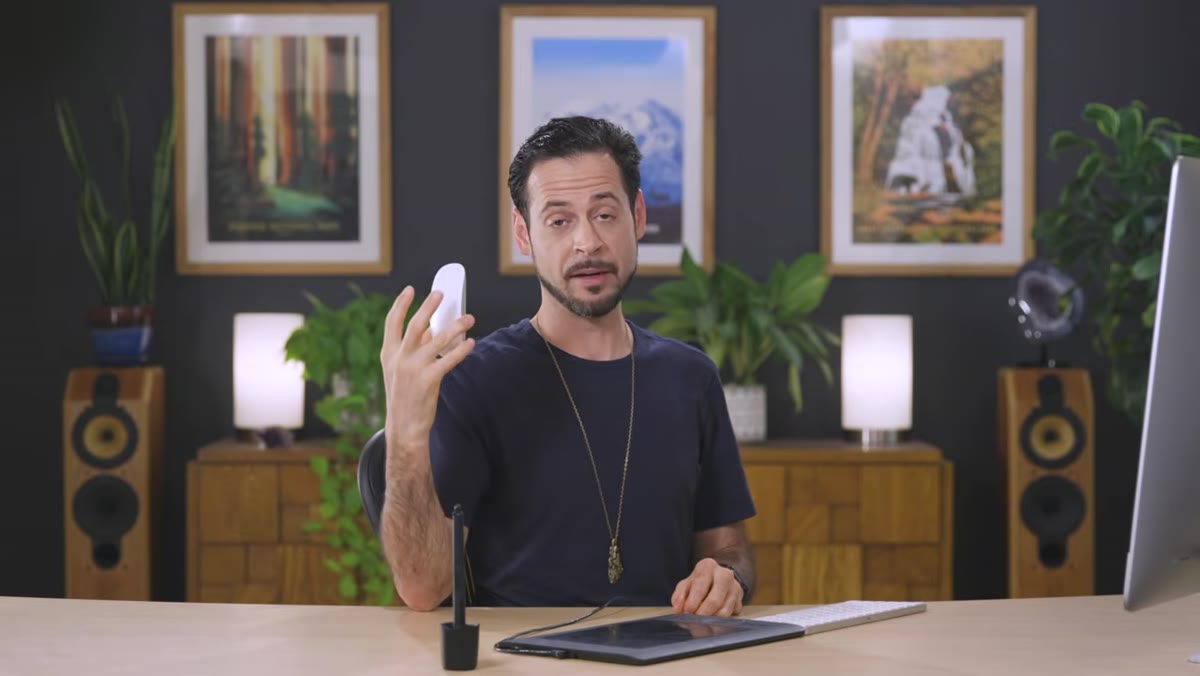 Wacom tablet next to keyboard, brush tool selected in toolbar
Aaron opens by recommending a pressure-sensitive tablet, and I’ll second that. A Wacom tablet changes the way the brush tool behaves because pen pressure maps to opacity or flow, giving you organic, graduated strokes instead of flat digital smears. That said, Aaron is clear that a mouse works fine for these techniques. If you’re on a mouse, you’ll just be leaning more on manual opacity settings rather than letting your hand do the work. Open your sample image, press F for full-screen mode, and zoom in to the area you want to work on before you touch a brush.
Wacom tablet next to keyboard, brush tool selected in toolbar
Aaron opens by recommending a pressure-sensitive tablet, and I’ll second that. A Wacom tablet changes the way the brush tool behaves because pen pressure maps to opacity or flow, giving you organic, graduated strokes instead of flat digital smears. That said, Aaron is clear that a mouse works fine for these techniques. If you’re on a mouse, you’ll just be leaning more on manual opacity settings rather than letting your hand do the work. Open your sample image, press F for full-screen mode, and zoom in to the area you want to work on before you touch a brush.
Step 2: Create a Curves Adjustment Layer for Non-Destructive Brightening
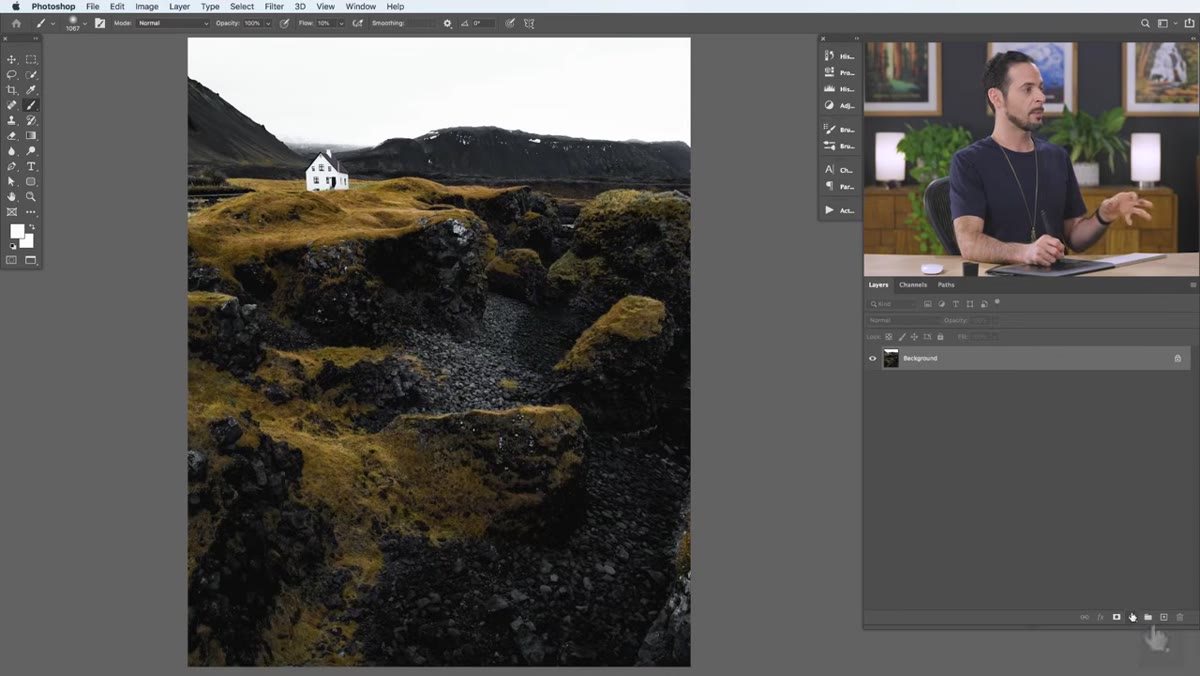 Curves adjustment panel open, highlight point pulled upward
Instead of painting directly on the image, Aaron’s approach to dodging is to create a Curves adjustment layer first. Go to the Adjustments panel and add a Curves layer. Pull the center of the curve upward to brighten the image. You’ll see the effect applied everywhere at this point, which is intentional. The goal is to dial in the right amount of brightening here, then control exactly where it appears using the mask. A subtle lift, maybe a quarter of the way up, is usually enough. Overdo it here and your brushwork will look blown out.
Curves adjustment panel open, highlight point pulled upward
Instead of painting directly on the image, Aaron’s approach to dodging is to create a Curves adjustment layer first. Go to the Adjustments panel and add a Curves layer. Pull the center of the curve upward to brighten the image. You’ll see the effect applied everywhere at this point, which is intentional. The goal is to dial in the right amount of brightening here, then control exactly where it appears using the mask. A subtle lift, maybe a quarter of the way up, is usually enough. Overdo it here and your brushwork will look blown out.
Step 3: Invert the Layer Mask to Hide the Adjustment
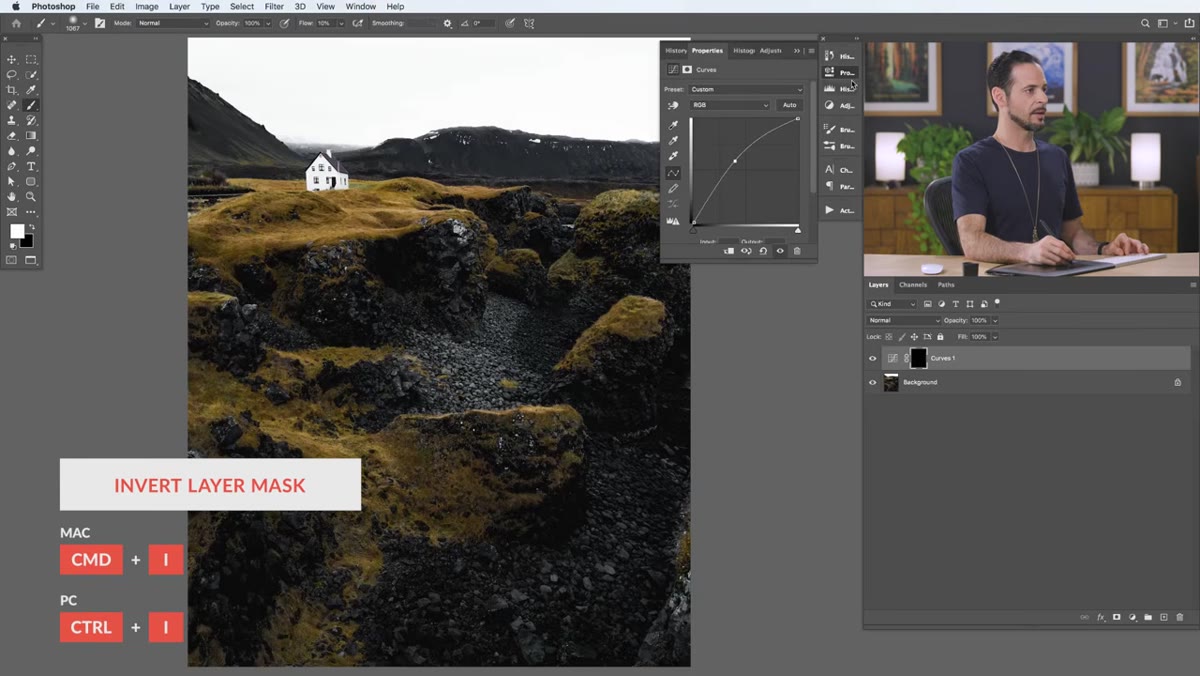 Layer mask filled black, adjustment effect hidden on canvas
With your Curves layer selected, click on the white layer mask thumbnail in the Layers panel. Then press Ctrl+I (Command+I on Mac) to invert it from white to black. This hides the brightening effect entirely. Now you have a targeted tool: wherever you paint white onto this mask with your brush, the brightening will appear. Wherever you leave it black, the image stays untouched. This is the foundation of non-destructive dodging, and it’s the workflow I use on almost every product shot that needs sculpted highlights.
Layer mask filled black, adjustment effect hidden on canvas
With your Curves layer selected, click on the white layer mask thumbnail in the Layers panel. Then press Ctrl+I (Command+I on Mac) to invert it from white to black. This hides the brightening effect entirely. Now you have a targeted tool: wherever you paint white onto this mask with your brush, the brightening will appear. Wherever you leave it black, the image stays untouched. This is the foundation of non-destructive dodging, and it’s the workflow I use on almost every product shot that needs sculpted highlights.
Step 4: Resize and Soften Your Brush with Keyboard Shortcuts
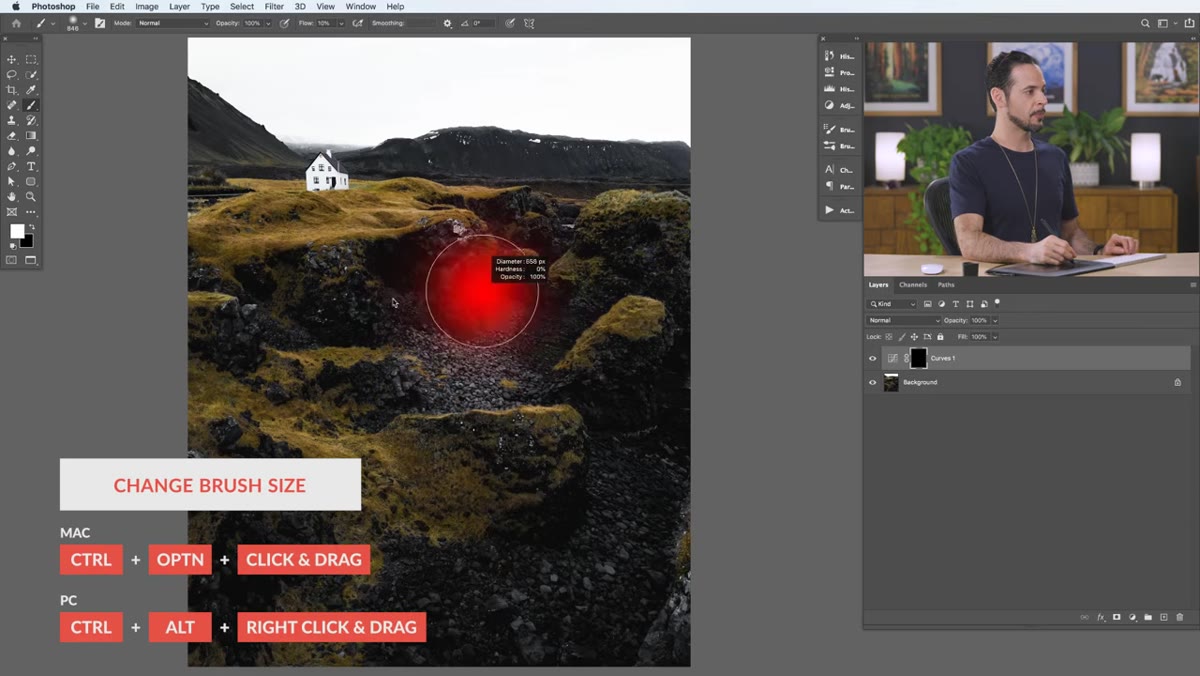 Brush cursor changing size on screen via keyboard shortcut
Before painting, get comfortable with resizing your brush without opening any menus. On Mac, hold Ctrl+Option and drag left or right to resize the brush, and drag up or down to change hardness. On Windows, hold Alt and right-click, then drag. For dodge and burn work you almost always want a soft-edged brush, so drag toward the soft end. A large, feathered brush blends light naturally across a face or surface. A hard brush will create obvious, ugly edges that look like selections rather than light.
Brush cursor changing size on screen via keyboard shortcut
Before painting, get comfortable with resizing your brush without opening any menus. On Mac, hold Ctrl+Option and drag left or right to resize the brush, and drag up or down to change hardness. On Windows, hold Alt and right-click, then drag. For dodge and burn work you almost always want a soft-edged brush, so drag toward the soft end. A large, feathered brush blends light naturally across a face or surface. A hard brush will create obvious, ugly edges that look like selections rather than light.
Step 5: Understand the Difference Between Opacity and Flow
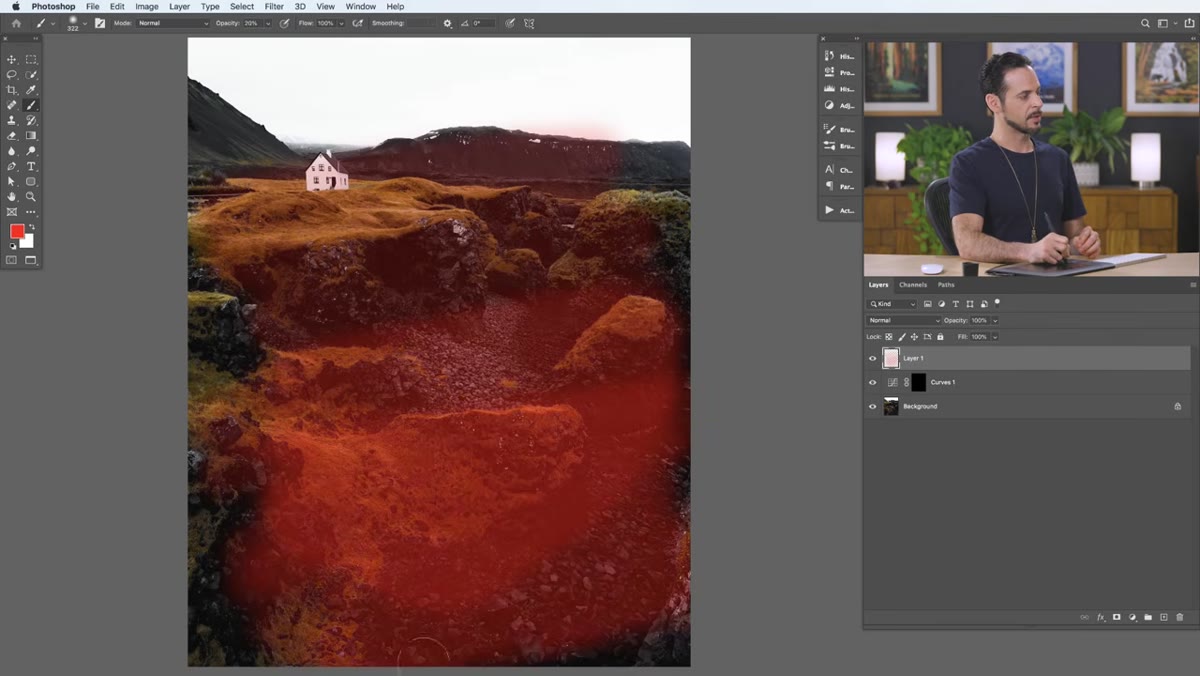
 Two painted strokes compared, opacity vs flow behavior visible
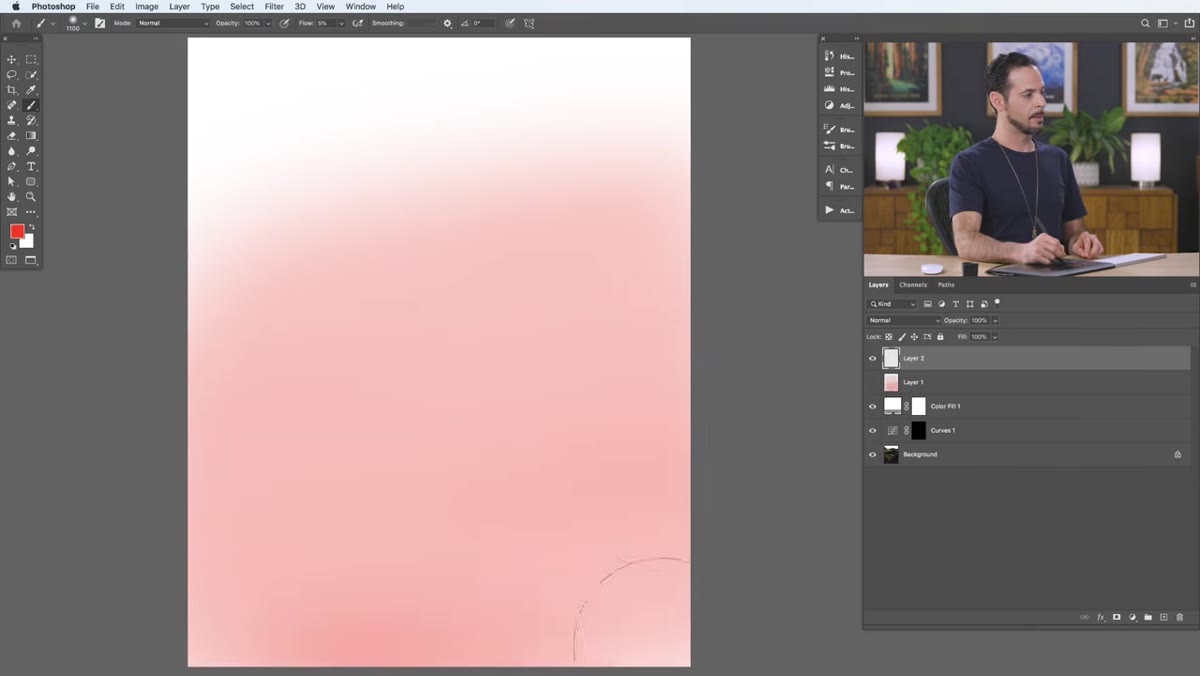
This is the part of the tutorial that Aaron spends real time on, and it’s worth slowing down here. Opacity and Flow are both in the options bar at the top, and they behave very differently. Opacity controls the maximum density of a single continuous stroke. If you set it to 20 percent and paint back and forth without lifting your pen, the stroke stays at 20 percent. It will not build up. Flow works differently: it behaves more like ink or paint that accumulates as you pass over the same area within a single stroke. For dodge and burn work, I almost always use a low flow setting, around 10 to 15 percent, with opacity at 100. This lets me build up light gradually and correct mistakes before they become obvious.
Two painted strokes compared, opacity vs flow behavior visible
This is the part of the tutorial that Aaron spends real time on, and it’s worth slowing down here. Opacity and Flow are both in the options bar at the top, and they behave very differently. Opacity controls the maximum density of a single continuous stroke. If you set it to 20 percent and paint back and forth without lifting your pen, the stroke stays at 20 percent. It will not build up. Flow works differently: it behaves more like ink or paint that accumulates as you pass over the same area within a single stroke. For dodge and burn work, I almost always use a low flow setting, around 10 to 15 percent, with opacity at 100. This lets me build up light gradually and correct mistakes before they become obvious.
Step 6: Paint the Dodge Effect onto the Mask
 White brush strokes appearing on black mask, highlights visible on photo
With white as your foreground color, a soft brush selected, and your flow set low, begin painting over the areas of the image where you want the highlights lifted. Work in light passes. The goal is cumulative, gradual brightening that looks like it came from a light source rather than a software adjustment. For a portrait, that usually means the bridge of the nose, cheekbones, and forehead. For product work, it’s wherever the key light hits the surface. You can always reduce a stroke’s effect by switching to black and painting back over the mask.
White brush strokes appearing on black mask, highlights visible on photo
With white as your foreground color, a soft brush selected, and your flow set low, begin painting over the areas of the image where you want the highlights lifted. Work in light passes. The goal is cumulative, gradual brightening that looks like it came from a light source rather than a software adjustment. For a portrait, that usually means the bridge of the nose, cheekbones, and forehead. For product work, it’s wherever the key light hits the surface. You can always reduce a stroke’s effect by switching to black and painting back over the mask.
Step 7: Create a Custom Cloud Brush from a Photo
 Cloud photo open, Edit menu visible with Define Brush Preset option
For the fog effect, Aaron photographs a cloud against a plain background and converts it into a custom brush. Open your cloud image in Photoshop. Desaturate it, then adjust levels or curves to get the cloud detail you want, with a dark background. Go to Edit, then Define Brush Preset, name your brush, and it appears at the bottom of your brush library. Once you have it, paint it onto a new layer above your background using a very low opacity. Vary the size between strokes to avoid a repetitive stamp effect. This technique is genuinely useful for matte painting, product backgrounds, and any composite that needs depth.
Cloud photo open, Edit menu visible with Define Brush Preset option
For the fog effect, Aaron photographs a cloud against a plain background and converts it into a custom brush. Open your cloud image in Photoshop. Desaturate it, then adjust levels or curves to get the cloud detail you want, with a dark background. Go to Edit, then Define Brush Preset, name your brush, and it appears at the bottom of your brush library. Once you have it, paint it onto a new layer above your background using a very low opacity. Vary the size between strokes to avoid a repetitive stamp effect. This technique is genuinely useful for matte painting, product backgrounds, and any composite that needs depth.
How I’d Extend This in a Production Workflow
The dodge-and-burn setup Aaron demonstrates, a Curves layer with an inverted mask, is something I’ve turned into a two-step action. The action creates the Curves layer, inverts the mask, and drops me directly into painting mode. For a retouching workflow that involves twenty or thirty similar portraits, that setup time adds up. I keep a separate action for a burn layer, which uses a Curves layer pulled down instead of up. Having both ready as a pair means I can switch between lightening and darkening without any layer setup. If you’re doing this kind of work regularly, it’s worth the ten minutes to record those actions once.
The single most important thing Aaron demonstrates here is that the brush tool is most powerful when it’s never touching pixels directly. Painting onto masks and adjustment layers keeps everything reversible. That one habit, developed early, will save you hours of backtracking later.
Watch the full tutorial on YouTube to see Aaron walk through both techniques with his own sample images.
Comments (2)
Wow, I had no idea you could do this. Mind blown.
Excellent tutorial. I'd add that from a photography standpoint, this technique is incredibly versatile.
Leave a Comment