How to Build Photoshop Brushes That Actually Behave Inside Your Actions

How to Build Photoshop Brushes That Actually Behave Inside Your Actions

There’s a specific kind of frustration that hits when you run a batch action overnight, come back in the morning, and find that 200 files stopped processing at step 14 because a brush stroke looked completely wrong at a different canvas resolution. The opacity was off, the size was relative to nothing useful, and the texture that looked great at 3000 pixels wide was basically invisible at 1500. I’ve had that moment more than once, and it taught me something most brush tutorials skip entirely: brushes built for manual painting and brushes built for automated workflows are not the same thing, and they shouldn’t be designed the same way.
Stop Fighting the Clone Stamp Tool — Build a Custom Dirt Brush Instead

Stop Fighting the Clone Stamp Tool — Build a Custom Dirt Brush Instead

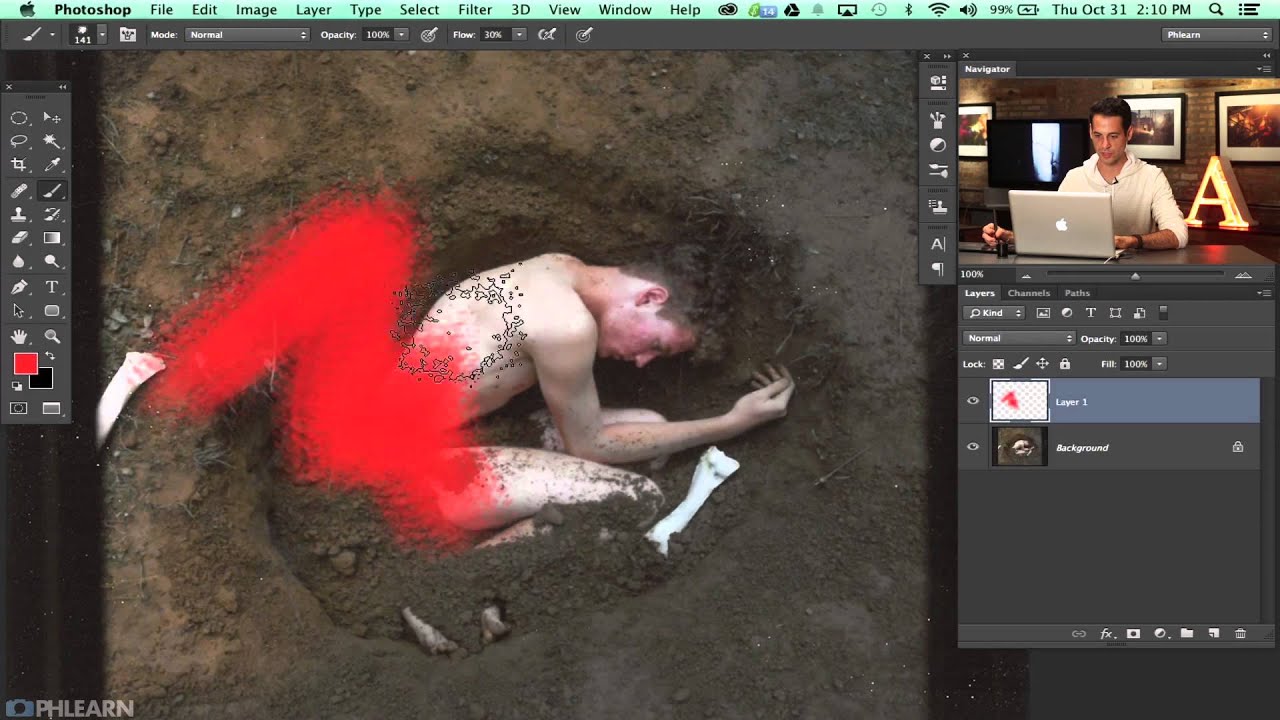
There’s a specific kind of retouching failure I’ve seen come out of otherwise competent studios for years: the ghost smear. You know the one. Someone used the Clone Stamp tool on a gravel path or a dirt surface, and no matter how carefully they feathered the edges, you can still see exactly where one clone sample ends and another begins. It’s subtle, but once you’ve spotted it on a client’s deliverable, you can’t unsee it.

How to Turn a Real-World Texture Into a Custom Photoshop Brush (Using Nothing But a Phone Photo)

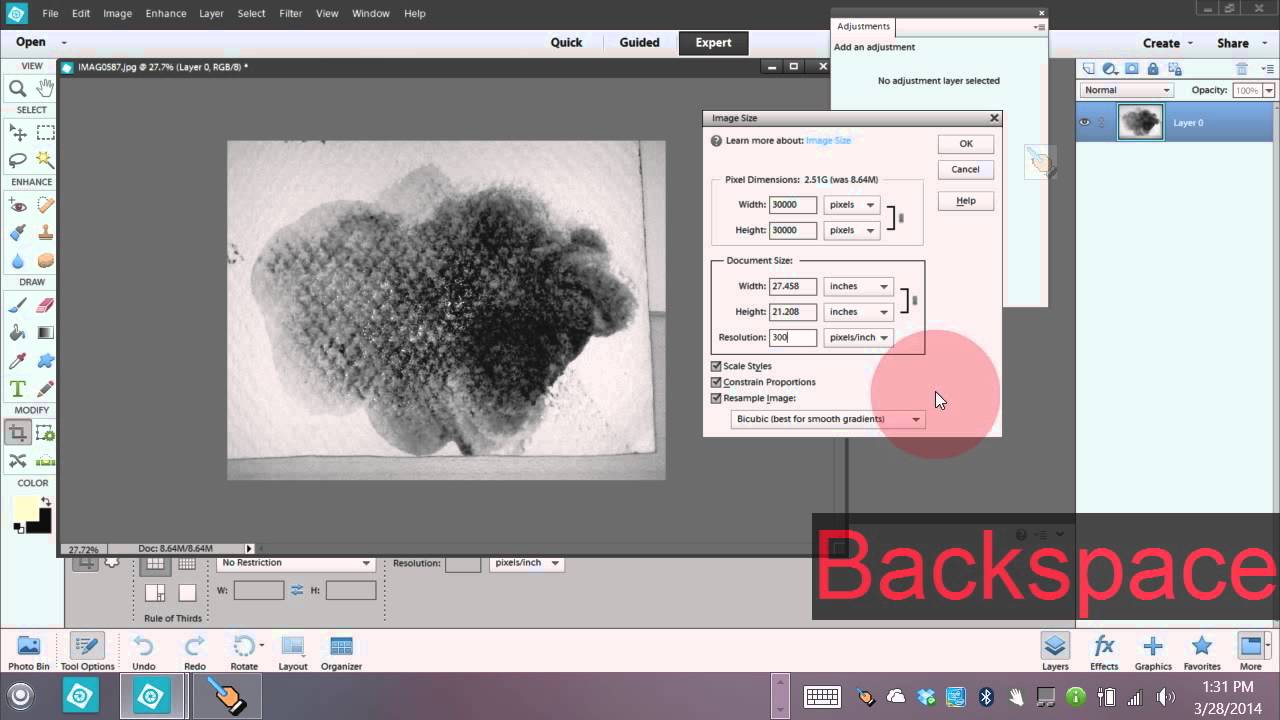
How to Turn a Real-World Texture Into a Custom Photoshop Brush (Using Nothing But a Phone Photo)

Most custom brush packs feel like someone else’s handwriting. You install them, they look great in the preview, and then you spend twenty minutes trying to make them fit your actual project. I’ve been there. After fifteen years in commercial studios, I’ve got folders full of brush sets I downloaded once and never opened again. The ones I actually reach for are the ones I made myself - because they carry the specific texture, weight, and imperfection that a stock pack can never replicate.

How to Install Custom Brushes in Photoshop (And Actually Use Them Well)

How to Install Custom Brushes in Photoshop (And Actually Use Them Well)

Every time I onboard a new retoucher at my consultancy, the same conversation happens within the first week. They’ve downloaded a beautiful custom brush pack, they open Photoshop, and then they stare at it like it’s a locked door with no handle. Brush installation is one of those things that feels like it should be obvious but genuinely isn’t the first time. And if you get it wrong, you end up with a brush that loads but doesn’t appear where you expect, or duplicates stacking up invisibly in your panel while you wonder why nothing looks right.

Mastering the Brush Tool in Photoshop: Dodge, Burn, and Custom Cloud Brushes

Mastering the Brush Tool in Photoshop: Dodge, Burn, and Custom Cloud Brushes

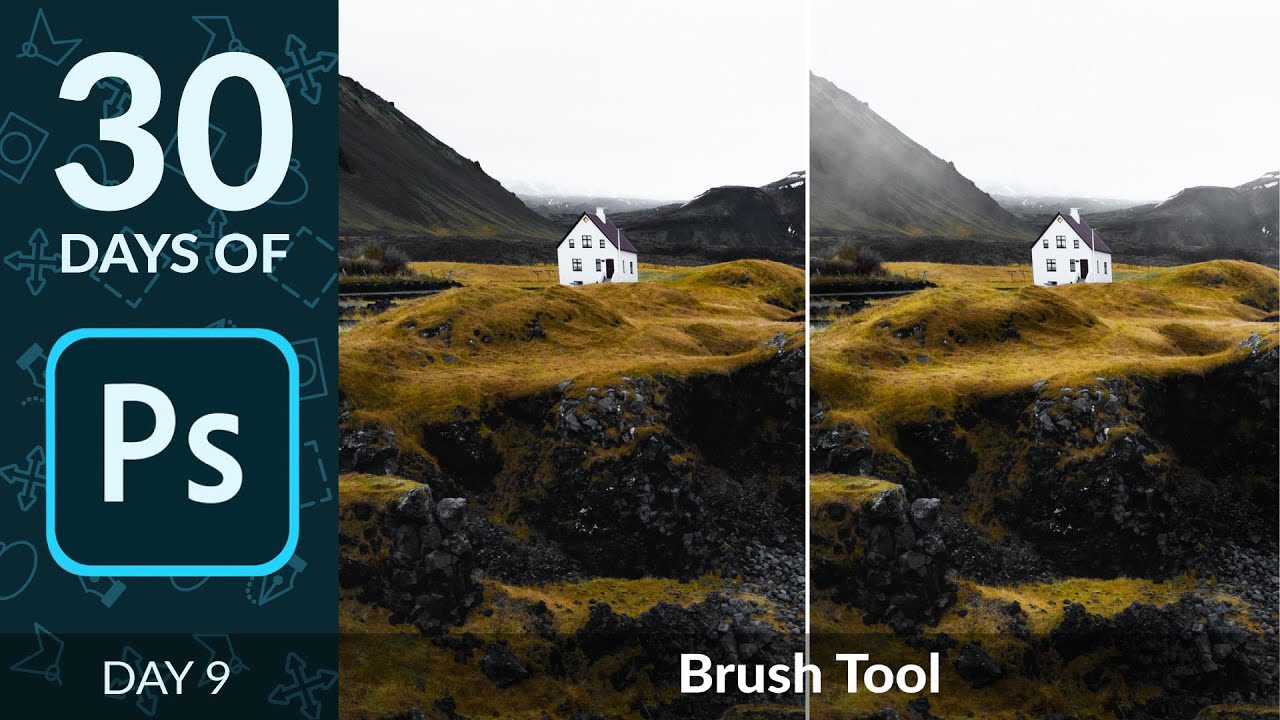
Most tools in Photoshop get their moment in the spotlight. The Pen tool has its cult following. The healing brush gets tutorials dedicated entirely to skin retouching. But the brush tool? People tend to gloss over it because it seems obvious. You paint. That’s it. What I’ve found after fifteen years of working in commercial post-production is that the brush tool is quietly responsible for some of the most important work happening in any comp, and most people are using it at maybe 30 percent of its capability.

Stop Painting with Generic Brushes: How to Build Free, High-Quality Custom Brushes in Photoshop

Stop Painting with Generic Brushes: How to Build Free, High-Quality Custom Brushes in Photoshop

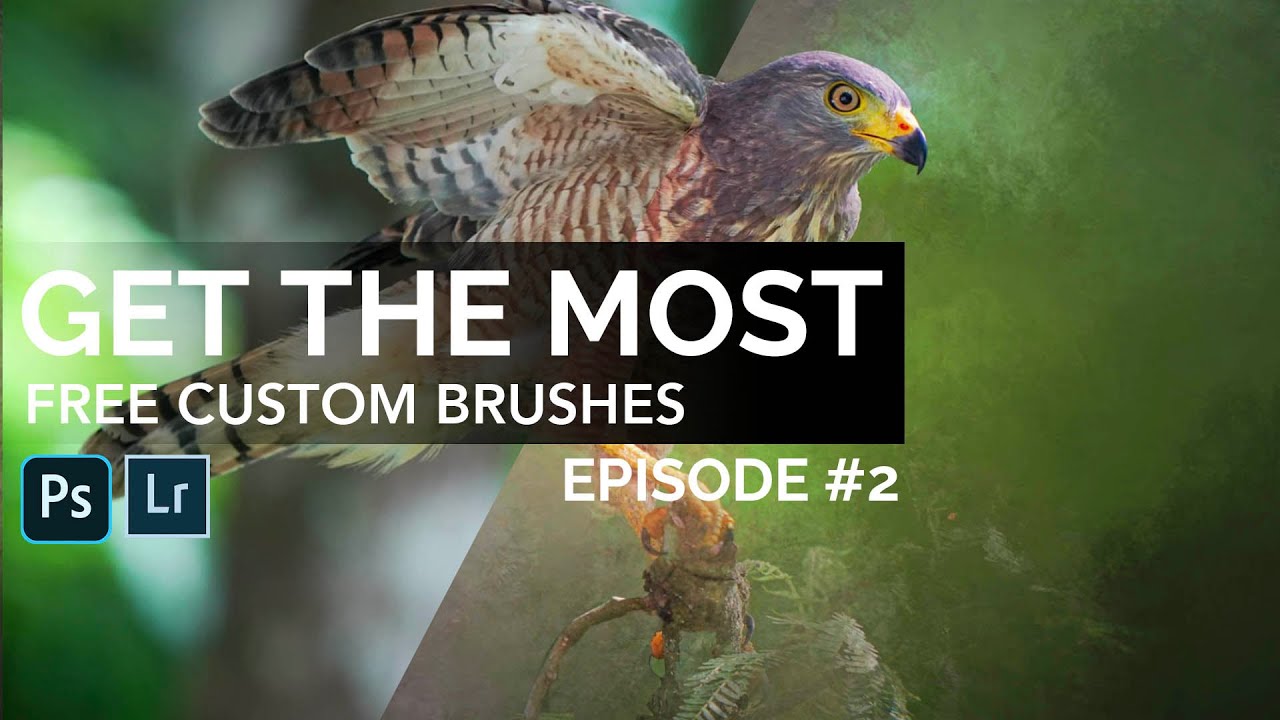
Every so often I’ll be retouching a composite for a client and I hit the same wall: the default Photoshop brush set just doesn’t have what I need. The standard round brushes are fine for blocking in masks, but the moment a project calls for realistic texture, organic edges, or painterly detail, they fall flat fast. I’ve bought brush packs over the years, and some of them are excellent, but there’s a constant nagging feeling that a pre-made pack is always someone else’s creative fingerprint, not mine.

How to Turn Any Stock Image Into Custom Photoshop Brushes (Spatter Effects the Smart Way)

How to Turn Any Stock Image Into Custom Photoshop Brushes (Spatter Effects the Smart Way)

Every studio I’ve worked in over the past 15 years has had the same gap in its toolkit: people spending money on individual texture assets when a smarter approach to sourcing and defining custom brushes would give them ten times the mileage for the same cost. I hit this wall myself early on in my consultancy work, particularly when clients started asking for grunge and ink-spatter treatments on ad campaigns. I was grabbing one-off stock images, masking them out manually, and dragging them around as smart objects.

Creating Custom Brushes for Photoshop: The Foundation of Efficient Workflows

Creating Custom Brushes for Photoshop: The Foundation of Efficient Workflows

Creating Custom Brushes for Photoshop: The Foundation of Efficient Workflows I’ve spent the last decade building Photoshop workflows, and I can tell you with absolute certainty: the fastest designers aren’t using Adobe’s default brushes. They’re building custom brush sets that anticipate exactly what they need, when they need it. Custom brushes are more than aesthetic preferences—they’re the scaffolding of repeatable, automated work. When you combine them with actions and presets, they become incredibly powerful.