Every studio I’ve worked in over the past 15 years has had the same gap in its toolkit: people spending money on individual texture assets when a smarter approach to sourcing and defining custom brushes would give them ten times the mileage for the same cost. I hit this wall myself early on in my consultancy work, particularly when clients started asking for grunge and ink-spatter treatments on ad campaigns. I was grabbing one-off stock images, masking them out manually, and dragging them around as smart objects. It worked, but it was slow and it didn’t scale.
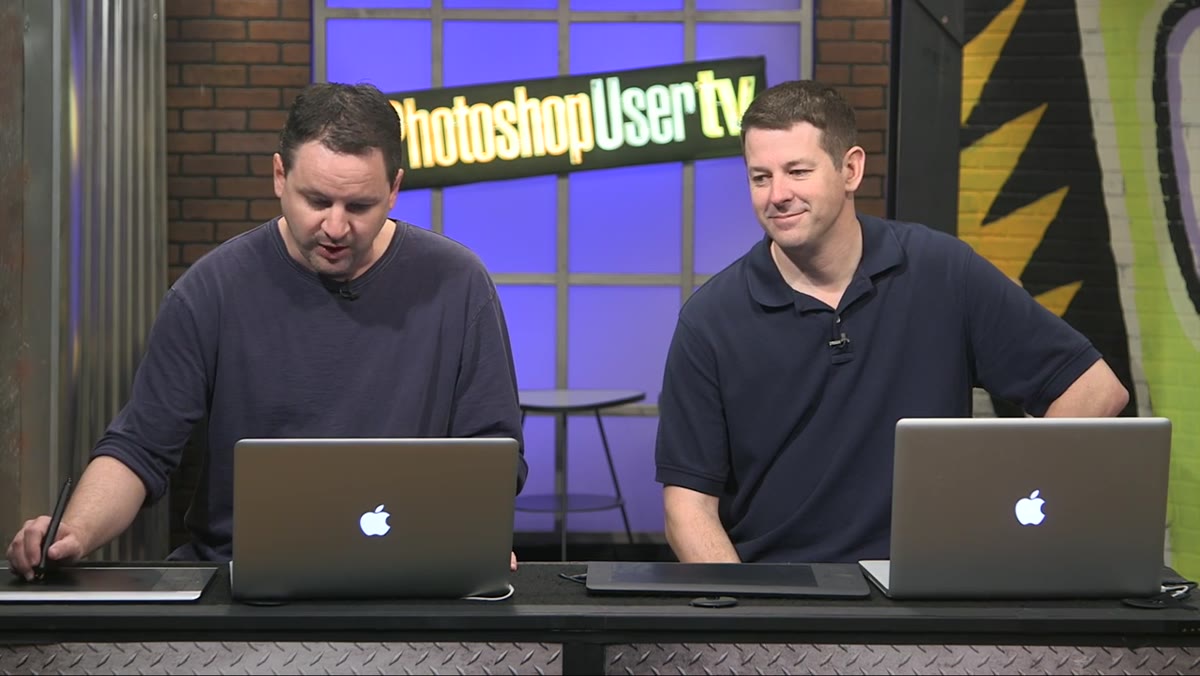
In this KelbyOne tutorial, Pete Collins and Cory Barker from the Photoshop User TV series walk through the exact workflow that fixed my approach. Watch the full tutorial on YouTube before or after reading this breakdown. The core idea is deceptively simple: instead of treating textures as layers you composite manually, you convert them into brush presets that live inside Photoshop’s brush engine. Once they’re brushes, you get all the dynamic controls, opacity, scatter, spacing, and blending modes, built in.
What makes Cory’s framing so useful is the sourcing strategy he leads with. That’s where I want to start.
Step 1: Source Smarter by Finding Collection-Style Stock Images
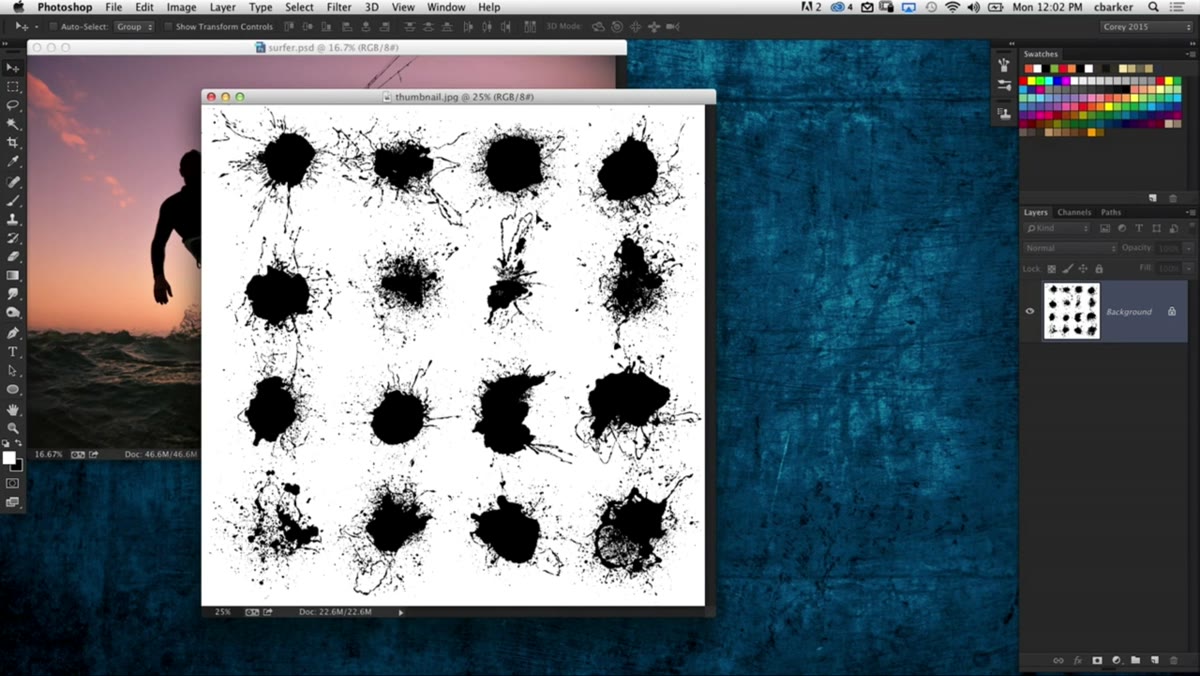
 Multiple ink spatter elements displayed together in one stock image
When you’re hunting for textures to convert into brushes, the goal is not to find one perfect spatter. The goal is to find a single stock image that contains a grid or collection of variations. Cory shows an image with 16 distinct ink spatter shapes packed into one file. That’s one license fee for 16 usable brush sources.
Multiple ink spatter elements displayed together in one stock image
When you’re hunting for textures to convert into brushes, the goal is not to find one perfect spatter. The goal is to find a single stock image that contains a grid or collection of variations. Cory shows an image with 16 distinct ink spatter shapes packed into one file. That’s one license fee for 16 usable brush sources.
The same logic applies to fire, smoke, dust, and grain elements. Stock photographers have caught on to this and actively package elements as collections, which works entirely in your favor. Search terms like “ink spatter collection,” “paint splatter set,” or “grunge texture elements” on any major stock platform will surface these multi-element images. Download once, mine repeatedly.
Step 2: Choose an Image That’s Already High Contrast
 Black ink spatters on white background ready for brush conversion
The reason black-and-white or near-monochrome images work so well for brush creation is not arbitrary. Photoshop’s brush engine reads pixel luminosity when it defines a new brush preset. Dark pixels become the opaque parts of your brush stroke; light pixels become transparent. A pure white background doesn’t need masking because Photoshop ignores it automatically during the definition process.
Black ink spatters on white background ready for brush conversion
The reason black-and-white or near-monochrome images work so well for brush creation is not arbitrary. Photoshop’s brush engine reads pixel luminosity when it defines a new brush preset. Dark pixels become the opaque parts of your brush stroke; light pixels become transparent. A pure white background doesn’t need masking because Photoshop ignores it automatically during the definition process.
If you’re working with a color texture or a photo that has a colored background, you’ll need to desaturate it first and push the contrast hard with Levels or Curves before you define it. The closer you get to pure black marks on a pure white field, the cleaner and more controllable your resulting brush will be. The spatter image Cory uses in the tutorial is essentially ready straight out of download, which is the ideal scenario.
Step 3: Draw a Loose Selection Around One Element with the Lasso Tool
 Lasso selection drawn loosely around a single spatter element
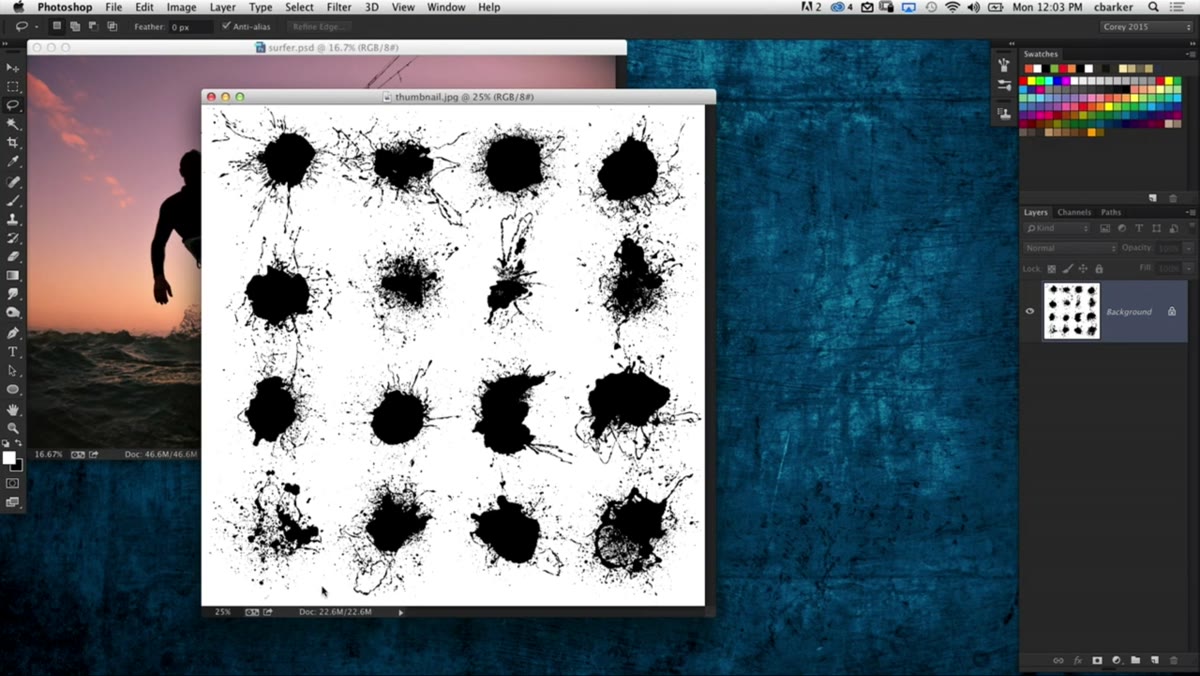
Grab the Lasso tool (L) and draw a rough selection around one of the individual spatter shapes. You do not need to trace the edges of the spatter precisely. In fact, a loose selection with generous space around it is better because the white areas surrounding the ink mark will be treated as transparent anyway.
Lasso selection drawn loosely around a single spatter element
Grab the Lasso tool (L) and draw a rough selection around one of the individual spatter shapes. You do not need to trace the edges of the spatter precisely. In fact, a loose selection with generous space around it is better because the white areas surrounding the ink mark will be treated as transparent anyway.
Cory selects a single spatter from the bottom-left corner of his collection image. The key decision here is which element to start with. Look for shapes that have strong directional character or interesting asymmetry. Perfectly symmetrical textures tend to look mechanical when you start painting with them at different angles. Irregular, organic shapes give you more natural-looking results.
Step 4: Define the Brush Preset via the Edit Menu
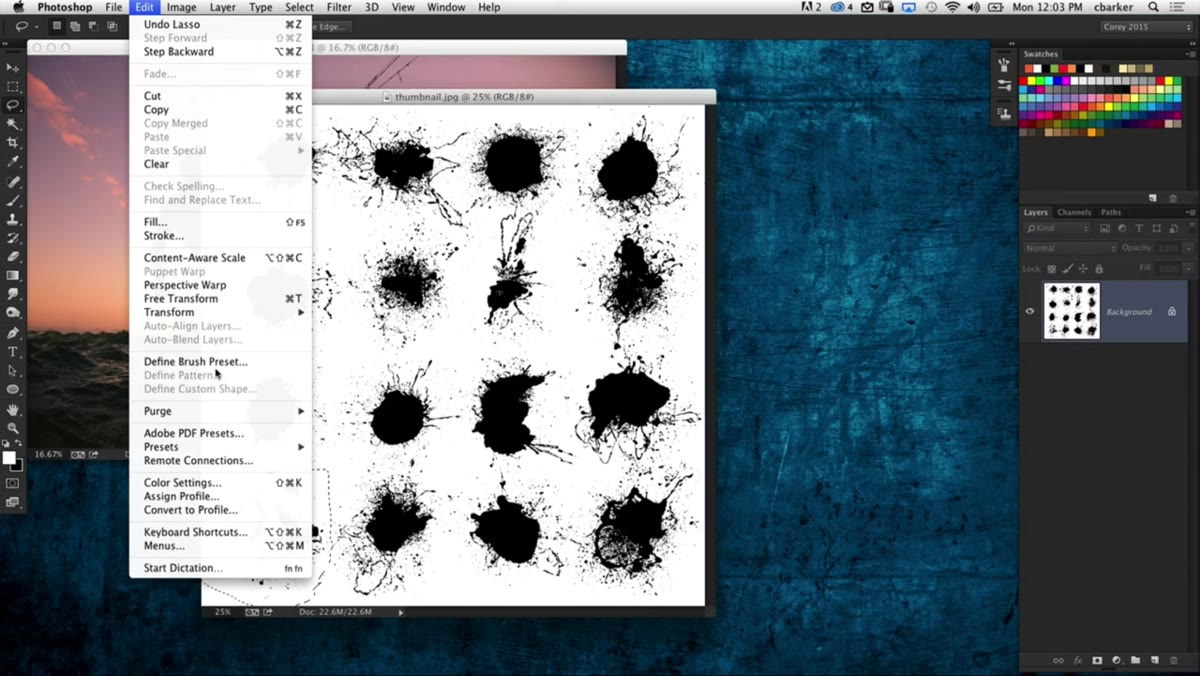 Edit menu open with Define Brush Preset option highlighted
With your selection active, go to Edit and choose Define Brush Preset. A dialog box will appear asking you to name the brush. Cory and Pete both admit they rarely bother naming brushes in practice, and honestly, the same is true in my workflow. When you’re scanning a brush picker, you’re reading the thumbnail, not the label.
Edit menu open with Define Brush Preset option highlighted
With your selection active, go to Edit and choose Define Brush Preset. A dialog box will appear asking you to name the brush. Cory and Pete both admit they rarely bother naming brushes in practice, and honestly, the same is true in my workflow. When you’re scanning a brush picker, you’re reading the thumbnail, not the label.
That said, if you’re building brushes for a team or packaging them for client delivery, take 10 seconds to name them descriptively. Something like “InkSpatter-LargeOrganic-01” will save someone a frustrating hunt later. For personal use, skip it. Click OK and the brush drops into your active brush library, positioned at the very bottom of the list.
Step 5: Locate and Test the New Brush
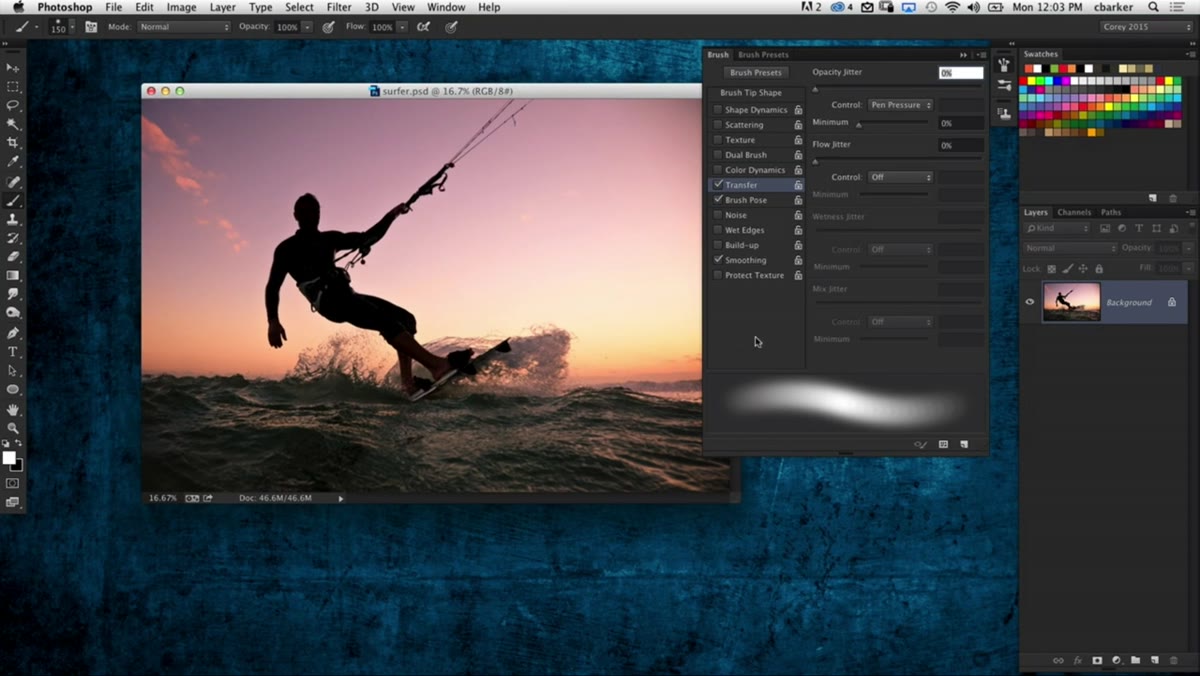 New brush thumbnail visible at the bottom of the brush preset picker
Open the Brush Preset picker from the toolbar or the Brushes panel. Scroll to the bottom and you’ll see the newly defined preset as a thumbnail. Select it, create a new layer, and paint a stroke to verify it’s behaving the way you expected.
New brush thumbnail visible at the bottom of the brush preset picker
Open the Brush Preset picker from the toolbar or the Brushes panel. Scroll to the bottom and you’ll see the newly defined preset as a thumbnail. Select it, create a new layer, and paint a stroke to verify it’s behaving the way you expected.
At this point you’re looking at the most basic version of the brush. The real power comes when you open the full Brush Settings panel (Window > Brush Settings) and start adjusting parameters like Scatter, Size Jitter, Angle Jitter, and Spacing. A single spatter brush with high Scatter and randomized Angle Jitter can produce complex, layered texture fields with a single stroke. This is where a static texture becomes a dynamic painting tool.
Step 6: Repeat the Process for Each Element in the Collection
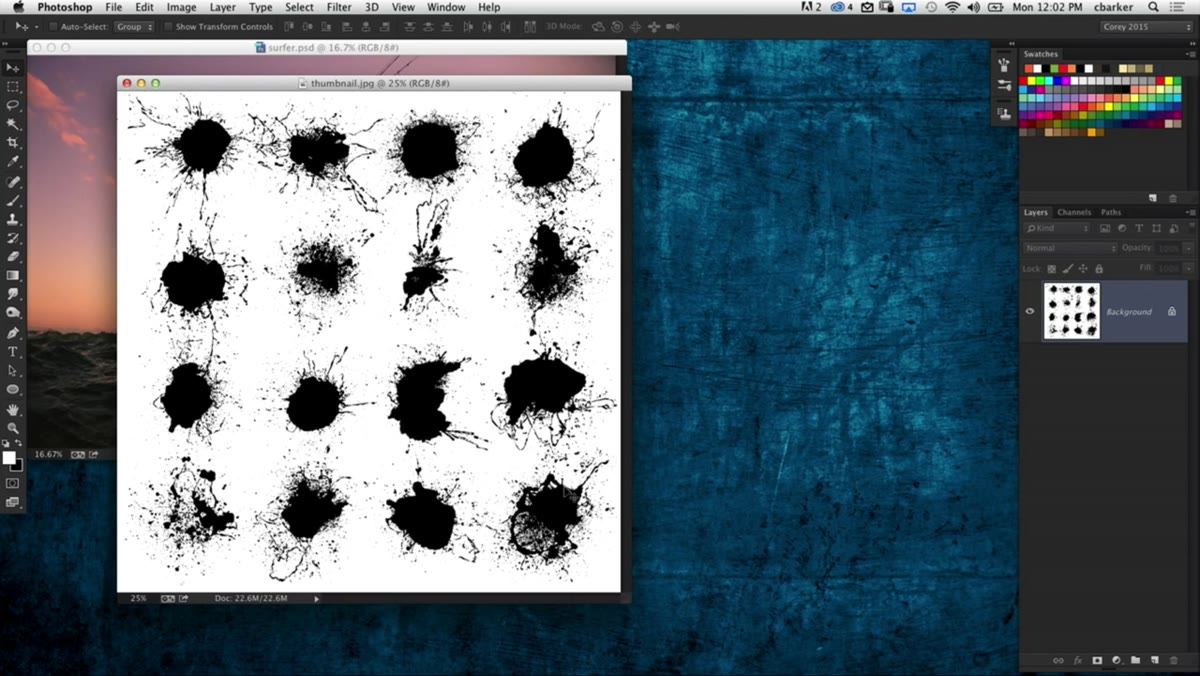 Full stock image showing 16 distinct spatter variations available
Go back to your collection image and repeat Steps 3 and 4 for each usable element. From one multi-element stock image, you can define a full brush set in under 10 minutes. If you have 16 spatters like in Cory’s example, you’ll end up with a custom spatter brush library that covers a wide range of sizes, densities, and shapes.
Full stock image showing 16 distinct spatter variations available
Go back to your collection image and repeat Steps 3 and 4 for each usable element. From one multi-element stock image, you can define a full brush set in under 10 minutes. If you have 16 spatters like in Cory’s example, you’ll end up with a custom spatter brush library that covers a wide range of sizes, densities, and shapes.
Once you have several variants, save them as a Brush Preset group so they stay together and exportable. You can do this from the Brushes panel menu by creating a new group and dragging your new presets into it. Export the group as an ABR file and you now have a portable, shareable asset.
From My Own Workflow: Batch Applications Are Where This Pays Off
The technique Cory demonstrates is useful on its own, but it compounds when you pair it with Photoshop actions. After I built my first spatter brush library using this exact method, I recorded an action that applied a randomized ink-texture treatment to product images using the brush engine through a script-driven layer setup. The result was a batch-processable grunge effect I could run across entire product catalogs without touching each image individually.
That kind of leverage is why I track the hours these systems save me. The initial investment in building a proper brush library through smart sourcing and clean definition takes maybe an hour. The return on that hour stretches across every project where those brushes appear, and in commercial work, that’s a lot of projects.
The single most important idea in this tutorial is that your brush library is not a static default set you got with Photoshop. It’s a living toolkit you build from real assets, and sourcing collection-style stock images is the fastest way to expand it without burning through a budget. Define your brushes once, and they work for you indefinitely.
Watch the full tutorial on YouTube to see Pete and Cory walk through the process live, including their discussion of how they organize and discover brushes inside the panel.
Comments
Leave a Comment