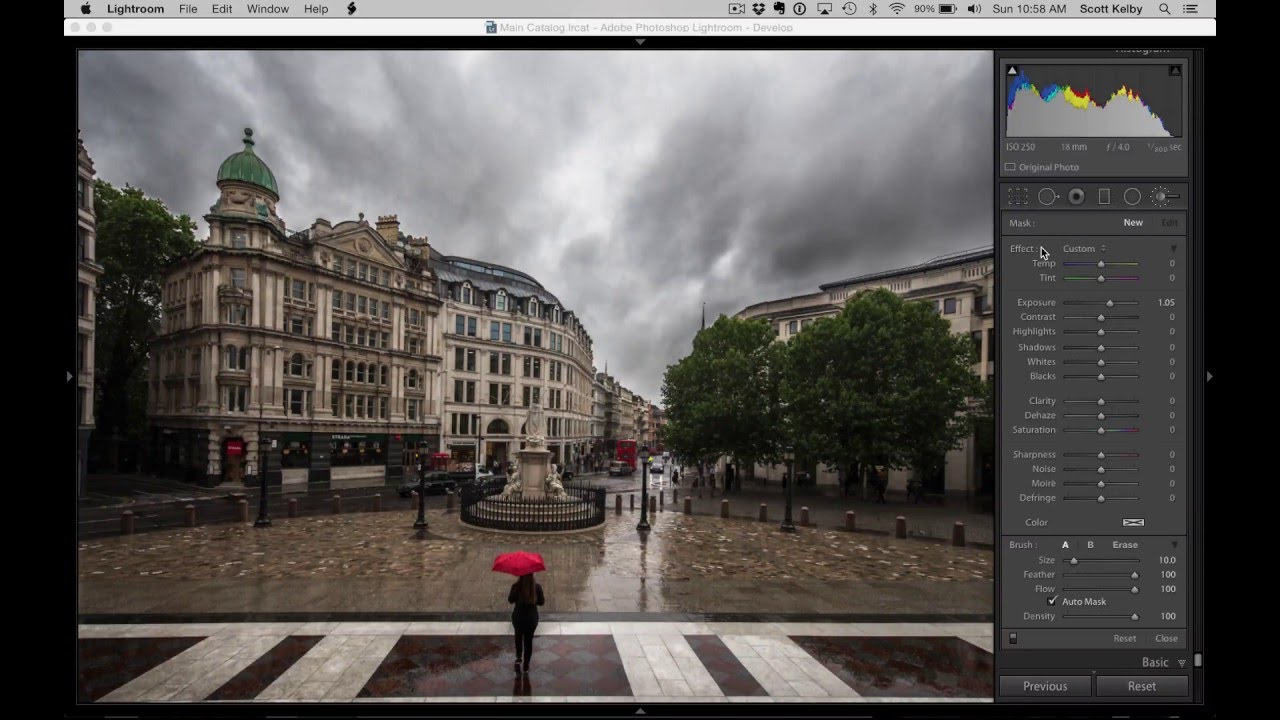
The One Lightroom Adjustment Brush Setting That's Quietly Wrecking Your Masks

The One Lightroom Adjustment Brush Setting That's Quietly Wrecking Your Masks

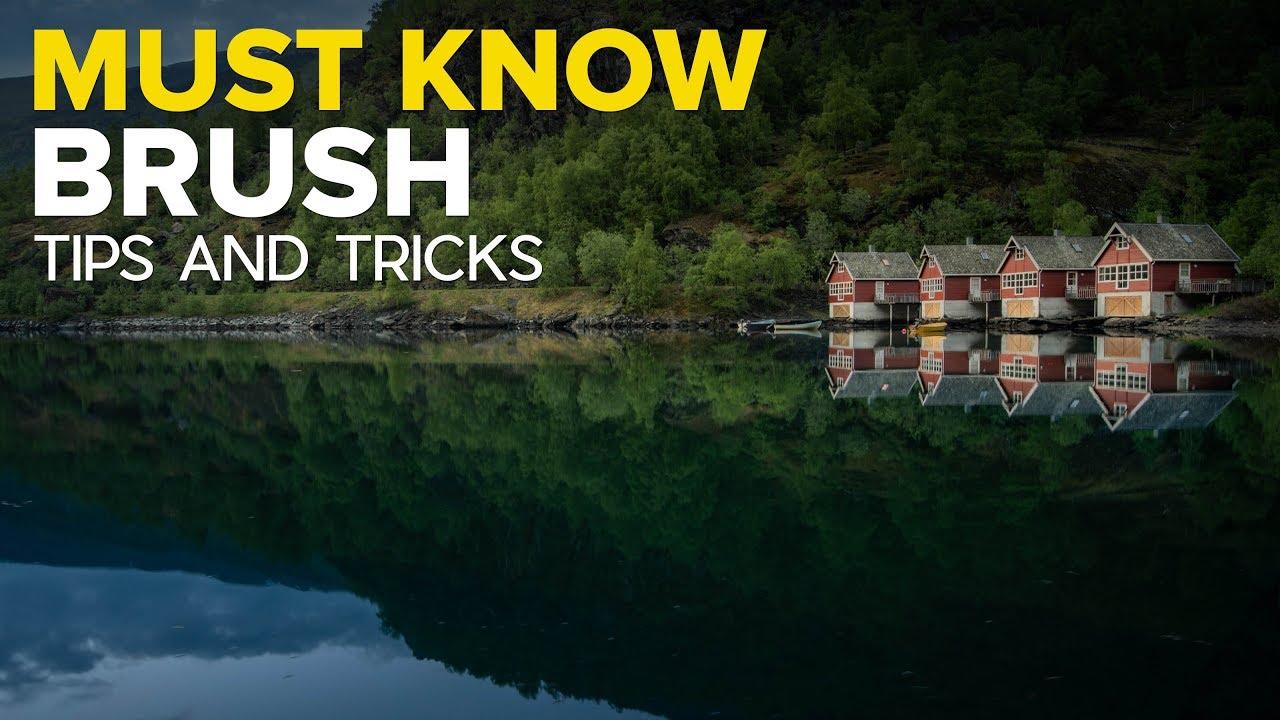
I’ve watched photographers abandon perfectly good tools because of a single default setting nobody bothered to explain to them. The Lightroom Adjustment Brush is one of the most frequently misunderstood features in the whole application, and the complaint is almost always the same: “It leaves gaps,” or “It paints unevenly,” or my personal favorite, “It misses spots.” After years of building post-production workflows for ad agencies and e-commerce clients, I can tell you those complaints are valid.
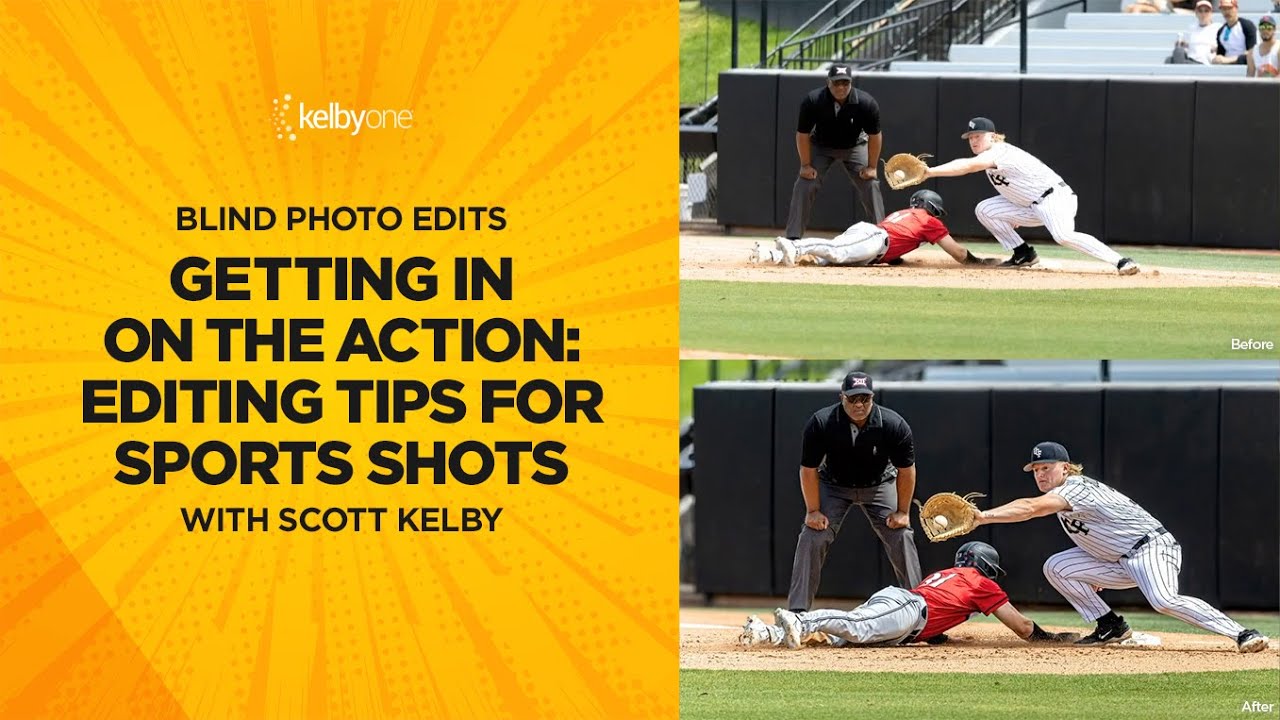
Fix, Mask, and Blur: A Camera Raw Workflow for Sports Photos That Actually Holds Up

Fix, Mask, and Blur: A Camera Raw Workflow for Sports Photos That Actually Holds Up

Sports photography hands you a specific kind of editing problem. The photographer wasn’t on a tripod. They weren’t waiting for perfect light. They were chasing a quarter-second window where everything happened at once, and they got it. The shot is good. The raw file is another story: slightly crooked, unevenly exposed across subjects, background fighting for attention it doesn’t deserve. I see this constantly in the post-production work that comes across my desk from ad agencies and editorial clients.

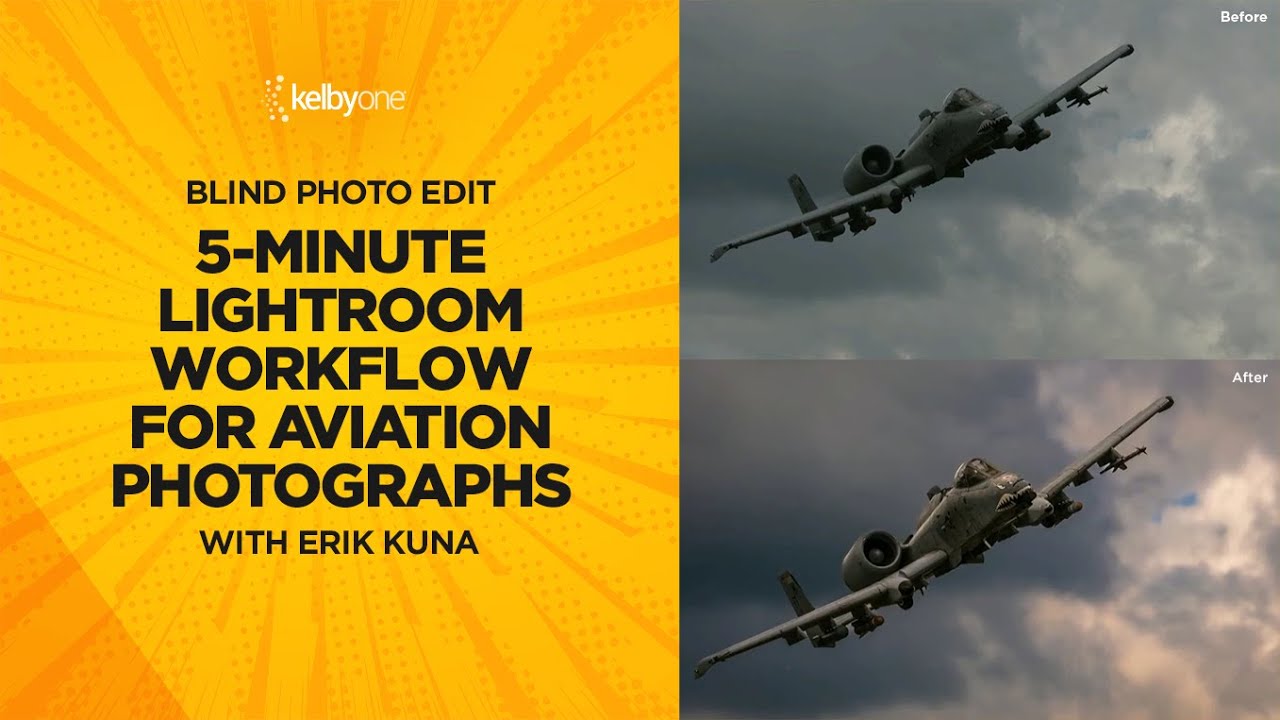
How to Edit Aviation Photos in Lightroom: A Fast 5-Step Workflow That Actually Works

How to Edit Aviation Photos in Lightroom: A Fast 5-Step Workflow That Actually Works

Most of my clients shoot products or campaigns under controlled light. Aviation photographers get none of that luxury. They’re chasing fast-moving metal across unpredictable skies, handing off RAW files that are flat, noisy, and frequently lacking the contrast that makes a military jet look like it’s actually moving. When those files land in Lightroom, the edit has to work harder than usual — and it has to work fast. In this KelbyOne tutorial, photographer and educator Scott Kelby runs a blind edit on a reader-submitted A-10 Warthog photo, and the workflow he uses maps cleanly onto almost any aviation or airshow shot.

Stop Asking How Do I Make This Look Better? — Ask This Instead

Stop Asking How Do I Make This Look Better? — Ask This Instead

I spent the first few years of my post-production career convinced that getting faster and better meant learning more software. More shortcuts, more panel combinations, more batch scripts. And I did get faster. But the commercial work I was turning around for ad agencies still felt flat in ways I couldn’t name. The images were correct. They weren’t compelling. It wasn’t until I started thinking about where I wanted the viewer to look — before touching a single slider — that the quality of my edits actually jumped.

Flip Your Tonality: The Foreground-to-Background Exposure Trick That Guides the Eye

Flip Your Tonality: The Foreground-to-Background Exposure Trick That Guides the Eye

There’s a problem I keep seeing in raw files from photographers who are otherwise doing everything right. Great location, solid composition, proper exposure – and yet something feels off when the image hits the screen. The eye wanders. The sense of depth isn’t there. Nine times out of ten, the culprit isn’t the shot itself. It’s that the tonality is working against the composition rather than with it. I stumbled across this William Patino tutorial while looking for a cleaner way to explain tonal direction to a few junior retouchers I’ve been working with lately.

Work Smarter With Lightroom's Adjustment Brush: The Auto Mask Shortcut That Changes Everything

Work Smarter With Lightroom's Adjustment Brush: The Auto Mask Shortcut That Changes Everything

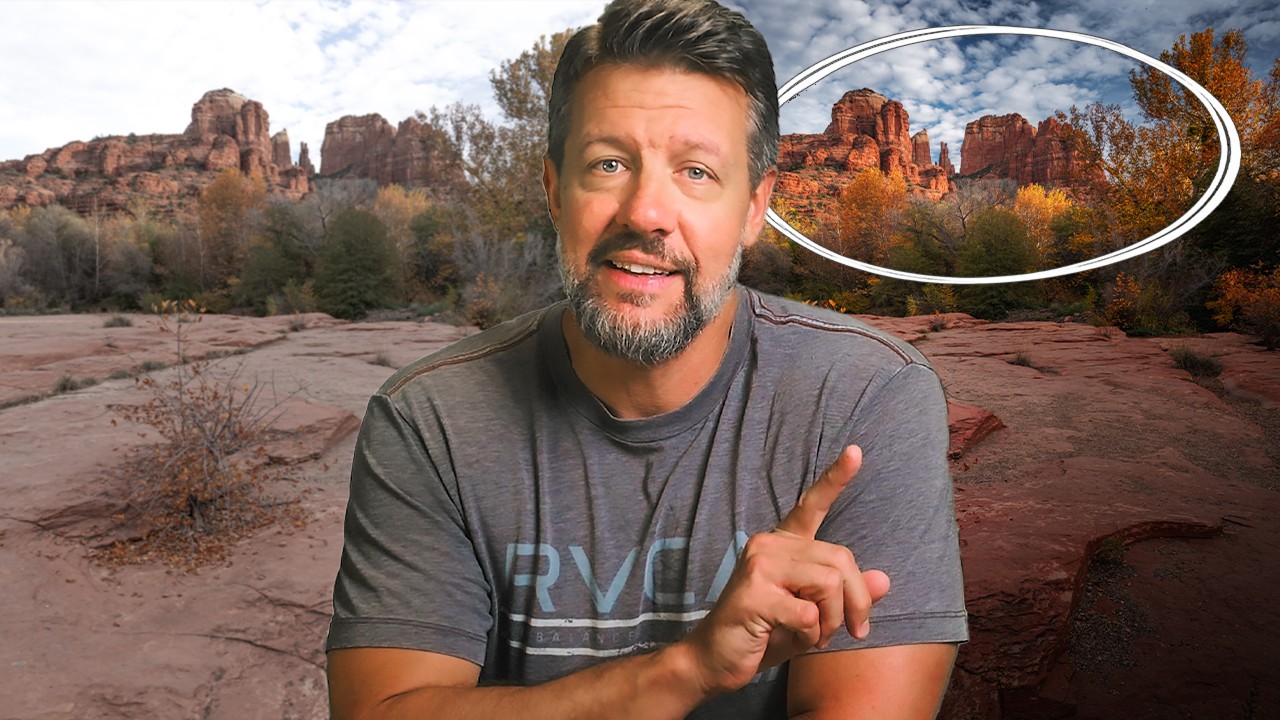
If you shoot anything that requires selective exposure adjustments — portraits, architecture, product work, anything with a foreground subject you want to separate from a background — you already know the adjustment brush is one of the most powerful tools in Lightroom and Camera Raw. You probably also know the frustration of painting too far, blowing past an edge, and having to redo a mask you spent five minutes building. That specific pain is what pulled me into Watch the full tutorial on YouTube from Matt Kloskowski, a photographer and educator whose approach to Lightroom workflow I’ve respected for years.

Blending Photos and Graphics in Photoshop: What Aaron Nace's Workflow Taught Me About Working Smarter

Blending Photos and Graphics in Photoshop: What Aaron Nace's Workflow Taught Me About Working Smarter

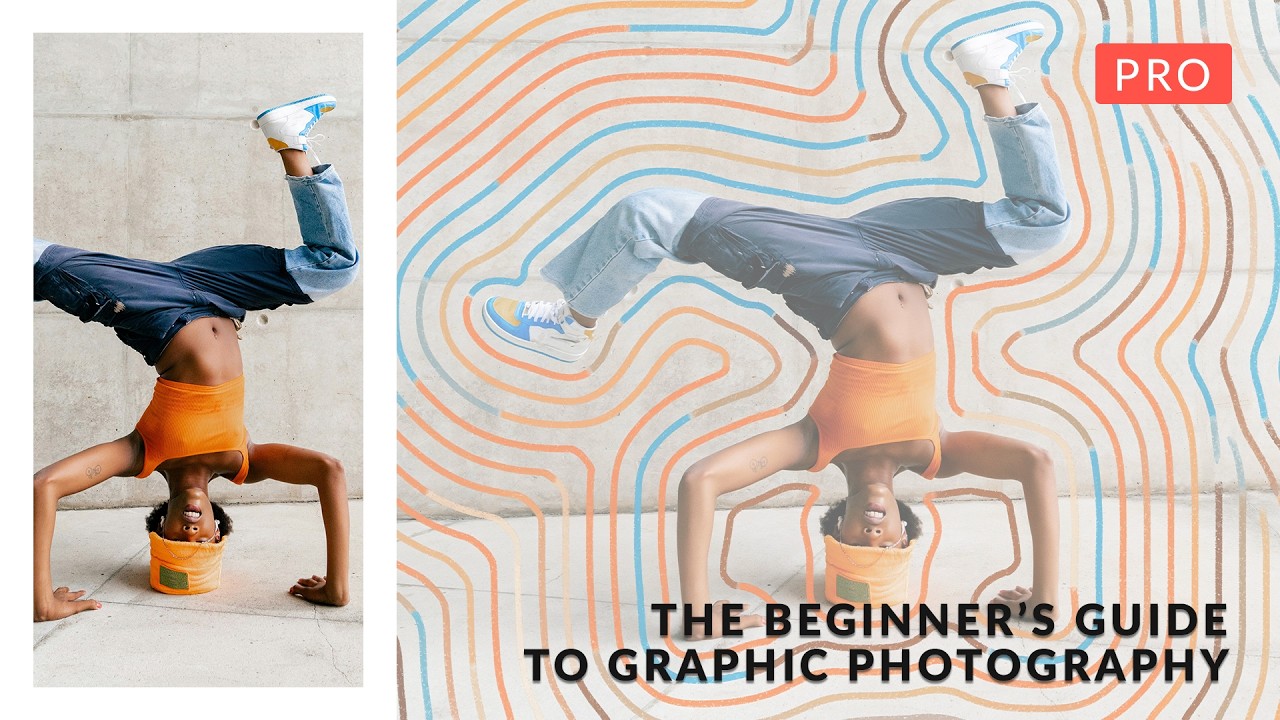
Client work has a way of pushing you into techniques you’d never have explored on your own. Ad agencies started asking me for portraits with a graphic, illustrated feel about two years ago, and I spent an embarrassing amount of time cobbling together workflows from scattered forum posts. So when PHLEARN released their Graphic Portrait Pro tutorial, hosted by Aaron Nace, I watched the whole thing twice before breakfast. Not because the concepts were brand new to me, but because seeing six complete workflows in one place, with all the source files included, is the kind of resource that would have saved me weeks of trial and error.

How Photoshop's Dynamic Text Tool Finally Solves the Text-Behind-Subject Problem

How Photoshop's Dynamic Text Tool Finally Solves the Text-Behind-Subject Problem

Every few months a client asks for that “text wrapping around a person” look — the kind you see on magazine covers and concert posters where the headline feels like it exists in the same physical space as the subject. For years I handled it with selection masks, layer clipping, and a level of manual fiddling that didn’t exactly scale when I had a deadline. So when I saw PHLEARN drop a one-minute tutorial on the new Dynamic Text Tool in Photoshop 2026, I stopped what I was doing and watched it twice.