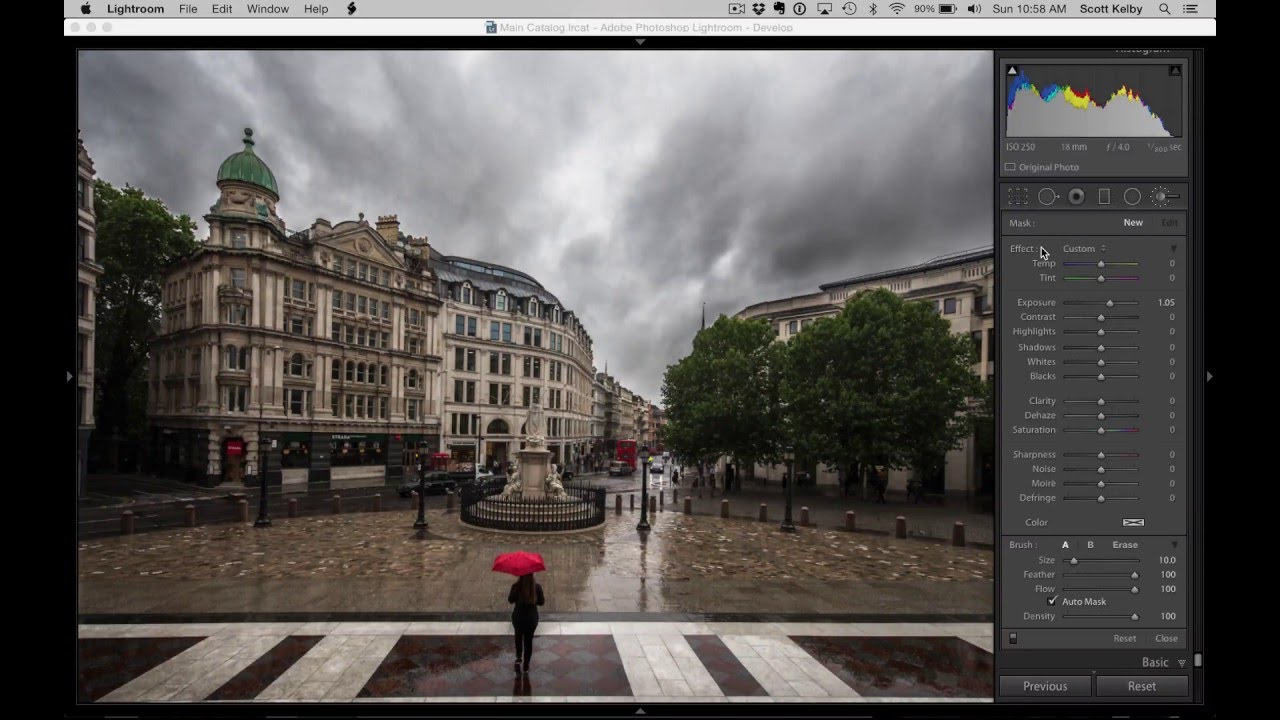
I’ve watched photographers abandon perfectly good tools because of a single default setting nobody bothered to explain to them. The Lightroom Adjustment Brush is one of the most frequently misunderstood features in the whole application, and the complaint is almost always the same: “It leaves gaps,” or “It paints unevenly,” or my personal favorite, “It misses spots.” After years of building post-production workflows for ad agencies and e-commerce clients, I can tell you those complaints are valid. The behavior is real. The cause, though, is just one checkbox.
In this KelbyOne tutorial, Scott Kelby addresses that complaint head-on. The video is short, under four minutes, but it reframes how you should be thinking about the Adjustment Brush entirely. What Kelby describes isn’t really a brush problem. It’s a workflow problem. Once you understand when to engage a specific feature and when to shut it off, the brush becomes genuinely fast and precise. Watch the full tutorial on YouTube and follow along below.
Step 1: Activate the Adjustment Brush and Paint an Area
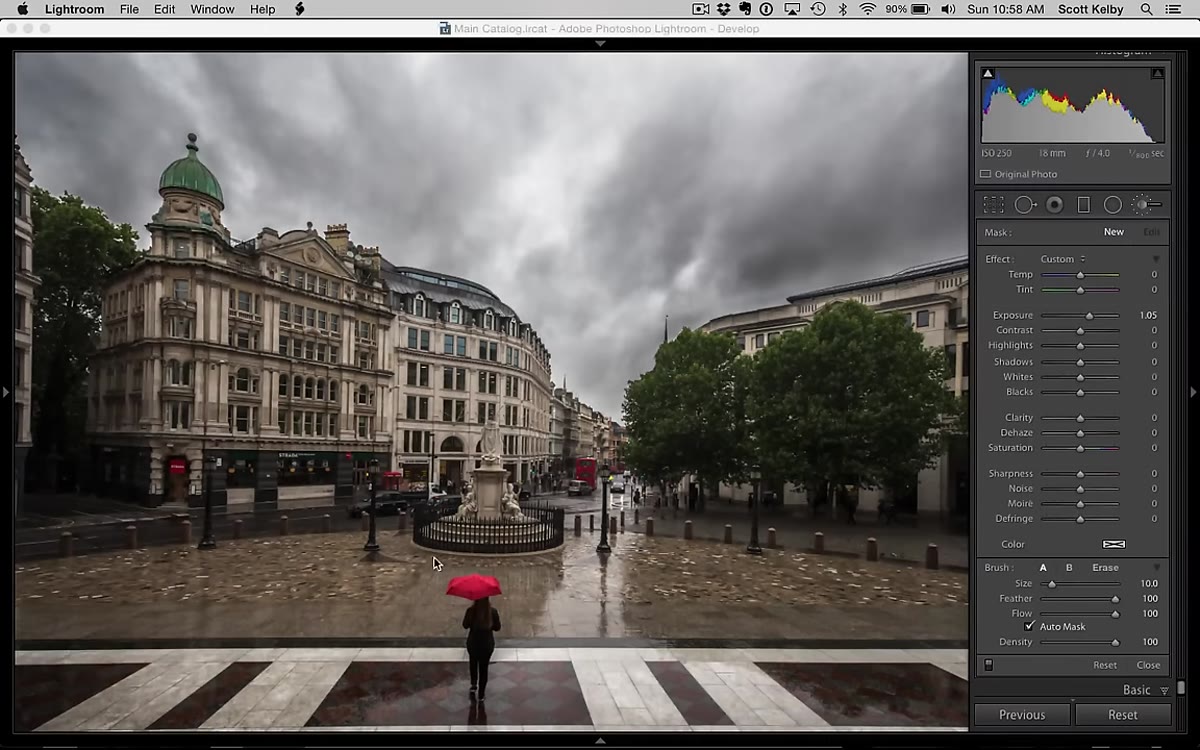 Painting over an image region with the Adjustment Brush active
Open any image in Lightroom’s Develop module and select the Adjustment Brush (keyboard shortcut: K). Dial in a small positive Exposure value, nothing dramatic, just enough to see where you’re painting. Then brush over a reasonably large area of the image, moving at a normal speed the way you naturally would.
Painting over an image region with the Adjustment Brush active
Open any image in Lightroom’s Develop module and select the Adjustment Brush (keyboard shortcut: K). Dial in a small positive Exposure value, nothing dramatic, just enough to see where you’re painting. Then brush over a reasonably large area of the image, moving at a normal speed the way you naturally would.
The goal here isn’t a perfect mask. The goal is to replicate the problem so you can see it clearly.
Step 2: Reveal the Mask with the Overlay Toggle
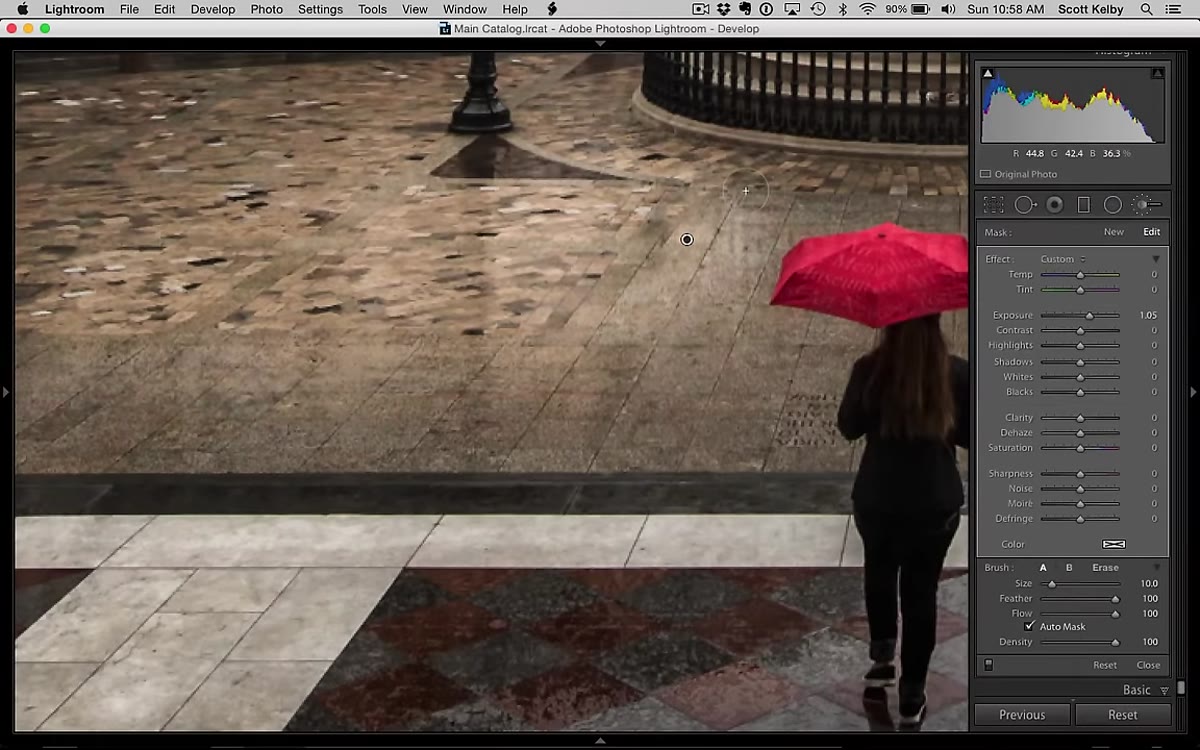 Red mask overlay showing gaps and missed areas in painted region
Once you’ve painted your strokes, press the letter O on your keyboard. This toggles the mask overlay, which displays your painted area as a red tint. What you’ll likely see is not a clean, solid region. You’ll see gaps, skipped patches, and spots where the brush clearly traveled but left no paint behind.
Red mask overlay showing gaps and missed areas in painted region
Once you’ve painted your strokes, press the letter O on your keyboard. This toggles the mask overlay, which displays your painted area as a red tint. What you’ll likely see is not a clean, solid region. You’ll see gaps, skipped patches, and spots where the brush clearly traveled but left no paint behind.
This is the moment most people blame the brush itself. The overlay makes the problem visible in a way that’s hard to ignore, and it’s exactly what Kelby demonstrates to show why the frustration is legitimate. But the gaps aren’t a brush quality issue. They’re caused by a feature doing exactly what it was designed to do, just at the wrong moment.
Step 3: Locate the Auto Mask Checkbox
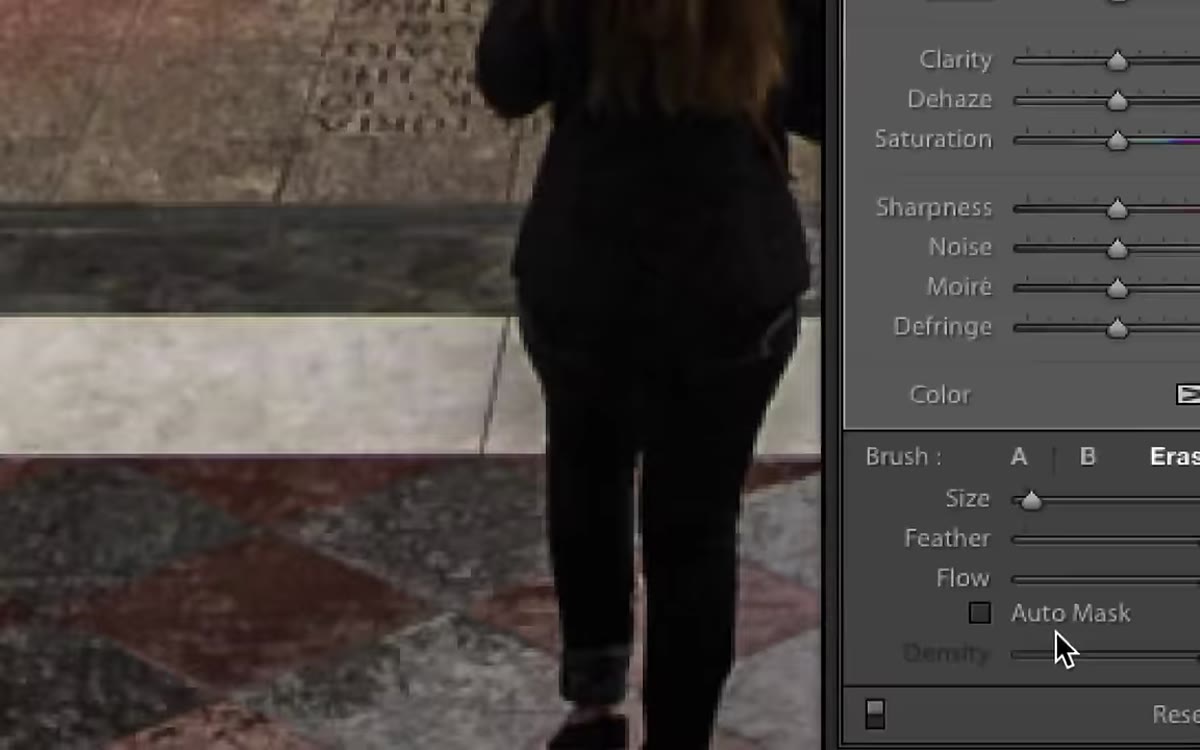 Auto Mask checkbox highlighted in the Adjustment Brush panel
Look at the toolbar panel at the bottom of the Adjustment Brush options. You’ll see a checkbox labeled Auto Mask. By default, it’s often left enabled, and most users never question it because the name sounds like a helpful automation. It is helpful, but only in specific circumstances.
Auto Mask checkbox highlighted in the Adjustment Brush panel
Look at the toolbar panel at the bottom of the Adjustment Brush options. You’ll see a checkbox labeled Auto Mask. By default, it’s often left enabled, and most users never question it because the name sounds like a helpful automation. It is helpful, but only in specific circumstances.
Auto Mask works by analyzing the pixels under your brush’s center point and trying to detect edges. It attempts to prevent your strokes from bleeding across contrast boundaries into areas you didn’t intend to paint. When you’re working near a clean edge between two distinct tones or colors, that edge detection is valuable. But when you’re painting broad, open areas with no nearby edges, the algorithm is still running, still doing math, and still making decisions about what to include. That’s where the gaps come from.
Step 4: Turn Off Auto Mask for Open-Area Painting
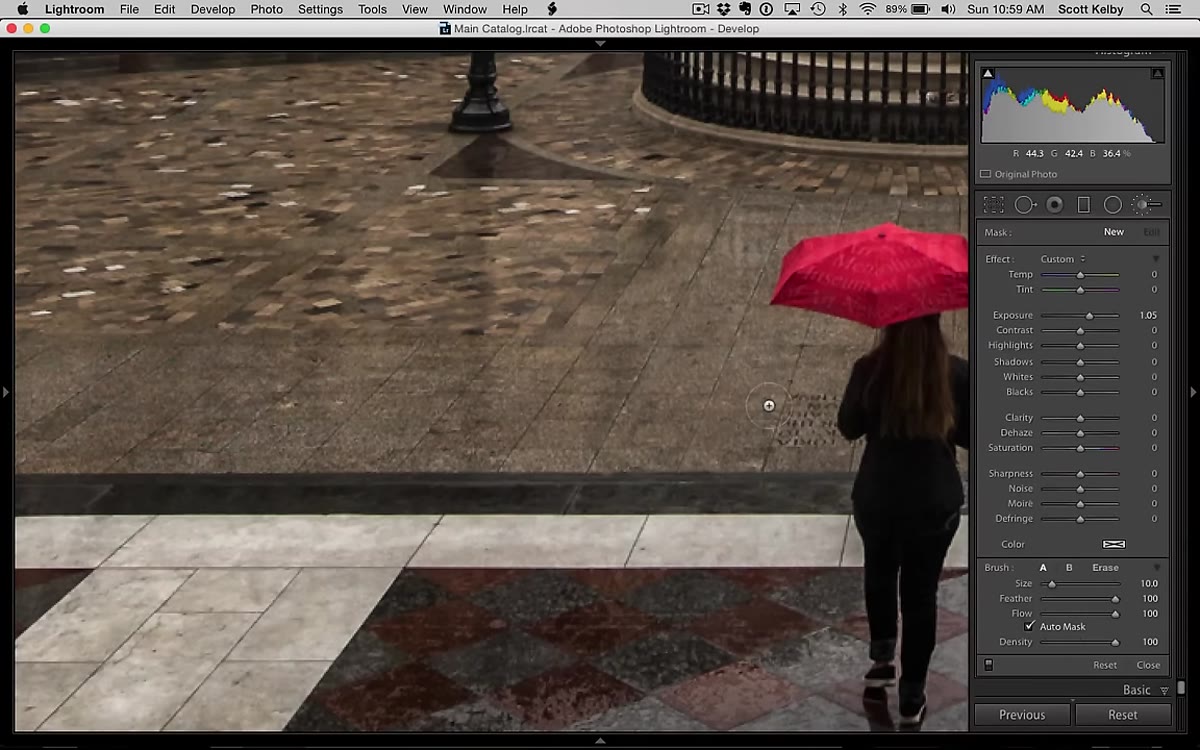 Auto Mask disabled, clean brush strokes with no gaps visible
Delete the existing mask pin and start fresh. To disable Auto Mask quickly, press the letter A while the Adjustment Brush is active. That single keystroke toggles it off. Now paint over the same region again with the overlay still visible.
Auto Mask disabled, clean brush strokes with no gaps visible
Delete the existing mask pin and start fresh. To disable Auto Mask quickly, press the letter A while the Adjustment Brush is active. That single keystroke toggles it off. Now paint over the same region again with the overlay still visible.
The difference is immediate. The mask fills in completely, no gaps, no skipped patches, nothing left behind. The brush behaves the way you probably assumed it always should. Kelby makes the point plainly: for broad coverage over non-critical areas, Auto Mask is working against you. Turn it off and let the brush do its job without the interference.
Step 5: Reactivate Auto Mask When You Approach an Edge
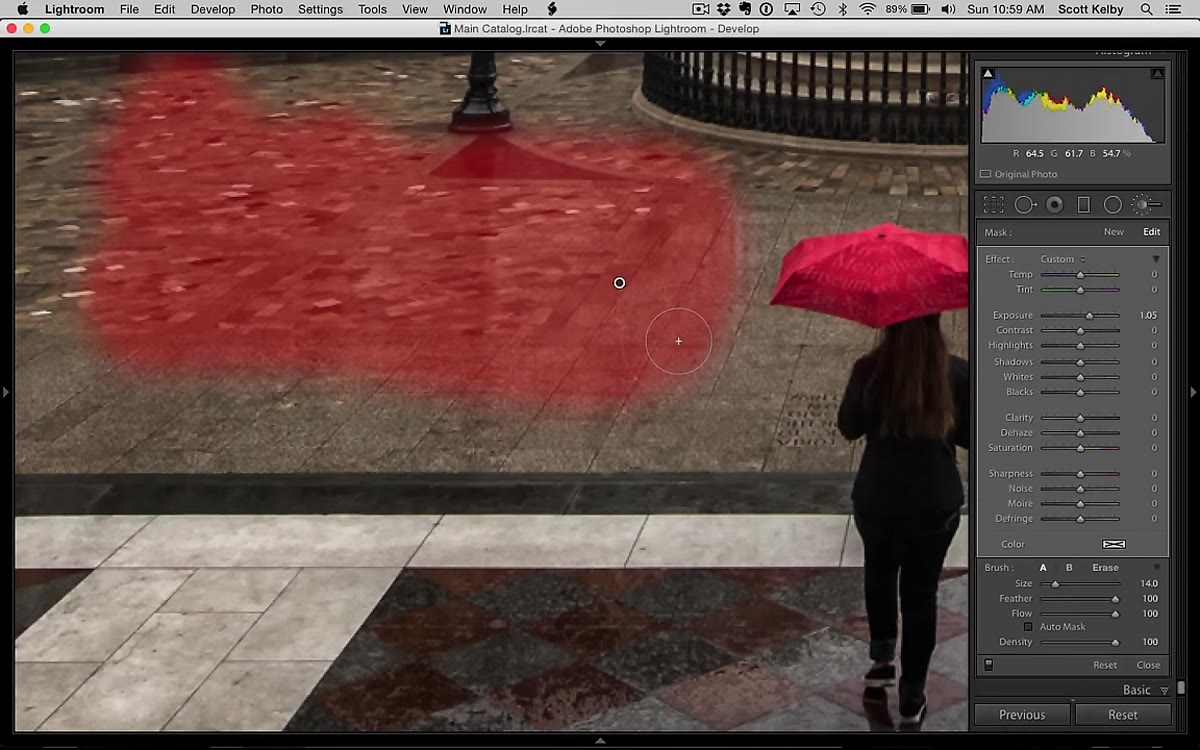 Auto Mask re-enabled while painting near a subject’s clean edge
Here’s where the real workflow lives. Once you’ve covered the open areas of your image, move your brush toward whatever edge you actually care about protecting. In the tutorial, Kelby works around a woman holding a red umbrella. The moment he gets close to her outline, he presses A again to switch Auto Mask back on.
Auto Mask re-enabled while painting near a subject’s clean edge
Here’s where the real workflow lives. Once you’ve covered the open areas of your image, move your brush toward whatever edge you actually care about protecting. In the tutorial, Kelby works around a woman holding a red umbrella. The moment he gets close to her outline, he presses A again to switch Auto Mask back on.
With Auto Mask active and your brush cursor positioned so that the center crosshair stays just outside the subject, the edge detection kicks in accurately. The brush paints up to the boundary without crossing it. The crosshair is the key indicator here. As long as it doesn’t overlap onto the area you want to protect, Auto Mask will respect that edge. This is the feature working the way it was intended, precise, constrained, and genuinely useful.
What I’d Add from Years of Commercial Work
The toggle-as-you-go approach Kelby describes is solid, but on high-volume jobs I take it a step further. I’ll make a first pass with Auto Mask completely off, flooding the broad region fast. Then I create a second brush pin with Auto Mask on and use that exclusively for any edge work. Keeping the two tasks on separate pins means I can go back and adjust the broad-area exposure independently from the edge refinement if the client asks for changes, which they always do.
On product shots especially, where backgrounds are clean and subjects have sharp, predictable edges, this two-pin method cuts my local adjustment time noticeably. It also keeps the mask logic cleaner. One pin handles coverage, one handles precision. You don’t end up in situations where turning Auto Mask on mid-stroke changes the behavior of areas you already painted. Predictability matters when you’re processing dozens of images with consistent requirements.
If you haven’t been using keyboard shortcuts in the Develop module generally, the A shortcut alone is worth memorizing. The faster you can switch modes without touching the panel, the more the brush starts to feel like an actual painting tool rather than a settings dialog.
The single most important thing Kelby communicates in this tutorial is that Auto Mask is situational, not a default to leave on or off permanently. Matching the setting to the task is the whole technique. Paint open areas with it off, paint near edges with it on, and you’ll get clean, gap-free masks every time.
Watch the full tutorial on YouTube to see Kelby walk through the before and after in real time. It’s under four minutes and the visual confirmation of what the overlay shows is worth seeing once before you build the habit.
Comments (3)
Shared this with my photography group. Everyone loved it.
This saved me so much time on my last edit. Wish I'd found this sooner.
This is fantastic. I've been recommending this approach to my readers too.
Leave a Comment