Build a Star Field Brush in Photoshop That Actually Looks Real (Not Clip Art)

Build a Star Field Brush in Photoshop That Actually Looks Real (Not Clip Art)

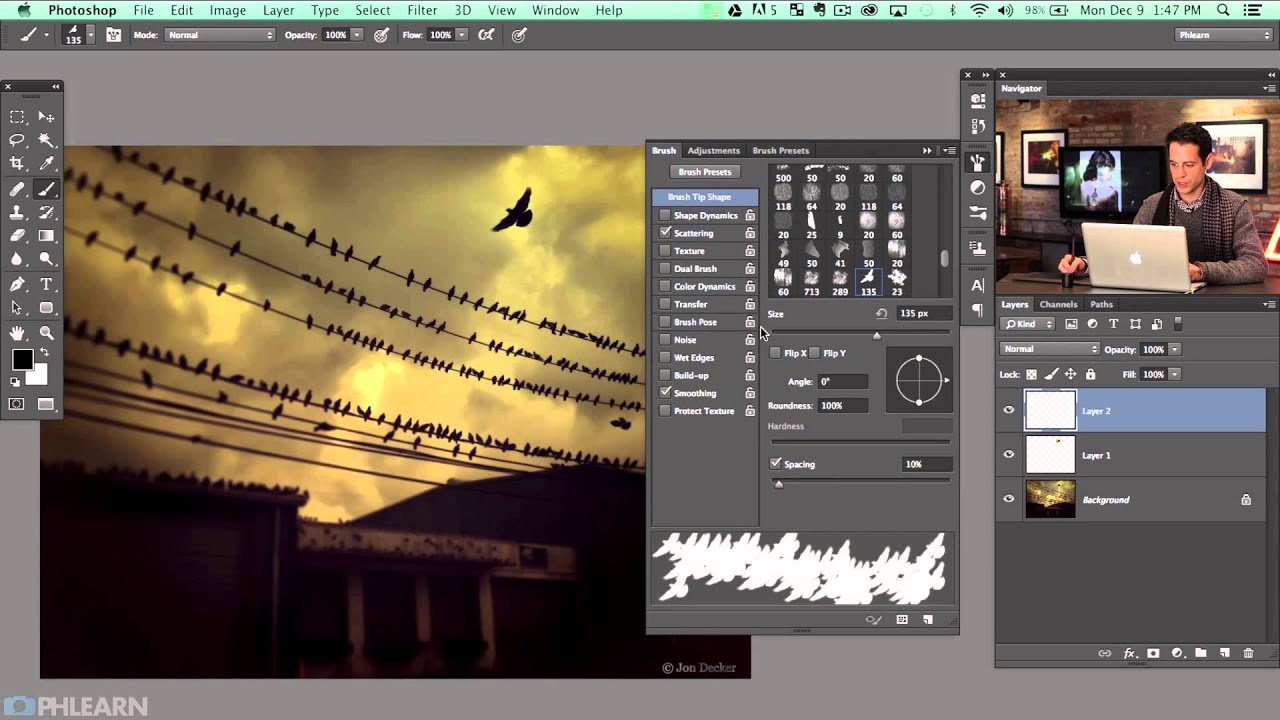
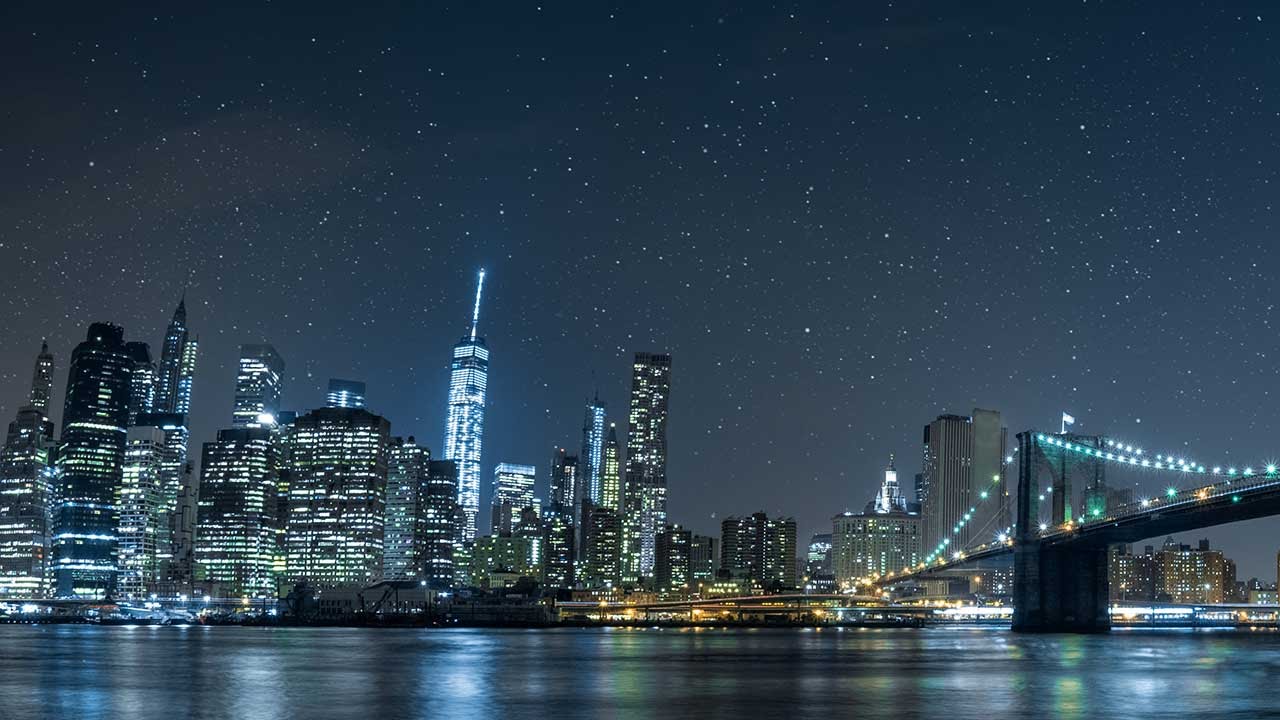
Client sends over a panoramic cityscape. Beautiful shot, golden hour fading into deep blue. The brief says “add stars.” If you’ve been doing this long enough, you already know what the wrong approach looks like: grab a tiny round brush, set it to white, and start clicking. Two hundred clicks later, you’ve got a sky that looks like someone flicked a paintbrush at the monitor. Every star is identical. Every star is boring.

Build a Snow Brush in Photoshop from Scratch (And Actually Understand Why It Works)

Build a Snow Brush in Photoshop from Scratch (And Actually Understand Why It Works)

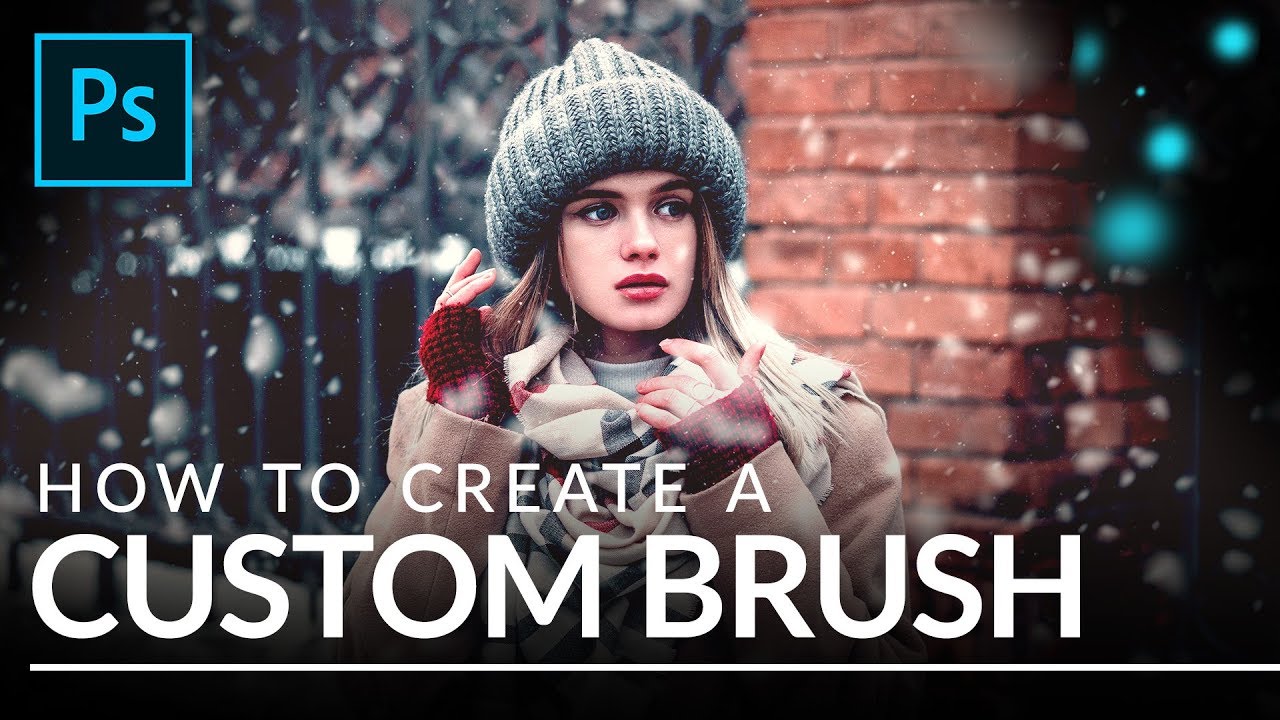
Every December, at least one client asks me to add snow to a product shot or lifestyle image that was photographed in July. For years I licensed stock snow overlays, and they were fine, right up until they weren’t. The wrong flake size, the wrong density, a pattern that tiled visibly if you looked closely. The overlay approach is a patch, not a solution. What I actually needed was a brush I could resize, rescatter, and repaint non-destructively depending on the image.

How to Paint Realistic Splatter Effects Using a Custom Brush in Photoshop

How to Paint Realistic Splatter Effects Using a Custom Brush in Photoshop

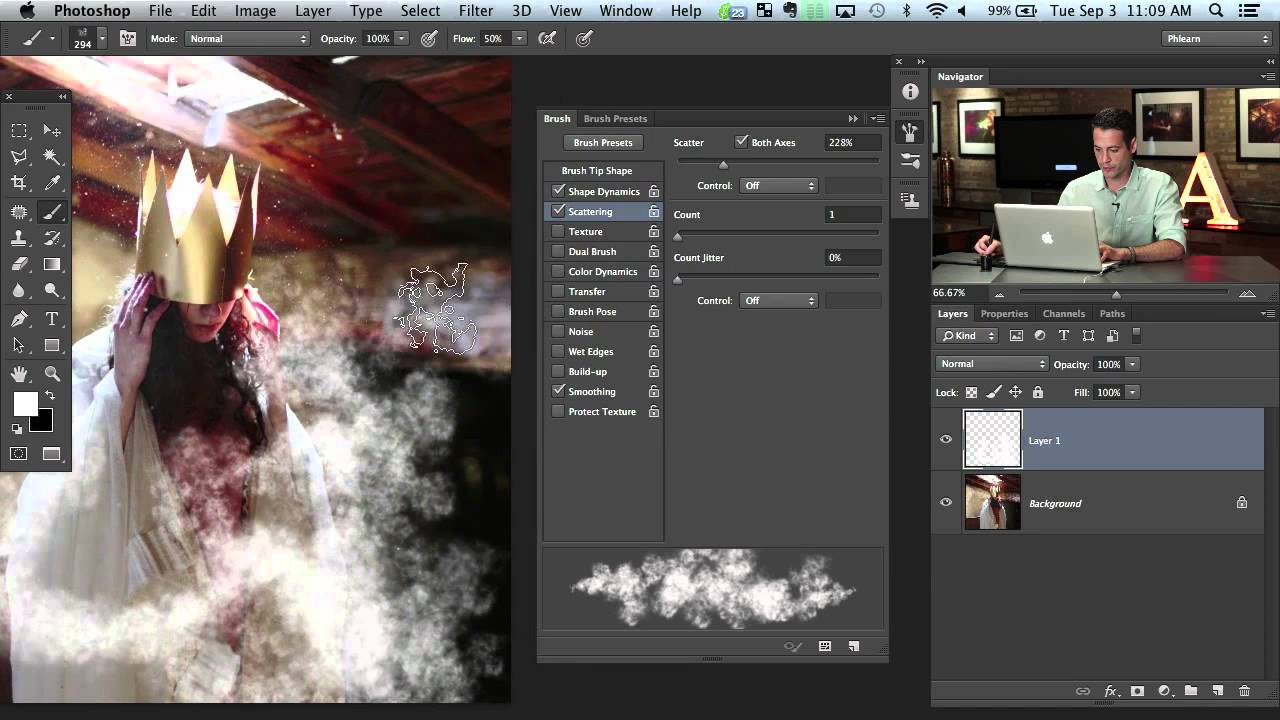
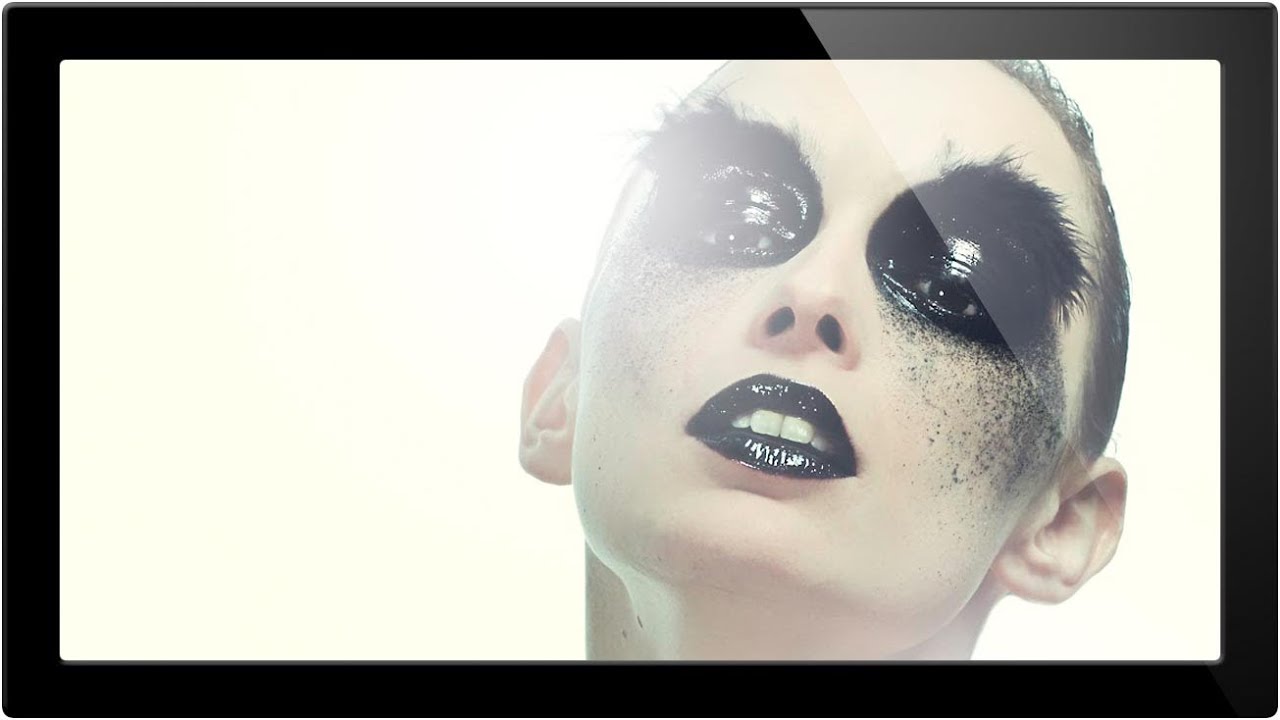
There’s a specific category of retouching request I get from ad agency clients that used to slow me down every single time: adding painterly, organic-looking elements to an otherwise clean photograph. Powder bursts, ink splashes, paint splatters. The kind of thing that looks effortless in the final comp but eats up an hour if you’re doing it by hand with a generic round brush. What I eventually figured out, and what this tutorial nails cleanly, is that the real solution lives inside Photoshop’s Brush Settings panel, a place most people open once, get confused by, and never return to.