What Lightroom's Built-In Presets Can Actually Teach You About Retouching

What Lightroom's Built-In Presets Can Actually Teach You About Retouching

There’s a phase every retoucher goes through where they know what they want an image to look like but can’t quite connect that vision to specific slider values. I spent an embarrassing amount of time in that gap early in my career, guessing at Clarity adjustments and hoping for the best. What eventually pulled me out of it wasn’t a course or a book — it was slowing down and actually reading what existing presets were doing under the hood.

Lightroom's Density Slider Is Not What You Think (And That's the Point)

Lightroom's Density Slider Is Not What You Think (And That's the Point)

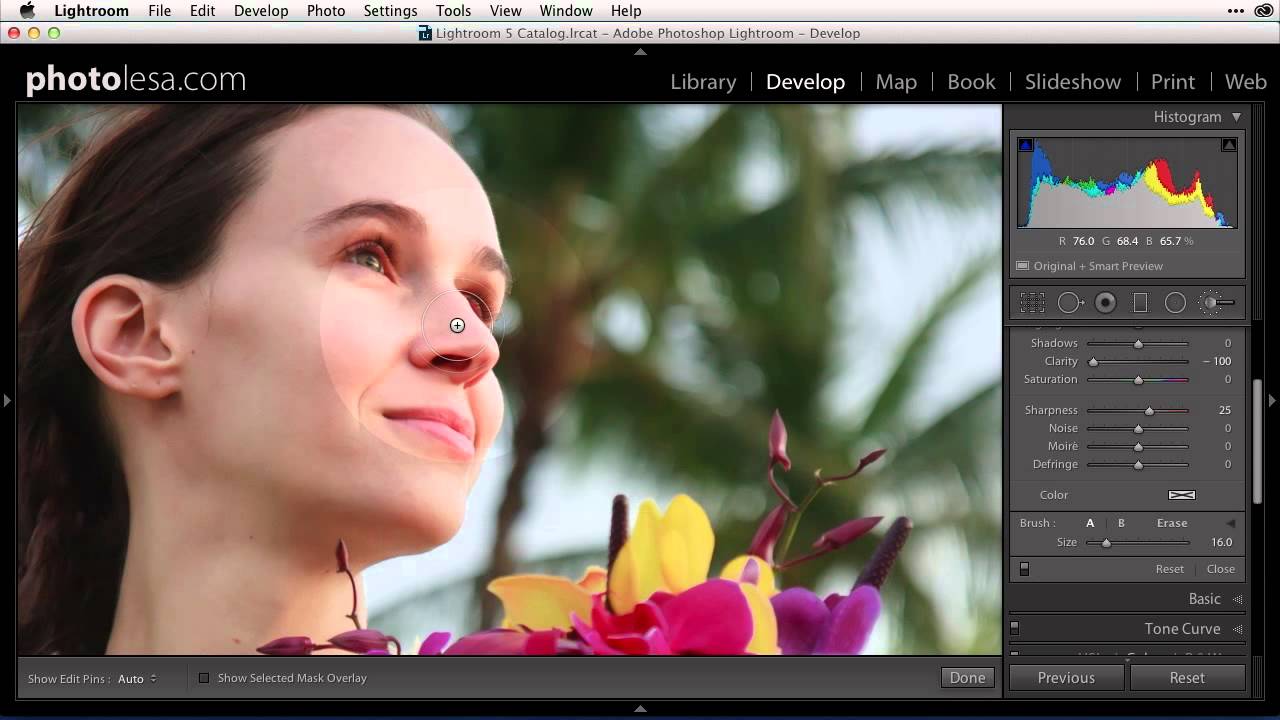
There’s a specific kind of frustration that comes from knowing exactly what you want a tool to do and feeling like it’s fighting you. I ran into this with Lightroom’s Adjustment Brush embarrassingly late in my career. I’d spent years in Photoshop building actions, dialing in brush opacity and flow to get precise, repeatable results on skin, product surfaces, backgrounds. Then I’d jump into Lightroom for a raw edit and the Adjustment Brush would just feel… blunt.

Fake Light Rays That Actually Look Real: A Lightroom Brush Technique Worth Stealing

Fake Light Rays That Actually Look Real: A Lightroom Brush Technique Worth Stealing

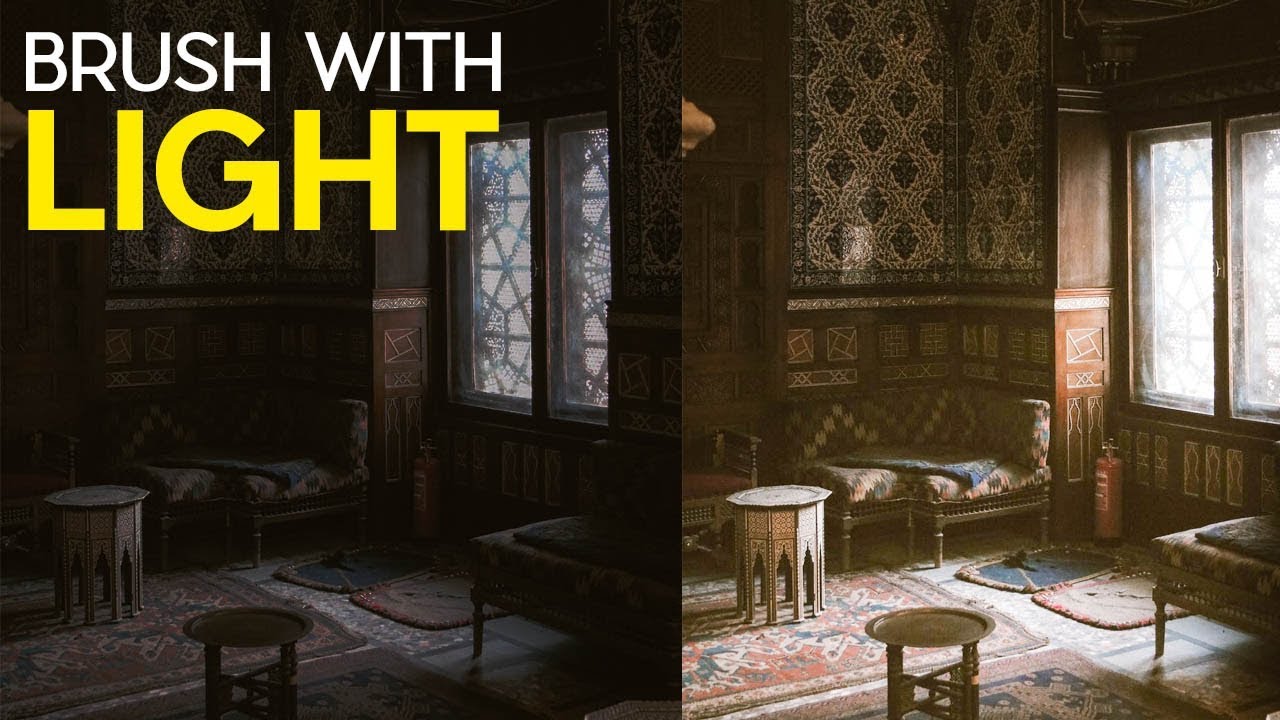
Most of my work lands in front of art directors who’ve seen every Photoshop trick in the book. When I show them a before-and-after with added light rays, the question is never “did you add that?” It’s “how did you do it so fast?” That’s the bar I care about: techniques that look intentional and take almost no time to execute. I came across this one in a Matt Kloskowski tutorial on painting light with Lightroom’s adjustment brush, and it earned a permanent spot in my toolkit within about ten minutes of watching it.

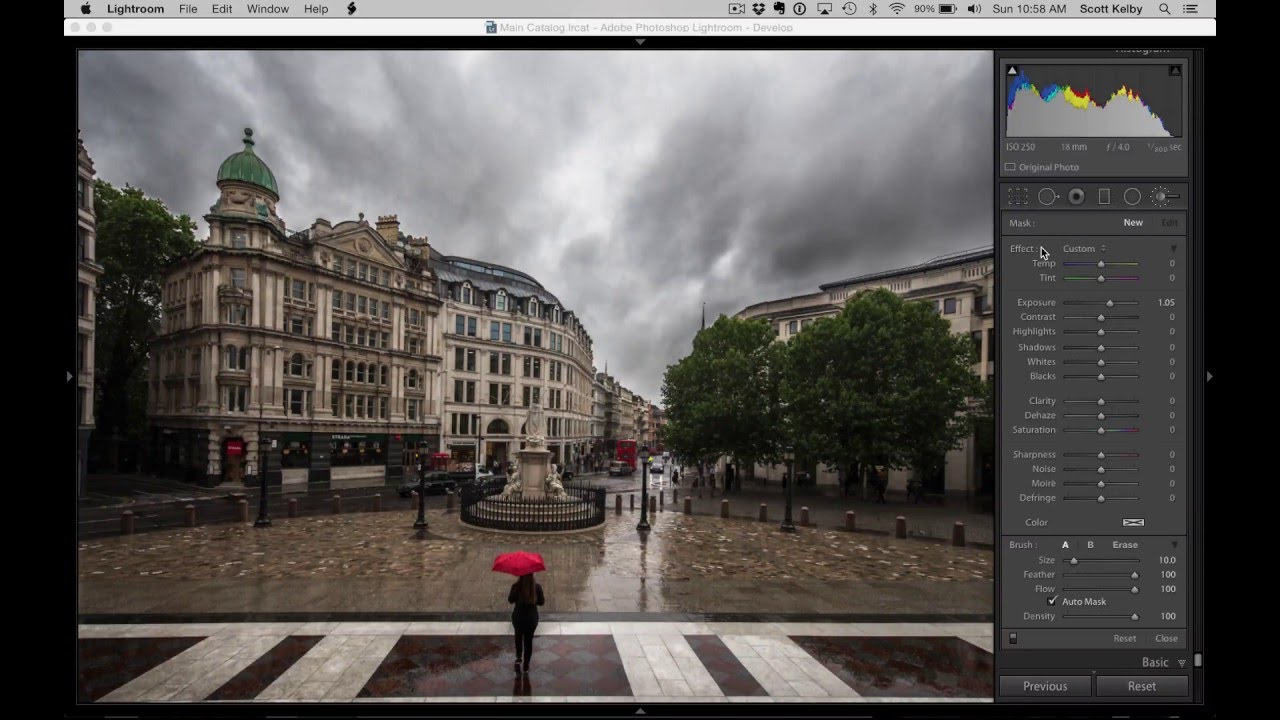
Work Smarter With Lightroom's Adjustment Brush: The Auto Mask Shortcut That Changes Everything

Work Smarter With Lightroom's Adjustment Brush: The Auto Mask Shortcut That Changes Everything

If you shoot anything that requires selective exposure adjustments — portraits, architecture, product work, anything with a foreground subject you want to separate from a background — you already know the adjustment brush is one of the most powerful tools in Lightroom and Camera Raw. You probably also know the frustration of painting too far, blowing past an edge, and having to redo a mask you spent five minutes building. That specific pain is what pulled me into Watch the full tutorial on YouTube from Matt Kloskowski, a photographer and educator whose approach to Lightroom workflow I’ve respected for years.