Turn Any Multi-Layer Photoshop Look Into a One-Click Preset Using Color Lookup Tables

Turn Any Multi-Layer Photoshop Look Into a One-Click Preset Using Color Lookup Tables

Client work has a way of forcing efficiency. When you’re juggling color-grading across a product catalog for an ad agency, rebuilding three-adjustment-layer looks from scratch for each new shoot stops being an inconvenience and starts costing real money. For years, the standard answer to “can I save this whole look as one preset?” was a frustrating no. You could save individual adjustment layer presets, sure, but the moment your look depended on a curves layer, a hue/saturation layer with a blend mode change, and an opacity tweak stacked together, you were on your own.

Fake Film Looks Are Everywhere. Here's How to Build a Real One in Photoshop.

Fake Film Looks Are Everywhere. Here's How to Build a Real One in Photoshop.

Client work has a way of exposing your shortcuts. A few months back, an ad agency sent me a batch of lifestyle shots that needed a cohesive vintage treatment, and every AI-driven “film look” filter I tested came back looking like someone had described film photography to a machine that had never seen a photograph. Overly warm, crushed in the wrong places, grain that tiled like bathroom tile. I scrapped all of it and went back to building the effect by hand.

How to Record Photoshop Actions from Scratch (And Finally Stop Forgetting Your Own Techniques)

How to Record Photoshop Actions from Scratch (And Finally Stop Forgetting Your Own Techniques)

There’s a specific kind of frustration that hits when you’ve developed a technique you genuinely love, used it a dozen times, and then six weeks later you’re staring at a blank canvas trying to reconstruct it from memory. That used to happen to me constantly in my early studio years. I’d nail a color treatment on a campaign, close the file, and by the next job, half the steps were gone.

How to Create Custom Adjustment Layer Presets in Photoshop (February 2024 Update)

How to Create Custom Adjustment Layer Presets in Photoshop (February 2024 Update)

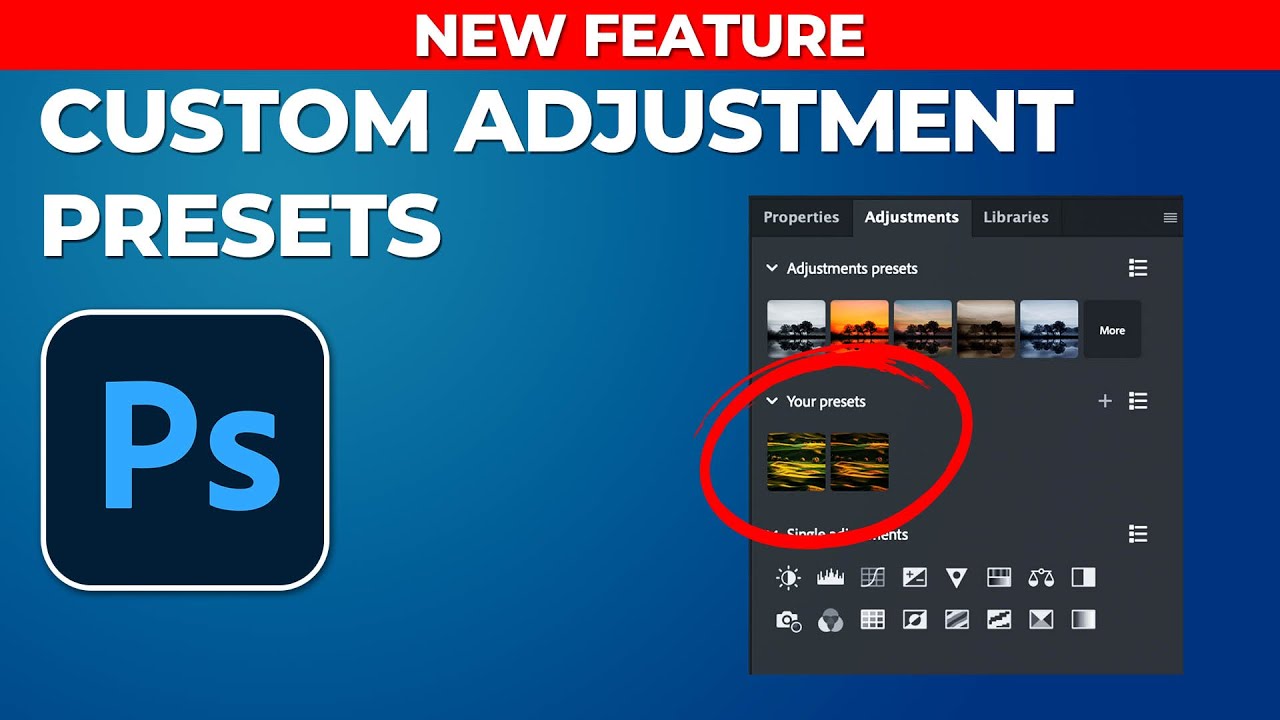
If you’ve been building Photoshop workflows for any length of time, you already know that adjustment layers are the backbone of non-destructive editing. Brightness, contrast, curves, hue and saturation - these are the tools that do the heavy lifting on nearly every image I process, whether it’s a single hero shot for an ad campaign or a batch of 300 e-commerce frames. The problem, until very recently, was that the preset system inside the Adjustments panel was a one-way street.

Photoshop 2026's Game-Changing Adjustment Layers: A Complete Breakdown

Photoshop 2026's Game-Changing Adjustment Layers: A Complete Breakdown

When Photoshop 2026 dropped, I immediately noticed something that made me genuinely excited: three adjustment layers that had been living in Lightroom finally made their way into Photoshop as native adjustment layers. This isn’t just a convenience update—it’s a legitimate workflow game-changer for anyone who edits photos seriously. In this excellent tutorial, Aaron Nace (PHLEARN) breaks down exactly how to use Photoshop’s newest adjustment layers: Color & Vibrance, Clarity & Dehaze, and Grain.