If you’ve been building Photoshop workflows for any length of time, you already know that adjustment layers are the backbone of non-destructive editing. Brightness, contrast, curves, hue and saturation - these are the tools that do the heavy lifting on nearly every image I process, whether it’s a single hero shot for an ad campaign or a batch of 300 e-commerce frames. The problem, until very recently, was that the preset system inside the Adjustments panel was a one-way street. Adobe gave you their presets, you could apply them and tweak them, but you couldn’t bottle up your own combinations and reuse them the same way.
In this Matt Kloskowski tutorial - Watch the full tutorial on YouTube - he walks through a feature that quietly landed in the February 2024 Photoshop update that changes that entirely. You can now create your own presets directly inside the Adjustments panel, stacking multiple adjustment layers into a single, reusable preset that you can apply to any document. For anyone managing consistent looks across a client’s product line or a recurring editorial style, this is a meaningful upgrade to a panel that’s been sitting mostly unchanged for years.
I’ll be honest - the first time I poked around this feature on my own, I made the same mistake Matt mentions in the video. Understanding the selection behavior before you hit that plus button is the difference between a useful preset and a half-built one. Here’s the full walkthrough so you get it right on the first attempt.
Step 1: Confirm You’re on Photoshop 25.5 or Later
 Version number requirement shown on screen
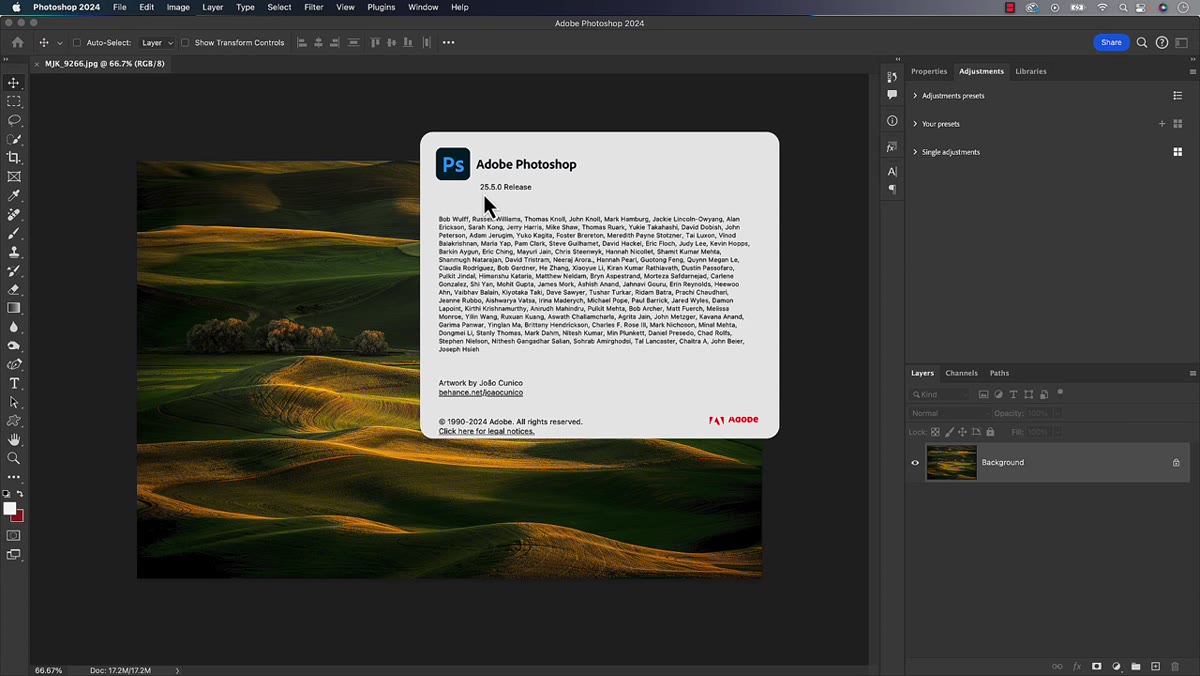
Before anything else, check your Photoshop version. Go to Photoshop (Mac) or Help (Windows) and choose About Photoshop. The custom preset creation feature requires version 25.5.0 or higher. If you’re running an older build, you’ll see the Adjustments panel but the “Your Presets” section and its controls simply won’t be there. A quick check saves a lot of head-scratching. If you need to update, the Creative Cloud desktop app will handle it.
Version number requirement shown on screen
Before anything else, check your Photoshop version. Go to Photoshop (Mac) or Help (Windows) and choose About Photoshop. The custom preset creation feature requires version 25.5.0 or higher. If you’re running an older build, you’ll see the Adjustments panel but the “Your Presets” section and its controls simply won’t be there. A quick check saves a lot of head-scratching. If you need to update, the Creative Cloud desktop app will handle it.
Step 2: Open the Adjustments Panel
 Window menu open with Adjustments panel highlighted
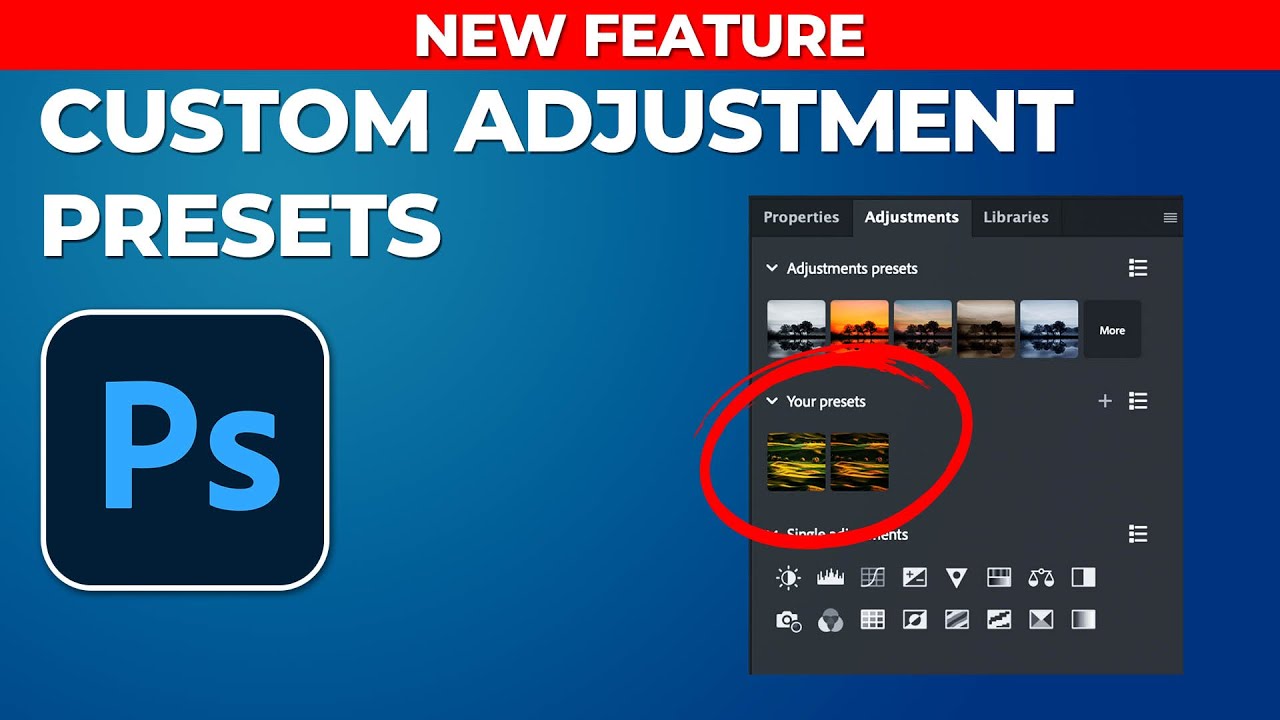
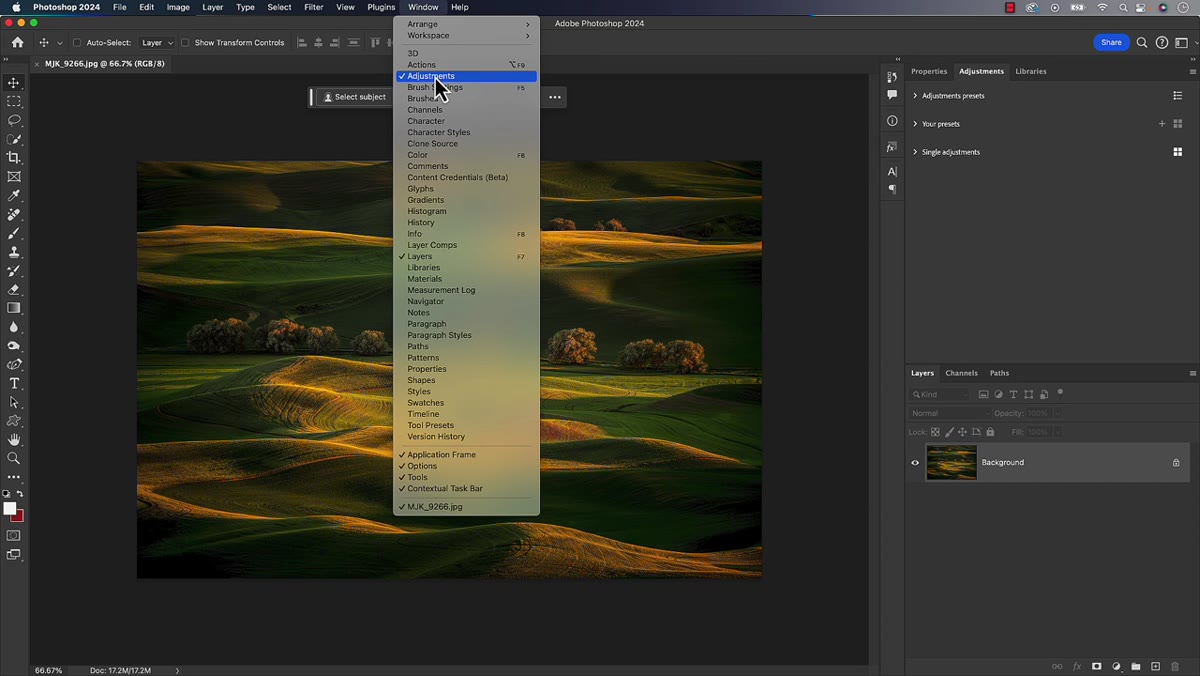
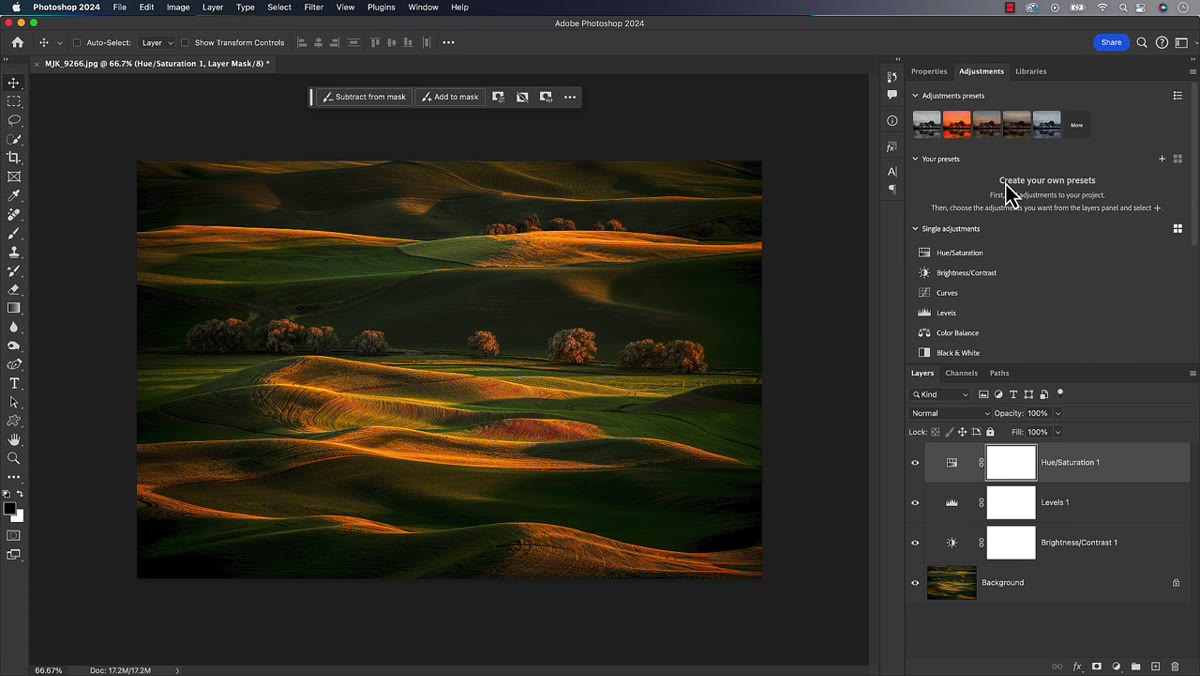
Navigate to Window in the top menu bar and select Adjustments. The panel gives you two things: the familiar list of individual adjustment types at the top, and below that, a presets section. You’ll see categories like Portrait, Landscape, and Creative - these are the Adobe-supplied presets that have been there for a while. What’s new is the “Your Presets” section sitting alongside them, which is where your custom combinations will live once you build them.
Window menu open with Adjustments panel highlighted
Navigate to Window in the top menu bar and select Adjustments. The panel gives you two things: the familiar list of individual adjustment types at the top, and below that, a presets section. You’ll see categories like Portrait, Landscape, and Creative - these are the Adobe-supplied presets that have been there for a while. What’s new is the “Your Presets” section sitting alongside them, which is where your custom combinations will live once you build them.
Step 3: Add Your Adjustment Layers and Dial In the Settings
 Multiple adjustment layers visible in the Layers panel
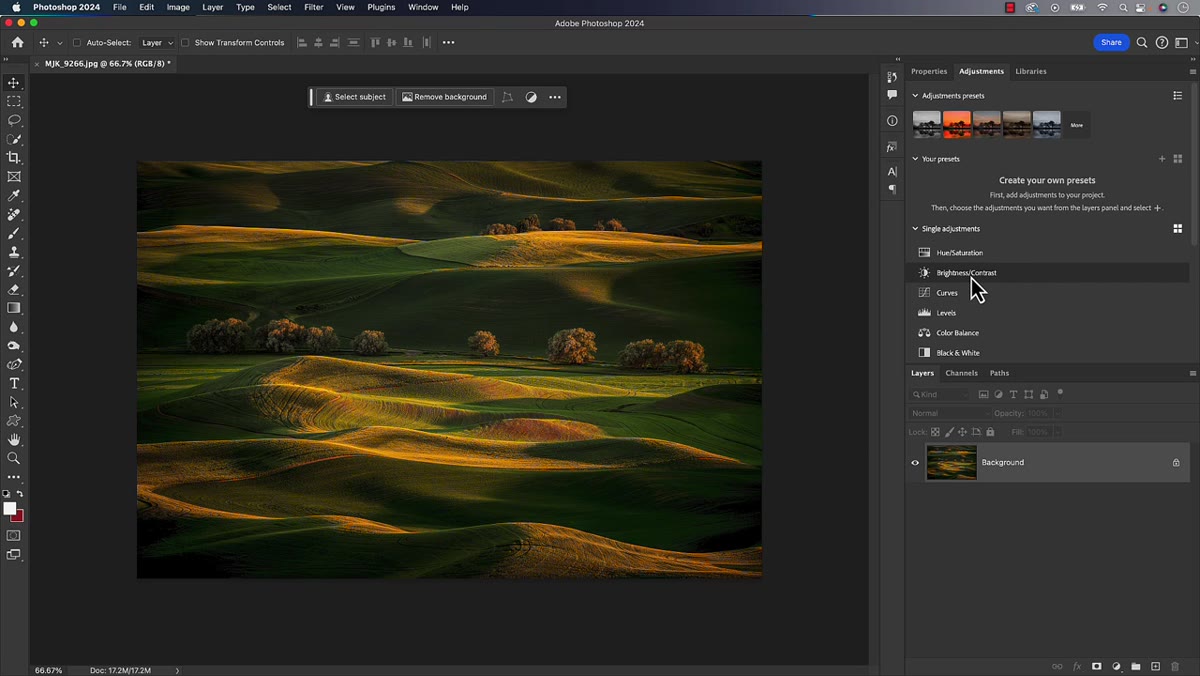
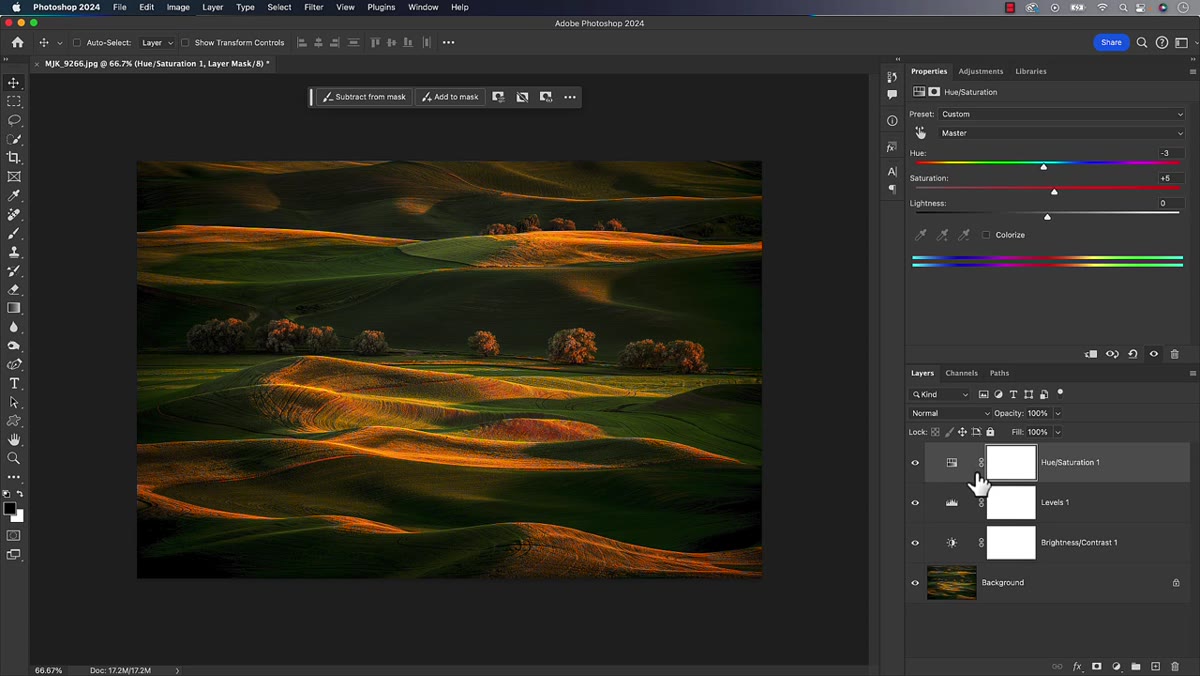
This is where you build the look you want to save. Click any adjustment type in the panel to add it as a layer - Brightness/Contrast, Levels, Hue/Saturation, Curves, whatever combination fits your use case. Adjust each one to the settings you actually want baked into the preset. In the tutorial, Matt stacks a Brightness/Contrast layer (pulled darker with increased contrast for a moodier result), a Levels layer (white point brought in to lift the highlights), and a Hue/Saturation layer (saturation reduced for a more muted tone). The exact values matter less here than understanding that whatever you set is what gets saved - so dial these in deliberately rather than just getting close.
Multiple adjustment layers visible in the Layers panel
This is where you build the look you want to save. Click any adjustment type in the panel to add it as a layer - Brightness/Contrast, Levels, Hue/Saturation, Curves, whatever combination fits your use case. Adjust each one to the settings you actually want baked into the preset. In the tutorial, Matt stacks a Brightness/Contrast layer (pulled darker with increased contrast for a moodier result), a Levels layer (white point brought in to lift the highlights), and a Hue/Saturation layer (saturation reduced for a more muted tone). The exact values matter less here than understanding that whatever you set is what gets saved - so dial these in deliberately rather than just getting close.
Each adjustment layer can also carry opacity and blend mode settings, and those get preserved too. That’s worth noting because it means you can save a Curves layer set to Luminosity blend mode at 70% opacity and have that specificity replay every time you apply the preset.
Step 4: Select All the Layers You Want Included
 Layers panel showing multiple adjustment layers selected
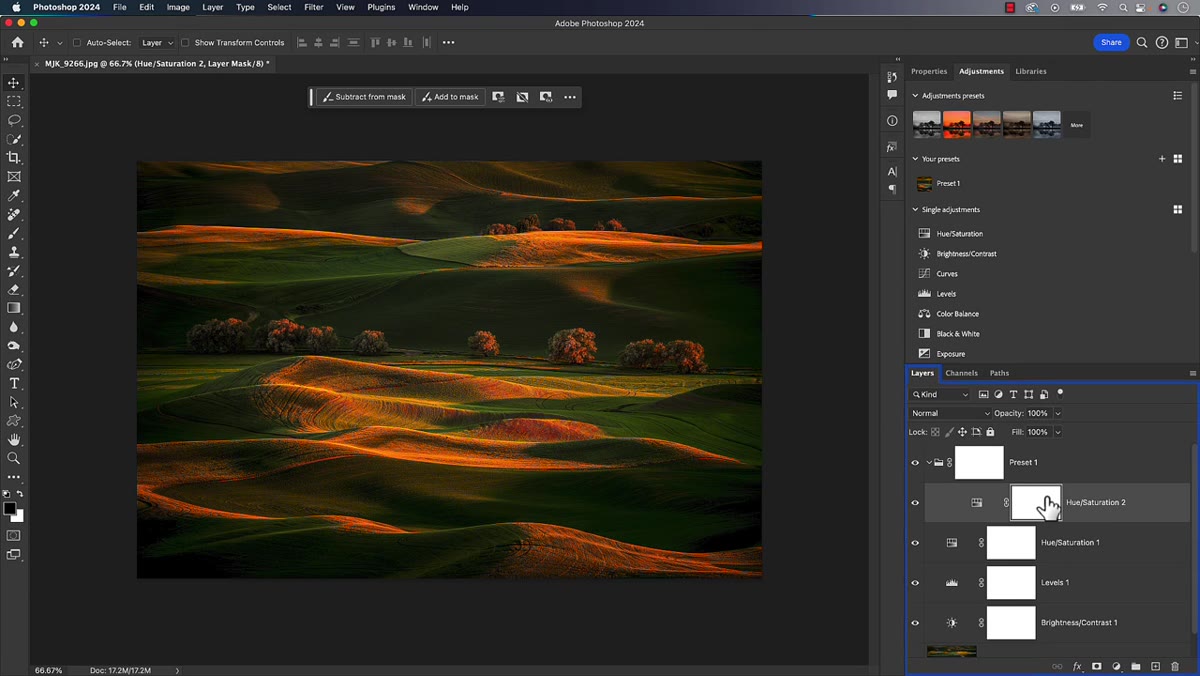
This is the step that tripped Matt up the first time, and it tripped me up too. Before you create the preset, you need to select all the adjustment layers you want included, inside the Layers panel. Click the first layer, then Shift-click the last one to grab the full range. If you skip this and only have one layer active, Photoshop will build a preset from only that single layer - which is technically a preset, but not the multi-layer combination you were after. The preset system reads whatever is currently selected in the Layers panel at the moment you save, so selection is everything.
Layers panel showing multiple adjustment layers selected
This is the step that tripped Matt up the first time, and it tripped me up too. Before you create the preset, you need to select all the adjustment layers you want included, inside the Layers panel. Click the first layer, then Shift-click the last one to grab the full range. If you skip this and only have one layer active, Photoshop will build a preset from only that single layer - which is technically a preset, but not the multi-layer combination you were after. The preset system reads whatever is currently selected in the Layers panel at the moment you save, so selection is everything.
Step 5: Create the Preset from the Your Presets Section
 Adjustments panel showing Your Presets section with plus button
With your adjustment layers selected in the Layers panel, go back to the Adjustments panel and find the “Your Presets” section. There’s a small plus button on the right side of that section header. Click it. Photoshop will prompt you to name the preset - give it something descriptive enough that you’ll recognize it in a list three months from now. Save it, and the preset appears in your Your Presets section immediately.
Adjustments panel showing Your Presets section with plus button
With your adjustment layers selected in the Layers panel, go back to the Adjustments panel and find the “Your Presets” section. There’s a small plus button on the right side of that section header. Click it. Photoshop will prompt you to name the preset - give it something descriptive enough that you’ll recognize it in a list three months from now. Save it, and the preset appears in your Your Presets section immediately.
When you apply this preset to a new image, Photoshop adds all the adjustment layers from the preset as a grouped set, organized into its own folder in the Layers panel. Your original layers stay intact and the preset layers stack on top, fully editable.
Step 6: Apply and Verify the Preset Works as Expected
 Preset applied to image showing new adjustment layer folder
Open a different image and click your new preset in the Your Presets section. You should see a new group folder appear in the Layers panel containing all the adjustment layers you saved, with all the settings preserved. Double-click any layer thumbnail inside that group to open its properties and confirm the values carried over. From here, you can adjust any layer individually - tweak the Hue/Saturation, pull back the Brightness/Contrast, change a blend mode - without touching the others. Non-destructive all the way down.
Preset applied to image showing new adjustment layer folder
Open a different image and click your new preset in the Your Presets section. You should see a new group folder appear in the Layers panel containing all the adjustment layers you saved, with all the settings preserved. Double-click any layer thumbnail inside that group to open its properties and confirm the values carried over. From here, you can adjust any layer individually - tweak the Hue/Saturation, pull back the Brightness/Contrast, change a blend mode - without touching the others. Non-destructive all the way down.
One Thing I’d Add from My Own Workflow
The preset system as Matt describes it is solid, but there’s a practical step I layer on top: naming conventions. I prefix every custom preset with a client code or project type - something like “EC-Muted-Dark” for e-commerce or “PORT-Clean” for portrait work. When you accumulate a dozen of these over a few months, a flat list of generic names becomes genuinely unusable. Photoshop doesn’t currently offer folders within Your Presets, so your naming scheme is the only organization you get.
I’d also suggest keeping a note - even a basic text file - that records what each preset was built for and what settings are inside it. The preset applies the layers, but it doesn’t tell you why you made the choices you did. Six months later, you’ll want that context, especially when a client requests a variation on a look you half-remember building.
The single most important thing this update changes is that the Adjustments panel is no longer read-only for custom work. You can now treat your most-used adjustment layer combinations the same way you’d treat any other reusable asset - build it once, name it well, and let it do the repetitive work for you. That’s the whole philosophy behind a good Photoshop workflow.
Watch the full tutorial on YouTube to see Matt walk through the process live, including a few variations and the exact moment where the selection behavior becomes obvious once you see it demonstrated.
Comments (4)
This is exactly what I needed today. Been struggling with this for weeks.
Would love to see a follow-up going deeper into this topic.
This is exactly what I needed today. Been struggling with this for weeks.
Couldn't agree more. I've seen this make a huge difference in gear work specifically.
Leave a Comment