Adding Window Textures and Light Overlays in Photoshop: A Workflow Worth Stealing

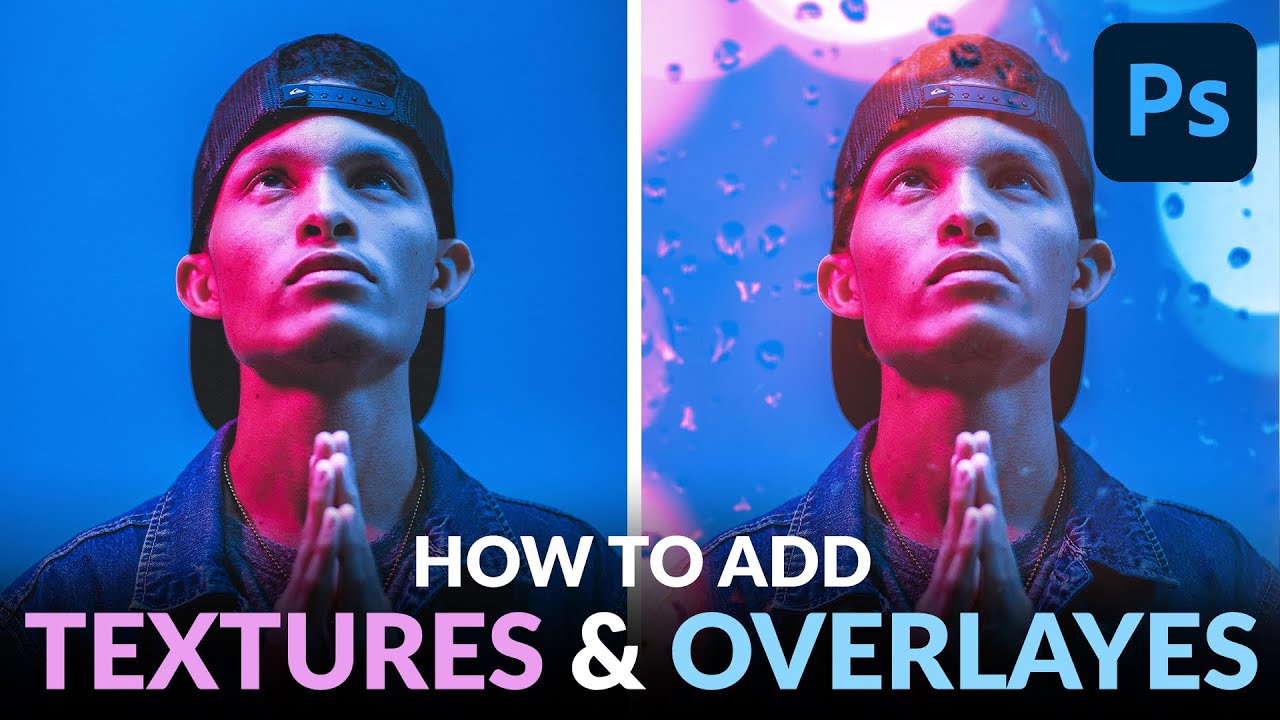
Adding Window Textures and Light Overlays in Photoshop: A Workflow Worth Stealing

Client work has a way of exposing the gaps in your toolkit. A few months back I was finishing up a portrait series for an ad agency, and the creative director kept asking for something “moodier, more atmospheric” without being able to articulate exactly what that meant. I knew the bones of the image were solid. What it needed was depth, some suggestion of environment and light without compositing in an entirely new background.

The One Lightroom Adjustment Brush Setting That's Quietly Wrecking Your Masks

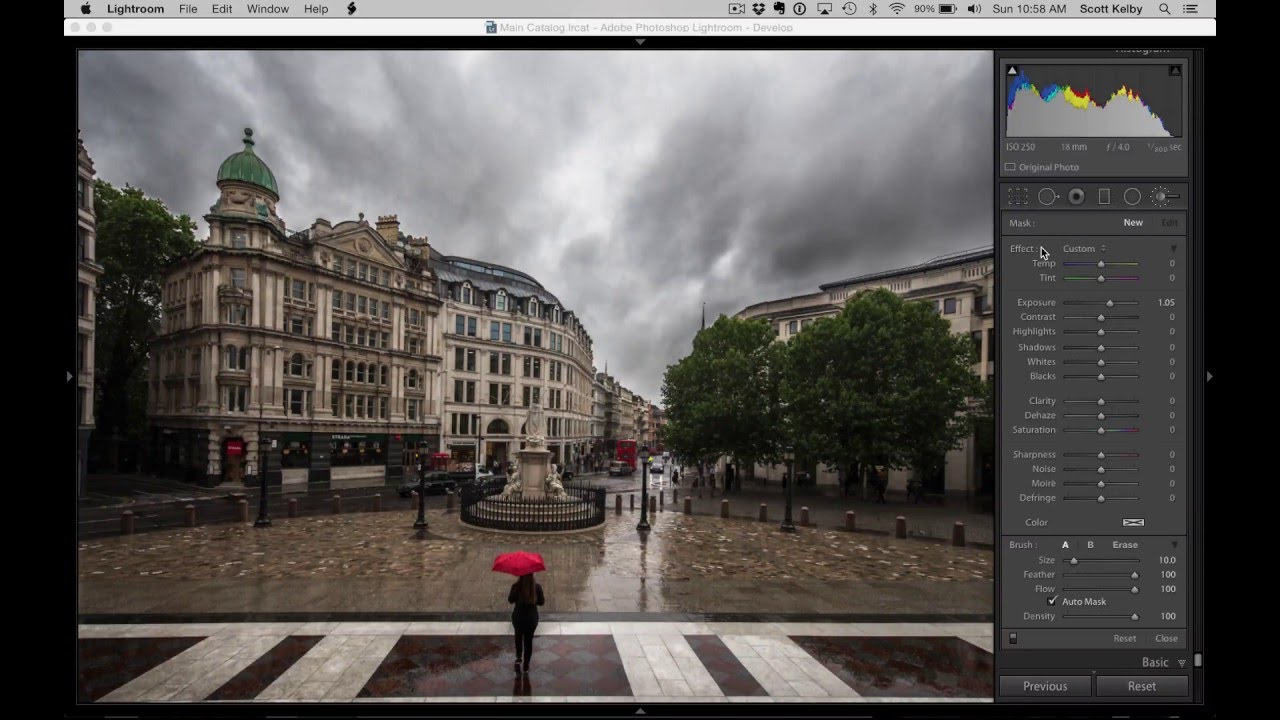
The One Lightroom Adjustment Brush Setting That's Quietly Wrecking Your Masks

I’ve watched photographers abandon perfectly good tools because of a single default setting nobody bothered to explain to them. The Lightroom Adjustment Brush is one of the most frequently misunderstood features in the whole application, and the complaint is almost always the same: “It leaves gaps,” or “It paints unevenly,” or my personal favorite, “It misses spots.” After years of building post-production workflows for ad agencies and e-commerce clients, I can tell you those complaints are valid.

Dodge & Burn Like a Painter: Building a Pressure-Sensitive Brush in Photoshop

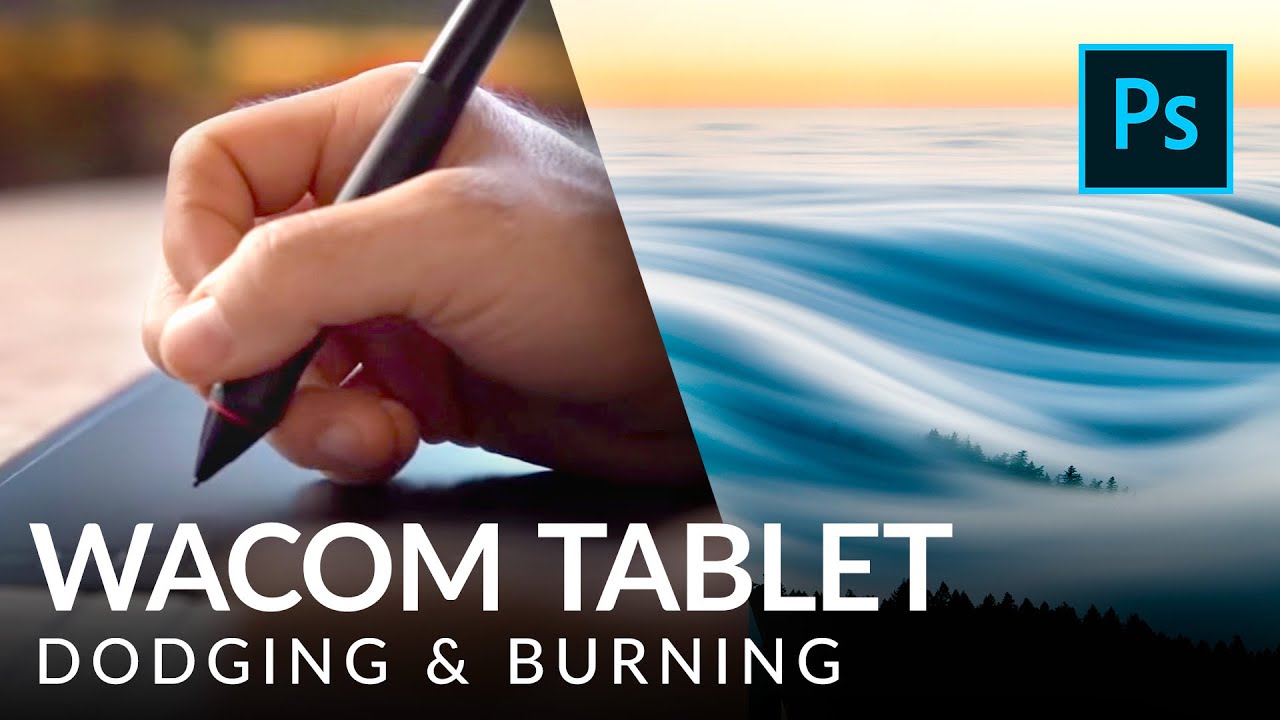
Dodge & Burn Like a Painter: Building a Pressure-Sensitive Brush in Photoshop

Fifteen years of studio work taught me that dodging and burning separates the retouchers from the photo editors. Anyone can pull a Curves adjustment. Shaping light on a face, a product surface, or a landscape so it reads as three-dimensional and intentional – that takes control. Real, granular, stroke-by-stroke control. For most of my career I was doing it with a mouse, convincing myself that lowering brush flow to 5% was “good enough.