How to Build a Cloud Brush in Photoshop That Actually Works (And Why Most People Get It Backwards)

How to Build a Cloud Brush in Photoshop That Actually Works (And Why Most People Get It Backwards)

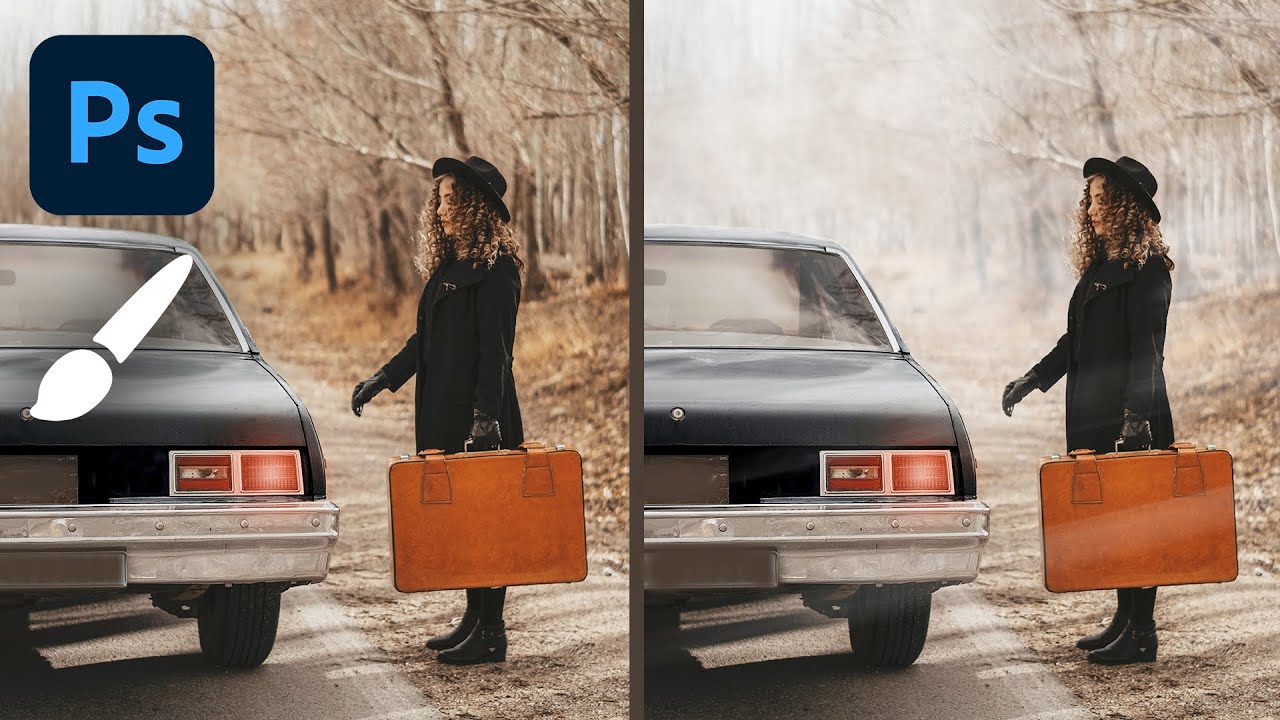
Compositing is where my commercial work lives. Whether I’m dropping a product into a lifestyle scene or building a full environmental composite for an ad agency client, the sky is almost always the first thing that needs fixing. Stock skies are fine, but a brush-based cloud you can paint, scale, and reposition in seconds? That becomes a reusable asset that earns its keep across dozens of projects. The problem is that most people who try to build a cloud brush in Photoshop hit an immediate wall and don’t understand why it’s not working.

Three Photoshop Tools That Finally Make Product Compositing Look Real

Three Photoshop Tools That Finally Make Product Compositing Look Real

Perspective has always been the thing that gives product composites away. You can nail the cutout, match the color grade, even add a convincing shadow, and the image still looks wrong because the object is sitting at an angle that nothing else in the scene shares. In commercial post-production, I’ve spent more hours than I care to count nudging Free Transform handles, eyeballing vanishing points, and making judgment calls that my clients’ art directors would later second-guess.

Blending Photos and Graphics in Photoshop: What Aaron Nace's Workflow Taught Me About Working Smarter

Blending Photos and Graphics in Photoshop: What Aaron Nace's Workflow Taught Me About Working Smarter

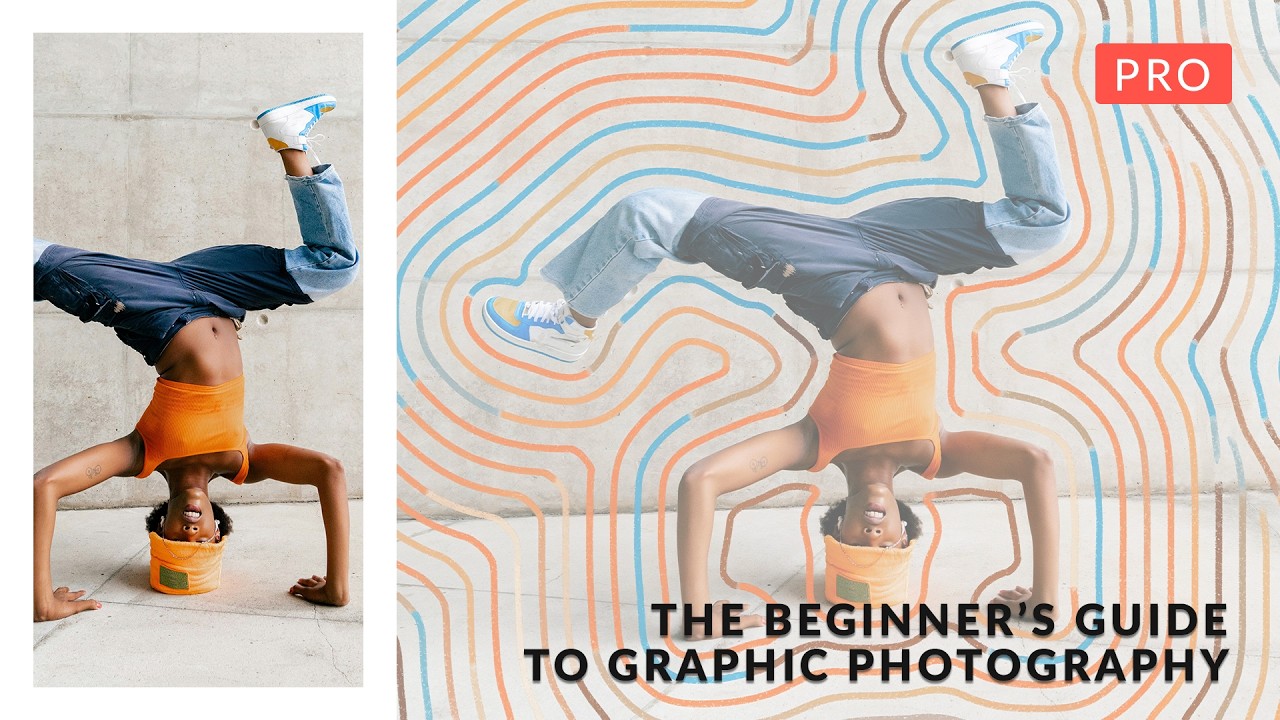
Client work has a way of pushing you into techniques you’d never have explored on your own. Ad agencies started asking me for portraits with a graphic, illustrated feel about two years ago, and I spent an embarrassing amount of time cobbling together workflows from scattered forum posts. So when PHLEARN released their Graphic Portrait Pro tutorial, hosted by Aaron Nace, I watched the whole thing twice before breakfast. Not because the concepts were brand new to me, but because seeing six complete workflows in one place, with all the source files included, is the kind of resource that would have saved me weeks of trial and error.

The Best Texture Overlays for Adding Depth

The Best Texture Overlays for Adding Depth

Texture overlays are one of the fastest ways to add visual interest to a photograph. A concrete wall, a sheet of old paper, a scratched metal surface — layered over your image with the right blend mode, these textures can transform a flat photo into something with real tactile depth. What Makes a Good Texture The best textures for photographic work share a few qualities. They’re high resolution — at least matching your camera’s output.