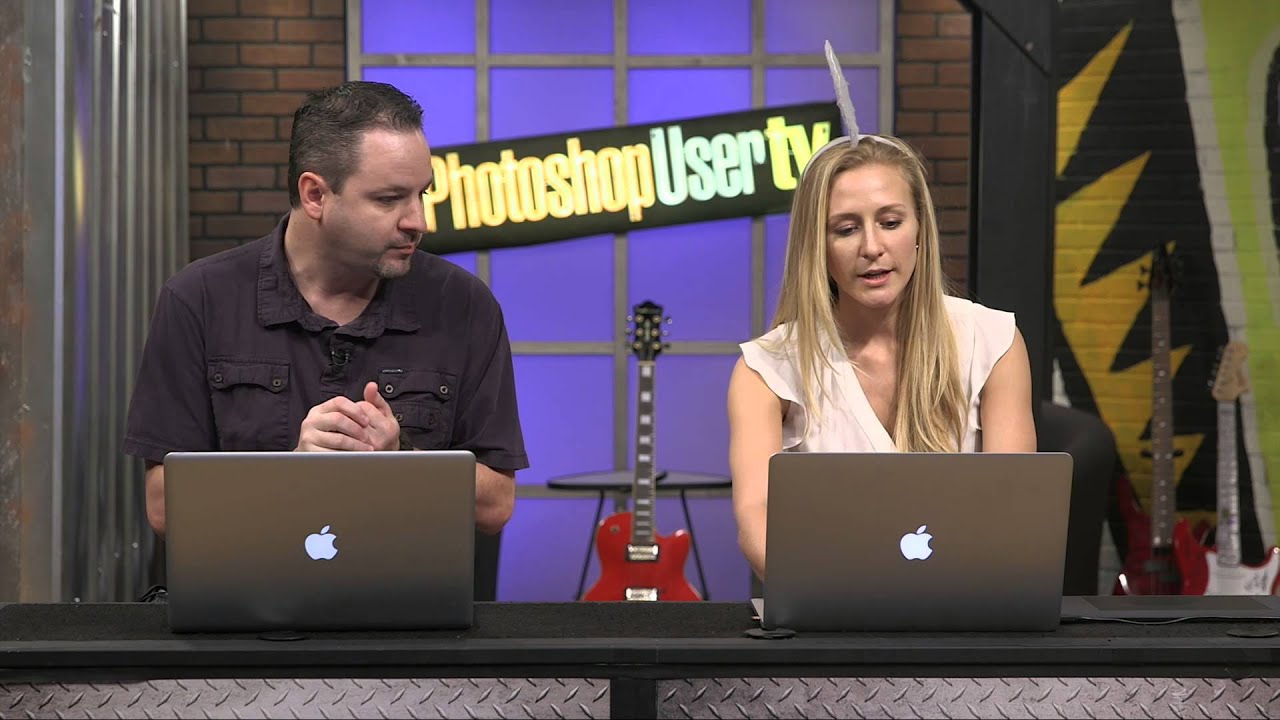
Compositing is where my commercial work lives. Whether I’m dropping a product into a lifestyle scene or building a full environmental composite for an ad agency client, the sky is almost always the first thing that needs fixing. Stock skies are fine, but a brush-based cloud you can paint, scale, and reposition in seconds? That becomes a reusable asset that earns its keep across dozens of projects. The problem is that most people who try to build a cloud brush in Photoshop hit an immediate wall and don’t understand why it’s not working.
In this KelbyOne tutorial, Pete Collins from Photoshop User TV walks through the complete process of creating a custom cloud brush from a photograph, including a small but critical detail about how Photoshop reads brush pixel values that trips up almost everyone the first time. There’s also a clever overlay-mode painting trick he credits to Corey Barker that I’ve quietly added to my own prep workflow. Watch the full tutorial on YouTube if you want to follow along with the visual, but everything you need to replicate the technique is below.
Step 1: Start With a Cloud Photo and Understand How Brush Pixels Work
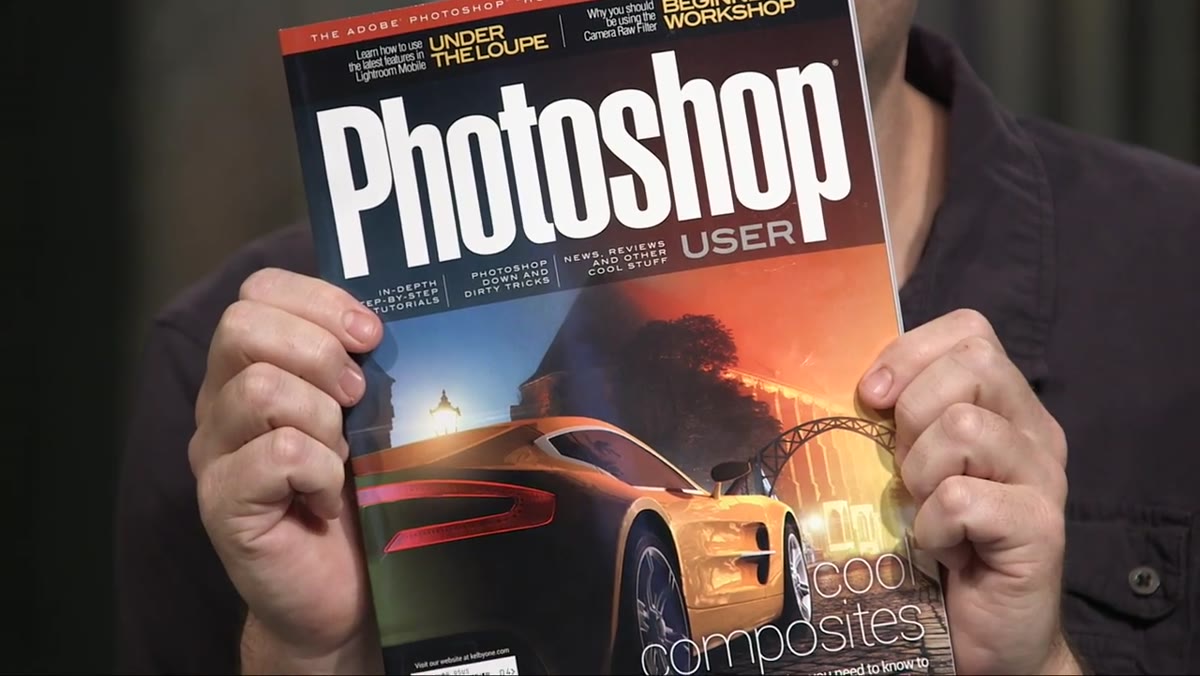 Pete explaining black and white values for brush presets
Before you touch a single tool, you need to understand the rule that governs every custom brush in Photoshop: black paints, white is transparent, and gray values produce partial transparency. This sounds obvious until you try to make a cloud brush and forget that clouds are light objects on a dark sky. If you define the brush from a normal photo without inverting the tonal relationship, Photoshop reads the bright cloud as the transparent area and the dark sky as the painted area. You end up stamping a sky-shaped blob with a cloud-shaped hole cut out of it. Pete calls it a “sky donut,” which is an accurate and deeply annoying description of what lands on your canvas.
Pete explaining black and white values for brush presets
Before you touch a single tool, you need to understand the rule that governs every custom brush in Photoshop: black paints, white is transparent, and gray values produce partial transparency. This sounds obvious until you try to make a cloud brush and forget that clouds are light objects on a dark sky. If you define the brush from a normal photo without inverting the tonal relationship, Photoshop reads the bright cloud as the transparent area and the dark sky as the painted area. You end up stamping a sky-shaped blob with a cloud-shaped hole cut out of it. Pete calls it a “sky donut,” which is an accurate and deeply annoying description of what lands on your canvas.
The fix is not complicated, but you have to do it deliberately. Your cloud needs to be dark, and the sky around it needs to be white.
Step 2: Desaturate the Image to Remove Color Information
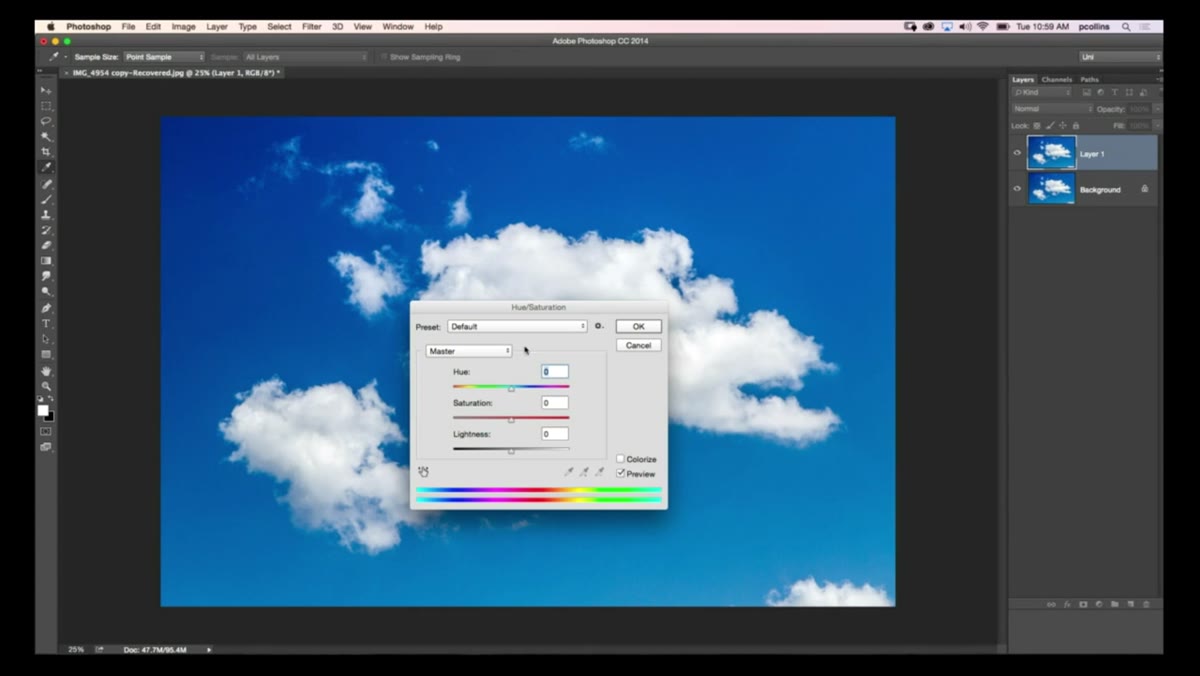 Hue/Saturation dialog with saturation dragged to zero
Open your cloud photograph and bring up Hue/Saturation with Command+U (Control+U on Windows). Drag the Saturation slider all the way to the left until you have a grayscale version of the image. You’re not converting the color mode, just stripping the color data so Photoshop is working with pure luminance values. Pete mentions a few alternative routes, including pulling luminance from the Channels panel, but the Hue/Saturation method is fast and non-destructive if you’re working on a duplicate layer.
Hue/Saturation dialog with saturation dragged to zero
Open your cloud photograph and bring up Hue/Saturation with Command+U (Control+U on Windows). Drag the Saturation slider all the way to the left until you have a grayscale version of the image. You’re not converting the color mode, just stripping the color data so Photoshop is working with pure luminance values. Pete mentions a few alternative routes, including pulling luminance from the Channels panel, but the Hue/Saturation method is fast and non-destructive if you’re working on a duplicate layer.
At this stage the image will look flat. That’s expected. The contrast between cloud and sky needs to be pushed hard before this becomes a usable brush shape.
Step 3: Crush the Contrast With Levels
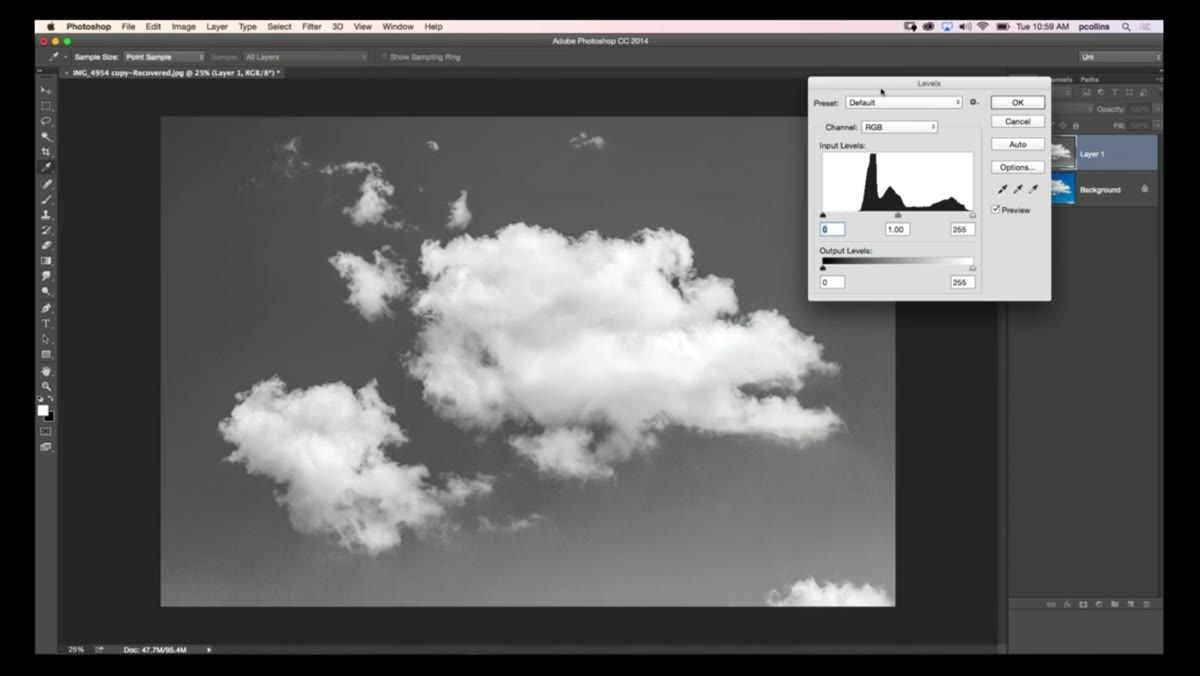 Levels panel with black slider pushed right toward midtones
Open Levels with Command+L (Control+L). You have two moves to make here. First, drag the black input slider inward from the left, pushing the dark sky tones toward pure black. Push it further than feels natural. You want the sky to go nearly solid black while the cloud holds onto its lighter values. Second, nudge the white input slider slightly inward from the right to push the cloud highlights toward pure white. The goal is maximum separation: black sky, white cloud.
Levels panel with black slider pushed right toward midtones
Open Levels with Command+L (Control+L). You have two moves to make here. First, drag the black input slider inward from the left, pushing the dark sky tones toward pure black. Push it further than feels natural. You want the sky to go nearly solid black while the cloud holds onto its lighter values. Second, nudge the white input slider slightly inward from the right to push the cloud highlights toward pure white. The goal is maximum separation: black sky, white cloud.
This is the inversion of what you actually want in the final brush, and that’s the part that throws people. You’re building the negative of your intended result at this stage, and you’ll account for that in the next step.
Step 4: Paint Out the Gray Midtones Using Overlay Blend Mode
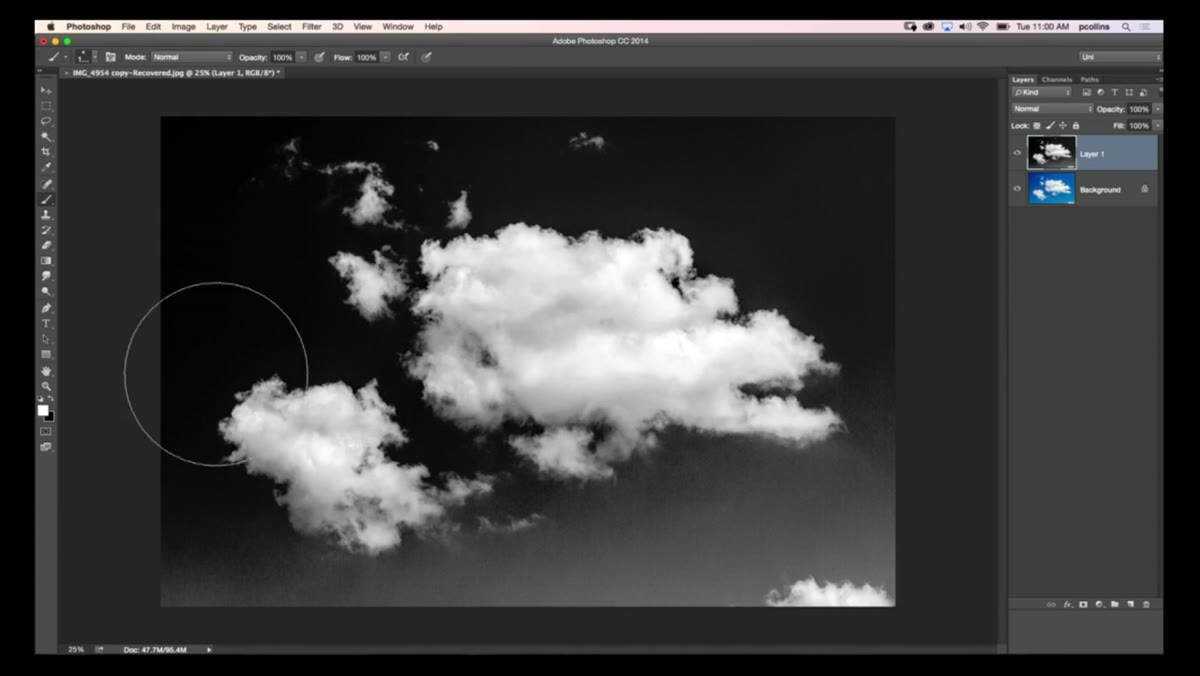 Large soft brush in Overlay mode painting over gray areas
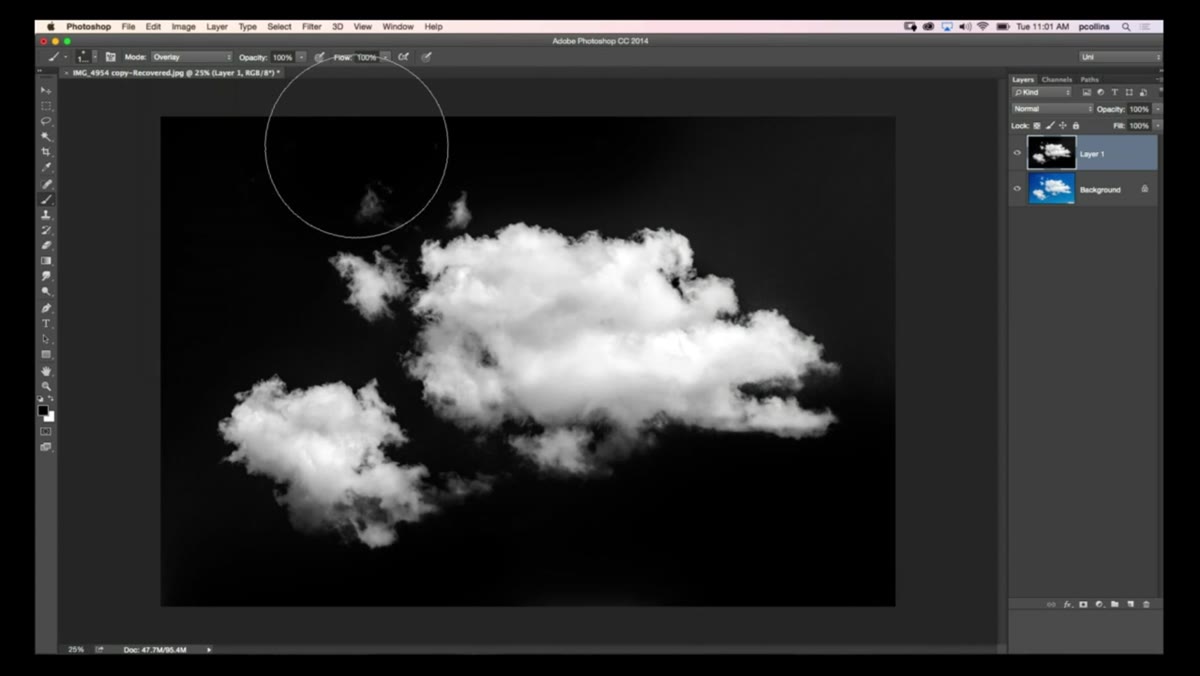
After Levels, you’ll likely still have gray contamination in the lower portions of the image where haze, reflections, or gradient sky tones are muddying things up. This is where Pete uses a technique he credits to Corey Barker: set a large, soft brush to Overlay blend mode, set your foreground color to black, and paint over the problem areas.
Large soft brush in Overlay mode painting over gray areas
After Levels, you’ll likely still have gray contamination in the lower portions of the image where haze, reflections, or gradient sky tones are muddying things up. This is where Pete uses a technique he credits to Corey Barker: set a large, soft brush to Overlay blend mode, set your foreground color to black, and paint over the problem areas.
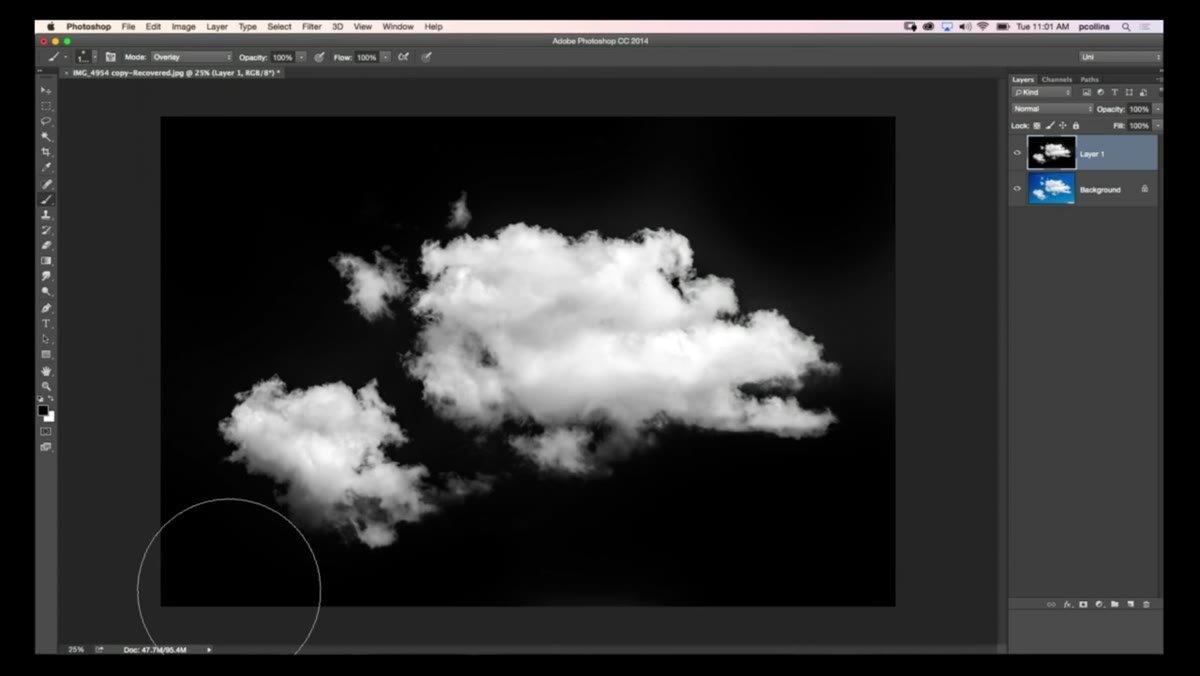
Overlay mode is context-sensitive. It ignores pure whites and pure blacks and targets the midtone grays, pushing them toward whichever end of the spectrum your brush color represents. With black selected, it drives the gray areas toward black without touching the white cloud. Work in broad, loose strokes. You’re not painting detail, you’re cleaning up tonal noise. A few passes and the gray contamination disappears, leaving you with clean white clouds on a near-black sky.
Step 5: Define the Brush Preset
 Edit menu open with Define Brush Preset option highlighted
Once the image is cleaned up and the tonal values are where you want them, go to Edit and choose Define Brush Preset. Name it something you’ll actually recognize six months from now. “Cloud 01” is not enough. Include approximate scale, softness, or source details in the name so it’s findable when your brush library has grown to several hundred presets.
Edit menu open with Define Brush Preset option highlighted
Once the image is cleaned up and the tonal values are where you want them, go to Edit and choose Define Brush Preset. Name it something you’ll actually recognize six months from now. “Cloud 01” is not enough. Include approximate scale, softness, or source details in the name so it’s findable when your brush library has grown to several hundred presets.
Photoshop creates the brush from the current state of the image. Anything black in the source becomes the painted area of the brush. Anything white becomes transparent. The cloud, which you’ve made white, will now stamp as the opaque element. The sky, which you’ve made black in the source, becomes transparent in the brush. That’s the swap that makes everything work correctly.
Step 6: Test the Brush on a New Layer
 Cloud brush stamp appearing correctly on dark background
Create a new layer, fill it with a dark color or gradient to give yourself a visible test surface, then select your new cloud brush and stamp it. You should see a clean cloud shape appearing as the opaque element with nothing around it. If you’re still getting the inverse result, check your source image again. The cloud must be white and the surrounding sky must be black in the image you used to define the preset.
Cloud brush stamp appearing correctly on dark background
Create a new layer, fill it with a dark color or gradient to give yourself a visible test surface, then select your new cloud brush and stamp it. You should see a clean cloud shape appearing as the opaque element with nothing around it. If you’re still getting the inverse result, check your source image again. The cloud must be white and the surrounding sky must be black in the image you used to define the preset.
From here the brush behaves like any other. You can adjust opacity, flow, size, and spacing in the Brush Settings panel. For compositing work, I usually drop the opacity to around 60-70 percent and paint multiple passes to build up natural variation.
How I Use This in Client Work
The brush creation process Pete demonstrates is solid as-is, but in a studio context I take it one step further. Once I have a cloud brush I’m happy with, I record a simple action that applies it to a new layer, sets that layer to Screen blending mode, and drops opacity to 65 percent. That action is mapped to a function key. For composite work where I’m building sky replacements manually rather than using the automated Sky Replacement tool, this shaves a meaningful chunk of setup time per image. Across a multi-image campaign, that adds up fast.
The other thing I’d add is source material quality. A well-exposed photograph with strong tonal separation between cloud and sky produces a far better brush than something pulled from a flat, overcast day. Shoot for a brush source image the same way you’d shoot for a product shot: good light, high contrast, clear subject separation.
The counterintuitive part of this whole process is that you have to build the opposite of what you want in order to get what you want. Once that logic clicks, custom brush creation opens up across every category: smoke, fog, foliage, bokeh shapes. The cloud brush is the perfect starting point because the tonal inversion problem is built right into it.
Watch the full tutorial on YouTube to see Pete’s complete walkthrough, including the eye retouching segment from Christina Sherr later in the episode.
Comments (2)
This is exactly what I needed today. Been struggling with this for weeks.
Tried this technique this morning. Game changer for real.
Leave a Comment