
Perspective has always been the thing that gives product composites away. You can nail the cutout, match the color grade, even add a convincing shadow, and the image still looks wrong because the object is sitting at an angle that nothing else in the scene shares. In commercial post-production, I’ve spent more hours than I care to count nudging Free Transform handles, eyeballing vanishing points, and making judgment calls that my clients’ art directors would later second-guess. It’s one of those problems that felt like it just required more skill and patience, when really it needed a better tool.
Adobe has now built that tool directly into Photoshop 2026, and in this Aaron Nace (PHLEARN) tutorial, the technique clicks into place fast. Watch the full tutorial on YouTube. The workflow combines three tools in sequence: Rotate Object for perspective matching, Harmonize for lighting correction, and Generative Fill for ground shadow blending. Each one handles a specific failure point that used to require separate workarounds. Together, they cover most of what makes a composite look fake, which is a meaningful shift in how quickly this kind of work can move.
This walkthrough follows the video’s actual order, with enough detail that you can work through it without pausing every ten seconds.
Step 1: Place Your Background and Bring In Your Product
 Background photo open, product image being dragged in
Start with your background image open in Photoshop. Drag your product photo in as a new layer. Nace is clear about one constraint worth repeating: this workflow is built for products and objects, not people. The AI driving Rotate Object interprets three-dimensional structure, and it does that reliably with hard-edged manufactured objects like boxes, bottles, or shoes. Organic subjects with complex surfaces don’t give the model enough consistent geometry to work with.
Background photo open, product image being dragged in
Start with your background image open in Photoshop. Drag your product photo in as a new layer. Nace is clear about one constraint worth repeating: this workflow is built for products and objects, not people. The AI driving Rotate Object interprets three-dimensional structure, and it does that reliably with hard-edged manufactured objects like boxes, bottles, or shoes. Organic subjects with complex surfaces don’t give the model enough consistent geometry to work with.
Choose a product with clean, readable edges and some visible three-dimensionality. A flat label or a top-down shot of a jar lid won’t give the tool much to interpret. Something with two or three visible faces, like a box or a packaged product, is the ideal starting point.
Step 2: Cut Out the Product with the Object Selection Tool
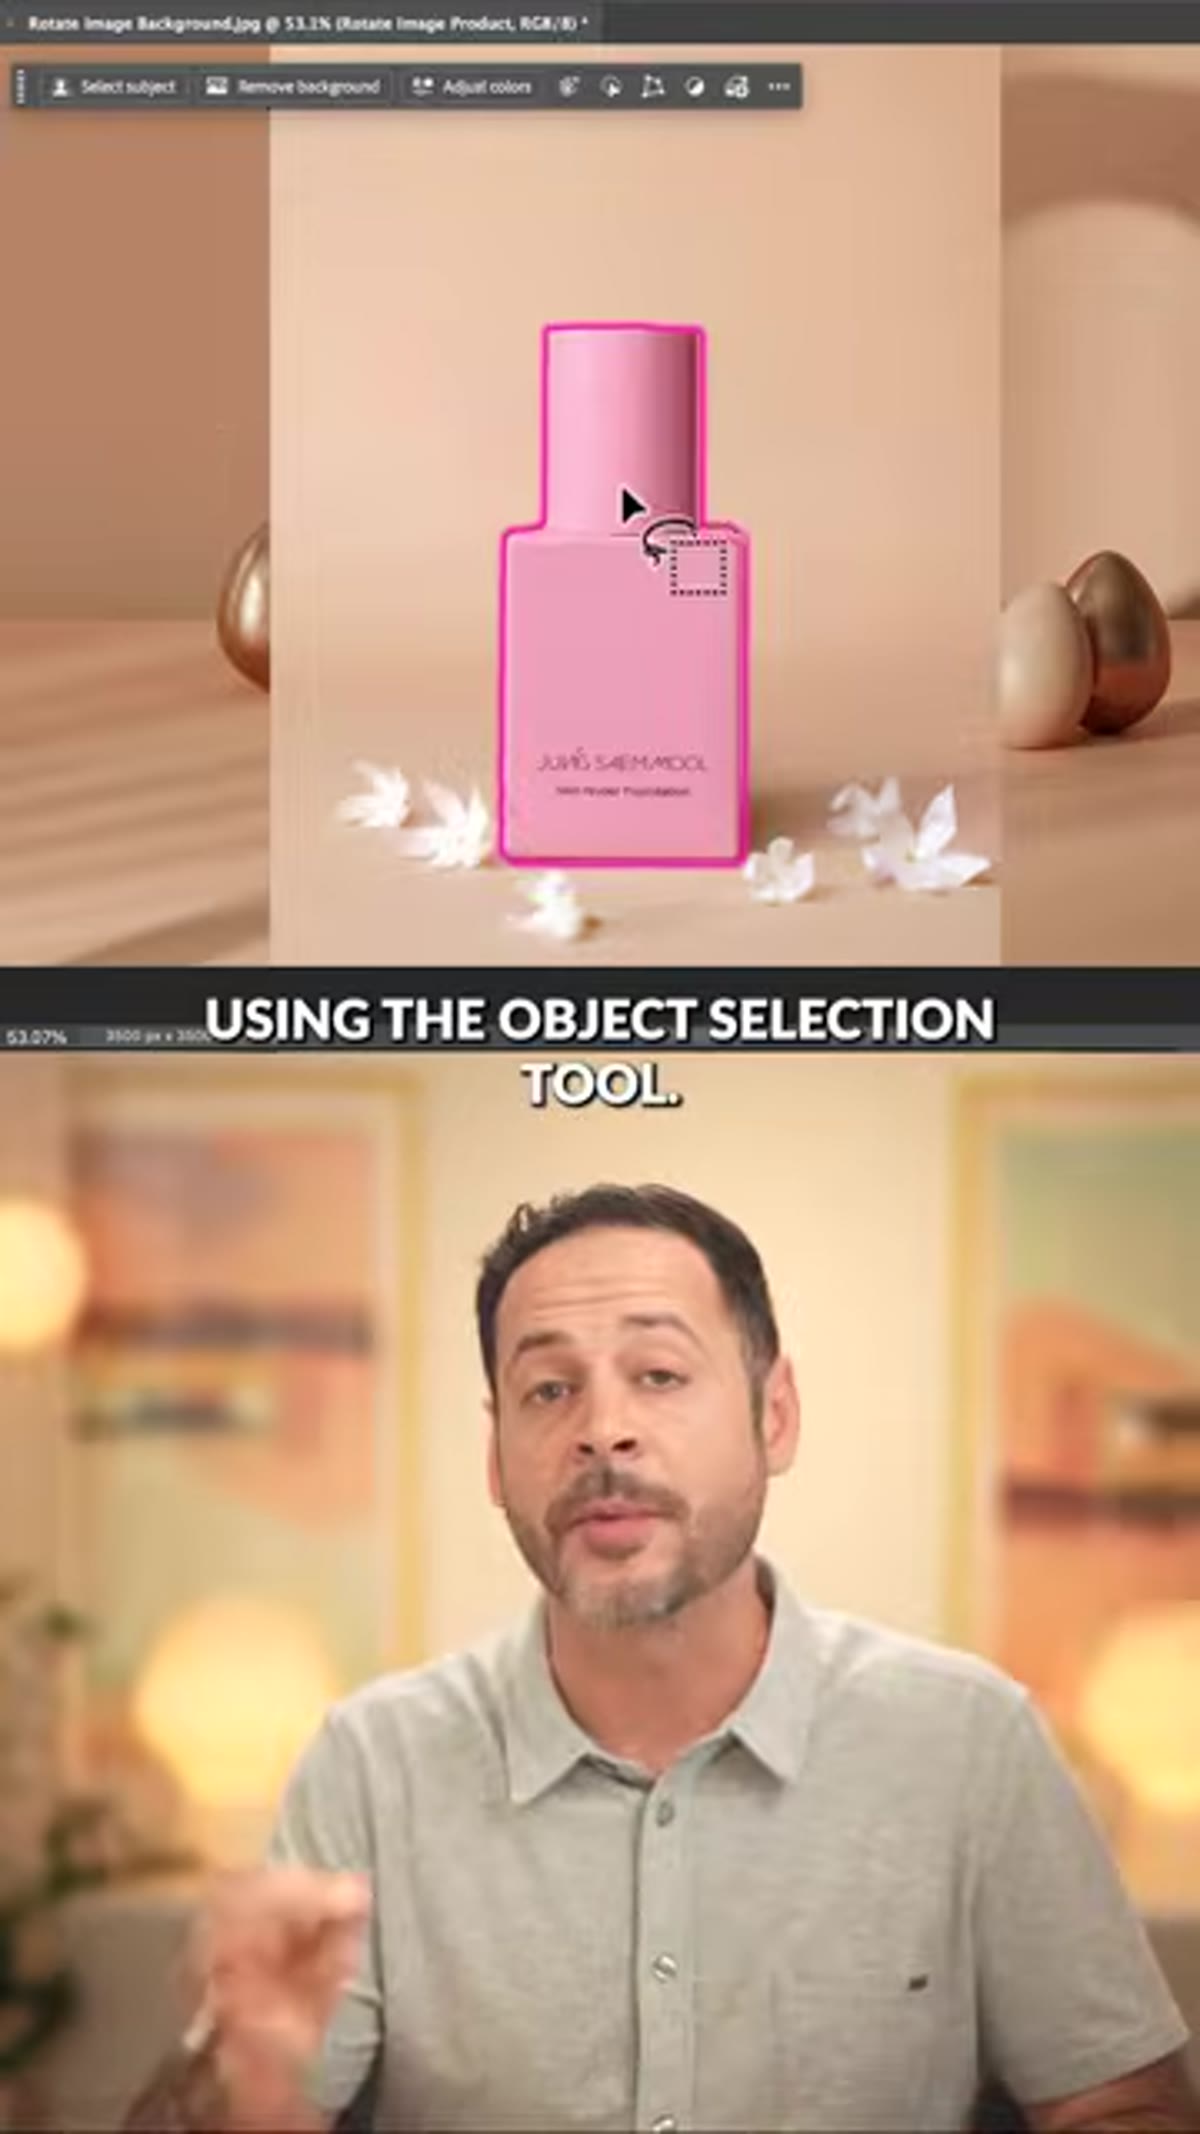 Object Selection Tool active, selection forming around the product
With your product layer selected, grab the Object Selection Tool from the toolbar. Click directly on the product and Photoshop will generate a selection around it. This step doesn’t need to be surgical. The selection feeds into the next steps rather than serving as your final mask, so a solid initial read on the object’s edges is enough.
Object Selection Tool active, selection forming around the product
With your product layer selected, grab the Object Selection Tool from the toolbar. Click directly on the product and Photoshop will generate a selection around it. This step doesn’t need to be surgical. The selection feeds into the next steps rather than serving as your final mask, so a solid initial read on the object’s edges is enough.
Once the selection looks accurate, duplicate the product to a new layer so you’re working non-destructively. Your original stays intact underneath in case you need to revisit it.
Step 3: Position and Scale the Object with Free Transform
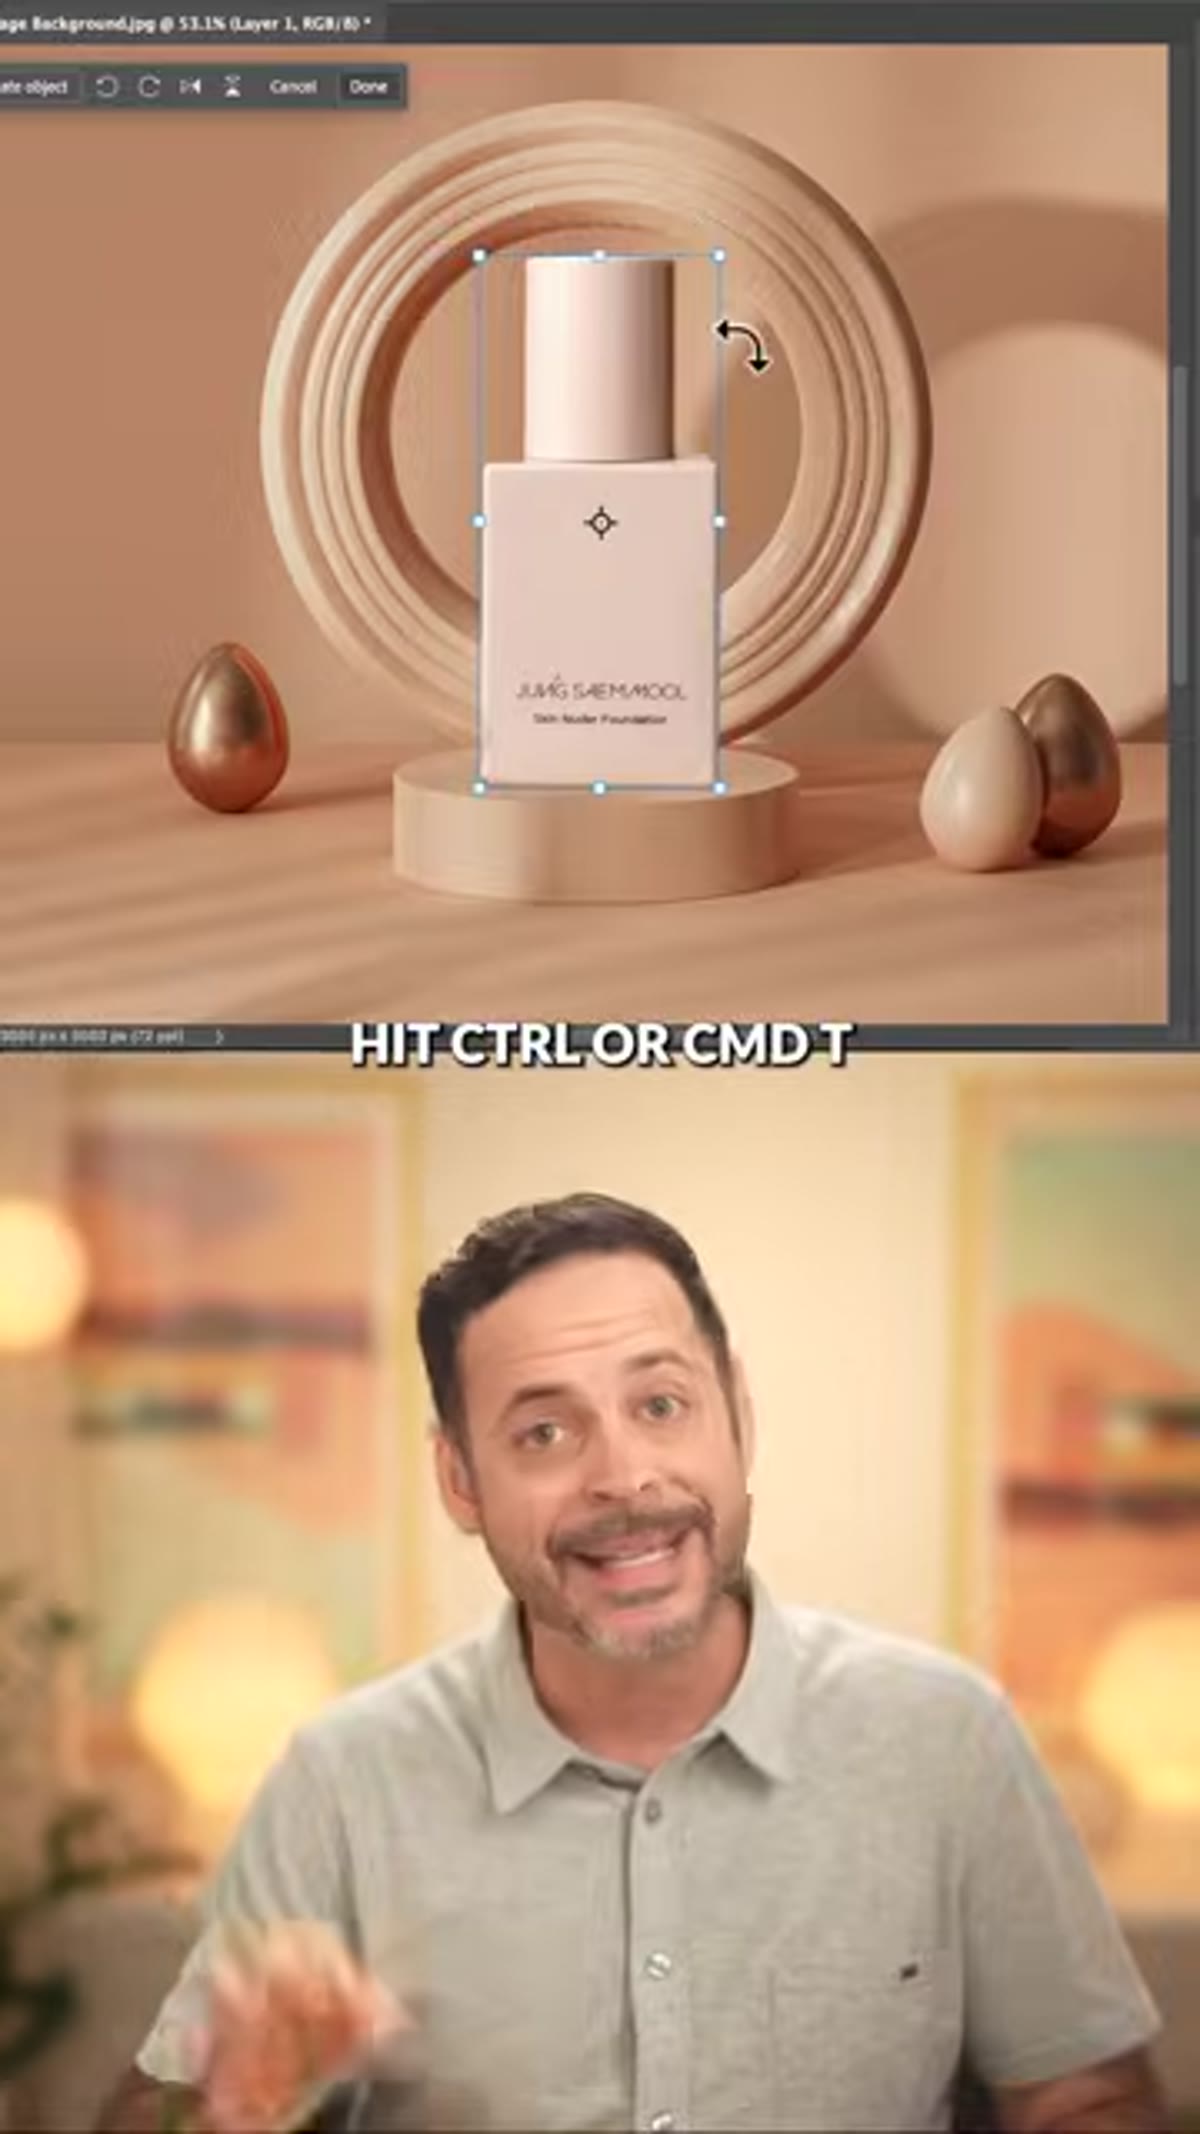 Free Transform handles active, product being scaled and repositioned
Hit Control+T (Windows) or Command+T (Mac) to enter Free Transform. Move the product into roughly the position you want it in the final composite and scale it to size. Don’t obsess over the angle here. The point of this step is placement and scale, not perspective. Getting the rotation exactly right by hand is what this whole workflow is designed to avoid.
Free Transform handles active, product being scaled and repositioned
Hit Control+T (Windows) or Command+T (Mac) to enter Free Transform. Move the product into roughly the position you want it in the final composite and scale it to size. Don’t obsess over the angle here. The point of this step is placement and scale, not perspective. Getting the rotation exactly right by hand is what this whole workflow is designed to avoid.
Commit the transform when the position looks close. You’re setting up the starting point for the next tool to work from.
Step 4: Use Rotate Object to Match the Perspective
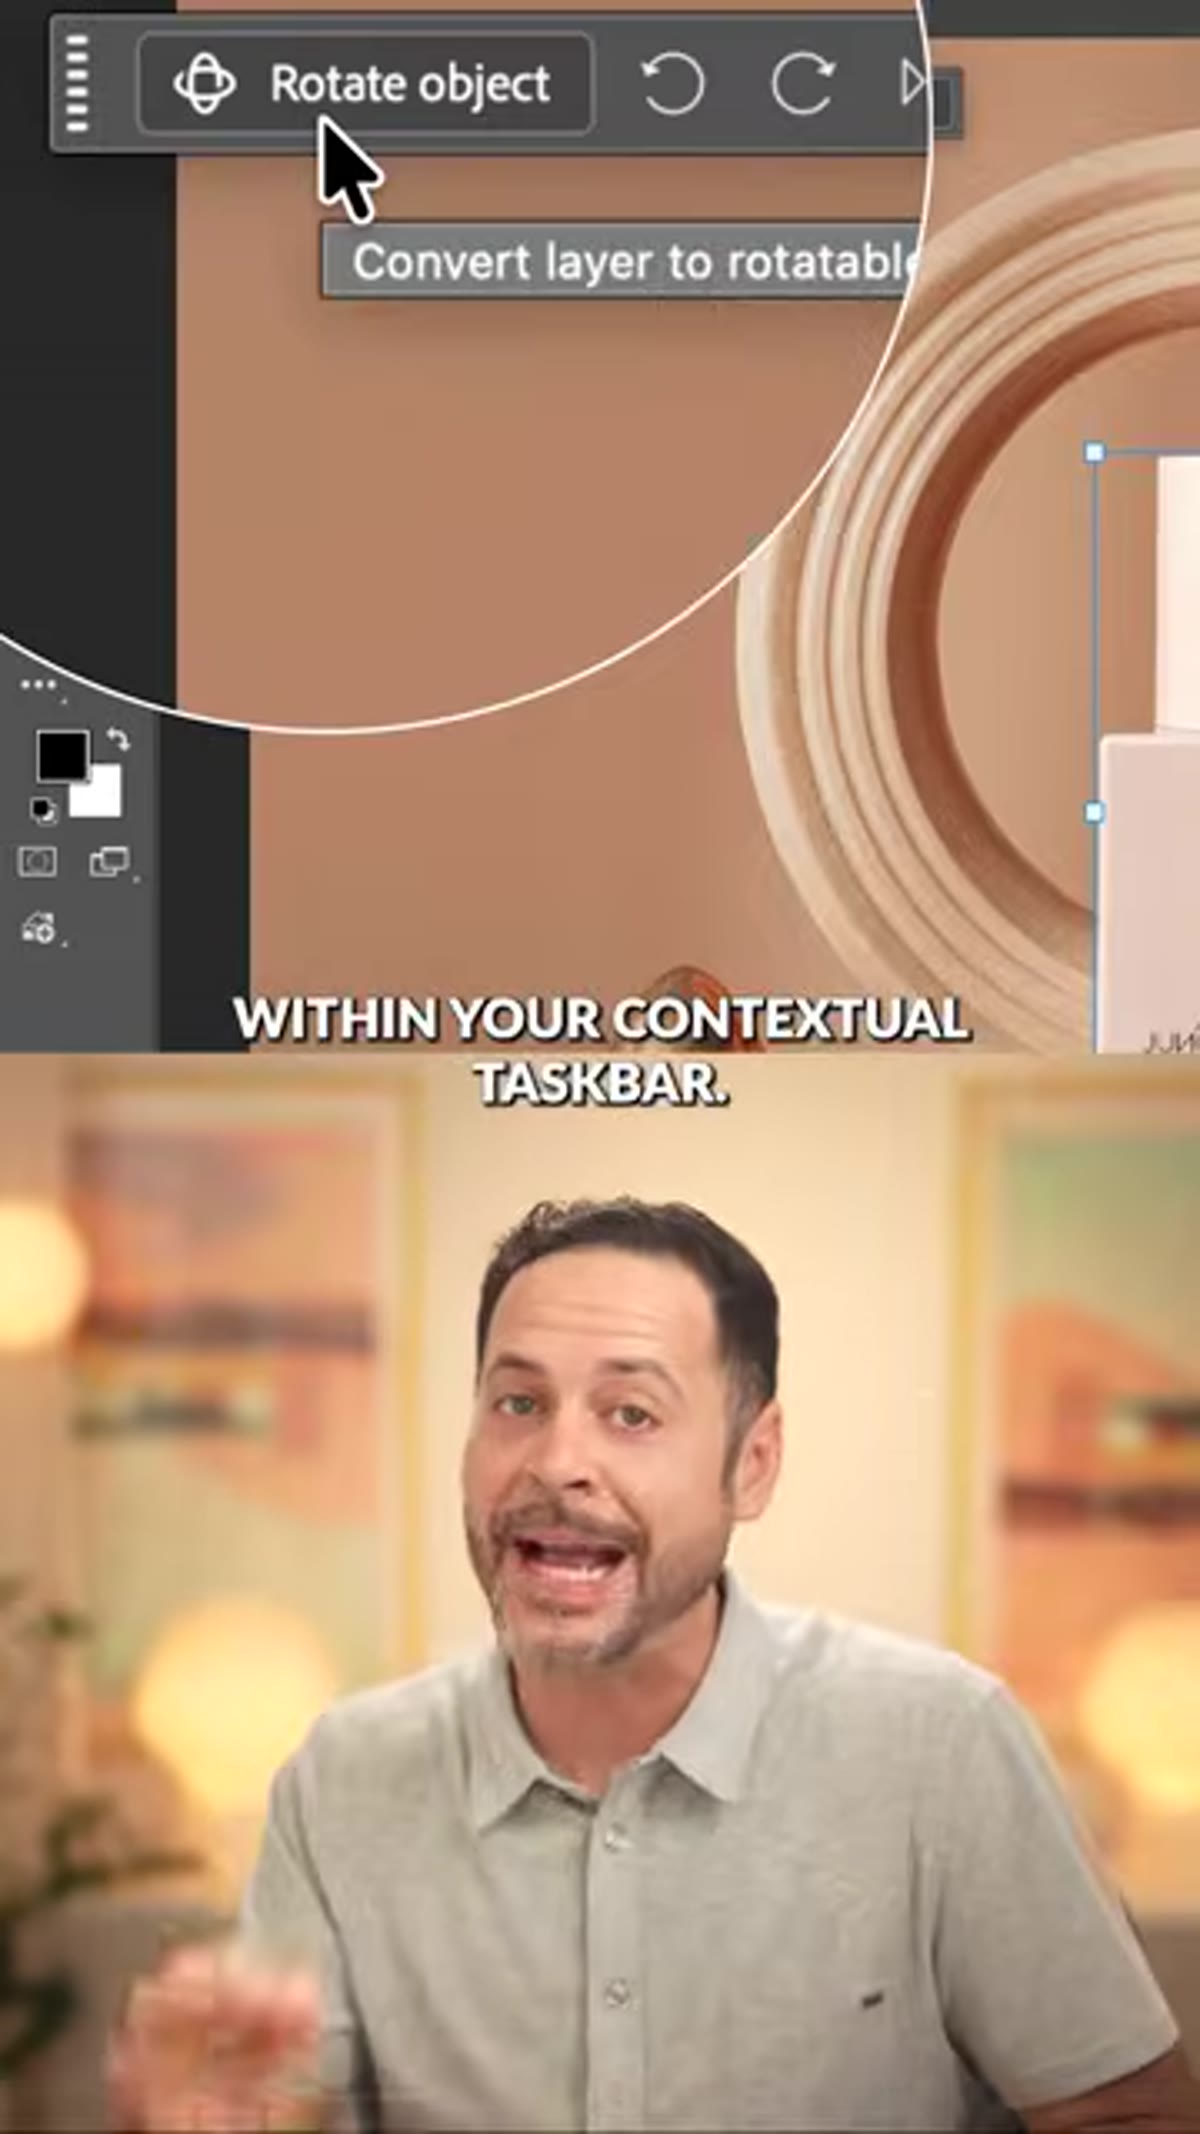 Rotate Object interface active, object being rotated in three axes
This is the core of the workflow. With your product layer selected, look at the contextual taskbar at the bottom of the screen and click “Rotate Object.” Photoshop analyzes the image and converts it into something closer to a 3D object that you can manipulate in space.
Rotate Object interface active, object being rotated in three axes
This is the core of the workflow. With your product layer selected, look at the contextual taskbar at the bottom of the screen and click “Rotate Object.” Photoshop analyzes the image and converts it into something closer to a 3D object that you can manipulate in space.
You get three axes of control. You can rotate the object left and right, tilt it toward or away from the viewer, and adjust perspective to match the angle of the scene. Work methodically: match the dominant vanishing point of your background first, then fine-tune the tilt. For a surface-level product sitting on a table or floor, you’re looking for the base of the object to align with the perspective grid implied by the background. When it reads correctly, click Done. Photoshop renders the adjusted view and sharpens up the result.
Step 5: Run Harmonize to Correct the Lighting
 Harmonize button highlighted in contextual taskbar, lighting adjustment visible
After rotation, the perspective will look right but the light probably won’t. The product was photographed under different conditions than your background, and even a subtle mismatch in light direction or color temperature reads as fake immediately. This is the step most people skip or try to fix manually with Curves and Color Balance layers.
Harmonize button highlighted in contextual taskbar, lighting adjustment visible
After rotation, the perspective will look right but the light probably won’t. The product was photographed under different conditions than your background, and even a subtle mismatch in light direction or color temperature reads as fake immediately. This is the step most people skip or try to fix manually with Curves and Color Balance layers.
In the contextual taskbar, click “Harmonize.” Photoshop analyzes the lighting in the background image and adjusts the product layer to match. It’s not perfect in every case, but it closes the gap significantly and gives you a much better starting point than a manual correction. Think of it as an intelligent first pass that you can refine with adjustment layers if needed.
Step 6: Blend the Ground Shadow with Generative Fill
 Selection brush painting around base of object, Generative Fill dialog open
The last place composites fall apart is where the object meets the surface it’s sitting on. A hard edge or a missing shadow immediately breaks the illusion. Grab the selection brush tool and paint a loose selection around the base of the product, covering the ground area where a natural shadow would fall.
Selection brush painting around base of object, Generative Fill dialog open
The last place composites fall apart is where the object meets the surface it’s sitting on. A hard edge or a missing shadow immediately breaks the illusion. Grab the selection brush tool and paint a loose selection around the base of the product, covering the ground area where a natural shadow would fall.
Open the Generative Fill dialog, type “shadow” into the prompt field, and generate. Photoshop produces a contextually appropriate shadow that accounts for the light direction in the scene. You may get a few variations to choose from. Pick the one that most closely matches the implied light source in your background, and you’re done.
A Note on Where This Fits in a Real Production Pipeline
I want to be honest about the scope here. This workflow is genuinely impressive for single-image composites, especially for e-commerce or advertising mockups where you’re placing a hero product into a lifestyle scene. But it’s not a batch solution on its own. Rotate Object requires manual input per image, so if you’re processing a catalog of 200 SKUs, you’ll still want actions and automation handling your output steps.
What I’d actually do is use this workflow to establish the definitive angle and lighting for a product, then build an action around the post-Rotate steps: smart sharpening, output resizing, file naming. The creative heavy lifting stays manual; the mechanical steps get automated. That’s where the real time savings compound.
The other thing worth noting is that Harmonize works better when your background has clear, directional light. In a flat or ambient-lit scene, it has less to read and the correction is subtler. Not a flaw, just a factor to account for when choosing your background images.
The single most important thing this workflow changes is the perspective step. Getting a product to sit convincingly in a scene used to require either very deliberate photography matching or a lot of skilled manual correction. Rotate Object makes a legitimately hard problem approachable in under two minutes. Combined with Harmonize and Generative Fill, it’s a three-tool sequence that addresses the three most common reasons product composites don’t land.
Watch the full tutorial on YouTube to see Aaron walk through the complete process, and check the video description for the link to the extended PHLEARN episode where you can download the sample images and follow along directly.
Comments (2)
Been doing this wrong for years apparently. Thanks for the wake-up call.
This should be required reading for anyone starting out.
Leave a Comment