Building a Timeless Lightroom Preset from Scratch: A Step-by-Step Breakdown

Building a Timeless Lightroom Preset from Scratch: A Step-by-Step Breakdown

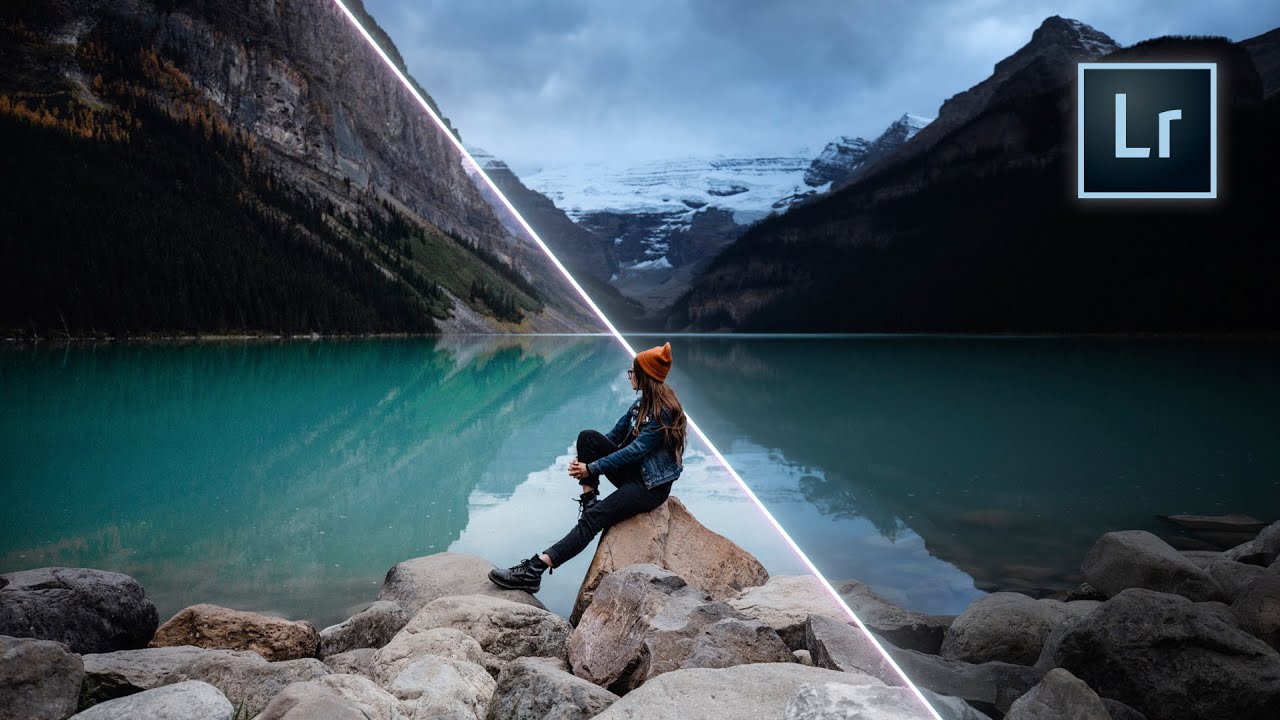
There’s a specific kind of frustration I know well: you’ve shot a great set of portraits, the lighting is solid, the composition is clean, and then you spend 45 minutes in Lightroom pushing the same six sliders around until something feels almost right. Multiply that by a client gallery of 200 images and you’ve just lost half a day to guesswork. What I’ve always wanted is a preset built on principles, not trends – something I can actually understand, modify, and trust across different lighting conditions and subject types.

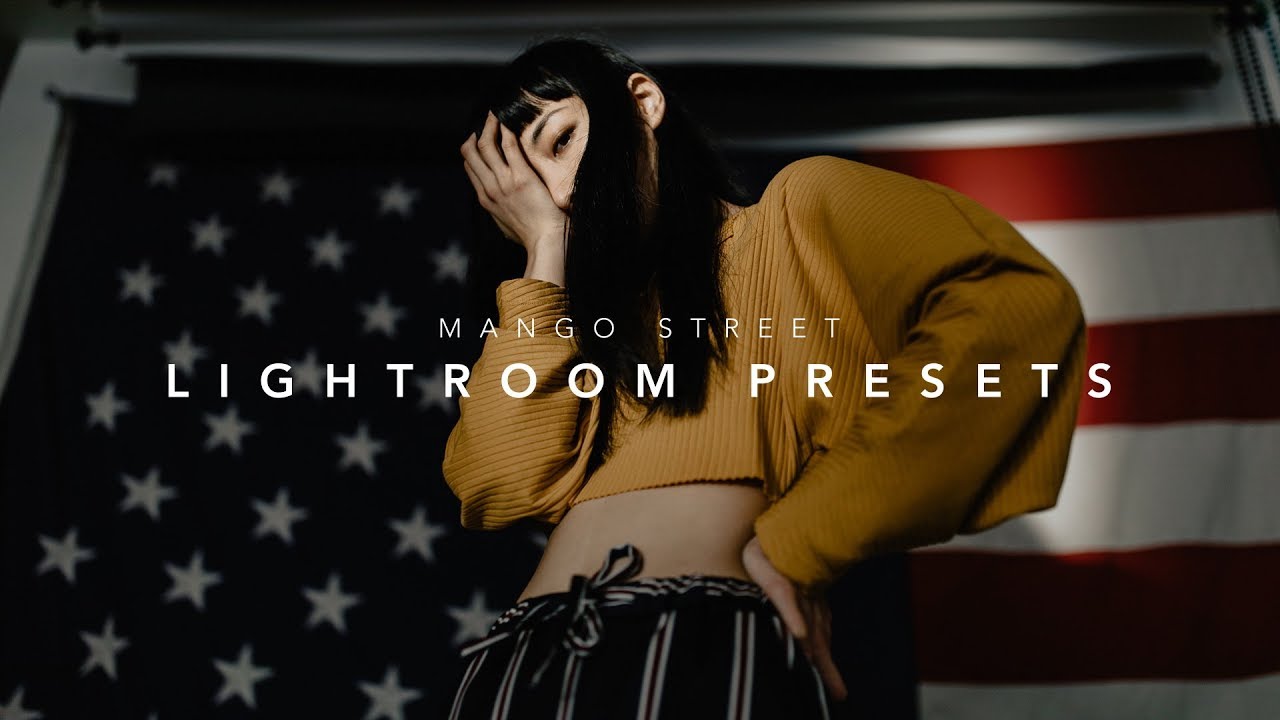
One-Click Lightroom Presets That Actually Work Across Different Photos (Mango Street Breakdown)

One-Click Lightroom Presets That Actually Work Across Different Photos (Mango Street Breakdown)

I have a rule in my consultancy: if I’m doing the same thing more than three times, I build a system for it. That rule applies to Lightroom just as much as it does to Photoshop batch processing. Presets are one of the fastest ways to compress your editing time without sacrificing style consistency, but most preset packs fall apart the moment a photo doesn’t match the exact lighting conditions of the demo shot.

Four Photoshop Tools That Cut My Portrait Cleanup Time in Half

Four Photoshop Tools That Cut My Portrait Cleanup Time in Half

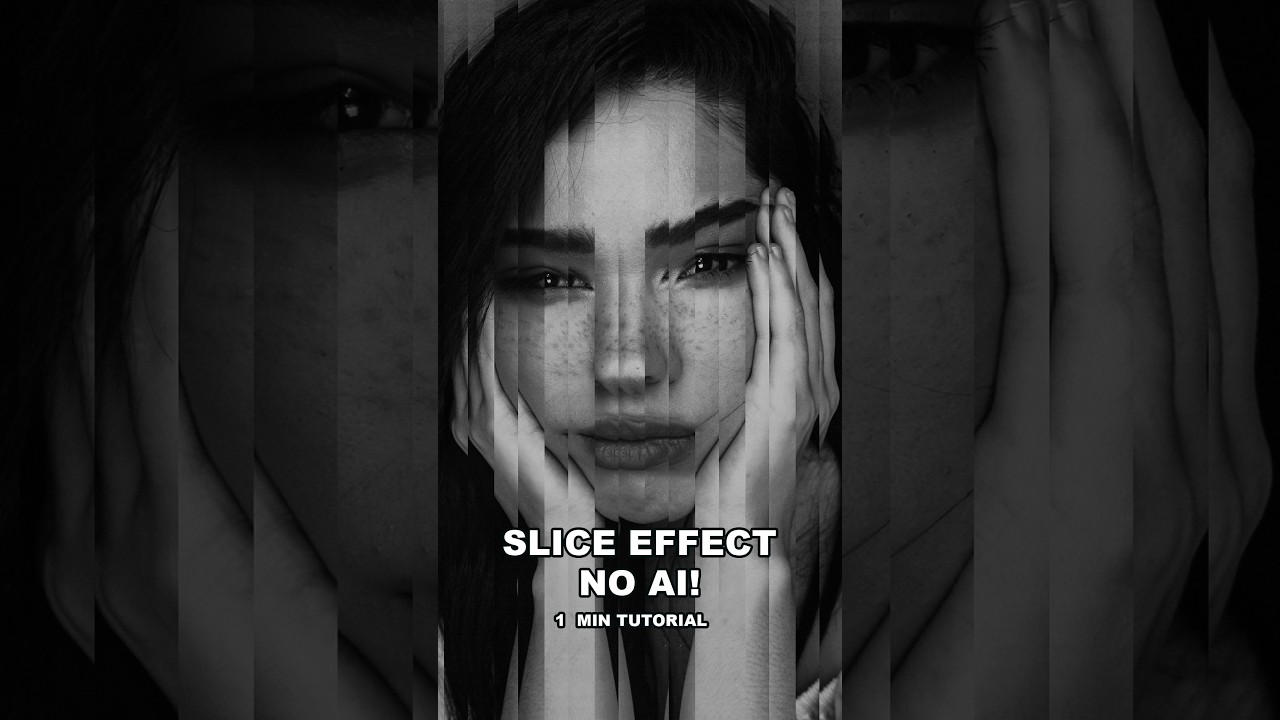
There’s a category of retouching work that never makes it into anyone’s portfolio but eats up a surprising chunk of billable hours. Background clutter. Stray wires. A parking cone that somehow wandered into the corner of a lifestyle shoot. For most of my career I handled these the same way everyone else did: Clone Stamp, Patch tool, Content-Aware Fill, rinse and repeat. It worked, but on a heavy e-commerce day it could chew through an hour before I’d even started the actual color work.