What Happens When You Retouch a Portrait With Only the Brush Tool (Aaron Nace's Challenge, Broken Down)

What Happens When You Retouch a Portrait With Only the Brush Tool (Aaron Nace's Challenge, Broken Down)

I’ve spent fifteen years watching junior retouchers freeze up the moment they open a portrait file. They scroll through the tool panel, reach for the Healing Brush, then the Clone Stamp, then some plugin, and before long they’ve got eight tools running and no clear mental model of what they’re actually doing to the image. The irony is that most of the fundamental operations in portrait retouching — blemish removal, dodging, burning, color correction — can be reduced to one core skill: painting with intention.
Mastering the Brush Tool in Photoshop: Dodge, Burn, and Custom Cloud Brushes

Mastering the Brush Tool in Photoshop: Dodge, Burn, and Custom Cloud Brushes

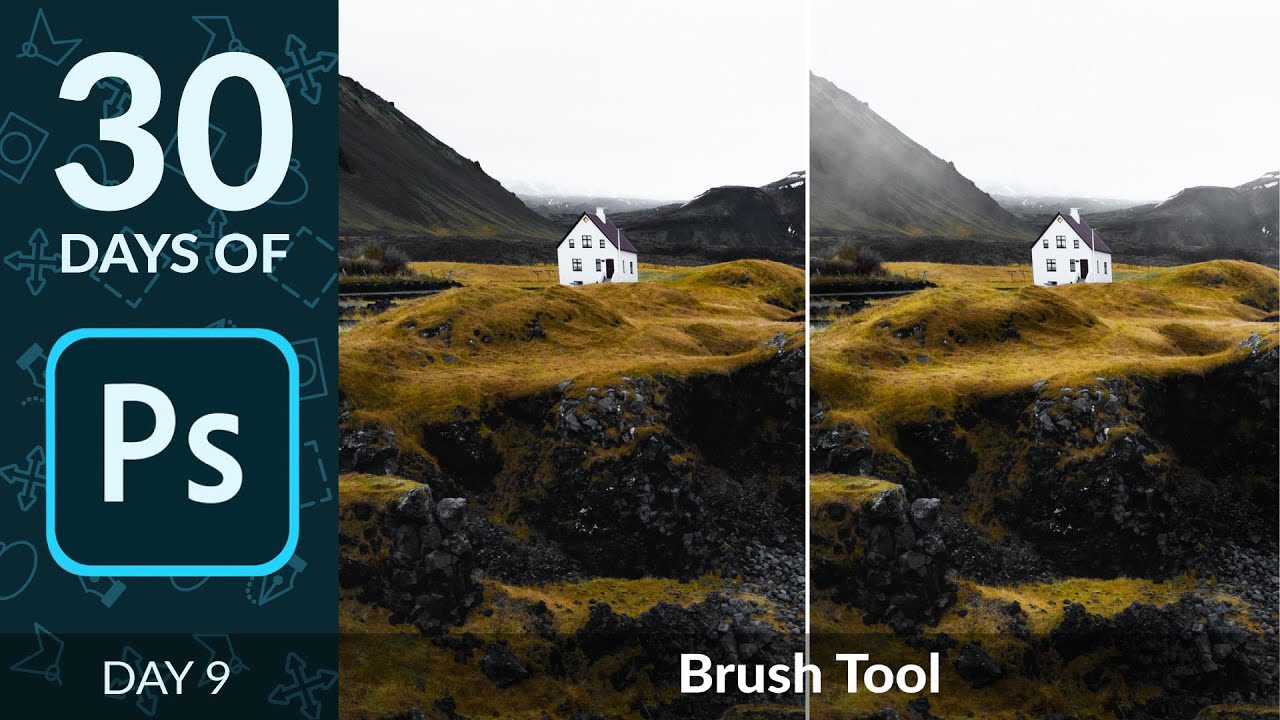
Most tools in Photoshop get their moment in the spotlight. The Pen tool has its cult following. The healing brush gets tutorials dedicated entirely to skin retouching. But the brush tool? People tend to gloss over it because it seems obvious. You paint. That’s it. What I’ve found after fifteen years of working in commercial post-production is that the brush tool is quietly responsible for some of the most important work happening in any comp, and most people are using it at maybe 30 percent of its capability.

Dodge & Burn Like a Painter: Building a Pressure-Sensitive Brush in Photoshop

Dodge & Burn Like a Painter: Building a Pressure-Sensitive Brush in Photoshop

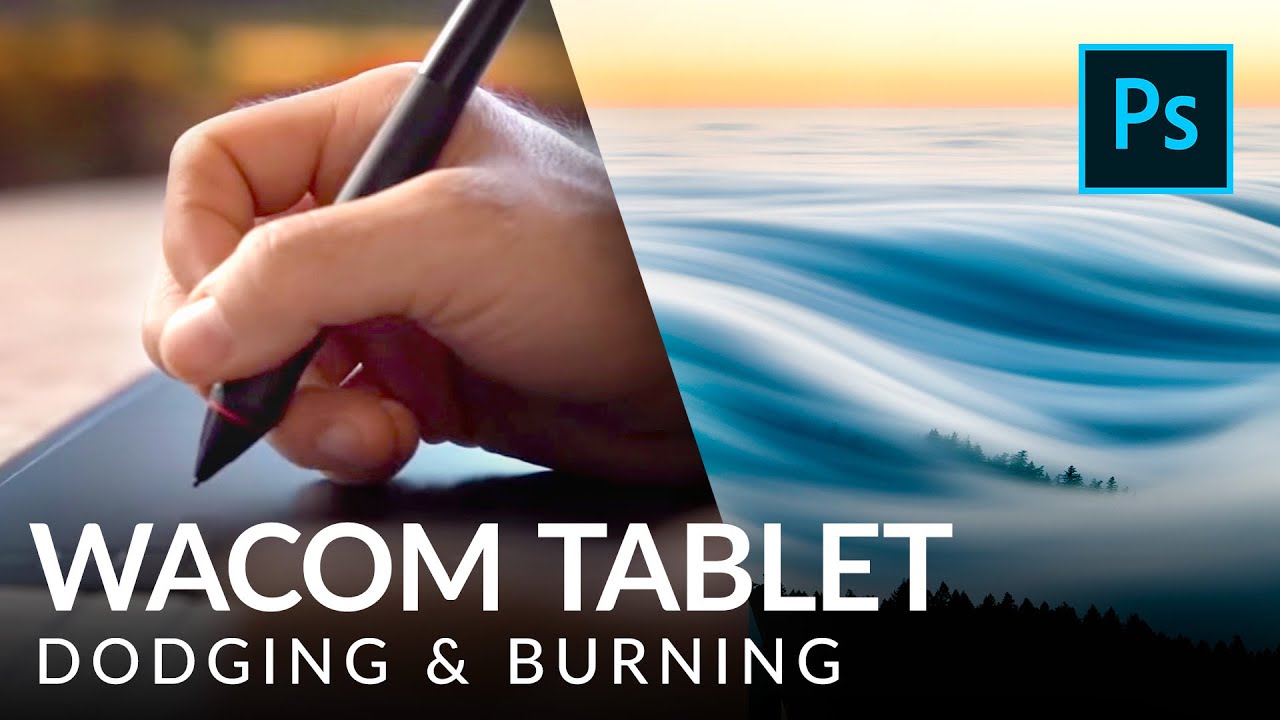
Fifteen years of studio work taught me that dodging and burning separates the retouchers from the photo editors. Anyone can pull a Curves adjustment. Shaping light on a face, a product surface, or a landscape so it reads as three-dimensional and intentional – that takes control. Real, granular, stroke-by-stroke control. For most of my career I was doing it with a mouse, convincing myself that lowering brush flow to 5% was “good enough.