How to Paint Realistic Splatter Effects Using a Custom Brush in Photoshop

How to Paint Realistic Splatter Effects Using a Custom Brush in Photoshop

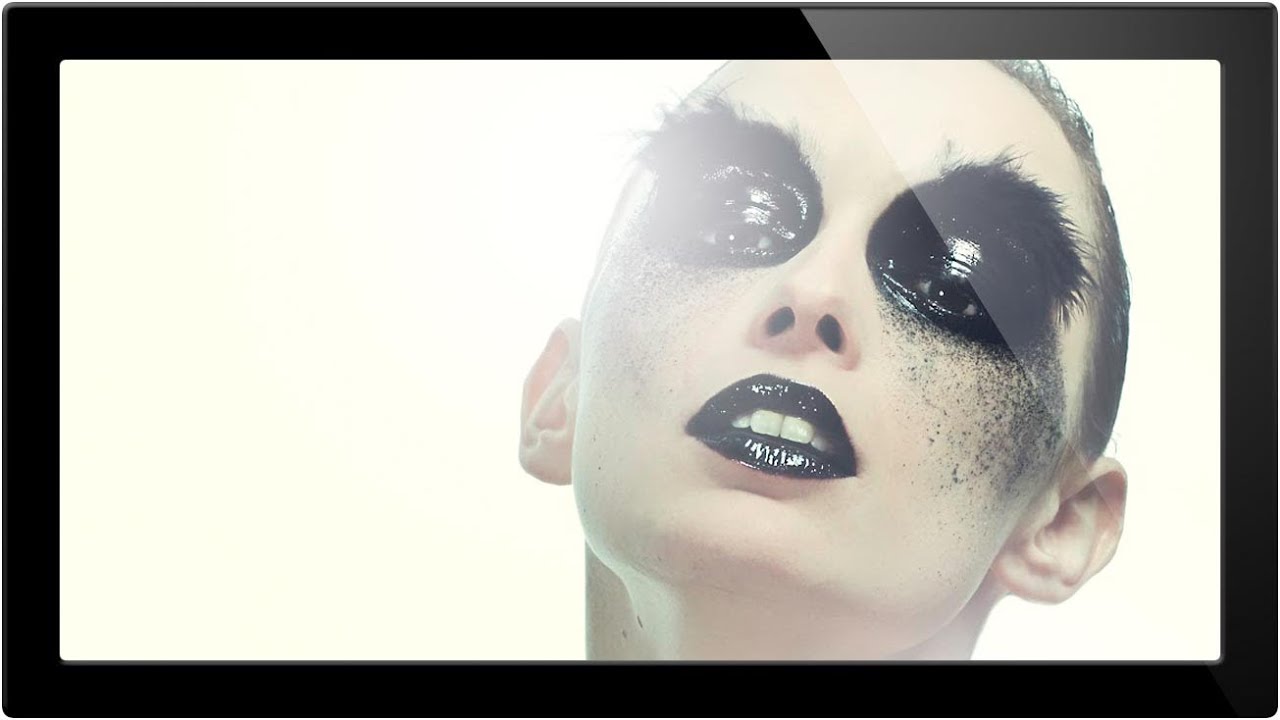
There’s a specific category of retouching request I get from ad agency clients that used to slow me down every single time: adding painterly, organic-looking elements to an otherwise clean photograph. Powder bursts, ink splashes, paint splatters. The kind of thing that looks effortless in the final comp but eats up an hour if you’re doing it by hand with a generic round brush. What I eventually figured out, and what this tutorial nails cleanly, is that the real solution lives inside Photoshop’s Brush Settings panel, a place most people open once, get confused by, and never return to.

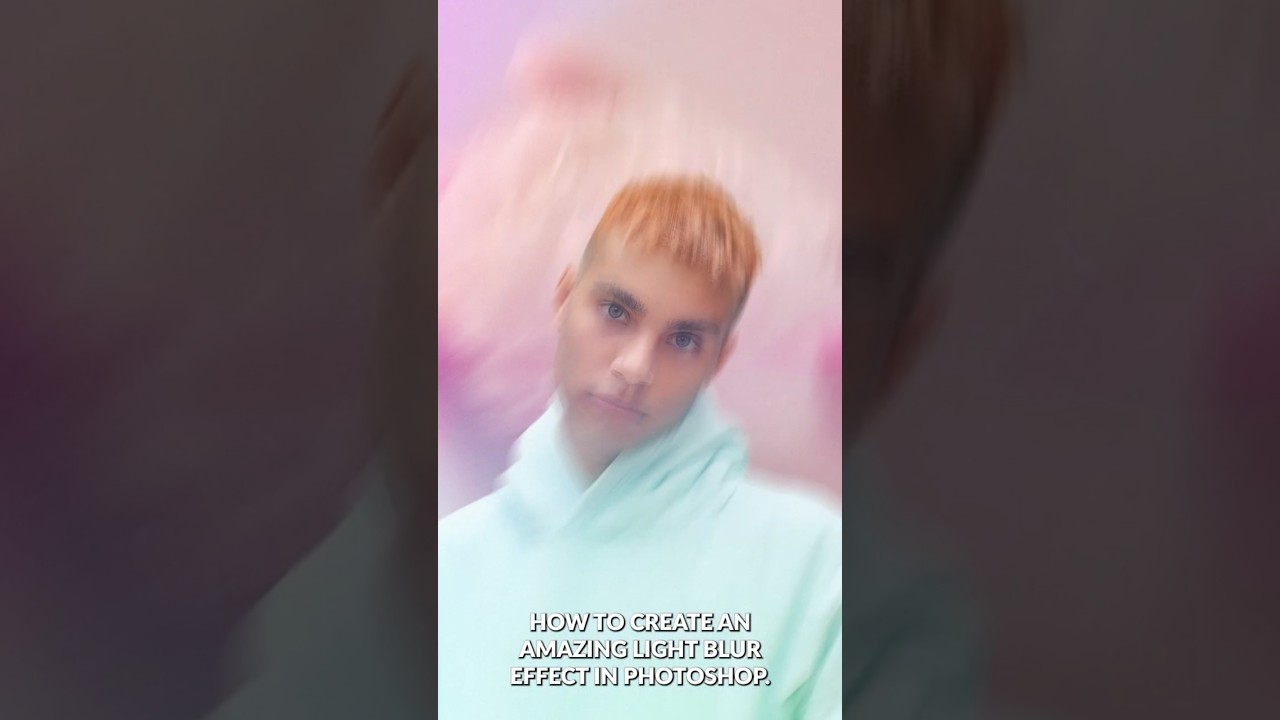
Master the Light Blur Effect: A Non-Destructive Workflow in Photoshop

Master the Light Blur Effect: A Non-Destructive Workflow in Photoshop

Composite portrait work makes up a significant chunk of what I do for ad agency clients, and the single biggest complaint I hear from art directors is that the subject looks “pasted in.” The background is sharp, the person is sharp, and nothing feels like it was shot together. What actually sells a composite is controlled imperfection: the right amount of blur, some light bleed, a little grain. Getting that to feel photographic rather than digital is the whole game.