Mastering Export Workflows in Photoshop: The Complete Guide

Mastering Export Workflows in Photoshop: The Complete Guide

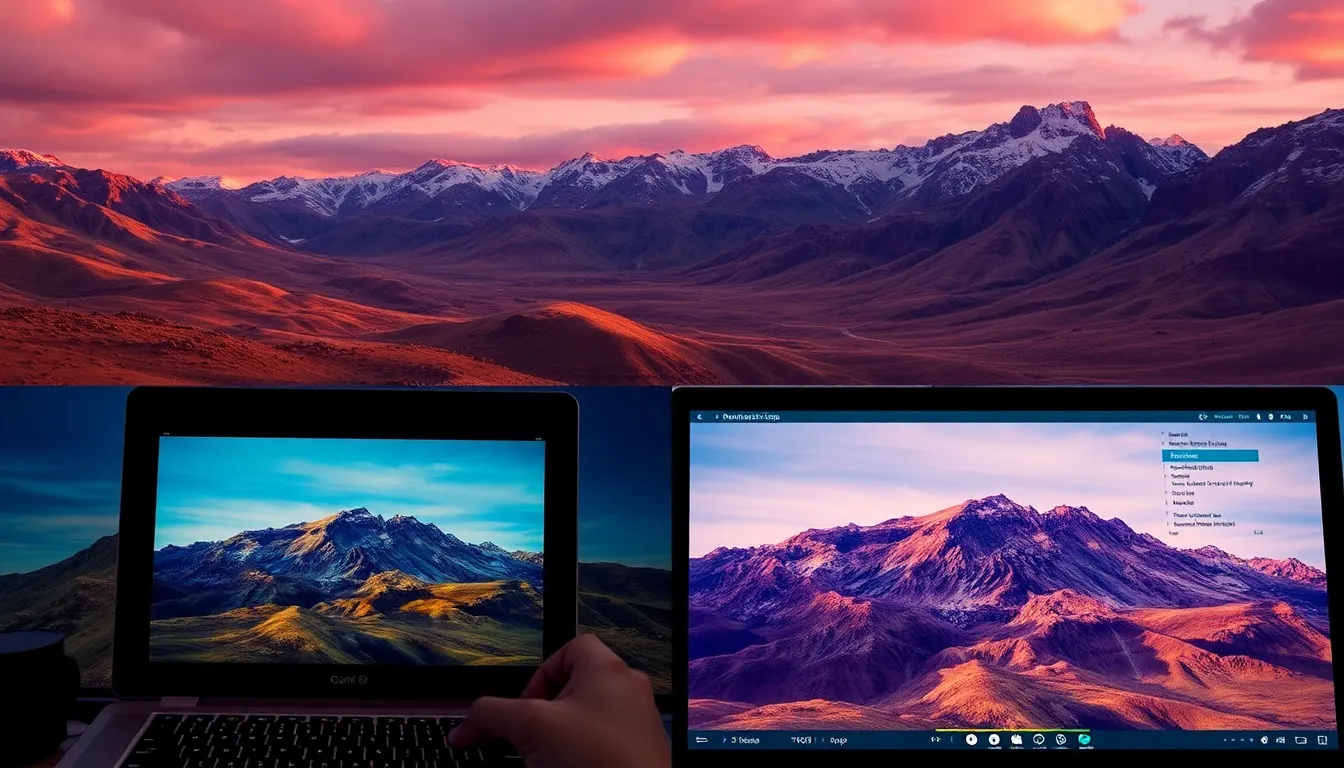
Mastering Export Workflows in Photoshop: The Complete Guide I’ve spent countless hours watching designers tediously export files one by one, applying the same settings repeatedly. It’s painful to witness, honestly. That’s why I’m genuinely excited about what we’re covering today—because once you nail your export workflow, you’ll wonder how you ever lived without it. Why Custom Export Workflows Matter Here’s the thing: Photoshop’s default export dialog works fine for occasional use, but if you’re handling multiple files or exporting to different formats regularly, you’re leaving efficiency on the table.

Mastering Export Workflows: How to Share Your Photoshop Actions Without Losing Your Mind

Mastering Export Workflows: How to Share Your Photoshop Actions Without Losing Your Mind

Mastering Export Workflows: How to Share Your Photoshop Actions Without Losing Your Mind I’ve spent way too many hours troubleshooting corrupted action files and presets that refuse to load on someone else’s system. But I’ve finally cracked the code on reliable exports, and I’m genuinely excited to walk you through it. Why Standard Exports Fail (And How to Fix It) Here’s the thing: exporting actions from Photoshop’s default “Save Actions” dialog looks simple, but it’s deceptively fragile.

Mastering Export Workflows: How to Save Time Without Losing Quality

Mastering Export Workflows: How to Save Time Without Losing Quality

Mastering Export Workflows: How to Save Time Without Losing Quality I’ve spent countless hours staring at export dialogs, tweaking settings for the hundredth time, wondering if there was a better way. Spoiler alert: there absolutely is. Export workflows are where Photoshop’s real power lives—and I’m genuinely excited to share what I’ve learned. Why Your Current Export Method Is Costing You Time Most people treat exporting like a one-off task. They finish a design, hit File > Export As, pick some settings, and hope for the best.

Export Actions: Batch Export for Web, Print, and Social Media

Export Actions: Batch Export for Web, Print, and Social Media

Every finished image needs to exist in multiple formats. Your web portfolio wants 2000px JPEGs. Instagram needs 1080x1080 squares. Print labs want full-resolution TIFFs in specific color spaces. Manually exporting each format for each image is the most wasteful use of a photographer’s time. Here’s how to build a complete set of export actions and batch process entire shoots into every format you need. Action 1: Web Gallery Export This action produces optimized JPEGs for website use — responsive-friendly sizes with web sharpening and sRGB color.

Droplets: Running Photoshop Actions on Autopilot

Droplets: Running Photoshop Actions on Autopilot

A Droplet is a miniature application that runs a Photoshop action on any files you drag onto it. Drag a folder of 500 images onto a Droplet icon, walk away, and come back to find all 500 processed and saved. It’s the simplest form of Photoshop automation, and it’s genuinely useful for repetitive production work. Creating a Droplet Go to File > Automate > Create Droplet. The dialog has several sections:

Droplets in Photoshop: Automating Your Entire Workflow

Droplets in Photoshop: Automating Your Entire Workflow

Droplets in Photoshop: Automating Your Entire Workflow I’ve always believed that the best creative work happens when you’re not wrestling with software mechanics. That’s exactly why I’m passionate about Photoshop droplets—they’re one of the most underutilized features for eliminating tedious, repetitive tasks. If you’re not familiar with droplets yet, here’s the core concept: a droplet is a standalone application that automatically runs a Photoshop action on any image you drag onto it.

Creating Custom Brushes for Photoshop: The Foundation of Efficient Workflows

Creating Custom Brushes for Photoshop: The Foundation of Efficient Workflows

Creating Custom Brushes for Photoshop: The Foundation of Efficient Workflows I’ve spent the last decade building Photoshop workflows, and I can tell you with absolute certainty: the fastest designers aren’t using Adobe’s default brushes. They’re building custom brush sets that anticipate exactly what they need, when they need it. Custom brushes are more than aesthetic preferences—they’re the scaffolding of repeatable, automated work. When you combine them with actions and presets, they become incredibly powerful.

Color Lookup Tables (LUTs) in Photoshop: The Ultimate Workflow Accelerator

Color Lookup Tables (LUTs) in Photoshop: The Ultimate Workflow Accelerator

Color Lookup Tables (LUTs) in Photoshop: The Ultimate Workflow Accelerator I’ve been obsessed with color lookup tables for the past year, and honestly, I think they’re one of the most underutilized features in Photoshop for serious workflow optimization. Whether you’re processing product photography, establishing brand consistency, or speed-editing wedding galleries, understanding how to leverage LUTs will transform your efficiency. What Actually Is a LUT? A LUT—color lookup table—is essentially a mathematical instruction set that remaps input color values to output values.

Color Lookup Tables (LUTs) for Photoshop: The Workflow Game-Changer You're Probably Sleeping On

Color Lookup Tables (LUTs) for Photoshop: The Workflow Game-Changer You're Probably Sleeping On

Color Lookup Tables (LUTs) for Photoshop: The Workflow Game-Changer You’re Probably Sleeping On I didn’t fully appreciate LUTs until I was color grading my 47th product shot of the day and realized I could apply a complex, multi-layer grading setup in literally one click. If you’re still manually building adjustment layers for every single image, I need to tell you about 3D LUTs—because they’ll fundamentally change how you work. What Actually Is a LUT?

Building Custom Presets in Photoshop: Why One-Size-Fits-All Isn't Enough

Building Custom Presets in Photoshop: Why One-Size-Fits-All Isn't Enough

Building Custom Presets in Photoshop: Why One-Size-Fits-All Isn’t Enough I spent two years using other people’s presets before I realized I was wasting time. Sure, they looked nice in the demo videos, but they never quite fit my editing style or the specific cameras I was working with. The turning point came when I started building my own custom presets, and honestly, it’s transformed how fast I can work. Here’s what I’ve learned: custom presets aren’t just for the advanced users.

Building Custom Photoshop Presets That Actually Save You Time

Building Custom Photoshop Presets That Actually Save You Time

Building Custom Photoshop Presets That Actually Save You Time I’ve watched a lot of creators accumulate hundreds of presets they never use. Their Curves panel becomes a graveyard of “maybe someday” adjustments. Here’s the thing: custom presets only work when they solve actual problems in your real workflow. Let me show you how I build presets that stick around and actually get used. Know What Problem You’re Solving Before you save anything, ask yourself: “Am I doing this adjustment sequence more than twice a month?

Batch Automation in Photoshop: Processing Hundreds of Images Without Lifting a Finger

Batch Automation in Photoshop: Processing Hundreds of Images Without Lifting a Finger

Batch Automation in Photoshop: Processing Hundreds of Images Without Lifting a Finger I used to spend entire afternoons clicking through the same adjustments on dozens of product photos. Crop, adjust levels, add a watermark, export. Repeat 47 times. My mouse hand would cramp, my eyes would glaze over, and I’d inevitably mess up one file in the middle of the sequence. Then I actually learned how to use Photoshop’s batch automation features.