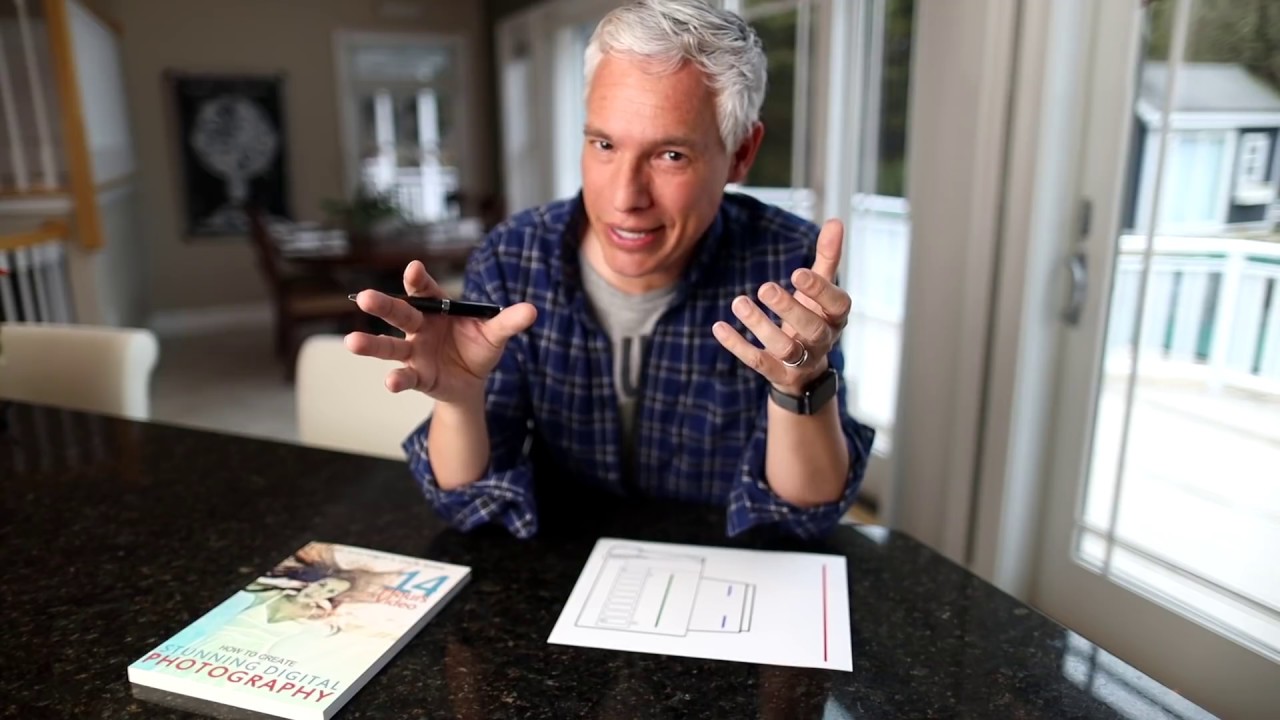
Every landscape job I take on starts the same way: the client wants everything sharp, front to back, horizon to horizon. For years I watched photographers in my studio reach straight for f/22 the moment they needed deep depth of field, like it was some kind of guaranteed solution. The results came back soft, and nobody could figure out why. The glass was good, the tripod was solid, the technique was clean. The culprit was physics.
In this Tony & Chelsea Northrup tutorial, Watch the full tutorial on YouTube, Tony breaks down the optical phenomenon called diffraction and explains exactly why cranking your aperture to its highest f-stop number actively hurts the sharpness you’re chasing. This is one of those videos I wish had existed when I was 26 and still learning what the numbers on my lens actually meant. It’s practical, it’s grounded in physics without getting buried in it, and it changes how you make decisions in the field.
What I want to do here is pull out the core technique and give you something you can act on immediately, whether you’re shooting landscapes, macro work, or product photography on a table-top set.
Step 1: Understand What High F-Stop Numbers Actually Do to Your Focus Point
 caption: Sequence of photos showing increasing f-stop sharpness comparison
Most photographers understand f-stop in one direction: higher number, more of the scene in focus. That part is true for depth of field. But Tony draws a sharp distinction between what’s happening at the edges of your frame versus what’s happening at the exact point you focused on. At your actual focus point, sharpness peaks somewhere in the middle of your aperture range, typically around f/5.6 to f/8 depending on your lens, and then starts declining as you stop down further. By f/16 and f/22, diffraction has measurably softened the image. The depth of field is wider, yes, but the quality of focus at any given point is worse.
caption: Sequence of photos showing increasing f-stop sharpness comparison
Most photographers understand f-stop in one direction: higher number, more of the scene in focus. That part is true for depth of field. But Tony draws a sharp distinction between what’s happening at the edges of your frame versus what’s happening at the exact point you focused on. At your actual focus point, sharpness peaks somewhere in the middle of your aperture range, typically around f/5.6 to f/8 depending on your lens, and then starts declining as you stop down further. By f/16 and f/22, diffraction has measurably softened the image. The depth of field is wider, yes, but the quality of focus at any given point is worse.
Step 2: Recognize the Diffraction Problem Visually
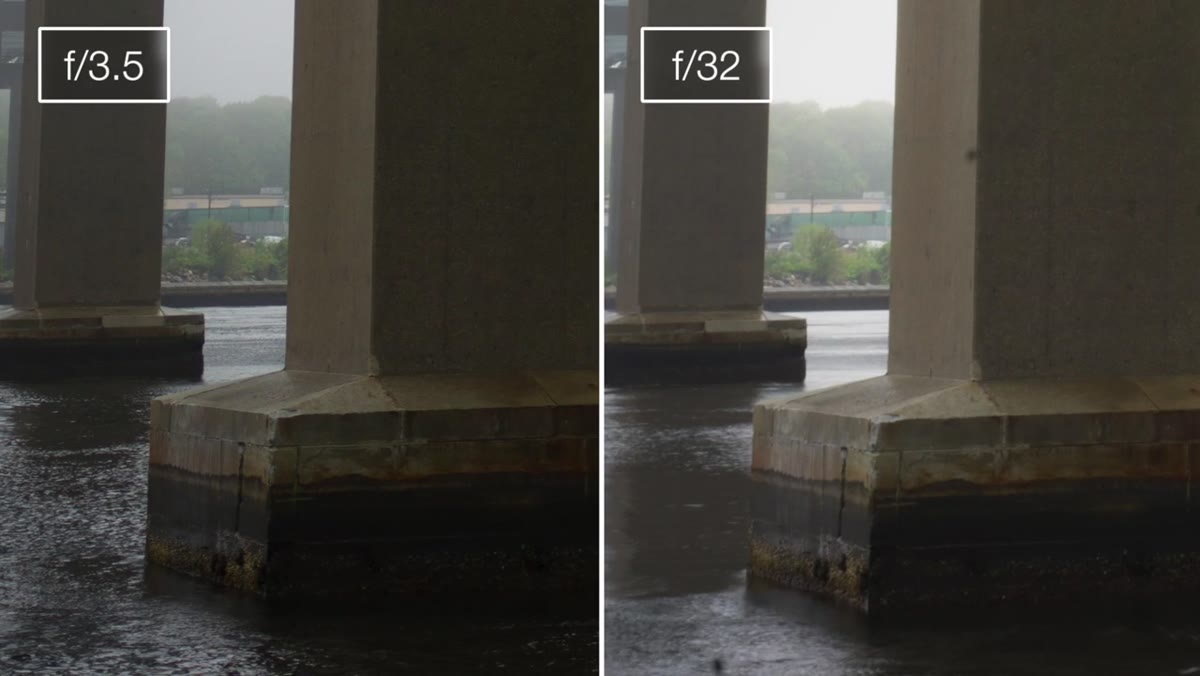 caption: Side-by-side image comparisons across multiple cameras showing diffraction softness
Tony shows side-by-side comparisons from different cameras, and the pattern is consistent regardless of brand or sensor size. The f/22 frames look soft in a way that’s easy to dismiss as a focus error or slight camera shake, which is exactly why this problem persists. Once you know what diffraction softness looks like, you start recognizing it in your own archive. I went back through a batch of e-commerce product shots from a few years ago and found it in almost every image where I had dialed in f/16 to keep a tall product sharp from base to cap. The softness was there. I had been blaming my sharpening workflow.
caption: Side-by-side image comparisons across multiple cameras showing diffraction softness
Tony shows side-by-side comparisons from different cameras, and the pattern is consistent regardless of brand or sensor size. The f/22 frames look soft in a way that’s easy to dismiss as a focus error or slight camera shake, which is exactly why this problem persists. Once you know what diffraction softness looks like, you start recognizing it in your own archive. I went back through a batch of e-commerce product shots from a few years ago and found it in almost every image where I had dialed in f/16 to keep a tall product sharp from base to cap. The softness was there. I had been blaming my sharpening workflow.
Step 3: Avoid Reflexively Jumping to Maximum Aperture
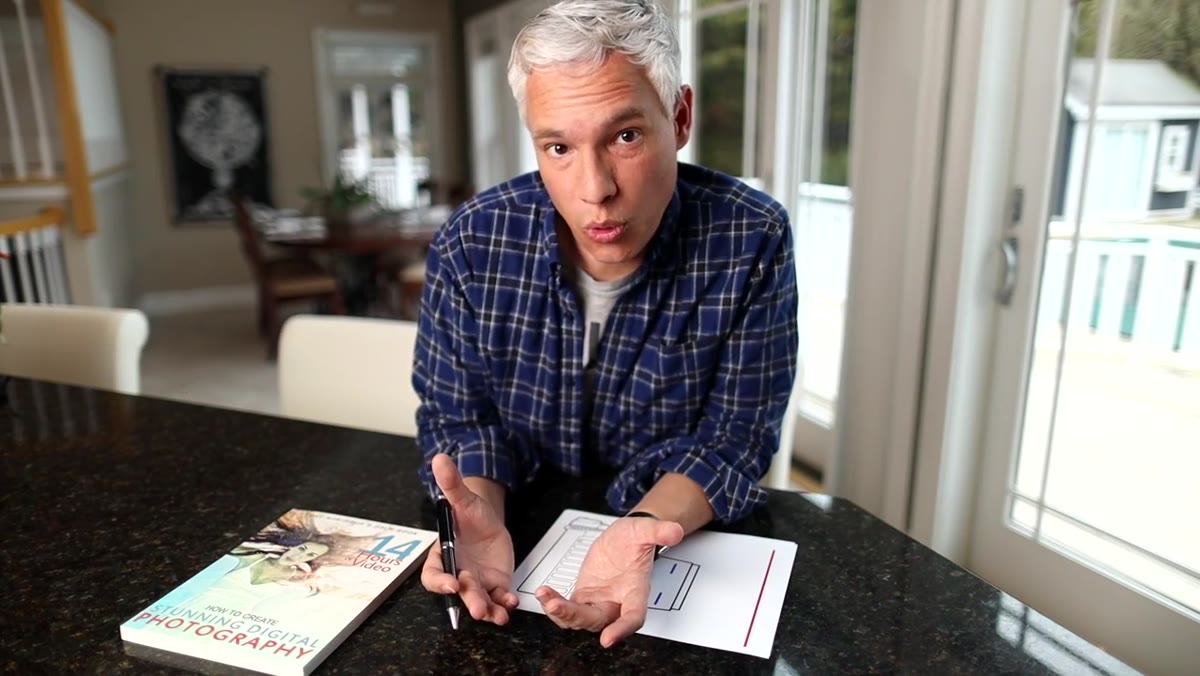 caption: Tony explaining practical alternatives to using f/22 for depth of field
The first practical fix Tony offers is the simplest one: don’t default to f/22 just because you want everything in focus. That reflex is a shortcut that costs you quality. Unless you absolutely need foreground and distant background in the same sharp frame, staying in the f/5.6 to f/11 range will give you better results at your focus point. For product work, I’ve found that rethinking the camera angle or distance often eliminates the need for extreme apertures entirely. Moving the camera back slightly and using a longer focal length can give you the depth coverage you need without the diffraction penalty.
caption: Tony explaining practical alternatives to using f/22 for depth of field
The first practical fix Tony offers is the simplest one: don’t default to f/22 just because you want everything in focus. That reflex is a shortcut that costs you quality. Unless you absolutely need foreground and distant background in the same sharp frame, staying in the f/5.6 to f/11 range will give you better results at your focus point. For product work, I’ve found that rethinking the camera angle or distance often eliminates the need for extreme apertures entirely. Moving the camera back slightly and using a longer focal length can give you the depth coverage you need without the diffraction penalty.
Step 4: Bracket Your Aperture Like You Bracket Exposure
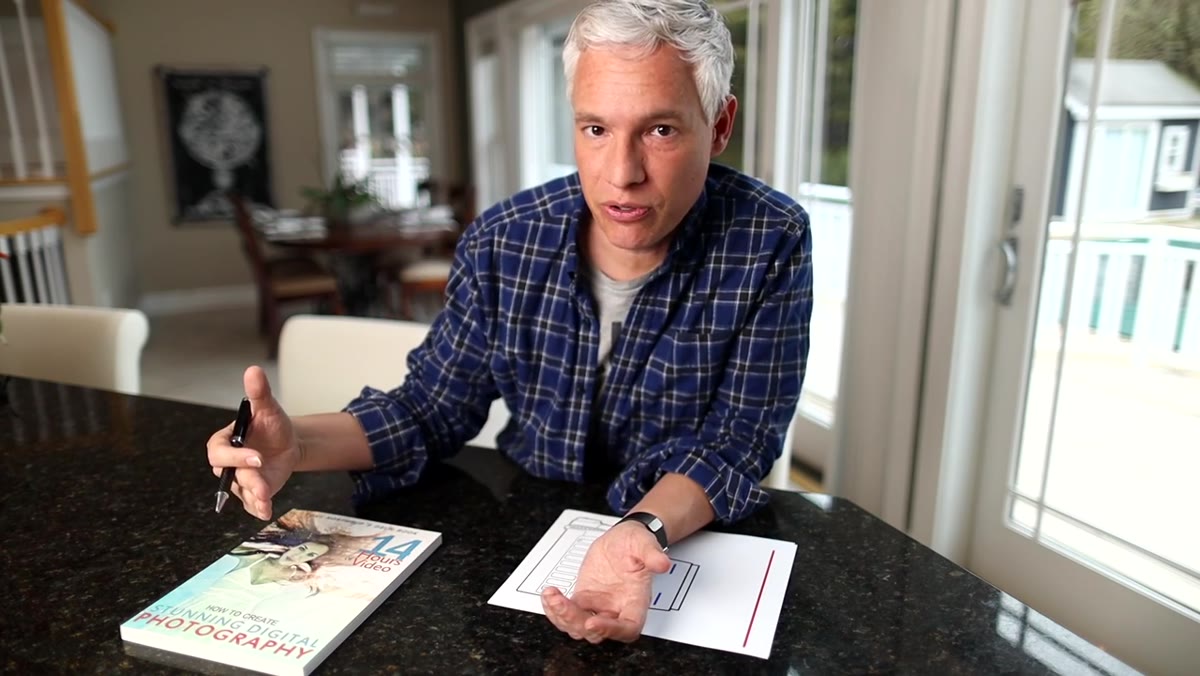 caption: Shooting sequence at f/5.6 through f/22 in aperture priority mode
This is the practical technique I’ve added to my own field shooting since watching this tutorial. Instead of committing to a single f-stop, Tony recommends shooting a fast sequence at multiple apertures: f/5.6, f/8, f/11, f/16, and f/22. In aperture priority mode, this takes about five seconds. You just roll the main dial through the range and fire. Back at the computer you compare them at 100% and pick the winner. The sharpest frame is often f/8 or f/11, not the extreme end of the range. It costs you almost nothing in time and completely removes the guesswork.
caption: Shooting sequence at f/5.6 through f/22 in aperture priority mode
This is the practical technique I’ve added to my own field shooting since watching this tutorial. Instead of committing to a single f-stop, Tony recommends shooting a fast sequence at multiple apertures: f/5.6, f/8, f/11, f/16, and f/22. In aperture priority mode, this takes about five seconds. You just roll the main dial through the range and fire. Back at the computer you compare them at 100% and pick the winner. The sharpest frame is often f/8 or f/11, not the extreme end of the range. It costs you almost nothing in time and completely removes the guesswork.
Step 5: Use Focus Stacking to Beat Diffraction Entirely
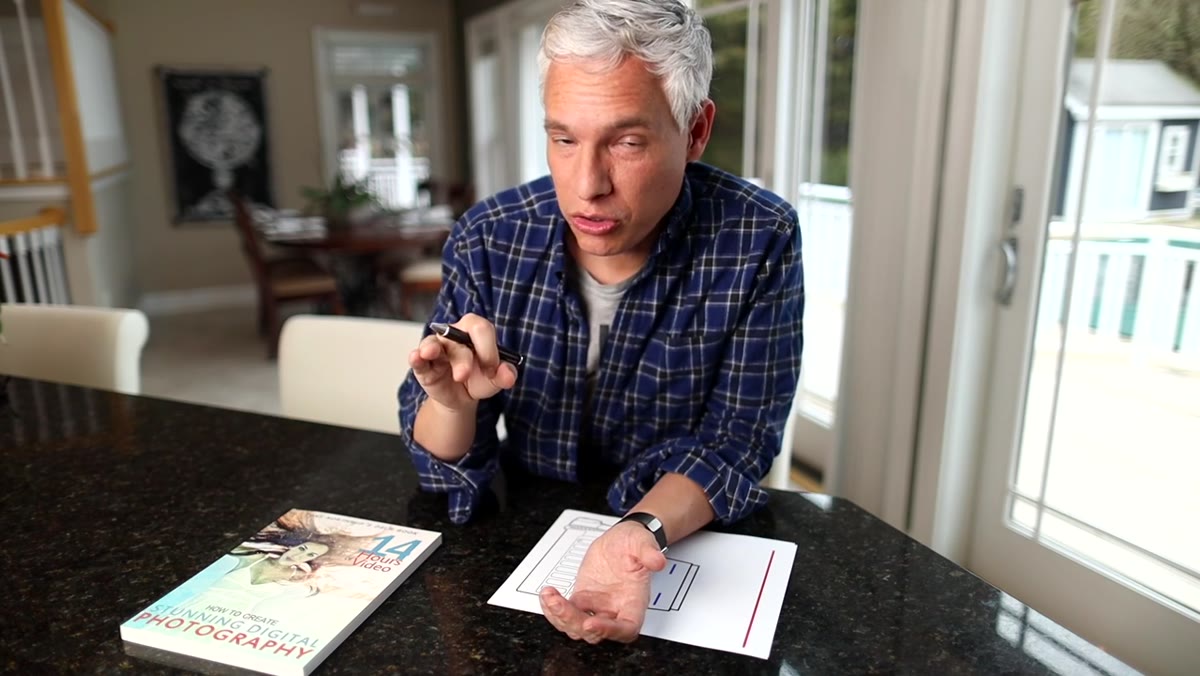 caption: Tony introducing focus stacking as a solution to diffraction at high f-stops
Focus stacking is the technique Tony recommends when you want maximum depth of field without the diffraction compromise. The idea is straightforward: shoot multiple frames at a moderate aperture, shifting focus between the foreground, the middle distance, and the background. Then combine those frames in post using Photoshop’s built-in focus stacking tools. You get the sharpness quality of f/8 across the full depth of a scene that would normally require f/22. In macro photography this is nearly mandatory since diffraction hits hard and depth of field is already razor thin at close distances.
caption: Tony introducing focus stacking as a solution to diffraction at high f-stops
Focus stacking is the technique Tony recommends when you want maximum depth of field without the diffraction compromise. The idea is straightforward: shoot multiple frames at a moderate aperture, shifting focus between the foreground, the middle distance, and the background. Then combine those frames in post using Photoshop’s built-in focus stacking tools. You get the sharpness quality of f/8 across the full depth of a scene that would normally require f/22. In macro photography this is nearly mandatory since diffraction hits hard and depth of field is already razor thin at close distances.
Step 6: Understand the Physics Well Enough to Make Informed Decisions
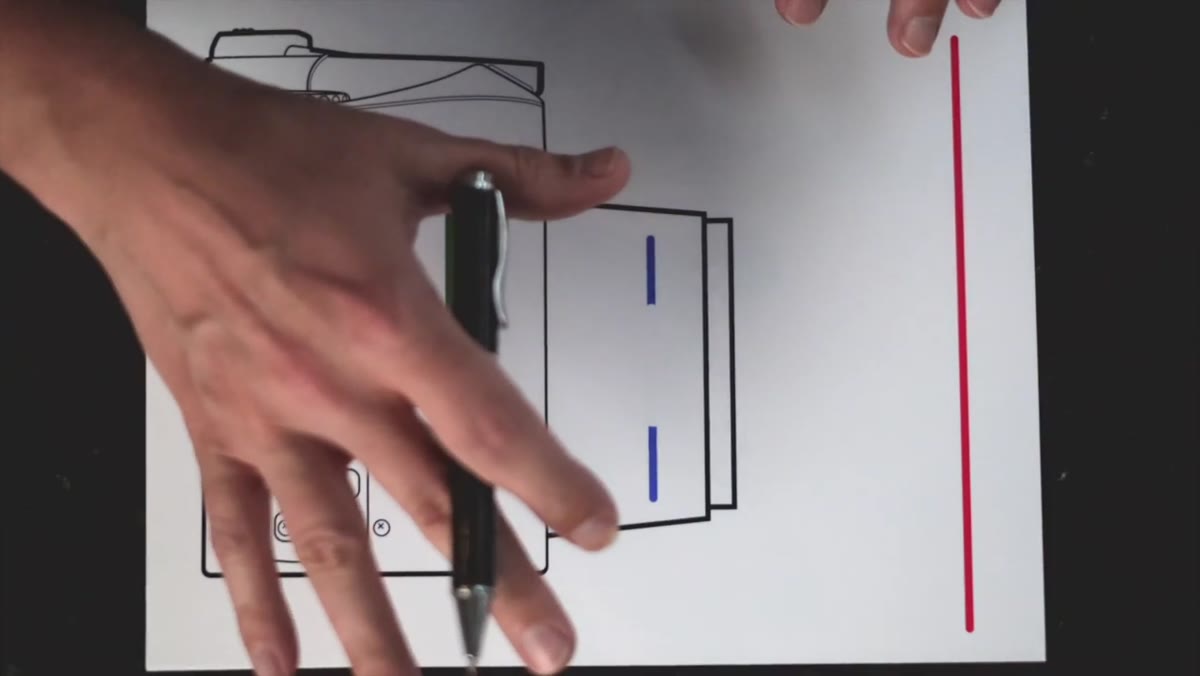 caption: Basic camera diagram illustrating aperture, sensor, and light path
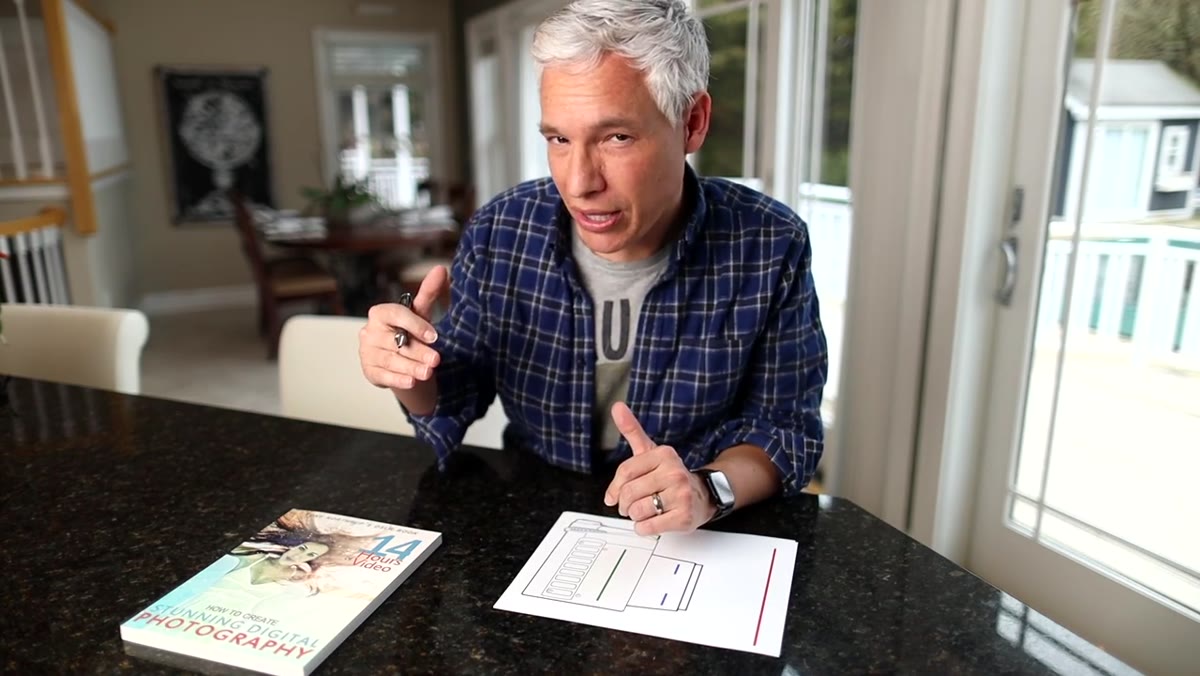
Tony walks through a simplified diagram of how light travels from the aperture to the sensor. When the aperture is wide, light rays from your subject converge cleanly on the focal plane. When you stop down to a very small aperture, the light waves start bending around the edges of the aperture blades, a behavior called diffraction, and instead of converging to a precise point they spread out slightly. That spreading is what kills sharpness. The physics at extreme scales aren’t fully resolved even in academic research, but the practical consequence is clear and consistent: smaller aperture openings beyond a certain point produce softer images, period.
caption: Basic camera diagram illustrating aperture, sensor, and light path
Tony walks through a simplified diagram of how light travels from the aperture to the sensor. When the aperture is wide, light rays from your subject converge cleanly on the focal plane. When you stop down to a very small aperture, the light waves start bending around the edges of the aperture blades, a behavior called diffraction, and instead of converging to a precise point they spread out slightly. That spreading is what kills sharpness. The physics at extreme scales aren’t fully resolved even in academic research, but the practical consequence is clear and consistent: smaller aperture openings beyond a certain point produce softer images, period.
What I’d Add From 15 Years of Post-Production
The tutorial covers the field technique thoroughly, but I want to address the post-production side. If you’ve already shot files with diffraction softness, Photoshop’s Camera Raw has a sharpening workflow that can recover some of it, but it’s a poor substitute for getting the aperture right in camera. More useful in post is Lightroom’s or Camera Raw’s “Sharpening” panel combined with a tight masking slider (hold Alt/Option while dragging the Masking slider to visualize the effect). This keeps sharpening applied only to edges and detail areas, so you’re not amplifying the texture of the diffraction haze across flat tonal areas. It won’t fully undo diffraction, but it minimizes how much the problem compounds during your sharpening pass.
If you’re building a Photoshop action for batch processing landscape or macro work, build the sharpening values around files shot at f/8 to f/11. Those files will respond to sharpening predictably and cleanly. Files shot at f/22 have an uneven softness that makes batch sharpening unreliable.
The single most important takeaway here is this: higher f-stop numbers increase depth of field but reduce sharpness at your focus point, and the crossover happens earlier than most photographers expect, often around f/11. Bracket your apertures and pick the winner in post, or use focus stacking to remove the tradeoff entirely.
Watch the full tutorial on YouTube to see Tony’s side-by-side comparisons and the camera diagram that makes the physics click.
Comments (2)
This is exactly what I needed today. Been struggling with this for weeks.
The tip about why your sharpest aperture isn was the missing piece for me. Thank you.
Leave a Comment