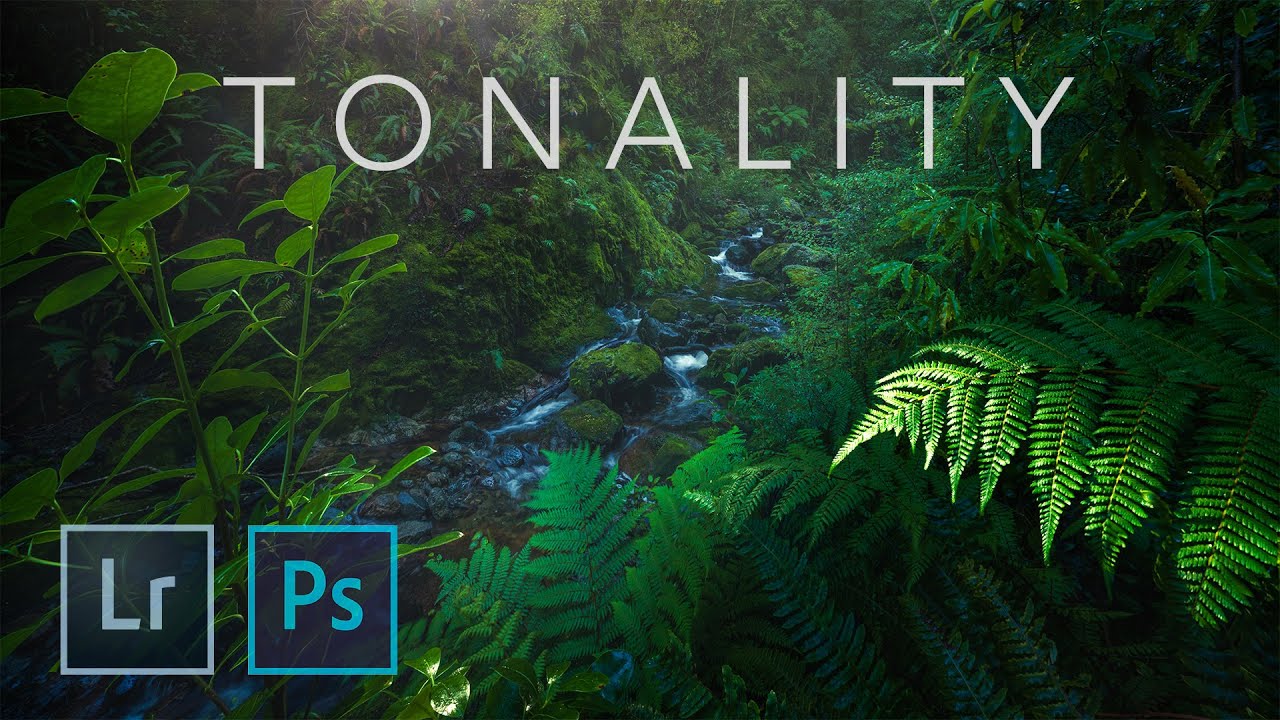
There is a category of image that breaks my usual batch-processing brain completely: dense forest scenes with waterfalls, layered greens, and dappled light. In commercial work I can automate a lot. I built my first Photoshop action at 26 and have barely repeated a manual task since. But these organic, tonal-heavy nature shots demand something different. They demand judgment at the RAW stage that no action can substitute for. That is exactly what pulled me into this William Patino tutorial on NZ landscape photography workflow. Watch the full tutorial on YouTube
What Patino does in this video is not just show you how he edited one image. He walks you through the thinking behind tonal separation as a discipline, using a lush New Zealand forest and waterfall scene as the teaching vehicle. The core problem he is solving is one I recognize immediately: in a scene packed with greens, cascading water, ferns, and backlit foliage, everything wants to merge into visual mud if you are not deliberate about keeping tones distinct. The fix is not a preset. It is a method.
The field section of the video matters too, not just the editing. Watching Patino scout, choose, and compose gives you the “why” behind the RAW files he brings back. He is already thinking about tonal separation before he touches the camera, and that context shapes every editing decision that follows.
Step 1: Scout for Compositional Separation Before You Shoot
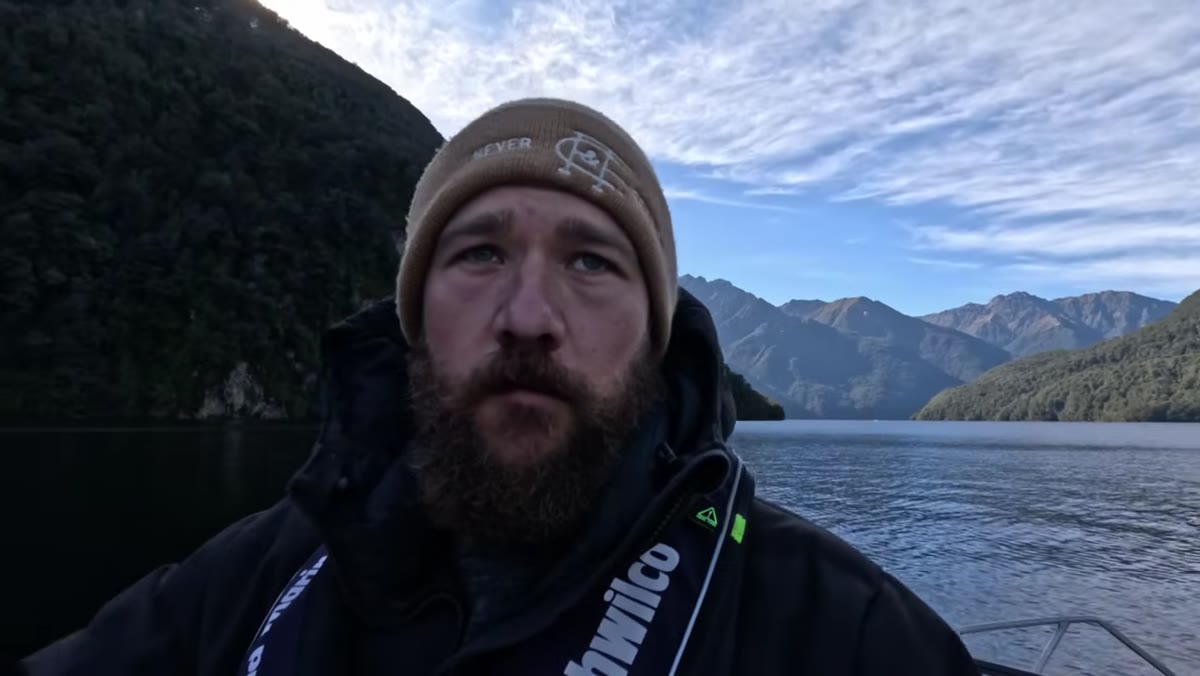 caption: Patino framing the waterfall scene through dense ferns
Patino spends real time on the water and on foot before committing to a composition. He deliberately passes up waterfalls that flow straight into the lake because they lack visual layering. What he is after is a scene where foreground elements, midground cascades, and background light exist as separate tonal zones. He positions a large fern in the lower frame as what he calls “edge control,” a deliberate anchor that stops the viewer’s eye from sliding out of the frame. He places a tree on one side for the same reason.
caption: Patino framing the waterfall scene through dense ferns
Patino spends real time on the water and on foot before committing to a composition. He deliberately passes up waterfalls that flow straight into the lake because they lack visual layering. What he is after is a scene where foreground elements, midground cascades, and background light exist as separate tonal zones. He positions a large fern in the lower frame as what he calls “edge control,” a deliberate anchor that stops the viewer’s eye from sliding out of the frame. He places a tree on one side for the same reason.
The lesson here applies even if you are never going to New Zealand: your editing job gets dramatically easier when you build tonal separation into the capture. If everything in the scene occupies the same brightness range, no amount of RAW work will fully separate them later.
Step 2: Capture Multiple Exposures for Technical Flexibility
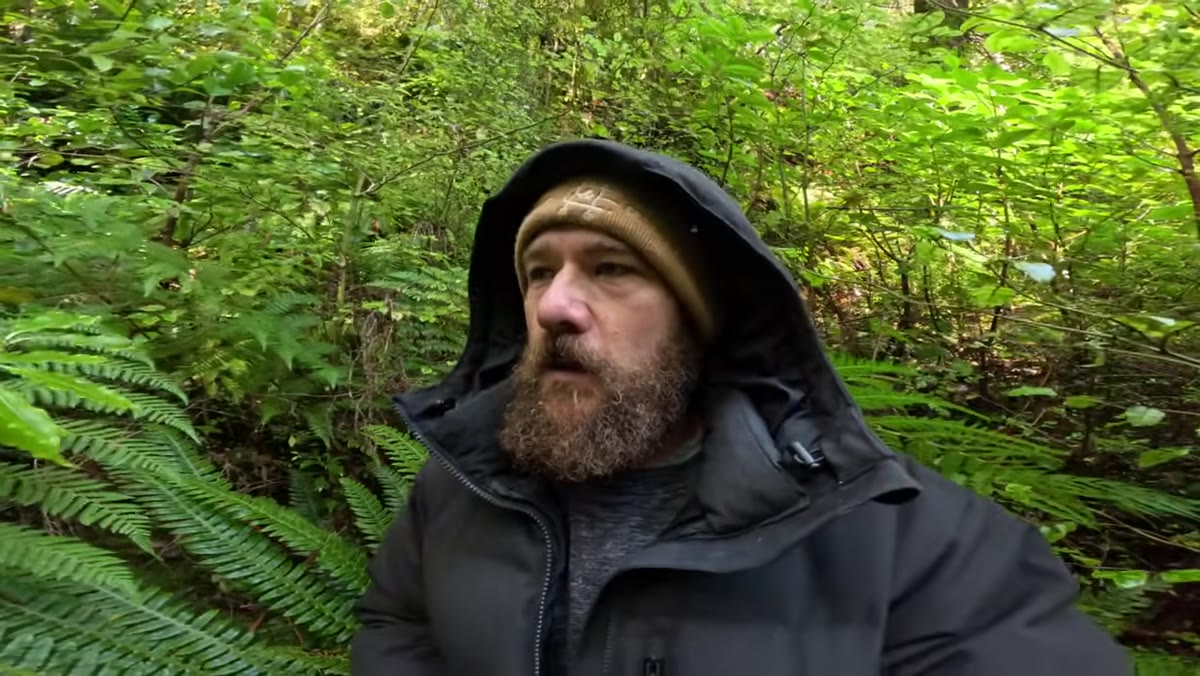 caption: Camera on tripod, shooting varied shutter speeds for water and foliage
Wind is Patino’s main technical obstacle. He wants a slow shutter to render the water as silky and smooth, but slower shutter speeds mean blowing leaves turn into blur. His solution is to shoot at multiple shutter speeds and treat the session like a puzzle: gather all the pieces you need and assemble later. He also flags the possibility of focus stacking because he is shooting extremely close to foreground ferns with a wide lens, and depth of field at that distance is tight.
caption: Camera on tripod, shooting varied shutter speeds for water and foliage
Wind is Patino’s main technical obstacle. He wants a slow shutter to render the water as silky and smooth, but slower shutter speeds mean blowing leaves turn into blur. His solution is to shoot at multiple shutter speeds and treat the session like a puzzle: gather all the pieces you need and assemble later. He also flags the possibility of focus stacking because he is shooting extremely close to foreground ferns with a wide lens, and depth of field at that distance is tight.
If you are processing these images in Photoshop, this is where your layer workflow begins before the edit even starts. Keep your fast-shutter frames for foliage, your slow-shutter frames for water, and plan the composite from the first import.
Step 3: Open the RAW Files in Adobe Camera Raw and Reset First
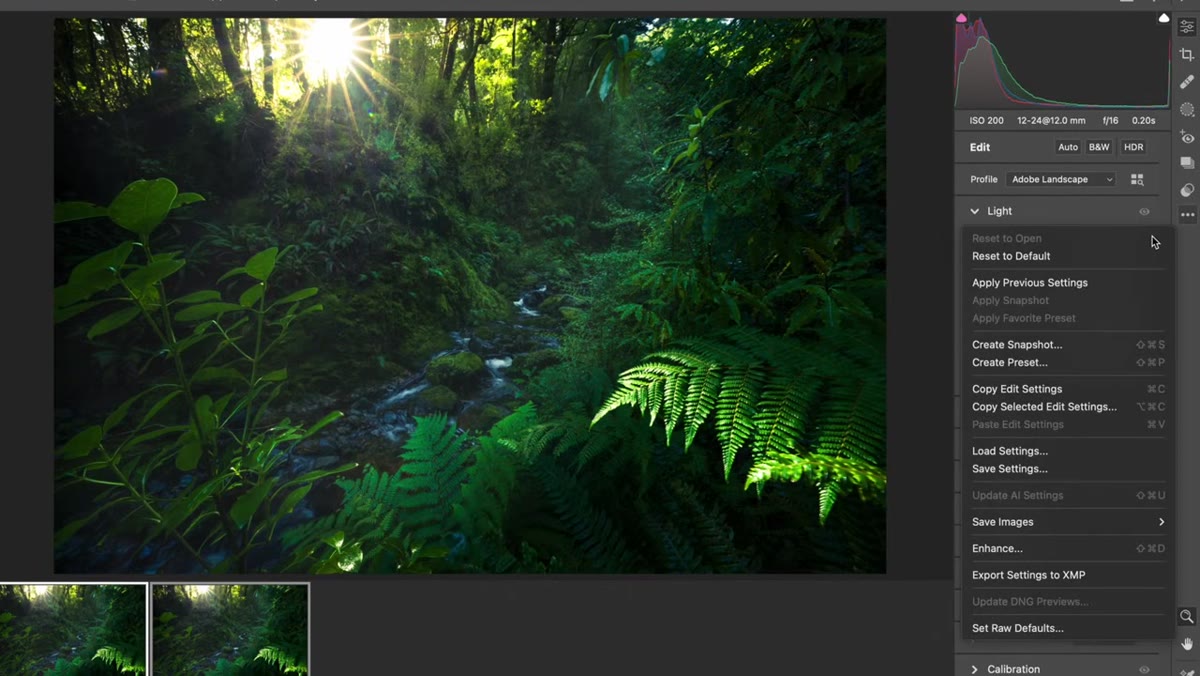 caption: Adobe Camera Raw open with edit applied, cursor on Reset button
Back at the desk, Patino opens his RAW files in Adobe Camera Raw. Critically, he starts by showing the image with his edit applied and then resets it back to the flat, unprocessed state. This is good teaching discipline and good workflow discipline. Seeing the before and after in sequence, rather than just the finished result, makes it immediately obvious what the edit is actually doing.
caption: Adobe Camera Raw open with edit applied, cursor on Reset button
Back at the desk, Patino opens his RAW files in Adobe Camera Raw. Critically, he starts by showing the image with his edit applied and then resets it back to the flat, unprocessed state. This is good teaching discipline and good workflow discipline. Seeing the before and after in sequence, rather than just the finished result, makes it immediately obvious what the edit is actually doing.
Get into this habit yourself. Reset to default, study what the camera gave you, and then build your edit with intention. Reactive editing, where you push sliders until it “looks good,” is how you end up with forest greens that all blend into one flat tone.
Step 4: Identify the Tonal Zones in Your Scene Before Touching Sliders
 caption: Flat RAW file displayed, unedited forest and waterfall scene
Before Patino moves a single slider, he identifies the distinct tonal zones in the image: the shadowed forest floor, the midtone greens of the ferns, the brighter cascading water, and whatever light is coming through the canopy. Tonal separation means keeping these zones readable as distinct, even after you boost overall contrast or shift colors.
caption: Flat RAW file displayed, unedited forest and waterfall scene
Before Patino moves a single slider, he identifies the distinct tonal zones in the image: the shadowed forest floor, the midtone greens of the ferns, the brighter cascading water, and whatever light is coming through the canopy. Tonal separation means keeping these zones readable as distinct, even after you boost overall contrast or shift colors.
In practice, this means looking at your histogram not as one blob but as a map. You want to see distinct peaks or at least identifiable regions for your shadows, midtones, and highlights. If they are all stacked together in a narrow band, your editing is going to be a fight against the file rather than a conversation with it.
Step 5: Use Local Adjustments to Separate Tones Regionally
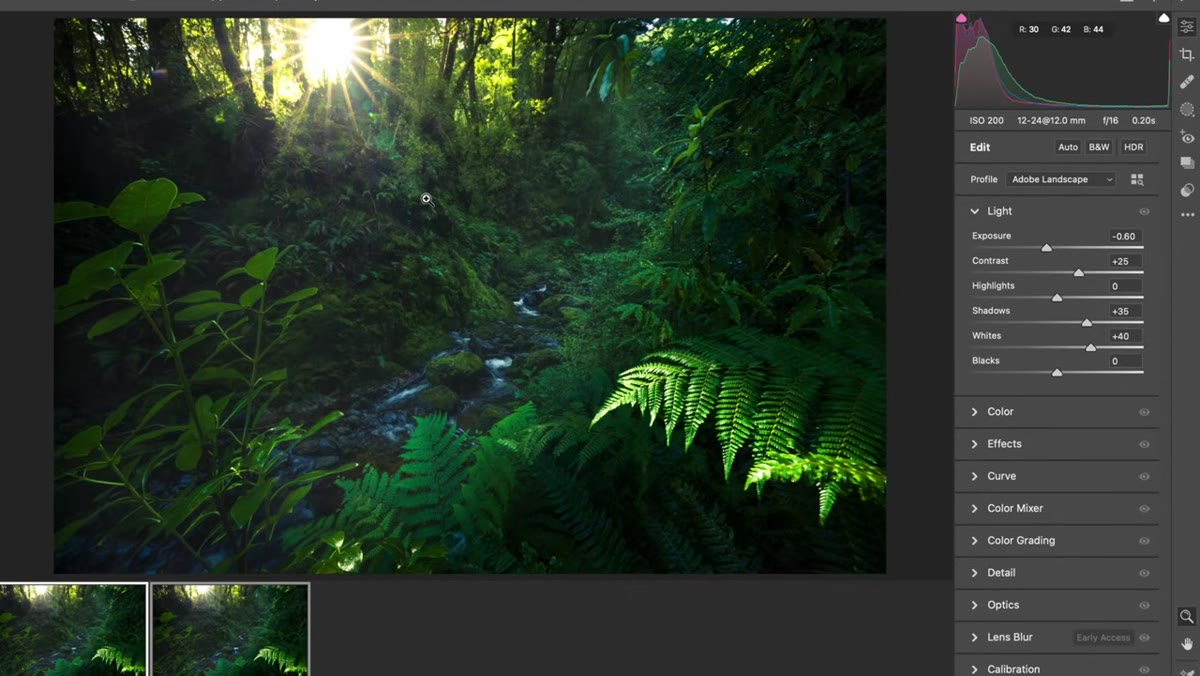 caption: Camera Raw adjustment panels visible with regional editing tools
The power of tonal separation editing in Camera Raw or Lightroom comes from regional control, not global sliders. Patino’s approach is to treat each tonal zone as its own problem. You might lift the shadows in the forest floor separately from the fern midtones, and handle the water highlights completely independently. Radial filters, gradient filters, and the masking tools in Camera Raw are your instruments here.
caption: Camera Raw adjustment panels visible with regional editing tools
The power of tonal separation editing in Camera Raw or Lightroom comes from regional control, not global sliders. Patino’s approach is to treat each tonal zone as its own problem. You might lift the shadows in the forest floor separately from the fern midtones, and handle the water highlights completely independently. Radial filters, gradient filters, and the masking tools in Camera Raw are your instruments here.
For Photoshop users, this translates directly into Curves adjustment layers with luminosity masks. If you are building actions for this kind of work, the most reusable ones target specific tonal ranges rather than applying a flat look across the whole image.
What I Would Add from the Commercial Side
Patino’s workflow is built for single hero images, which is exactly right for landscape work. On the commercial side, where I might be processing a series of location shots for an ad campaign, I take his tonal separation logic and bake it into a layered Photoshop template. Shadow, midtone, and highlight adjustments each live on their own layer group. When the art director asks me to push the mood warmer in the shadows only, I am not starting over. I am turning a dial.
The other thing I would flag: focus stacking in forest scenes is underused. Patino mentions it as a possibility and he is right to consider it. When you are close to foreground foliage with a wide lens, two or three frames blended in Photoshop’s auto-align and auto-blend workflow will give you edge sharpness that single-frame shooting cannot match, and it makes the tonal separation work you do in Camera Raw pay off more visibly.
The single most important takeaway from this tutorial is that tonal separation is a pre-editing decision as much as an editing one. Patino is thinking about which zones need to read as distinct while he is standing in the ferns, not just when he opens Camera Raw. That upstream thinking is what makes the downstream editing coherent rather than corrective.
Watch the full tutorial on YouTube to see Patino’s complete before-and-after and the specific Camera Raw moves he uses to pull this scene together.
Comments (5)
Printing this out and pinning it next to my monitor. That good.
The before and after really sells it. Incredible difference.
Never thought of approaching it this way. Really creative.
I've watched a dozen tutorials on this and yours is the clearest by far.
This is fantastic. I've been recommending this approach to my readers too.
Leave a Comment