
There is a specific kind of dread that hits when you get back from a shoot with 800 raw files, a client deadline in two days, and a folder structure that looks like a crime scene. I spent the first few years of my career editing that way, and it cost me hours I’ll never get back. The photographers who scale their work, whether they’re shooting for ad agencies or editorial clients, are not necessarily faster at editing. They’re faster because they’ve built a system that removes every decision that doesn’t need to be made in the moment.
Watch the full tutorial on YouTube
In this Mango Street tutorial, Rachel and Daniel walk through their complete post-production workflow from memory card to finished export. What I appreciate about their approach is that they’re upfront: this is their system, not the system. But the logic behind it is sound enough that I’d recommend it to anyone who’s still winging their file management. Let me break it down step by step with some additional context from my own experience running post-production for commercial clients.
Step 1: Get Your Files Off the Card and Onto a Fast Drive
 External SSD connected, raw files being transferred from memory card
Skip the internal drive for raw photo storage. Mango Street shoots to external solid-state drives, and this is the right call for any serious volume of work. SSDs give you the read/write speed that keeps Lightroom from turning into a slideshow, and keeping your raw files external means your system drive stays lean. Label your shoot folder using a date-first format: year, then month, then day, then shoot name. That format (something like 2024.03.15_ClientName) sorts chronologically without any extra effort, which matters when you’re hunting for a folder six months later.
External SSD connected, raw files being transferred from memory card
Skip the internal drive for raw photo storage. Mango Street shoots to external solid-state drives, and this is the right call for any serious volume of work. SSDs give you the read/write speed that keeps Lightroom from turning into a slideshow, and keeping your raw files external means your system drive stays lean. Label your shoot folder using a date-first format: year, then month, then day, then shoot name. That format (something like 2024.03.15_ClientName) sorts chronologically without any extra effort, which matters when you’re hunting for a folder six months later.
Step 2: Build a Logical Folder Structure Before You Import Anything
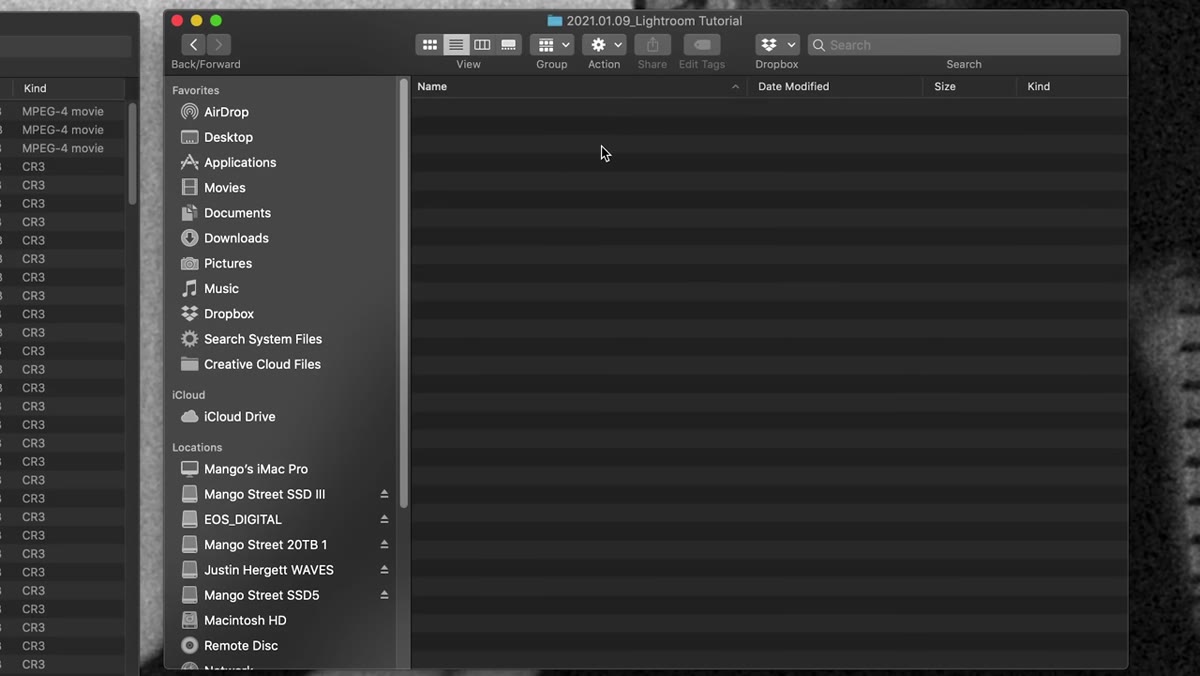 Folder structure created inside shoot folder showing Raw, Selects, Catalog, and Exports subfolders
Inside your main shoot folder, create four subfolders before a single file moves: one for raw photos, one for selects, one for the Lightroom catalog, and one for exports. This takes about 45 seconds and it eliminates a dozen small decisions later. The discipline here is not importing directly from your card into Lightroom. That shortcut collapses the structure you need. Copy first, organize second, import third. Every time I’ve watched a photographer skip this step, they’ve paid for it when a card got reformatted before a backup was confirmed.
Folder structure created inside shoot folder showing Raw, Selects, Catalog, and Exports subfolders
Inside your main shoot folder, create four subfolders before a single file moves: one for raw photos, one for selects, one for the Lightroom catalog, and one for exports. This takes about 45 seconds and it eliminates a dozen small decisions later. The discipline here is not importing directly from your card into Lightroom. That shortcut collapses the structure you need. Copy first, organize second, import third. Every time I’ve watched a photographer skip this step, they’ve paid for it when a card got reformatted before a backup was confirmed.
Step 3: Create a Separate Lightroom Catalog for Each Shoot
 New Lightroom catalog being created and saved to the Catalog subfolder
This is where Mango Street’s workflow diverges from what most tutorials recommend, and I think they’re right to do it. A single master Lightroom catalog sounds tidy until you’ve got 40,000 images in it and the software starts stuttering on a routine develop adjustment. Creating a per-shoot catalog keeps things fast, and it contains the blast radius if a catalog file ever gets corrupted. Lose a catalog, lose the edits for one shoot, not your entire year. Save the catalog file directly into the catalog subfolder you already created so everything for that shoot lives in one parent folder. Backing up is then a single folder copy.
New Lightroom catalog being created and saved to the Catalog subfolder
This is where Mango Street’s workflow diverges from what most tutorials recommend, and I think they’re right to do it. A single master Lightroom catalog sounds tidy until you’ve got 40,000 images in it and the software starts stuttering on a routine develop adjustment. Creating a per-shoot catalog keeps things fast, and it contains the blast radius if a catalog file ever gets corrupted. Lose a catalog, lose the edits for one shoot, not your entire year. Save the catalog file directly into the catalog subfolder you already created so everything for that shoot lives in one parent folder. Backing up is then a single folder copy.
Step 4: Cull Outside of Lightroom Using a Dedicated App
 Third-party culling application open with photos displayed in rapid review mode
Lightroom was not built for fast culling. Mango Street uses a dedicated culling application to sort selects before anything touches Lightroom, and this is one of the highest-leverage changes any photographer can make to their workflow. The speed difference is significant, especially on larger shoots. The goal at this stage is simple: go through every raw file and flag the ones worth editing. You’re not color grading, you’re not zooming in to check every eyelash. You’re making a binary keep/reject decision on each frame as fast as possible. Once that’s done, move only the flagged selects into your selects subfolder.
Third-party culling application open with photos displayed in rapid review mode
Lightroom was not built for fast culling. Mango Street uses a dedicated culling application to sort selects before anything touches Lightroom, and this is one of the highest-leverage changes any photographer can make to their workflow. The speed difference is significant, especially on larger shoots. The goal at this stage is simple: go through every raw file and flag the ones worth editing. You’re not color grading, you’re not zooming in to check every eyelash. You’re making a binary keep/reject decision on each frame as fast as possible. Once that’s done, move only the flagged selects into your selects subfolder.
Step 5: Import Selects Into Lightroom With the Right Preview Setting
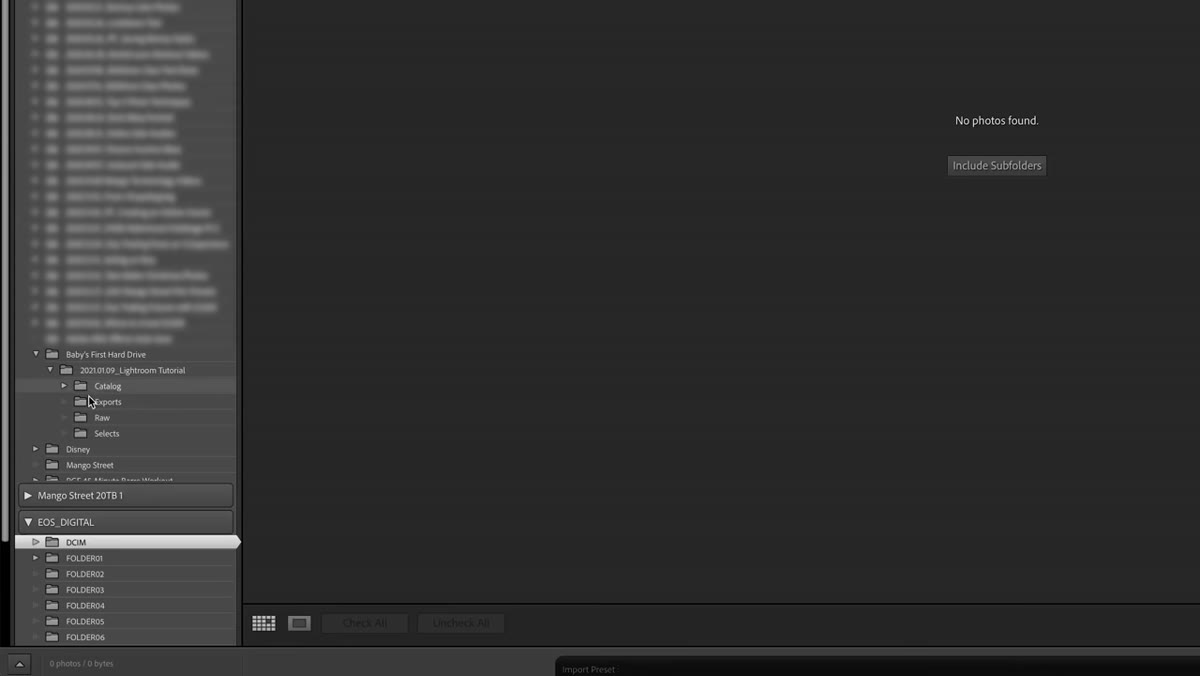 Lightroom import dialog open with preview options visible in the top right panel
With your selects folder ready, open Lightroom, create a new catalog saved to your catalog subfolder, and import. The preview setting you choose at import has real downstream consequences. Building one-to-one previews at import takes longer upfront, but it means every photo renders instantly at full resolution when you’re editing, no loading delay. If you’re under a deadline, drop it to Minimal or Embedded and accept that you’ll occasionally wait for a preview to build during the edit session. For most of my commercial work, I build one-to-one overnight and edit in the morning. The time cost is zero because it’s running while I sleep.
Lightroom import dialog open with preview options visible in the top right panel
With your selects folder ready, open Lightroom, create a new catalog saved to your catalog subfolder, and import. The preview setting you choose at import has real downstream consequences. Building one-to-one previews at import takes longer upfront, but it means every photo renders instantly at full resolution when you’re editing, no loading delay. If you’re under a deadline, drop it to Minimal or Embedded and accept that you’ll occasionally wait for a preview to build during the edit session. For most of my commercial work, I build one-to-one overnight and edit in the morning. The time cost is zero because it’s running while I sleep.
Step 6: Use Collections to Organize Complex Shoots Before Editing
 Lightroom Library module with metadata filter open, sorting images by camera model
If your shoot has distinct sections, such as studio versus location, or images from two different camera bodies, set up collections before you start developing. In the Library module, open the metadata filter, sort by camera, select those images, and drop them into a named collection. This gives you a clean working set when you’re in Develop mode rather than scrolling through a mixed grid trying to remember which frames belong to which setup. Mango Street admits they don’t use collections constantly, but for anything with moving parts, the five minutes it takes to sort is paid back immediately.
Lightroom Library module with metadata filter open, sorting images by camera model
If your shoot has distinct sections, such as studio versus location, or images from two different camera bodies, set up collections before you start developing. In the Library module, open the metadata filter, sort by camera, select those images, and drop them into a named collection. This gives you a clean working set when you’re in Develop mode rather than scrolling through a mixed grid trying to remember which frames belong to which setup. Mango Street admits they don’t use collections constantly, but for anything with moving parts, the five minutes it takes to sort is paid back immediately.
Step 7: Apply a Base Preset to Anchor Your Edit
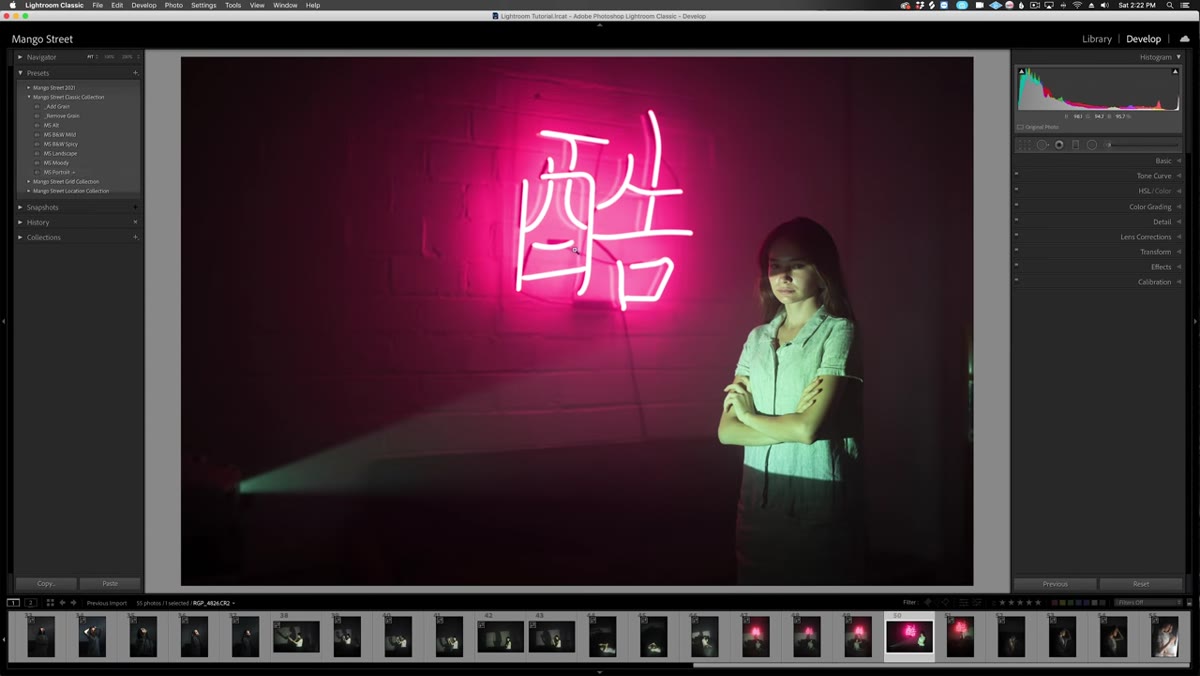 Develop module open with preset applied across multiple selected images
Once you’re in the Develop module, apply a base preset to all your selects at once. Mango Street applies their own portrait preset across the full import as a starting point. The purpose of this step is not to finish the edit, it’s to establish a consistent baseline tone so that you’re making small adjustments per image rather than building every photo from zero. If you work with presets regularly, you already know this. If you don’t, this is the single change that most dramatically compresses editing time on any shoot with consistent lighting.
Develop module open with preset applied across multiple selected images
Once you’re in the Develop module, apply a base preset to all your selects at once. Mango Street applies their own portrait preset across the full import as a starting point. The purpose of this step is not to finish the edit, it’s to establish a consistent baseline tone so that you’re making small adjustments per image rather than building every photo from zero. If you work with presets regularly, you already know this. If you don’t, this is the single change that most dramatically compresses editing time on any shoot with consistent lighting.
One Thing I’d Add: Automate the Folder Creation
I’ve been building folder structures by hand for years before I finally wrote a simple Photoshop action, and later a basic script, to generate my shoot folder template in one click. Mango Street’s four-folder structure is simple enough to replicate as a saved folder template you just duplicate and rename. On Windows you can do this with a batch file. On Mac, a folder action or shell script handles it in seconds. If you’re processing multiple shoots per week, removing even that 45-second manual setup compounds into real time savings over a year. My spreadsheet on this kind of thing is embarrassingly detailed, but the numbers don’t lie.
The single most important idea in this workflow is the separation of culling from editing. Most photographers conflate the two and pay for it with bloated Lightroom catalogs and slow sessions that kill creative momentum. Get your files organized before they touch Lightroom, cull fast in a purpose-built tool, and let the catalog do what it’s actually good at.
Watch the full tutorial on YouTube to see the full walkthrough including how Mango Street handles the actual develop adjustments and their export settings.
Comments (2)
My workflow just got 10x faster. Not even kidding.
Love this. I referenced a similar technique in one of my recent posts. Always good to see other perspectives.
Leave a Comment