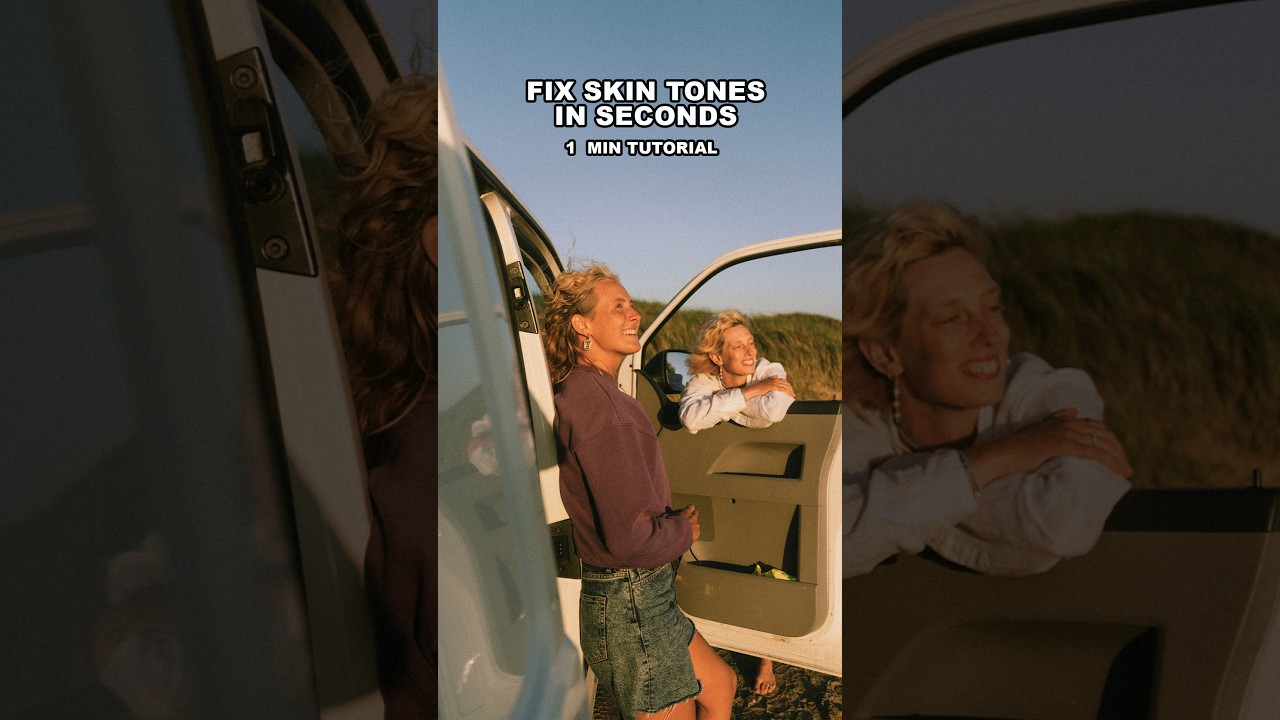
Skin tone correction has always been one of those tasks that eats time proportional to how much you second-guess yourself. You adjust, you compare, you nudge the hue slider, you compare again. If your monitor is slightly warm, or if you’re editing under the fluorescent lights in your office at 2pm versus your dim desk lamp at night, your reference point shifts. I have spent an embarrassing number of hours on corrections that should have taken five minutes, simply because I was trusting my eyes over measurable data.
That’s what makes Camera Raw’s new Vectorscope feature genuinely useful, not just a novelty. It gives you an objective, visual target for skin tone correction that doesn’t care what your monitor profile looks like or what the ambient light in your room is doing. In this Aaron Nace (PHLEARN) tutorial, the technique gets demonstrated in about 60 seconds, but there’s enough depth here that it’s worth slowing down and walking through each piece carefully. Watch the full tutorial on YouTube if you want to see it in motion before following the steps below.
The thing that stopped me from dismissing this as a gimmick is the underlying science. Every human skin tone, across every complexion on earth, falls along the same angular line on a vectorscope. That’s not a Photoshop convention. That’s colorimetry. Once you understand that, the tool stops feeling like a magic trick and starts feeling like a ruler.
Step 1: Enable the Vectorscope in Camera Raw
 Camera Raw histogram panel with right-click menu open
Open your image in Camera Raw (or as a Smart Object, which I’d recommend so you can revisit the adjustment non-destructively). Find the histogram panel in the upper right corner of the Camera Raw interface, right-click on it, and select “Show Vectorscope” from the context menu. The histogram will be replaced by a circular color scope. From there, look for the skin tone indicator toggle and switch it on. This adds a diagonal reference line across the scope that represents where accurate skin tones should land.
Camera Raw histogram panel with right-click menu open
Open your image in Camera Raw (or as a Smart Object, which I’d recommend so you can revisit the adjustment non-destructively). Find the histogram panel in the upper right corner of the Camera Raw interface, right-click on it, and select “Show Vectorscope” from the context menu. The histogram will be replaced by a circular color scope. From there, look for the skin tone indicator toggle and switch it on. This adds a diagonal reference line across the scope that represents where accurate skin tones should land.
Step 2: Understand What the Vectorscope Is Telling You
 Vectorscope with skin tone indicator line visible
Before you touch any sliders, take a moment to read the display. The angle of a color plot on the vectorscope represents hue. The distance from the center represents saturation. The skin tone indicator line cuts across the scope at a specific angle, and any skin tone from the palest complexion to the deepest will sit somewhere along that line - closer to the center for less saturated tones, further out for more saturated ones. What you’re correcting for is angle only. You’re not trying to drag every skin pixel to the same point on the line, just to the correct angle. Saturation is a separate creative and technical decision.
Vectorscope with skin tone indicator line visible
Before you touch any sliders, take a moment to read the display. The angle of a color plot on the vectorscope represents hue. The distance from the center represents saturation. The skin tone indicator line cuts across the scope at a specific angle, and any skin tone from the palest complexion to the deepest will sit somewhere along that line - closer to the center for less saturated tones, further out for more saturated ones. What you’re correcting for is angle only. You’re not trying to drag every skin pixel to the same point on the line, just to the correct angle. Saturation is a separate creative and technical decision.
Step 3: Apply a Mask to Isolate the Skin
 Masking panel open in Camera Raw with AI People Mask option visible
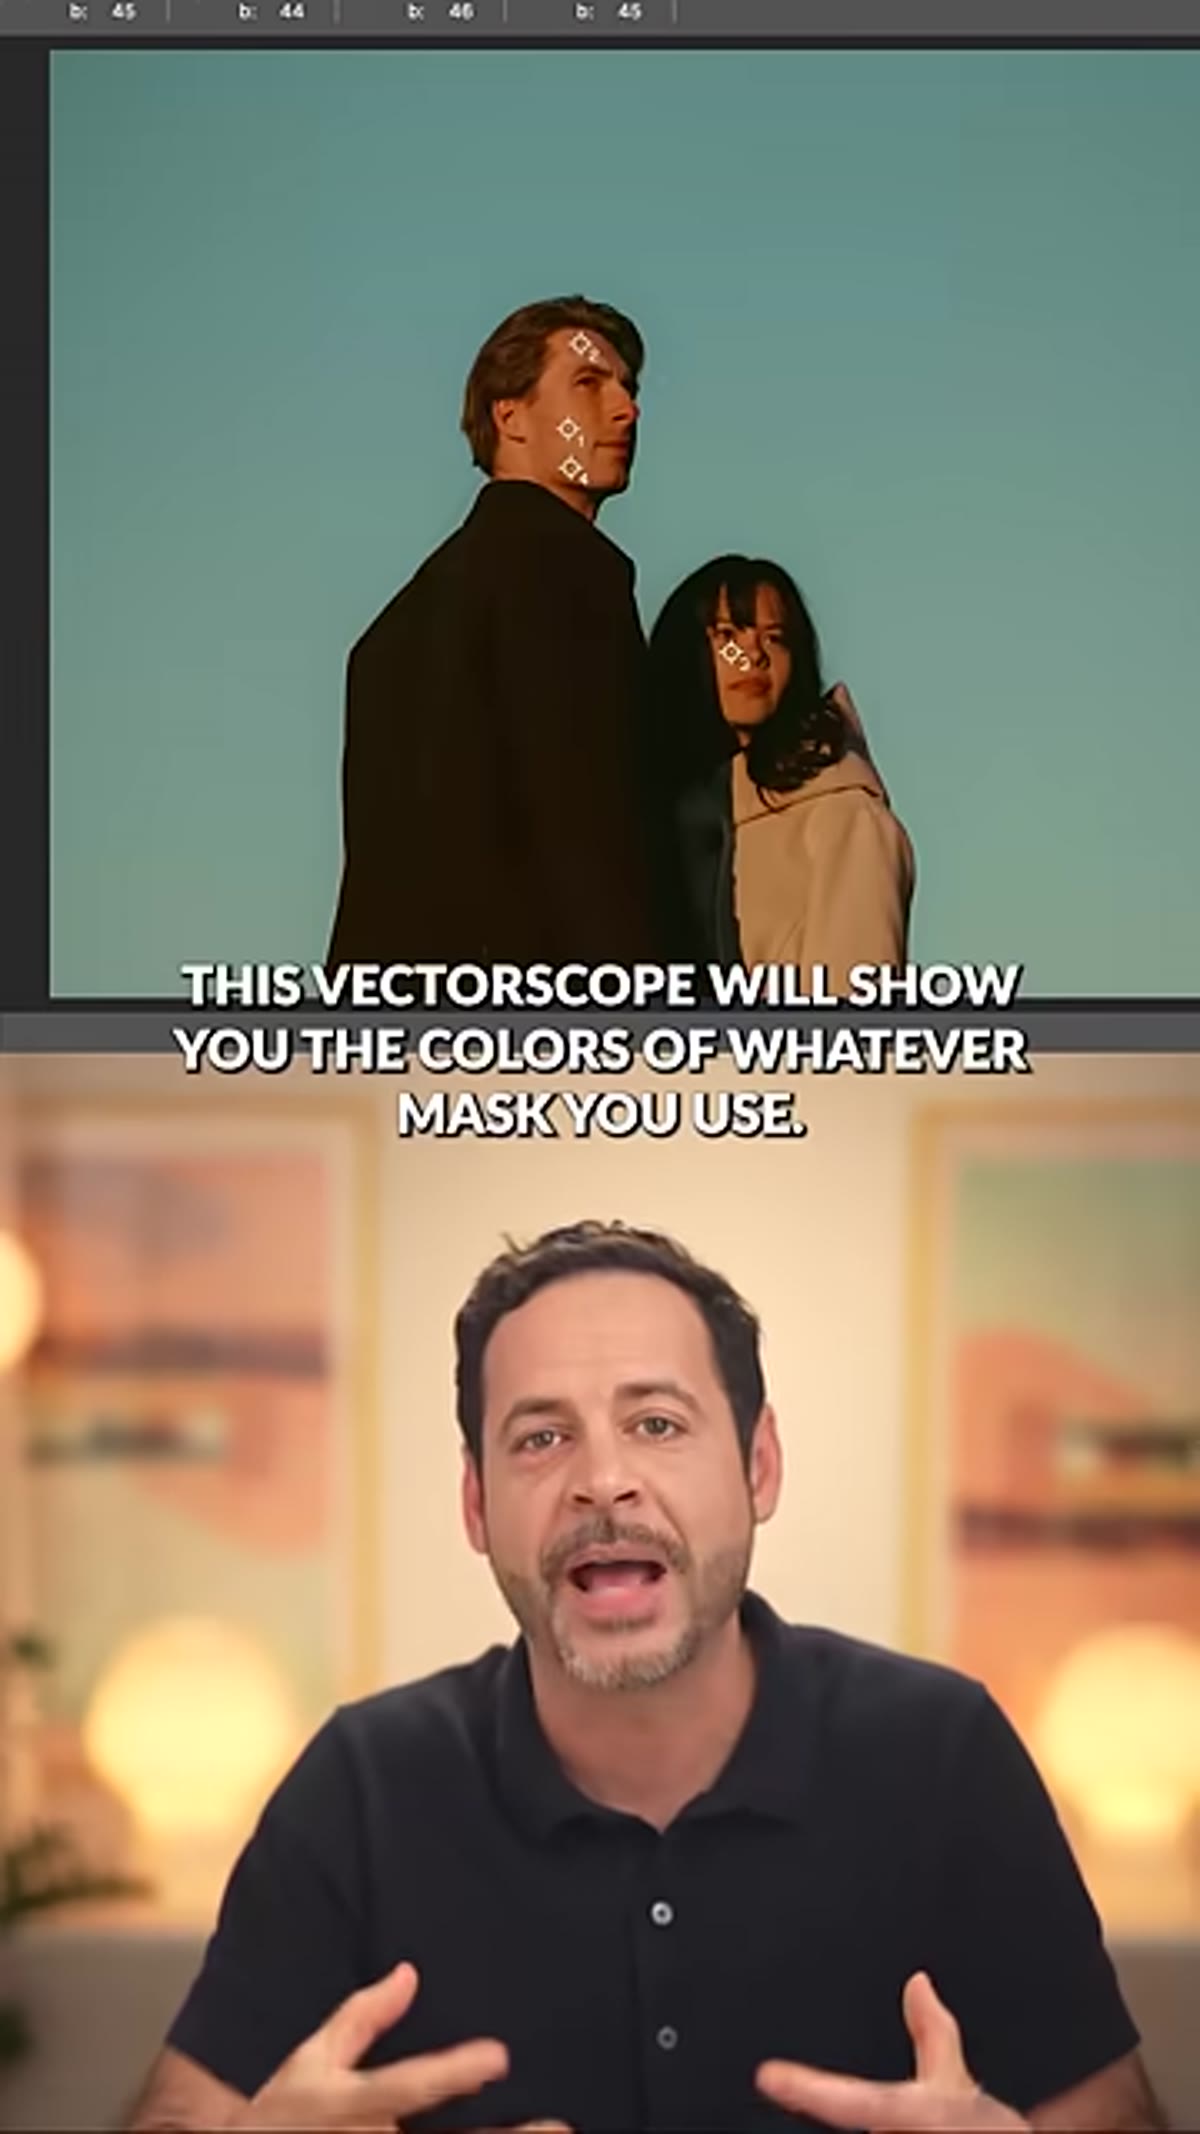
This is where the workflow gets interesting. The Vectorscope doesn’t just show you the colors of the entire image. It shows you the colors of whatever mask is currently active. So if you add a mask and select a person, the scope updates to reflect only the tones inside that selection. In Camera Raw, open the Masking panel and try the AI “People” mask first. If the AI detects a face, you can select just the skin from the dropdown and the scope will immediately reflect those tones.
Masking panel open in Camera Raw with AI People Mask option visible
This is where the workflow gets interesting. The Vectorscope doesn’t just show you the colors of the entire image. It shows you the colors of whatever mask is currently active. So if you add a mask and select a person, the scope updates to reflect only the tones inside that selection. In Camera Raw, open the Masking panel and try the AI “People” mask first. If the AI detects a face, you can select just the skin from the dropdown and the scope will immediately reflect those tones.
Step 4: Paint a Manual Mask When AI Detection Fails
 Brush tool being used to manually paint over a face in Camera Raw
Here’s the part of the tutorial that made me actually stop and rewind. If Camera Raw’s AI can’t find a face in the photo - which can happen with unusual angles, partial profiles, or heavily stylized images - most walkthroughs on this technique just stop there. Nace doesn’t. The solution is to create a new mask and use the Brush tool to manually paint over the skin area. It doesn’t need to be surgical-level precise at this stage. Cover the general skin regions on the face and any exposed skin you want to target.
Brush tool being used to manually paint over a face in Camera Raw
Here’s the part of the tutorial that made me actually stop and rewind. If Camera Raw’s AI can’t find a face in the photo - which can happen with unusual angles, partial profiles, or heavily stylized images - most walkthroughs on this technique just stop there. Nace doesn’t. The solution is to create a new mask and use the Brush tool to manually paint over the skin area. It doesn’t need to be surgical-level precise at this stage. Cover the general skin regions on the face and any exposed skin you want to target.
Step 5: Refine with Color Range
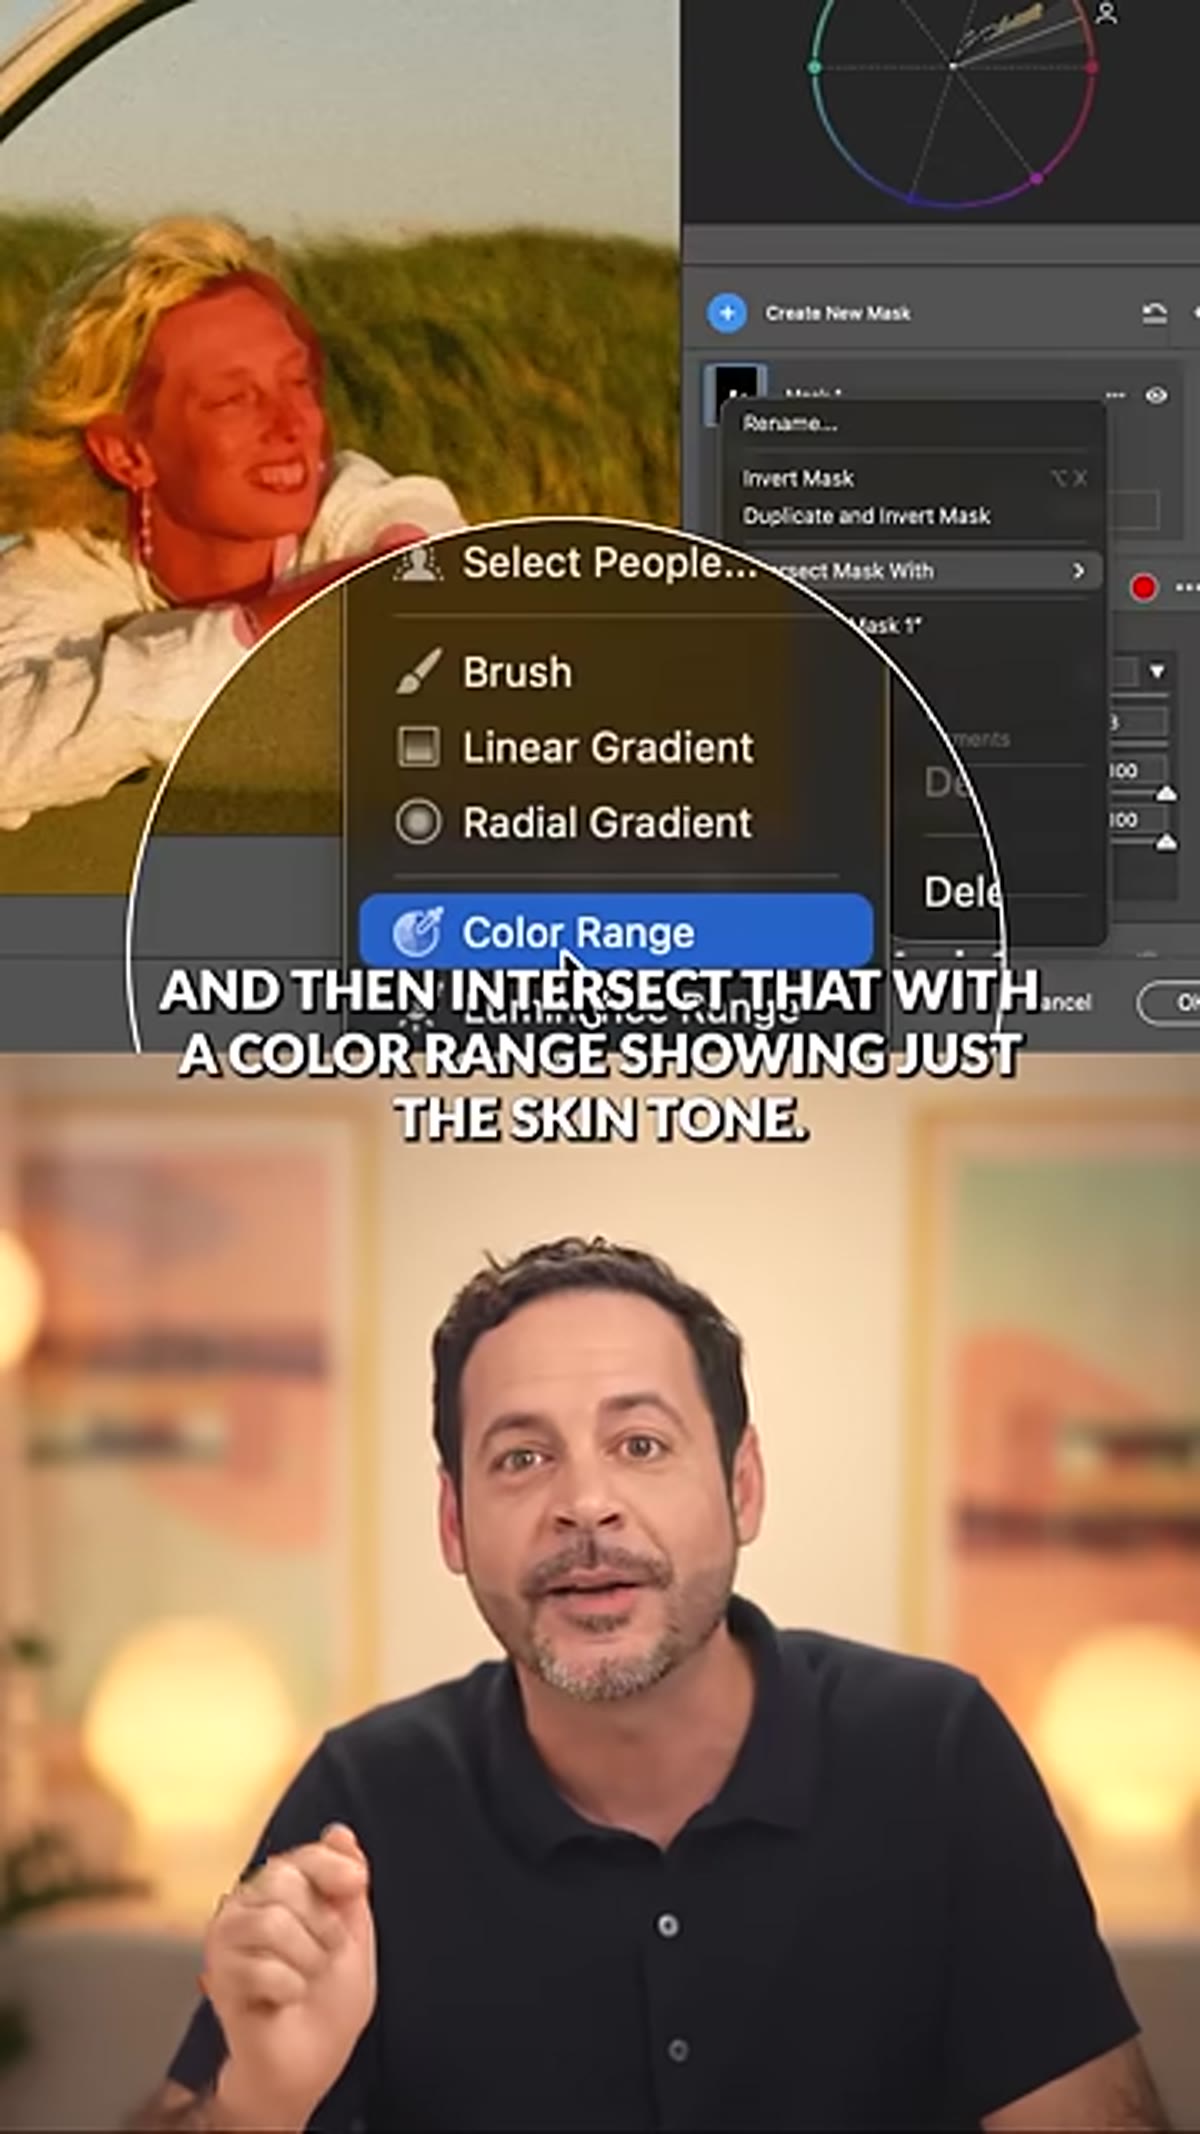 Color Range option being combined with brush mask in Camera Raw
Once the rough brush mask exists, add a Color Range condition to it. This lets Camera Raw sample the skin tones within your painted area and tighten the selection to pixels that actually match those hues. The result is a mask that covers real skin and excludes background bleed, hair, and other elements your brush may have caught. When this refined mask is active, the Vectorscope now shows you a much cleaner read of where your subject’s skin tones actually sit relative to the reference line.
Color Range option being combined with brush mask in Camera Raw
Once the rough brush mask exists, add a Color Range condition to it. This lets Camera Raw sample the skin tones within your painted area and tighten the selection to pixels that actually match those hues. The result is a mask that covers real skin and excludes background bleed, hair, and other elements your brush may have caught. When this refined mask is active, the Vectorscope now shows you a much cleaner read of where your subject’s skin tones actually sit relative to the reference line.
Step 6: Adjust Temperature, Hue, and Saturation - In That Order
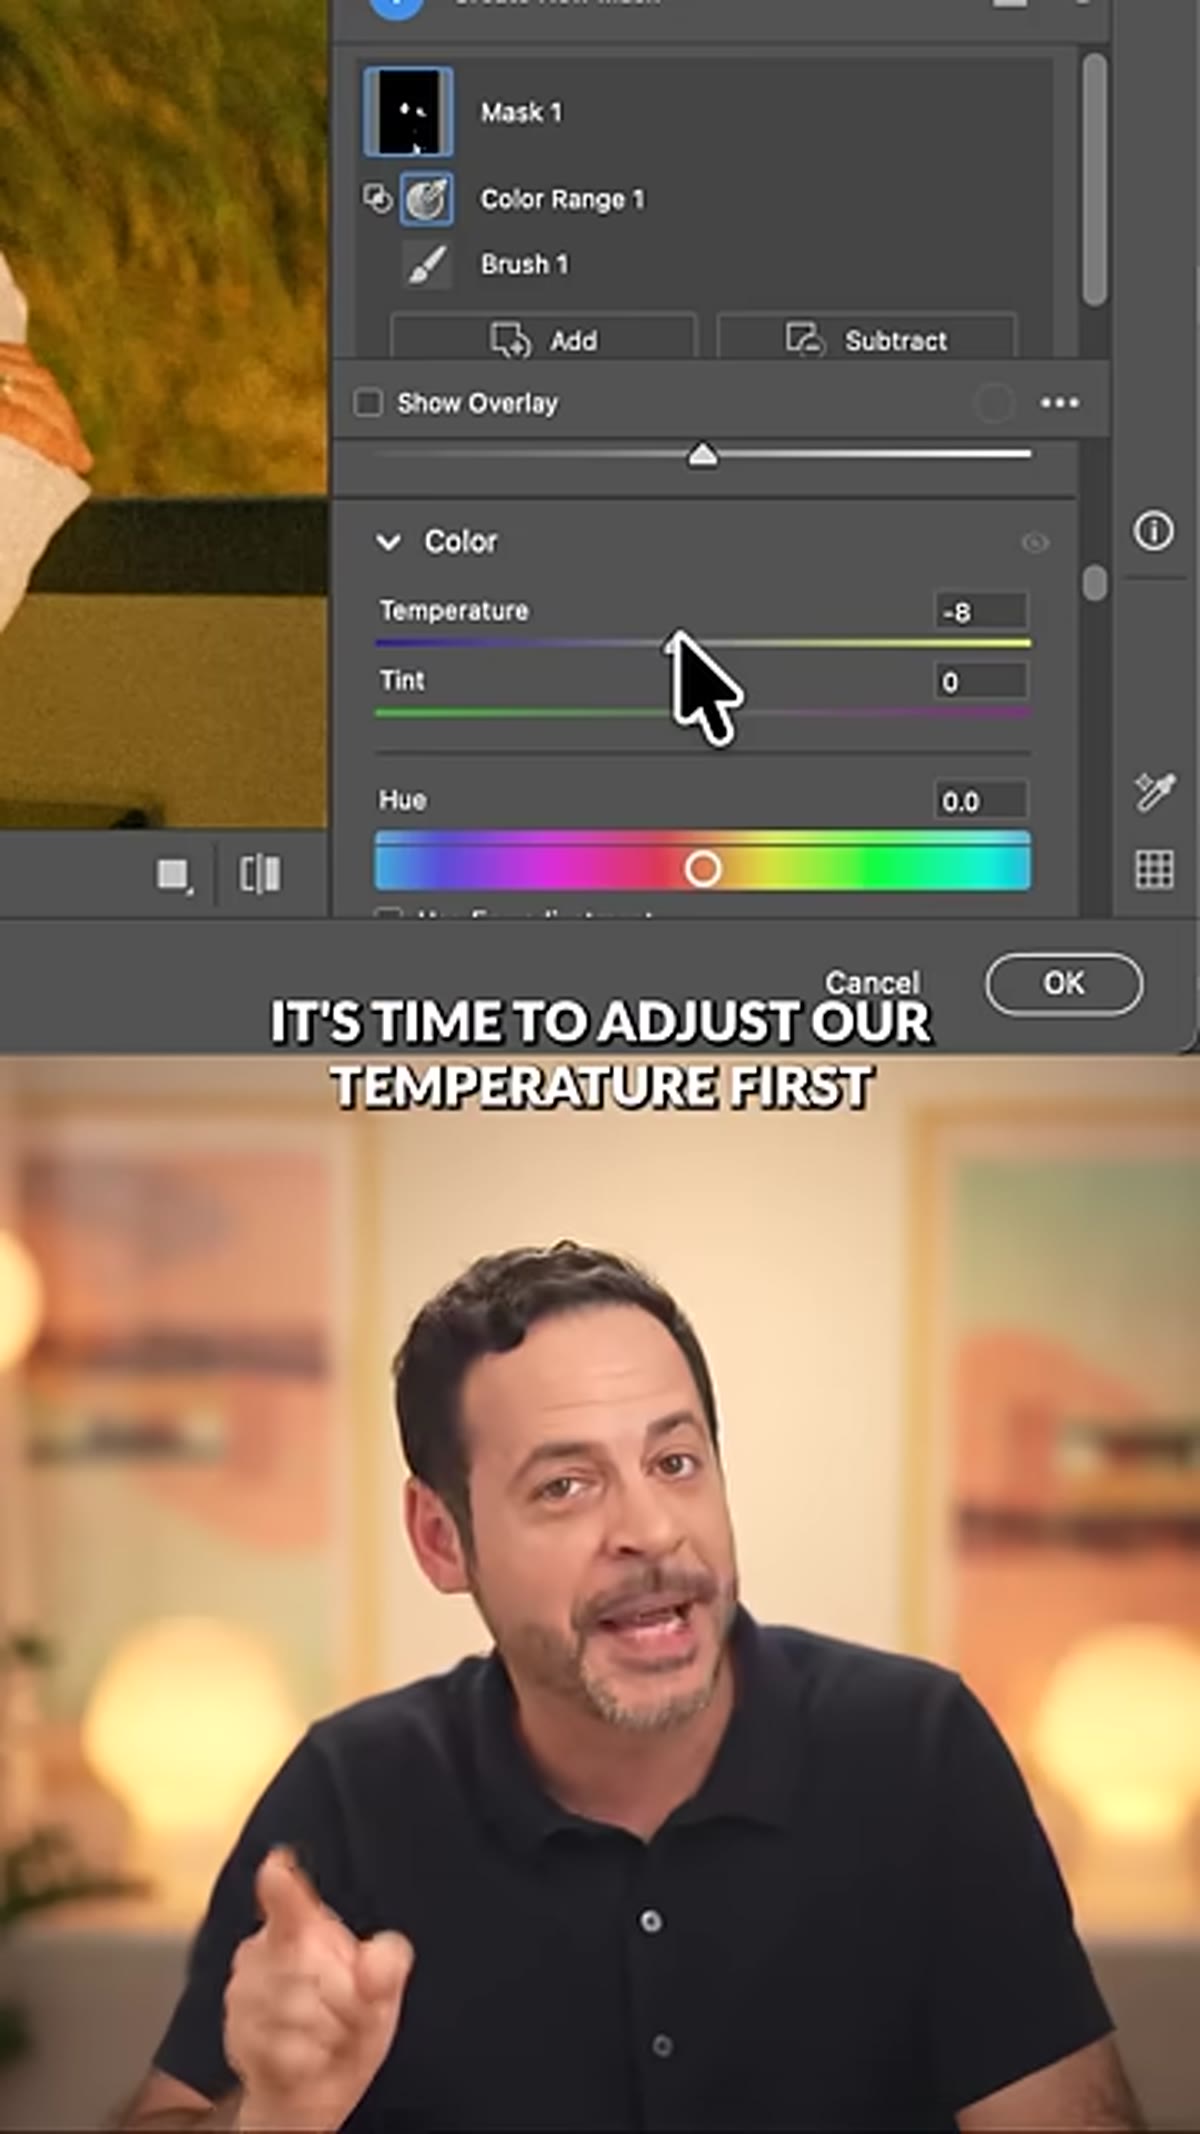 Camera Raw sliders being adjusted with vectorscope updating in real time
With the mask active, start your corrections with Temperature. This moves the skin plot along the warm-cool axis and usually handles the bulk of the angular misalignment on the vectorscope. Then use Hue to fine-tune the angle and get the plot sitting squarely on the indicator line. Saturation comes last. Don’t over-saturate trying to get the dots to move further from center - that’s not the goal. You want the angle correct, not maximum saturation.
Camera Raw sliders being adjusted with vectorscope updating in real time
With the mask active, start your corrections with Temperature. This moves the skin plot along the warm-cool axis and usually handles the bulk of the angular misalignment on the vectorscope. Then use Hue to fine-tune the angle and get the plot sitting squarely on the indicator line. Saturation comes last. Don’t over-saturate trying to get the dots to move further from center - that’s not the goal. You want the angle correct, not maximum saturation.
Step 7: Pull Back the Effect with the Amount Slider
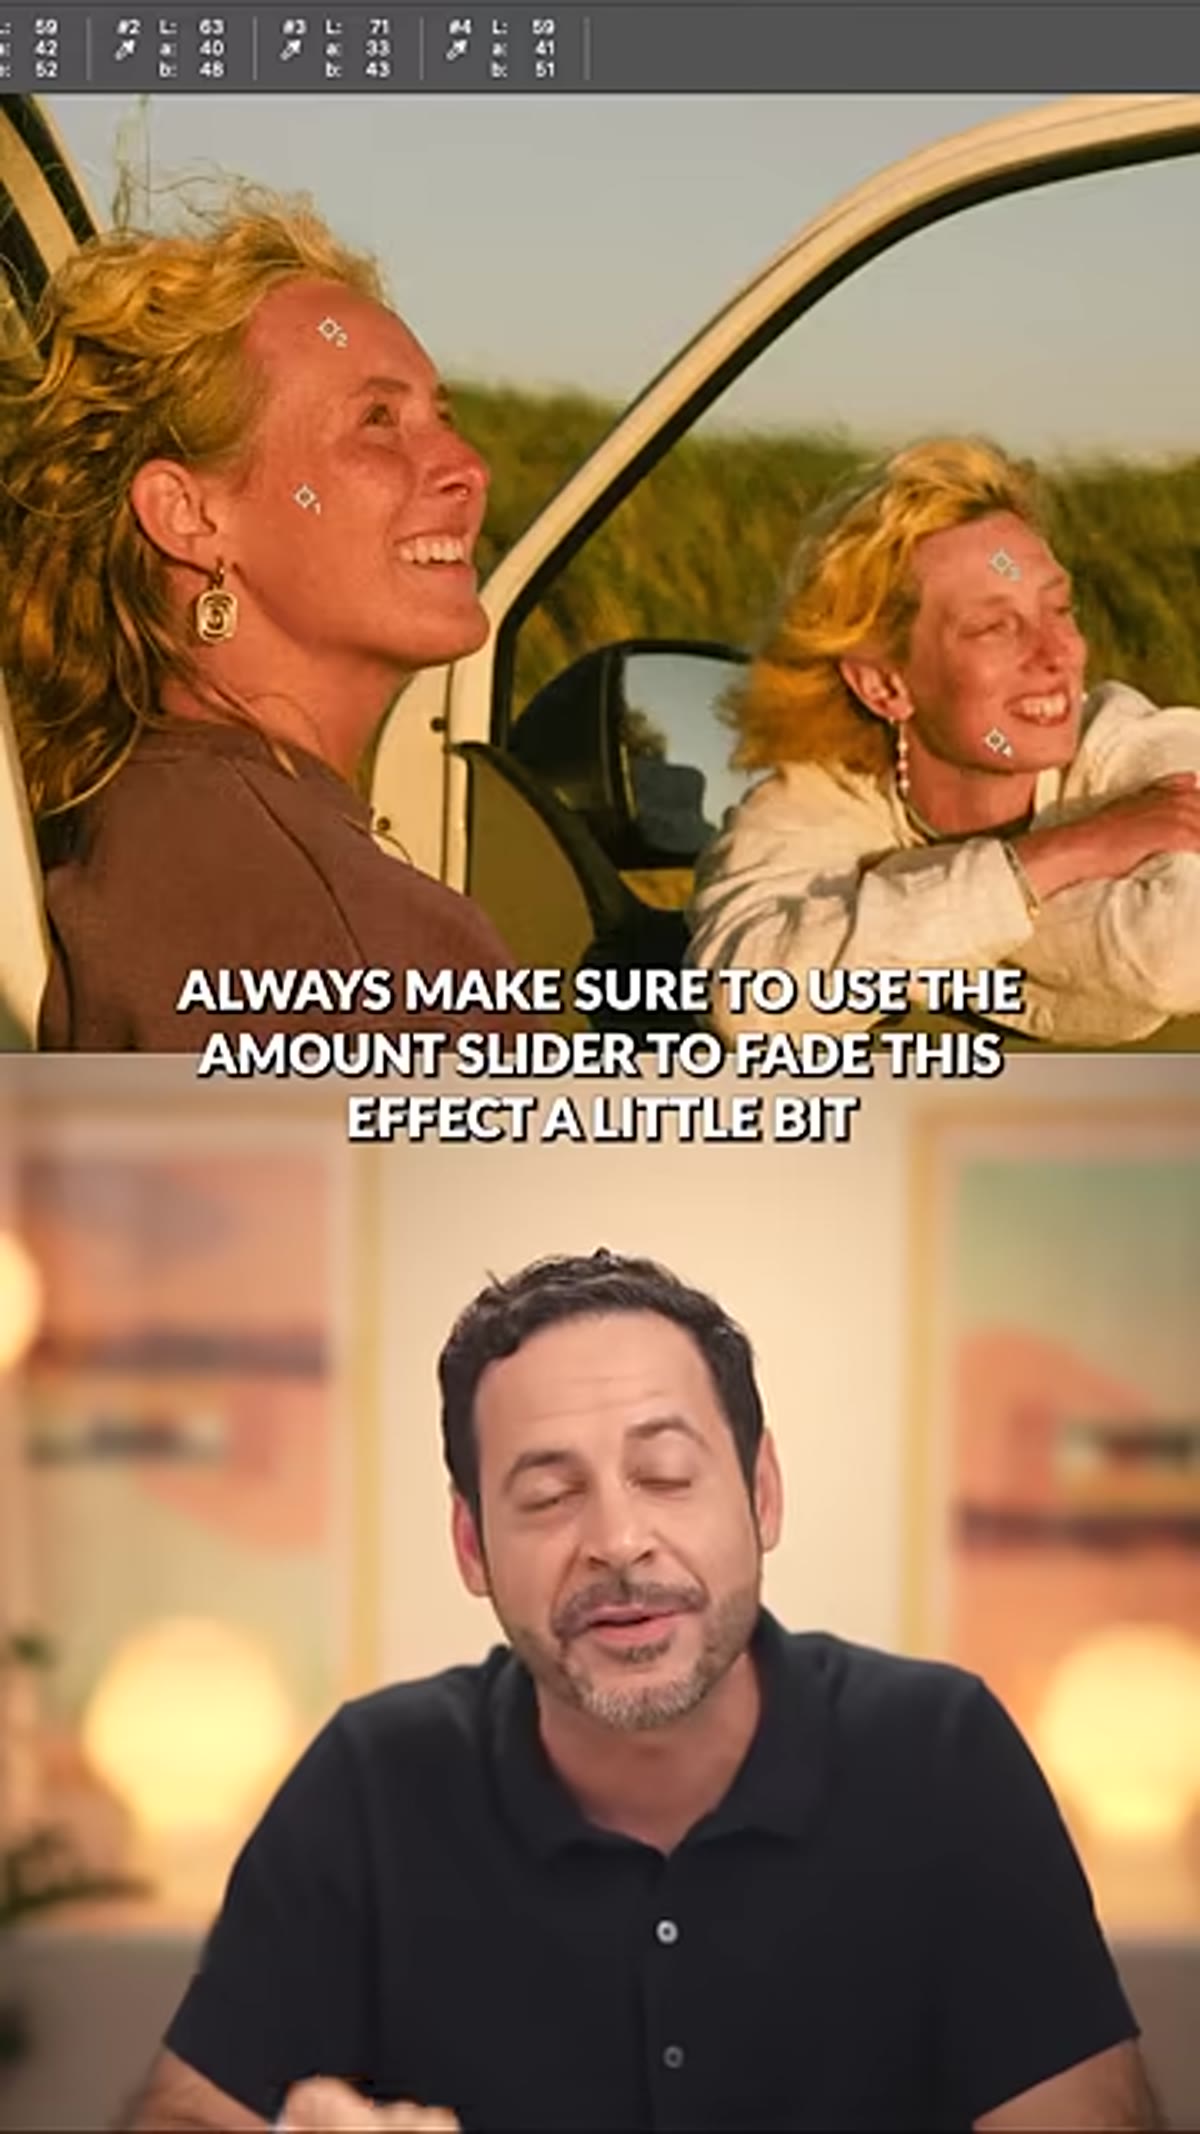 Amount slider being reduced to soften the mask adjustment
After dialing in the correction, reduce the mask’s Amount slider. This scales back the full intensity of the adjustment and produces a result that looks corrected without looking processed. Nace recommends pulling it back slightly rather than running at 100%, and I’d agree. Full-strength local corrections on skin often look flat or over-cooked. A little restraint here is what separates a technically correct image from one that still reads as natural.
Amount slider being reduced to soften the mask adjustment
After dialing in the correction, reduce the mask’s Amount slider. This scales back the full intensity of the adjustment and produces a result that looks corrected without looking processed. Nace recommends pulling it back slightly rather than running at 100%, and I’d agree. Full-strength local corrections on skin often look flat or over-cooked. A little restraint here is what separates a technically correct image from one that still reads as natural.
A Note on Where This Fits Into a Larger Workflow
I work across a lot of e-commerce and ad retouching, and the consistency problem that this tool addresses is real. When you’re processing the same model across a campaign that was shot over three days, in two different locations, with slightly different white balance in each set, getting skin to feel consistent has historically meant a lot of manual eyeballing. What I’d add to Nace’s breakdown is that this technique pairs well with actions-based workflows. You can record the mask creation and the adjustment layer setup as a starting-point action, then let the Vectorscope guide the manual fine-tuning per image. You still need human judgment at the end, but you’re starting from a repeatable foundation rather than from scratch every time.
The core takeaway is this: skin tone correction doesn’t have to be a matter of taste and monitor trust. The Vectorscope gives you a measurable target, and the skin tone indicator line tells you exactly where that target is. When the AI falls short, the brush-plus-color-range mask method closes the gap without sacrificing accuracy.
Watch the full tutorial on YouTube - and if you want the full-length version with downloadable practice files and a PDF guide, Aaron Nace has that available at PHLEARN as well.
Comments (10)
This is going in my reference folder. Incredibly useful.
This is going in my reference folder. Incredibly useful.
Great article! I actually covered something related on my site — the retouching angle is really complementary to this.
This is the kind of content that keeps me coming back.
Been doing this wrong for years apparently. Thanks for the wake-up call.
Been doing this wrong for years apparently. Thanks for the wake-up call.
The tip about how to use photoshops vectorsc was the missing piece for me. Thank you.
This should be required reading for anyone starting out.
Solid advice. Especially the part about taking your time with it.
Been doing this wrong for years apparently. Thanks for the wake-up call.
Leave a Comment