There’s a specific kind of dread that hits when you open a folder called “Photos - Misc 2022” and realize you have no idea what’s in it. I’ve been organizing digital assets professionally for fifteen years, and I still see photographers - talented ones - lose hours every month just hunting for files. The capture is the fun part. What happens after you get home determines whether that work ever sees the light of day in a coherent, repeatable way.
Watch the full tutorial on YouTube
In this First Man Photography tutorial, photographer and vlogger Ross (First Man Photography) walks through his complete landscape editing workflow from card to finished image. He’s shooting dramatic highland landscapes, processing in Lightroom, and the video is less about dramatic retouching tricks and more about the scaffolding underneath - how you move images from camera to hard drive to a system that actually holds up over time. That’s the part most tutorials skip. It’s also the part that, if you get wrong, costs you the most hours in the long run. I’ve tracked the time my own systems have saved me obsessively (spreadsheet, updated quarterly), and the biggest gains have never come from faster editing. They’ve come from never searching for a file twice.
Step 1: Treat Post-Processing as a Deliberate Three-Stage Process
 Three-step workflow overview: capture, post-process, print
Before touching Lightroom, Ross frames the entire workflow as three distinct stages: capture in the field, post-processing at the computer, and final output (in his case, print). This framing matters more than it sounds. When you mentally collapse all three into one blob called “editing,” you make sloppy decisions at each stage because you’re thinking about the wrong thing. Keep them separate. When you’re shooting, you’re shooting. When you’re culling, you’re culling. When you’re retouching, you’re retouching. Mixing those modes is where sessions fall apart.
Three-step workflow overview: capture, post-process, print
Before touching Lightroom, Ross frames the entire workflow as three distinct stages: capture in the field, post-processing at the computer, and final output (in his case, print). This framing matters more than it sounds. When you mentally collapse all three into one blob called “editing,” you make sloppy decisions at each stage because you’re thinking about the wrong thing. Keep them separate. When you’re shooting, you’re shooting. When you’re culling, you’re culling. When you’re retouching, you’re retouching. Mixing those modes is where sessions fall apart.
Step 2: Copy to Hard Drive Before You Import Anything
 Lightroom library module with folder panel visible
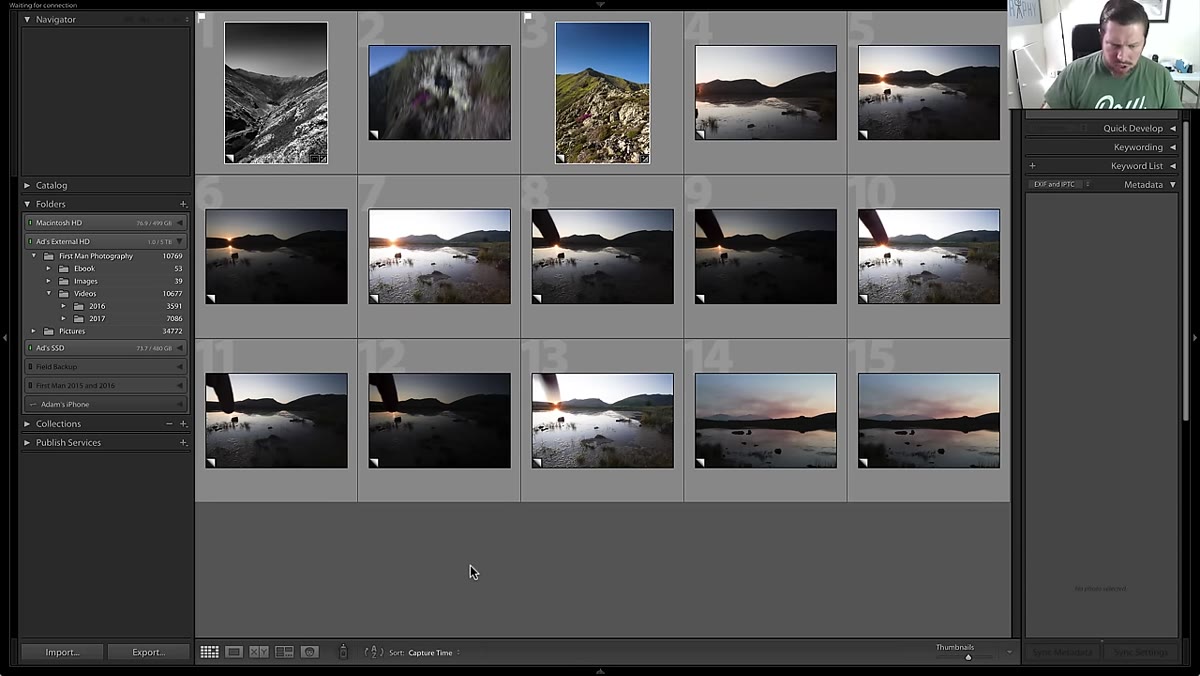
Ross is clear on this and it’s the right call: copy your images to your local hard drive first, then import them into Lightroom by adding the folder. Do not import directly from an SD card. Cards fail, get pulled accidentally, and are not a storage medium. Your import should always be pointing at a folder that already lives on a drive you control. In Lightroom’s Library module, you use the plus icon in the Folders panel to add that folder, and Lightroom reads it without duplicating the files. Nothing moves, nothing copies again - it just becomes visible inside your catalog.
Lightroom library module with folder panel visible
Ross is clear on this and it’s the right call: copy your images to your local hard drive first, then import them into Lightroom by adding the folder. Do not import directly from an SD card. Cards fail, get pulled accidentally, and are not a storage medium. Your import should always be pointing at a folder that already lives on a drive you control. In Lightroom’s Library module, you use the plus icon in the Folders panel to add that folder, and Lightroom reads it without duplicating the files. Nothing moves, nothing copies again - it just becomes visible inside your catalog.
Step 3: Set Up a Folder Hierarchy That Scales
 Folder structure showing top-level and date-based subfolders
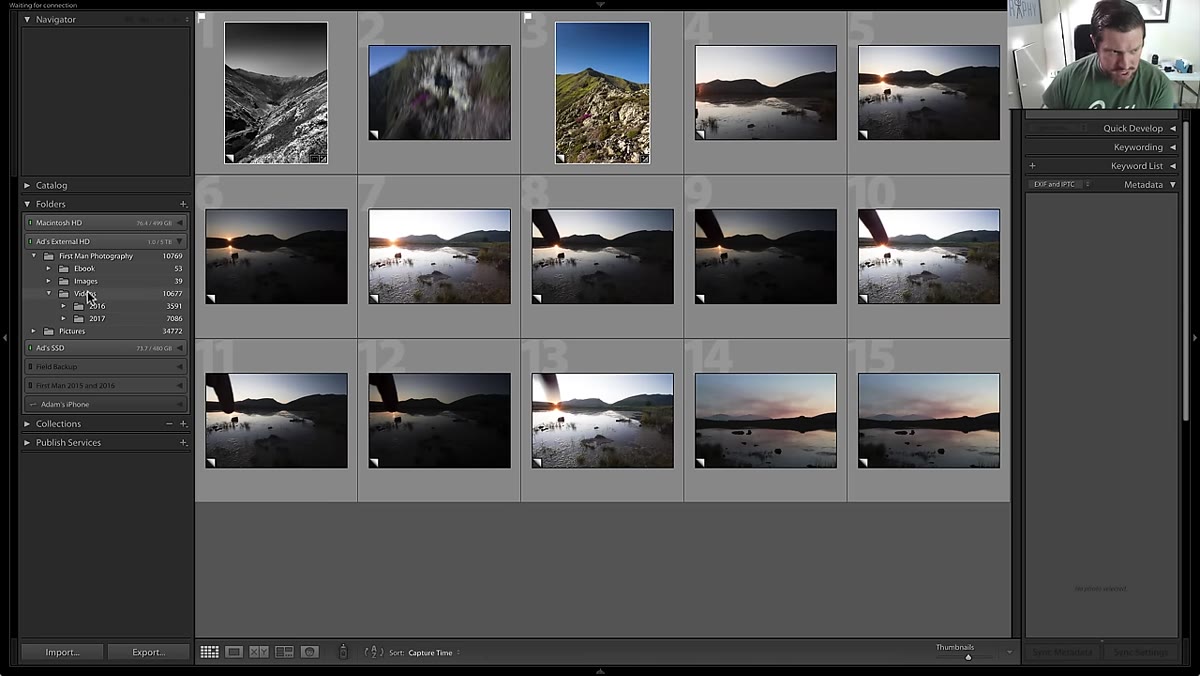
Ross describes a folder structure that starts with a broad category at the top level - something like “Landscape” or “Weddings” depending on your genre - and then breaks down by year, and optionally by month and date. The key insight here is that the structure should match how you actually search for images, not how you theoretically think you should organize them. If you never search by month, don’t create month folders. If you shoot a named location repeatedly, a location-based subfolder under the year makes more sense than a date. Build the hierarchy around retrieval, not filing.
Folder structure showing top-level and date-based subfolders
Ross describes a folder structure that starts with a broad category at the top level - something like “Landscape” or “Weddings” depending on your genre - and then breaks down by year, and optionally by month and date. The key insight here is that the structure should match how you actually search for images, not how you theoretically think you should organize them. If you never search by month, don’t create month folders. If you shoot a named location repeatedly, a location-based subfolder under the year makes more sense than a date. Build the hierarchy around retrieval, not filing.
Step 4: Maximize Your Workspace in the Library Module
 Lightroom library with top and bottom panels collapsed
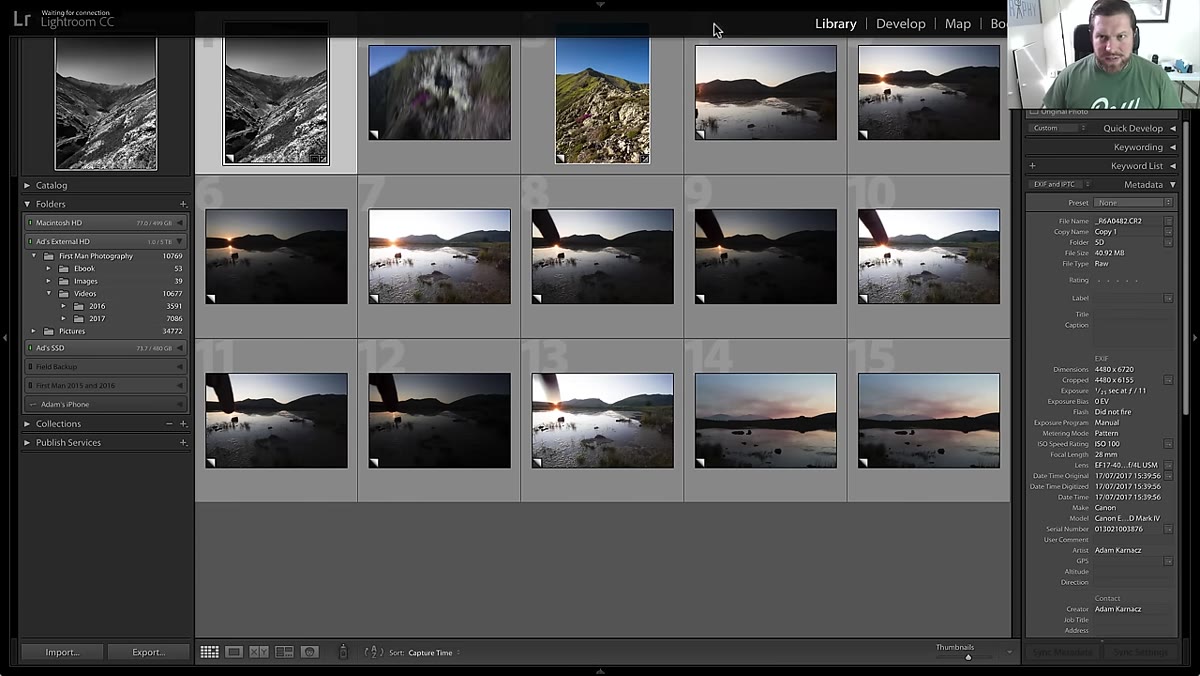
A small but genuinely useful habit: Ross collapses both the top and bottom panels in Lightroom’s Library module before he starts working. This gives your filmstrip and grid view more vertical room, which matters when you’re comparing 30 similar landscape shots trying to pick the three that hold up. In Lightroom, you toggle those panels with the small arrows at the screen edges, or use the F5 and F6 shortcuts. It takes two seconds and makes a real difference when you’re working on a laptop or a single monitor. I do this automatically now and barely notice it, but the first time I tried it in a tutorial years ago it felt like someone had cleaned my desk.
Lightroom library with top and bottom panels collapsed
A small but genuinely useful habit: Ross collapses both the top and bottom panels in Lightroom’s Library module before he starts working. This gives your filmstrip and grid view more vertical room, which matters when you’re comparing 30 similar landscape shots trying to pick the three that hold up. In Lightroom, you toggle those panels with the small arrows at the screen edges, or use the F5 and F6 shortcuts. It takes two seconds and makes a real difference when you’re working on a laptop or a single monitor. I do this automatically now and barely notice it, but the first time I tried it in a tutorial years ago it felt like someone had cleaned my desk.
Step 5: Use Flags to Cull Before You Touch a Single Slider
 Lightroom grid view with flagged images visible
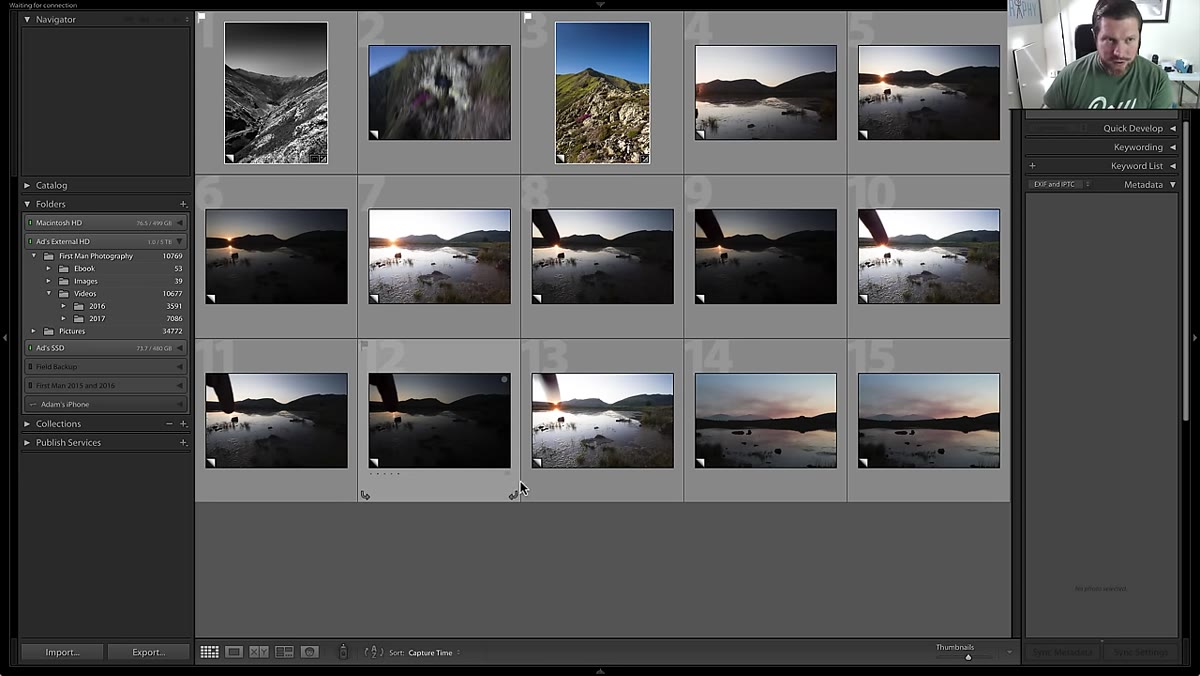
Ross’s first move after import is a culling pass using Lightroom’s flag system - not star ratings, not color labels, just a binary flagged or unflagged decision. This is exactly right and it’s the step most people skip because they want to start editing immediately. Resist that. Go through every frame and tap P to flag the ones worth keeping. Tap U to unflag if you change your mind. Don’t stop to adjust anything. The goal is to reduce 30 images to 10 before a single develop panel opens. Culling with fresh eyes, before you’re emotionally attached to your edits, gives you a cleaner, more honest selection.
Lightroom grid view with flagged images visible
Ross’s first move after import is a culling pass using Lightroom’s flag system - not star ratings, not color labels, just a binary flagged or unflagged decision. This is exactly right and it’s the step most people skip because they want to start editing immediately. Resist that. Go through every frame and tap P to flag the ones worth keeping. Tap U to unflag if you change your mind. Don’t stop to adjust anything. The goal is to reduce 30 images to 10 before a single develop panel opens. Culling with fresh eyes, before you’re emotionally attached to your edits, gives you a cleaner, more honest selection.
Step 6: Work from a Collection, Not Just a Folder
 Lightroom collections panel showing a named collection
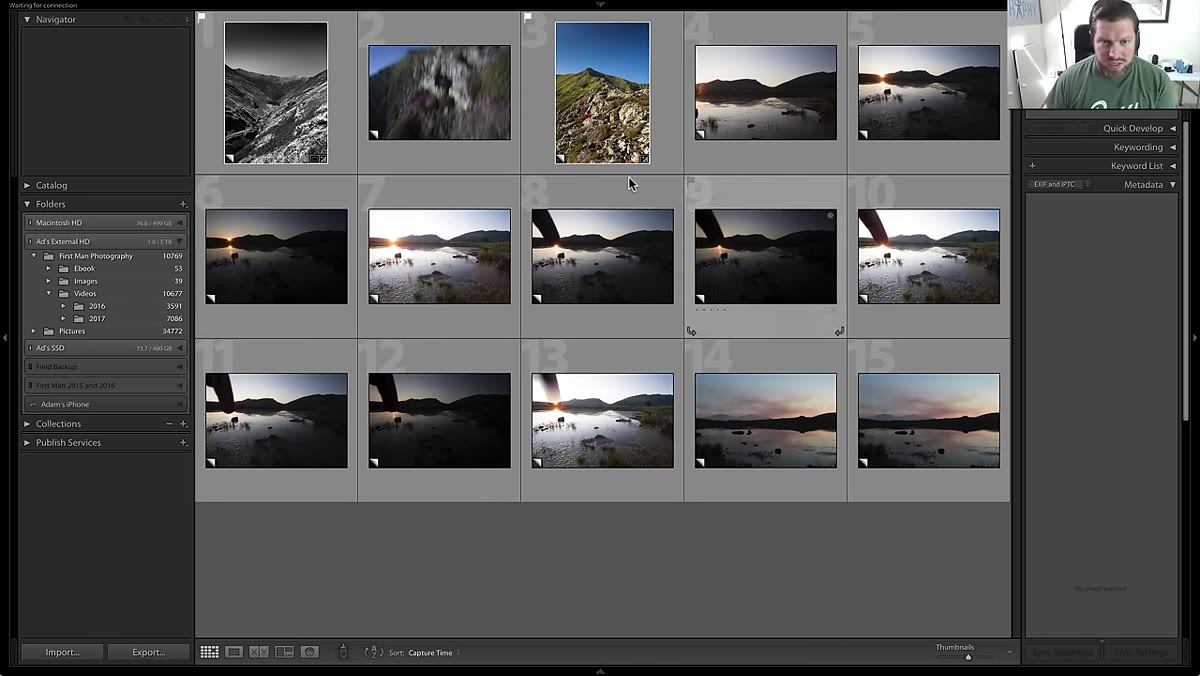
For the purposes of demonstrating the workflow, Ross works from a Lightroom Collection rather than a raw folder. Collections are virtual groupings - the files don’t move, but you can organize them any way you like independent of folder structure. If you’re shooting a series across multiple trips or locations, a collection lets you pull those images together without touching your folder hierarchy. Smart Collections, which auto-populate based on rules you define (flagged images from a certain date range, for example), are even more powerful. Once you start using collections seriously, you stop dreading the “where did I put that?” problem.
Lightroom collections panel showing a named collection
For the purposes of demonstrating the workflow, Ross works from a Lightroom Collection rather than a raw folder. Collections are virtual groupings - the files don’t move, but you can organize them any way you like independent of folder structure. If you’re shooting a series across multiple trips or locations, a collection lets you pull those images together without touching your folder hierarchy. Smart Collections, which auto-populate based on rules you define (flagged images from a certain date range, for example), are even more powerful. Once you start using collections seriously, you stop dreading the “where did I put that?” problem.
What I’d Add: Build Your Export Presets Before You Need Them
Ross’s tutorial focuses on the organizing and culling end of the workflow, which is exactly where most photographers are weakest. But once you’ve got a clean system feeding into Lightroom, the next place to reclaim time is on the output side. Before you export a single image, build named export presets for every destination you use regularly - web at 2000px on the long edge, print at full resolution, client delivery with a watermark, and so on. In Lightroom’s Export dialog, you set your parameters once, save them as a preset, and every future export is two clicks. I built my first set of export presets years ago and they’ve been quietly running in the background ever since. The cumulative time saved is embarrassing to calculate.
The bigger lesson from this tutorial is one that applies whether you’re shooting mountain landscapes or product catalogs: a workflow that works is one you’ll actually use. Ross’s system is not complicated. It’s a consistent folder structure, a clean import habit, a disciplined culling pass, and smart use of Lightroom’s organizational tools. None of it is glamorous. All of it compounds.
Watch the full tutorial on YouTube and pay particular attention to how Ross talks about folder naming - it’s a small decision that determines whether you’re frustrated in three years or not.
Comments
Leave a Comment