Portrait work has a specific problem that product photography mostly avoids: the subject and background often share tones, colors, and edges that make clean separation genuinely painful. I’ve spent embarrassing amounts of time pushing luminosity masks and refining hair edges on location portraits where the background foliage was nearly the same brightness as the subject’s jacket. If you’ve been doing this work for any length of time, you know that the “select subject” button is great until it isn’t, and “isn’t” happens constantly with real-world portraits shot in natural environments.
What caught my attention in this PHLEARN tutorial is that it sidesteps the whole color-and-contrast selection game entirely. Instead of asking Photoshop to figure out where the subject ends and the background begins based on pixels, AI depth masking asks a completely different question: how far away from the camera is each part of this image? That’s a spatial problem, and it turns out modern AI is quite good at it. Watch the full tutorial on YouTube
The workflow PHLEARN demonstrates is fast, the results are clean, and it slots directly into Camera Raw, which means you’re working non-destructively from the start. Here’s the full breakdown.
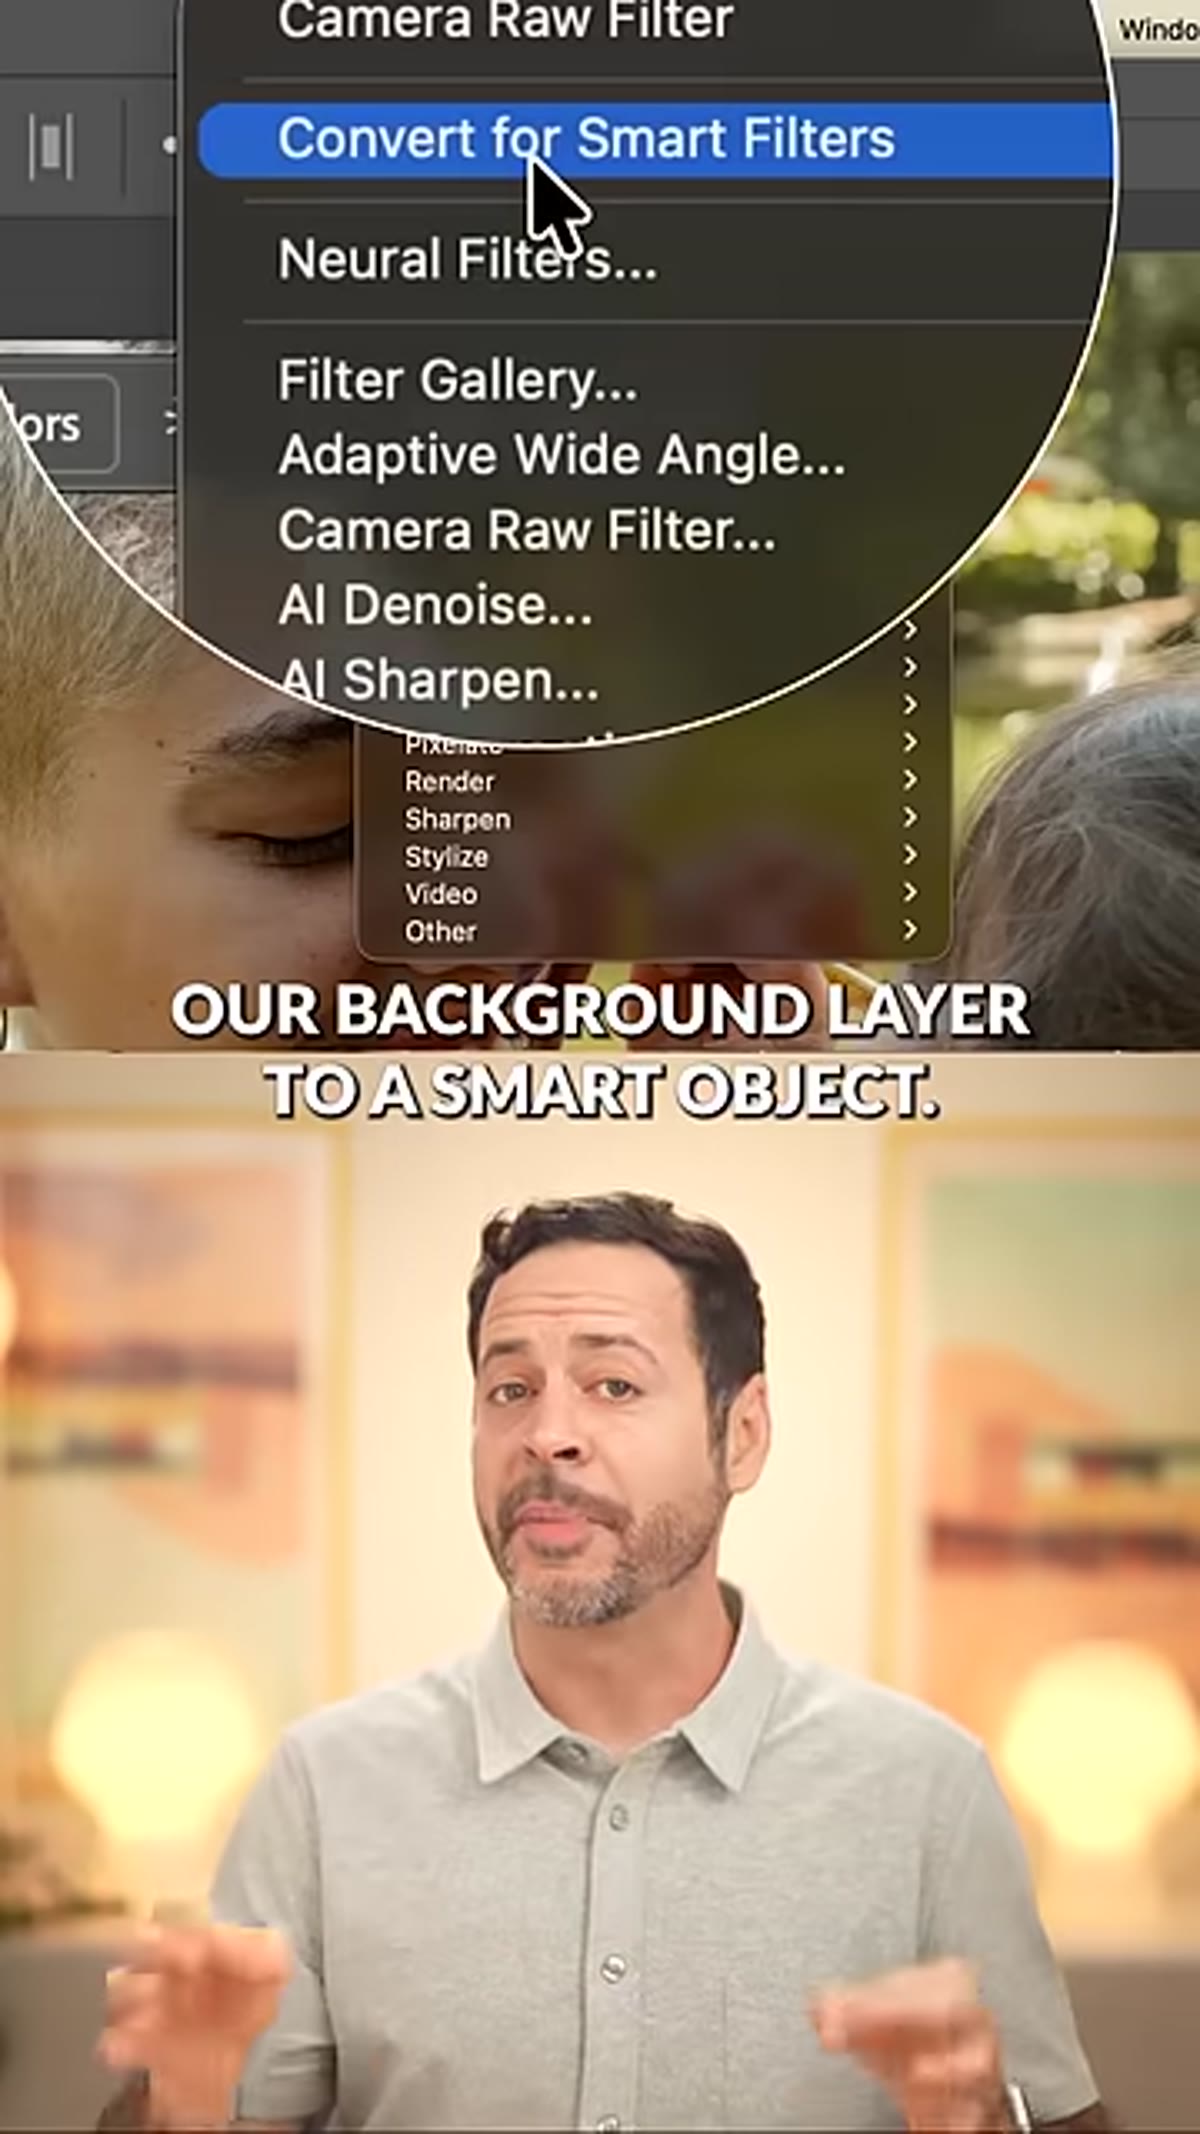
Step 1: Convert Your Background Layer to a Smart Object
 Converting background layer to smart object in Layers panel
Right-click your background layer in the Layers panel and choose “Convert to Smart Object.” This is non-negotiable if you care about being able to revisit your edits. Smart Objects let you double-click back into Camera Raw at any point without baking anything permanently into pixels. I make this the first step in almost every retouching workflow I run, and honestly, if you’re not doing this by default yet, it’s worth building into a startup action.
Converting background layer to smart object in Layers panel
Right-click your background layer in the Layers panel and choose “Convert to Smart Object.” This is non-negotiable if you care about being able to revisit your edits. Smart Objects let you double-click back into Camera Raw at any point without baking anything permanently into pixels. I make this the first step in almost every retouching workflow I run, and honestly, if you’re not doing this by default yet, it’s worth building into a startup action.
Step 2: Open the Camera Raw Filter
 Filter menu open showing Camera Raw Filter option
With your Smart Object layer selected, go to Filter and choose Camera Raw Filter. Think of this as a full Lightroom-grade editing environment living inside Photoshop. You get the tone curve, HSL sliders, color grading, lens corrections, and critically for this technique, the full masking suite. The fact that it applies as a Smart Filter means every adjustment you make here is editable and stackable.
Filter menu open showing Camera Raw Filter option
With your Smart Object layer selected, go to Filter and choose Camera Raw Filter. Think of this as a full Lightroom-grade editing environment living inside Photoshop. You get the tone curve, HSL sliders, color grading, lens corrections, and critically for this technique, the full masking suite. The fact that it applies as a Smart Filter means every adjustment you make here is editable and stackable.
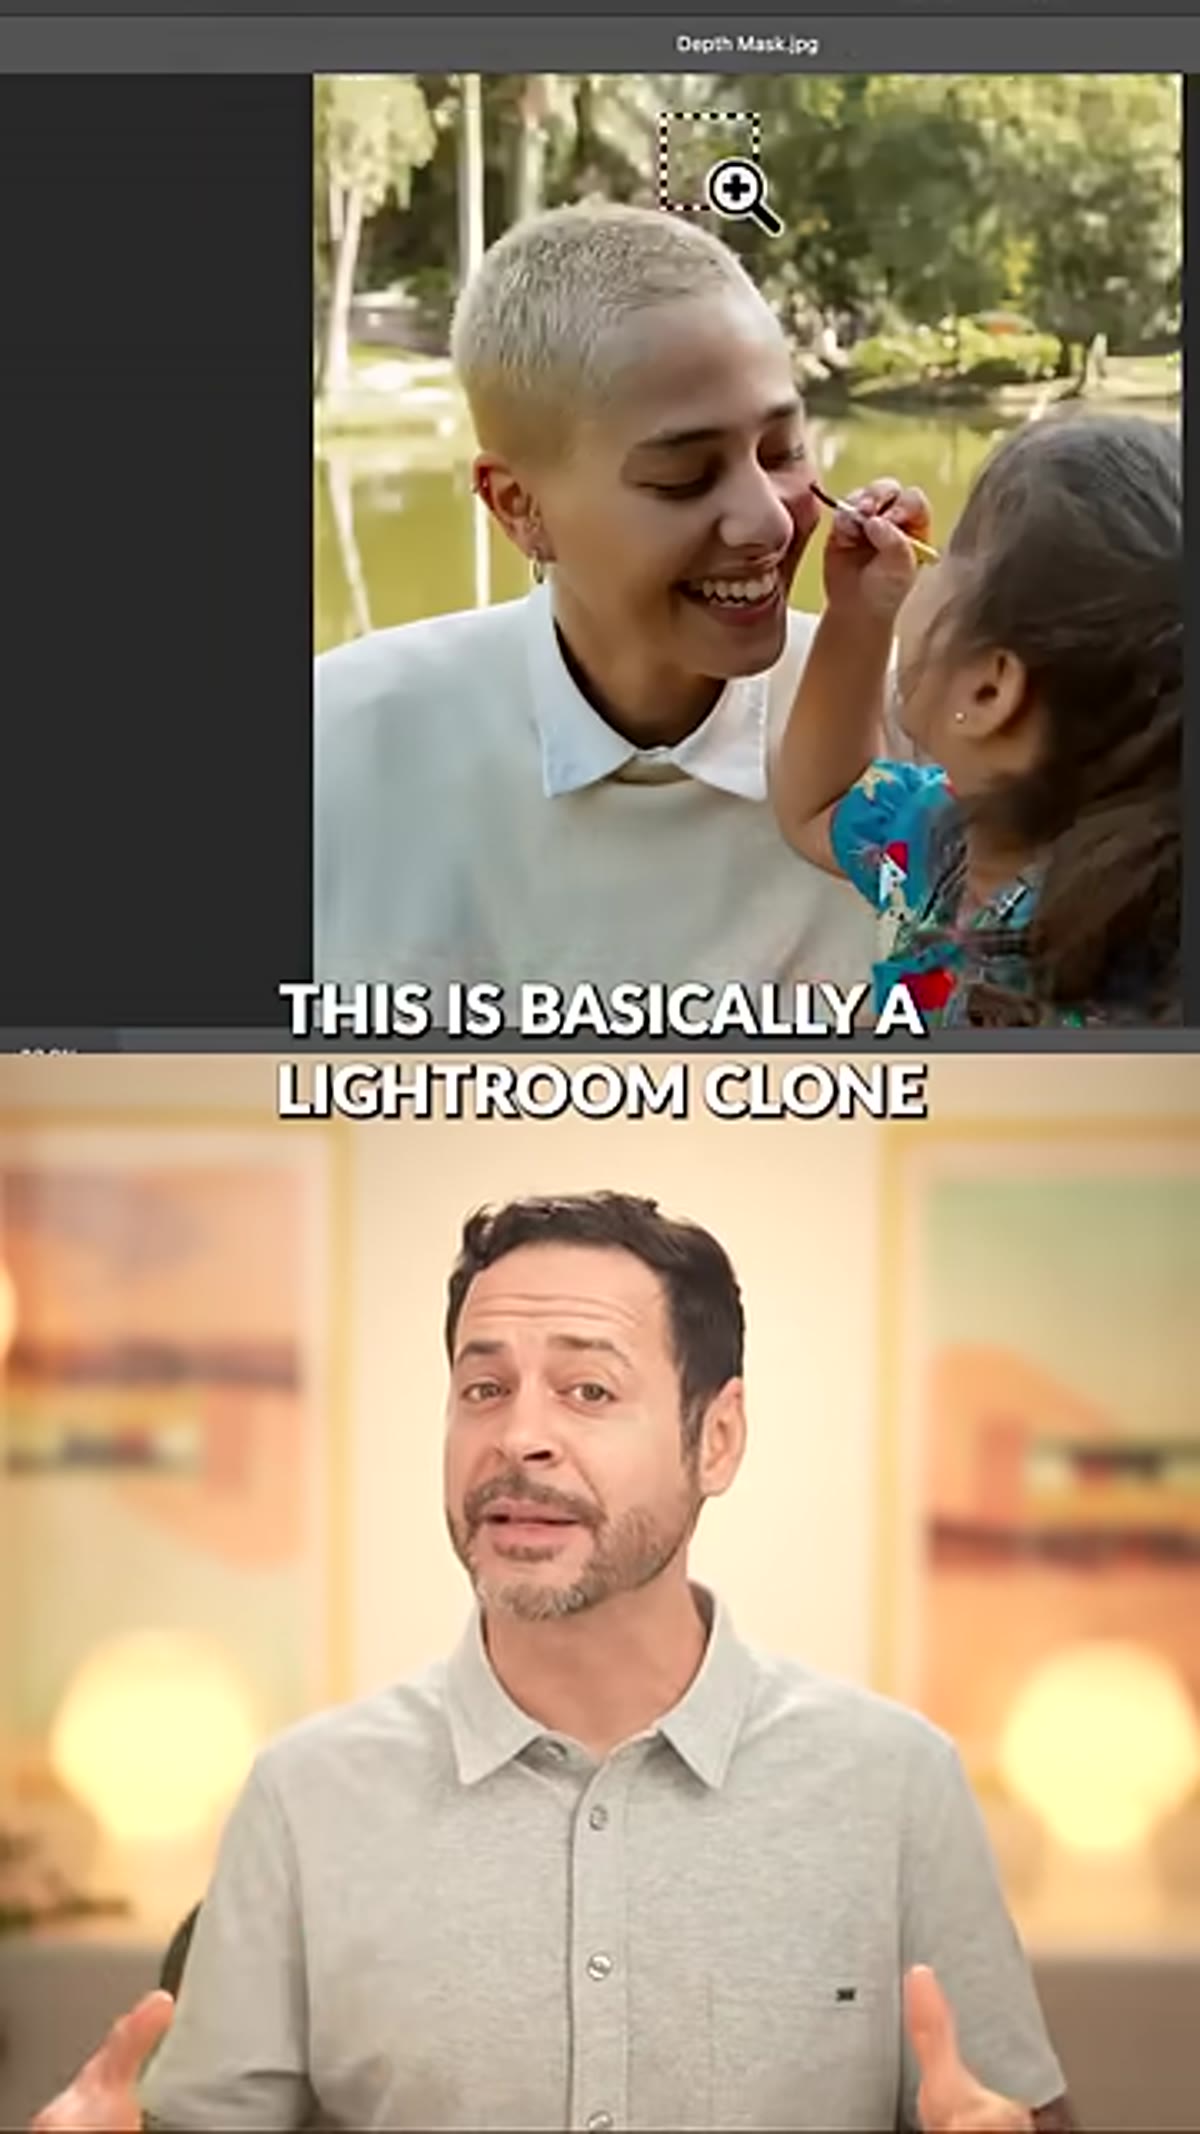
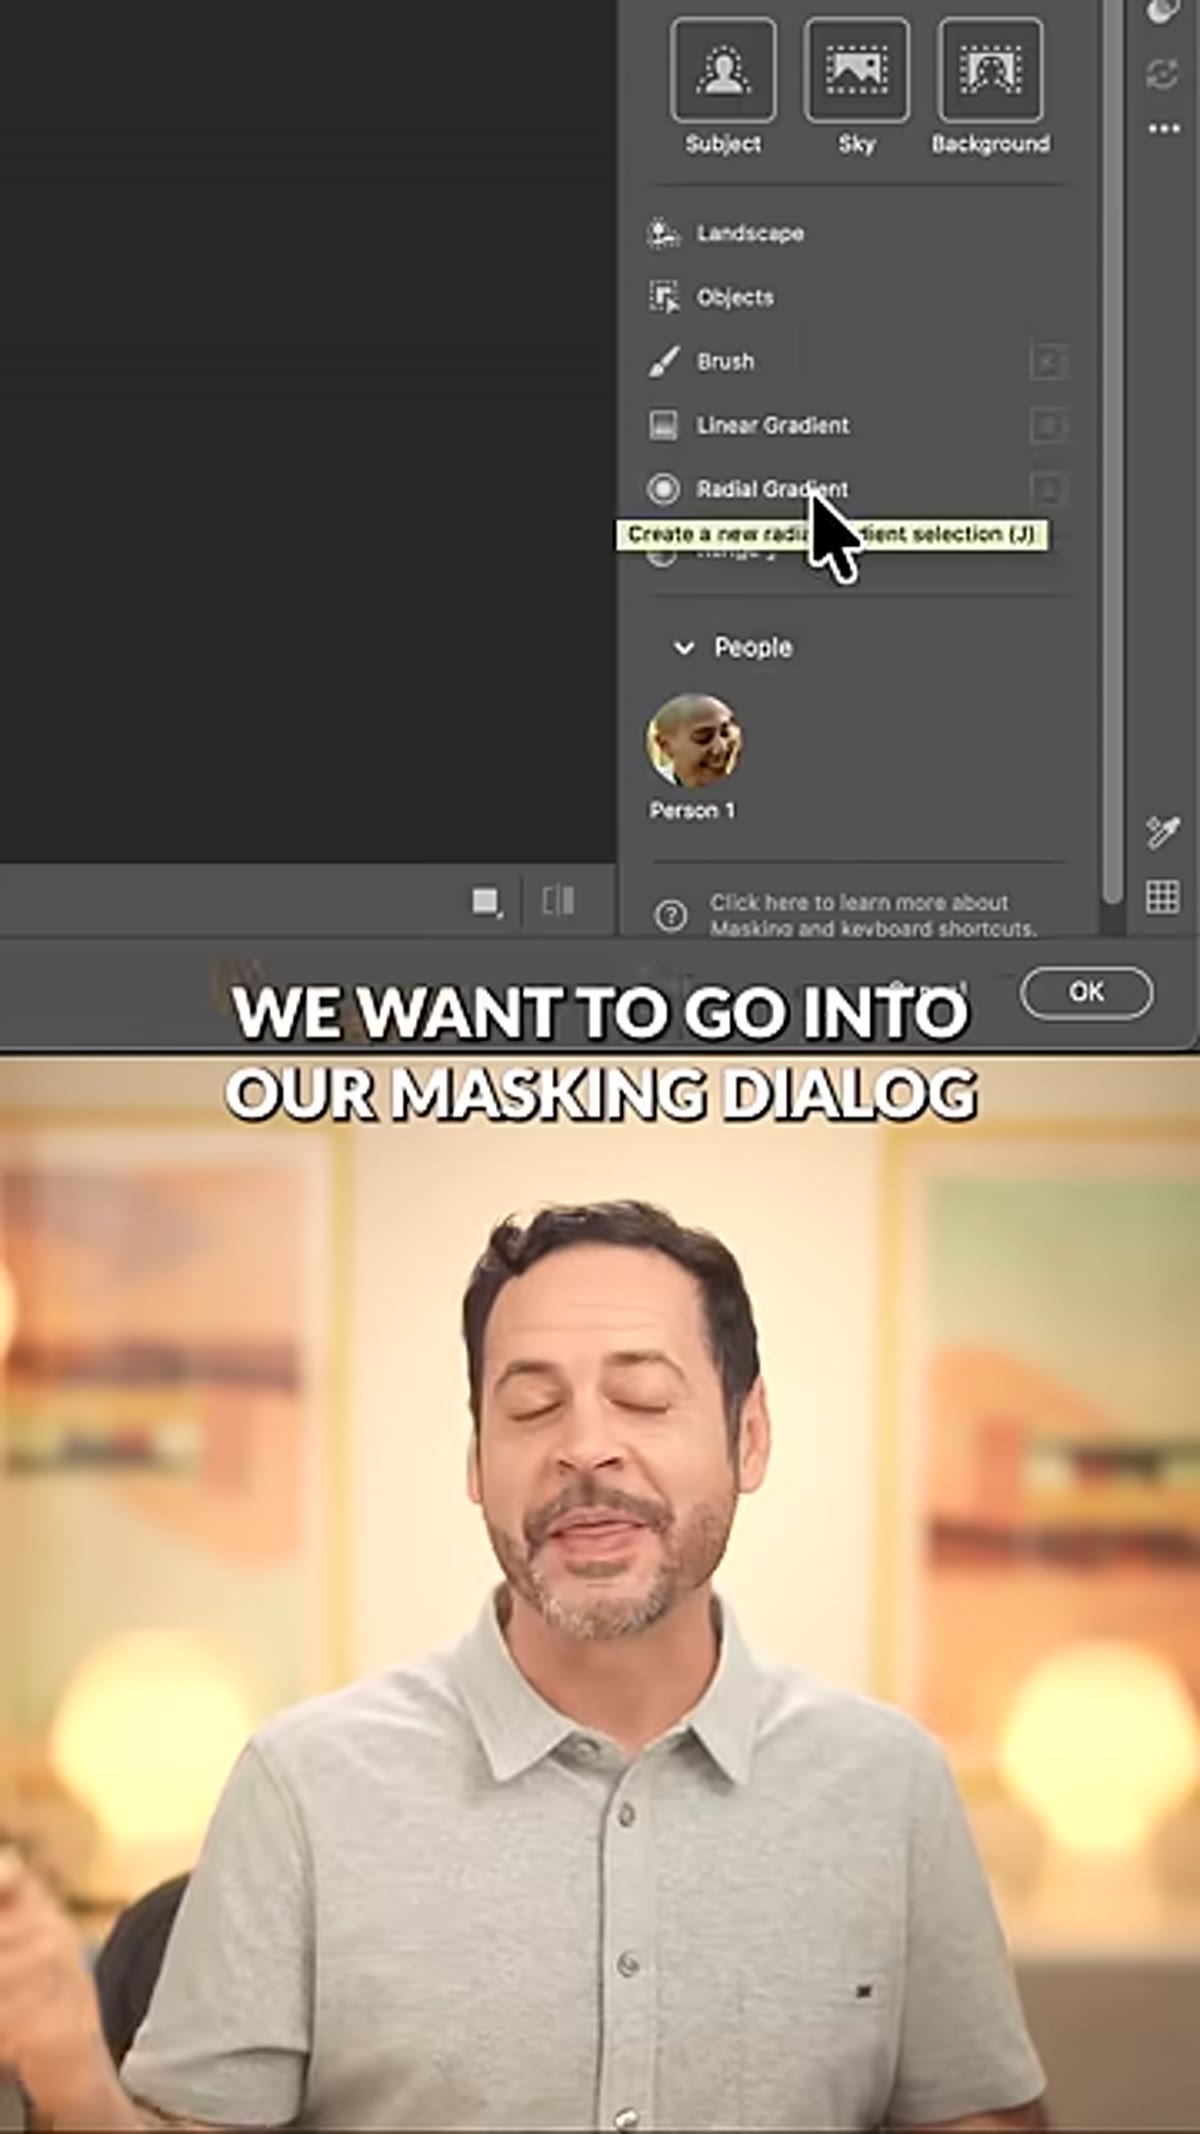
Step 3: Navigate to Depth Range Masking
 Masking dialogue open inside Camera Raw Filter
Inside Camera Raw, open the Masking panel. Scroll to the bottom and look for “Range,” then select “Depth Range” from the options. This is the feature that does the heavy lifting. Photoshop’s AI analyzes the image and builds a depth map, essentially a grayscale representation of the three-dimensional space in your photo. Near objects are light, far objects are dark (or vice versa depending on implementation), and the mask is drawn from that spatial data rather than from color or luminance values.
Masking dialogue open inside Camera Raw Filter
Inside Camera Raw, open the Masking panel. Scroll to the bottom and look for “Range,” then select “Depth Range” from the options. This is the feature that does the heavy lifting. Photoshop’s AI analyzes the image and builds a depth map, essentially a grayscale representation of the three-dimensional space in your photo. Near objects are light, far objects are dark (or vice versa depending on implementation), and the mask is drawn from that spatial data rather than from color or luminance values.
Step 4: Use the Eyedropper to Target Your Subject’s Depth Plane
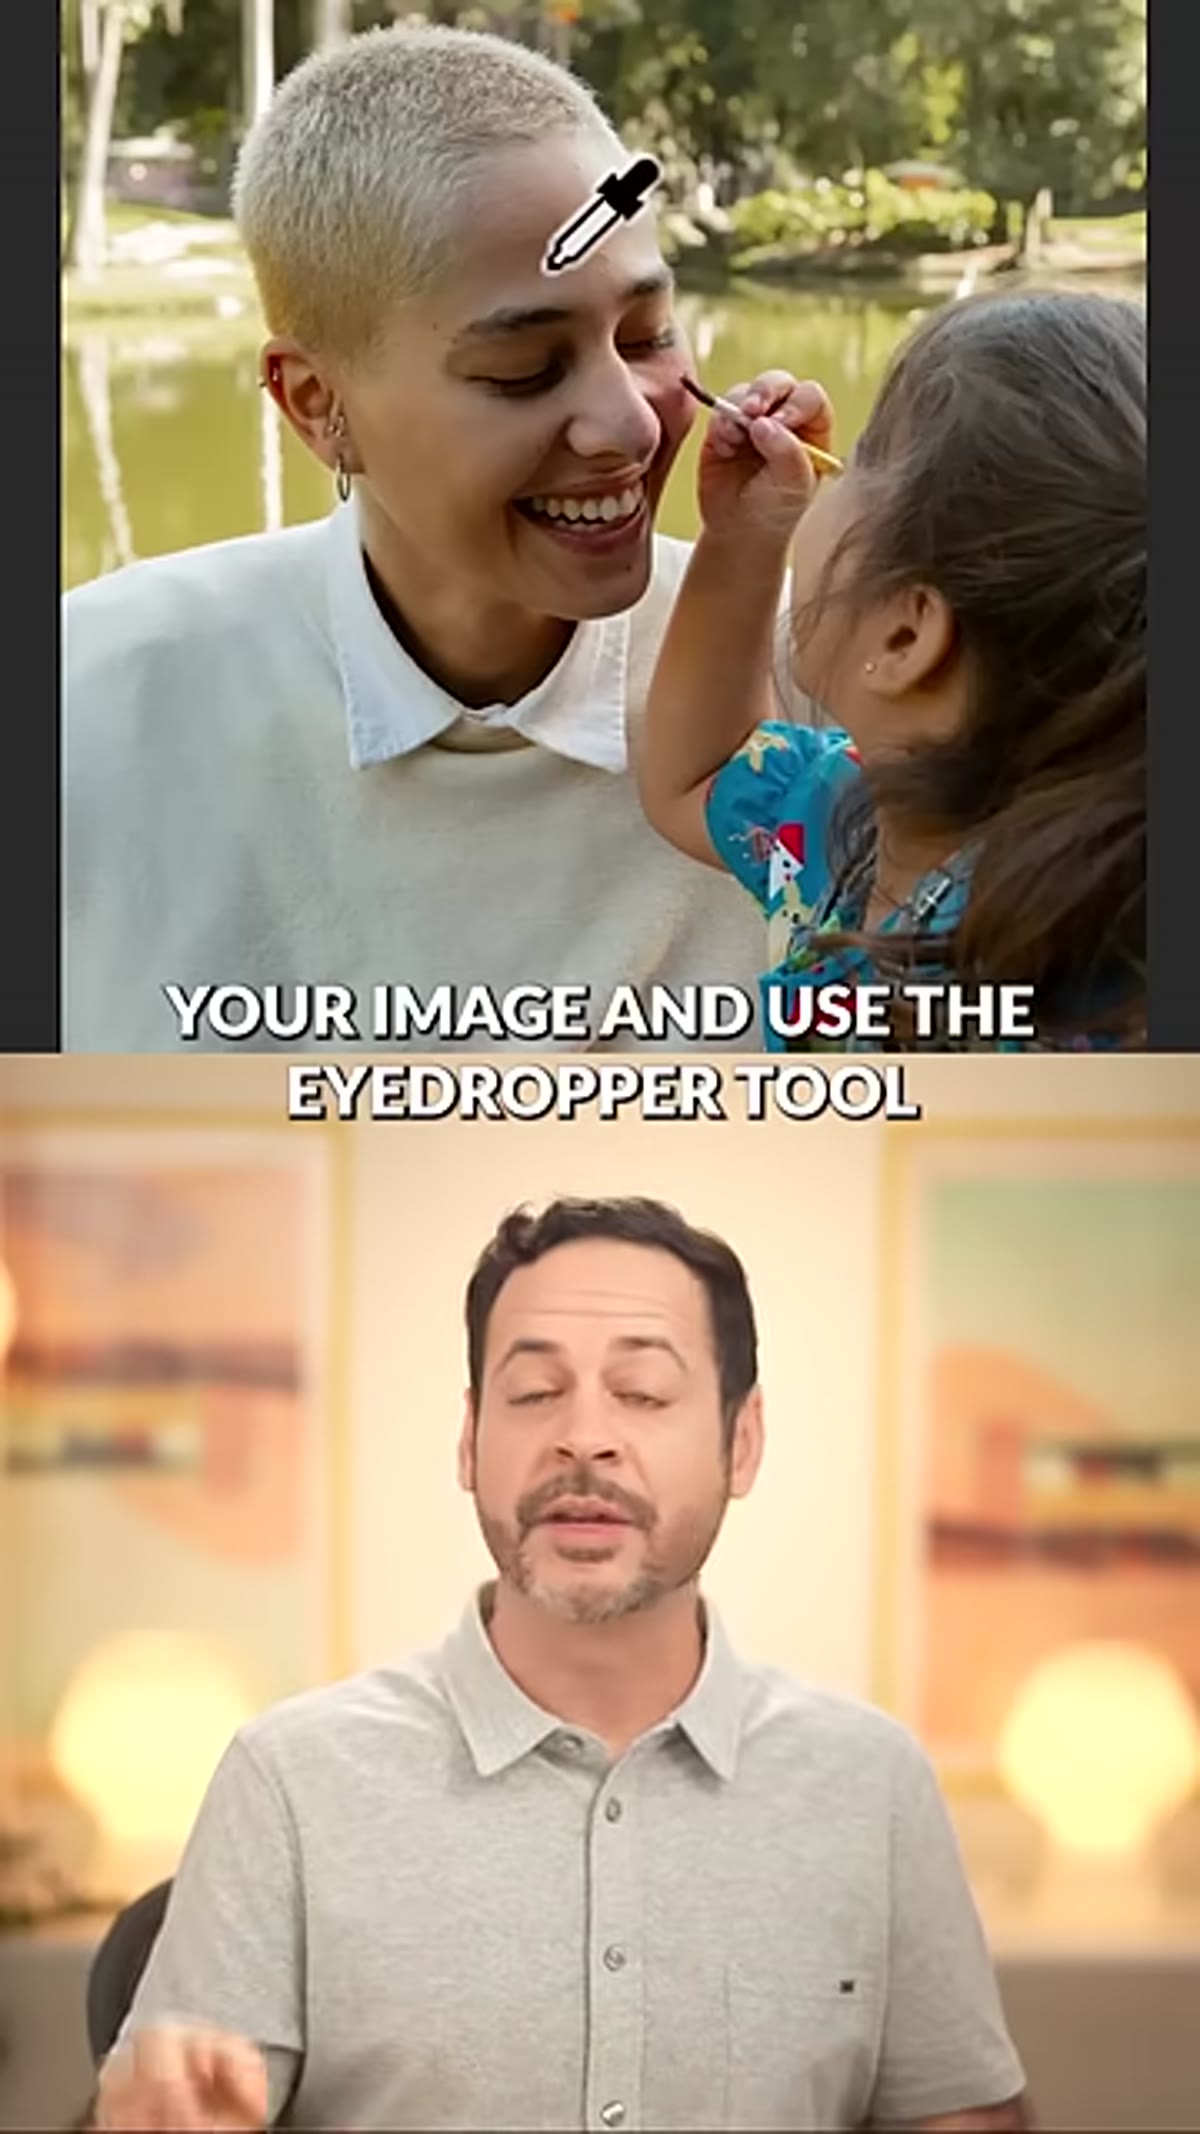 Eyedropper hovering over subject to sample depth range
Here’s the key move that makes the whole technique work. Once you’re in Depth Range mode, hover over your image with the eyedropper and click directly on your subject. You’re not selecting a color. You’re telling Photoshop which depth plane you want to isolate. The mask will include everything at roughly the same distance from the camera as the area you clicked. In a portrait shot with any reasonable depth of field, this snaps cleanly to your subject and ignores the background almost immediately. Fine-tune the range using the slider handles that appear in the depth range bar at the top of the masking panel.
Eyedropper hovering over subject to sample depth range
Here’s the key move that makes the whole technique work. Once you’re in Depth Range mode, hover over your image with the eyedropper and click directly on your subject. You’re not selecting a color. You’re telling Photoshop which depth plane you want to isolate. The mask will include everything at roughly the same distance from the camera as the area you clicked. In a portrait shot with any reasonable depth of field, this snaps cleanly to your subject and ignores the background almost immediately. Fine-tune the range using the slider handles that appear in the depth range bar at the top of the masking panel.
Step 5: Make Your Subject Edits
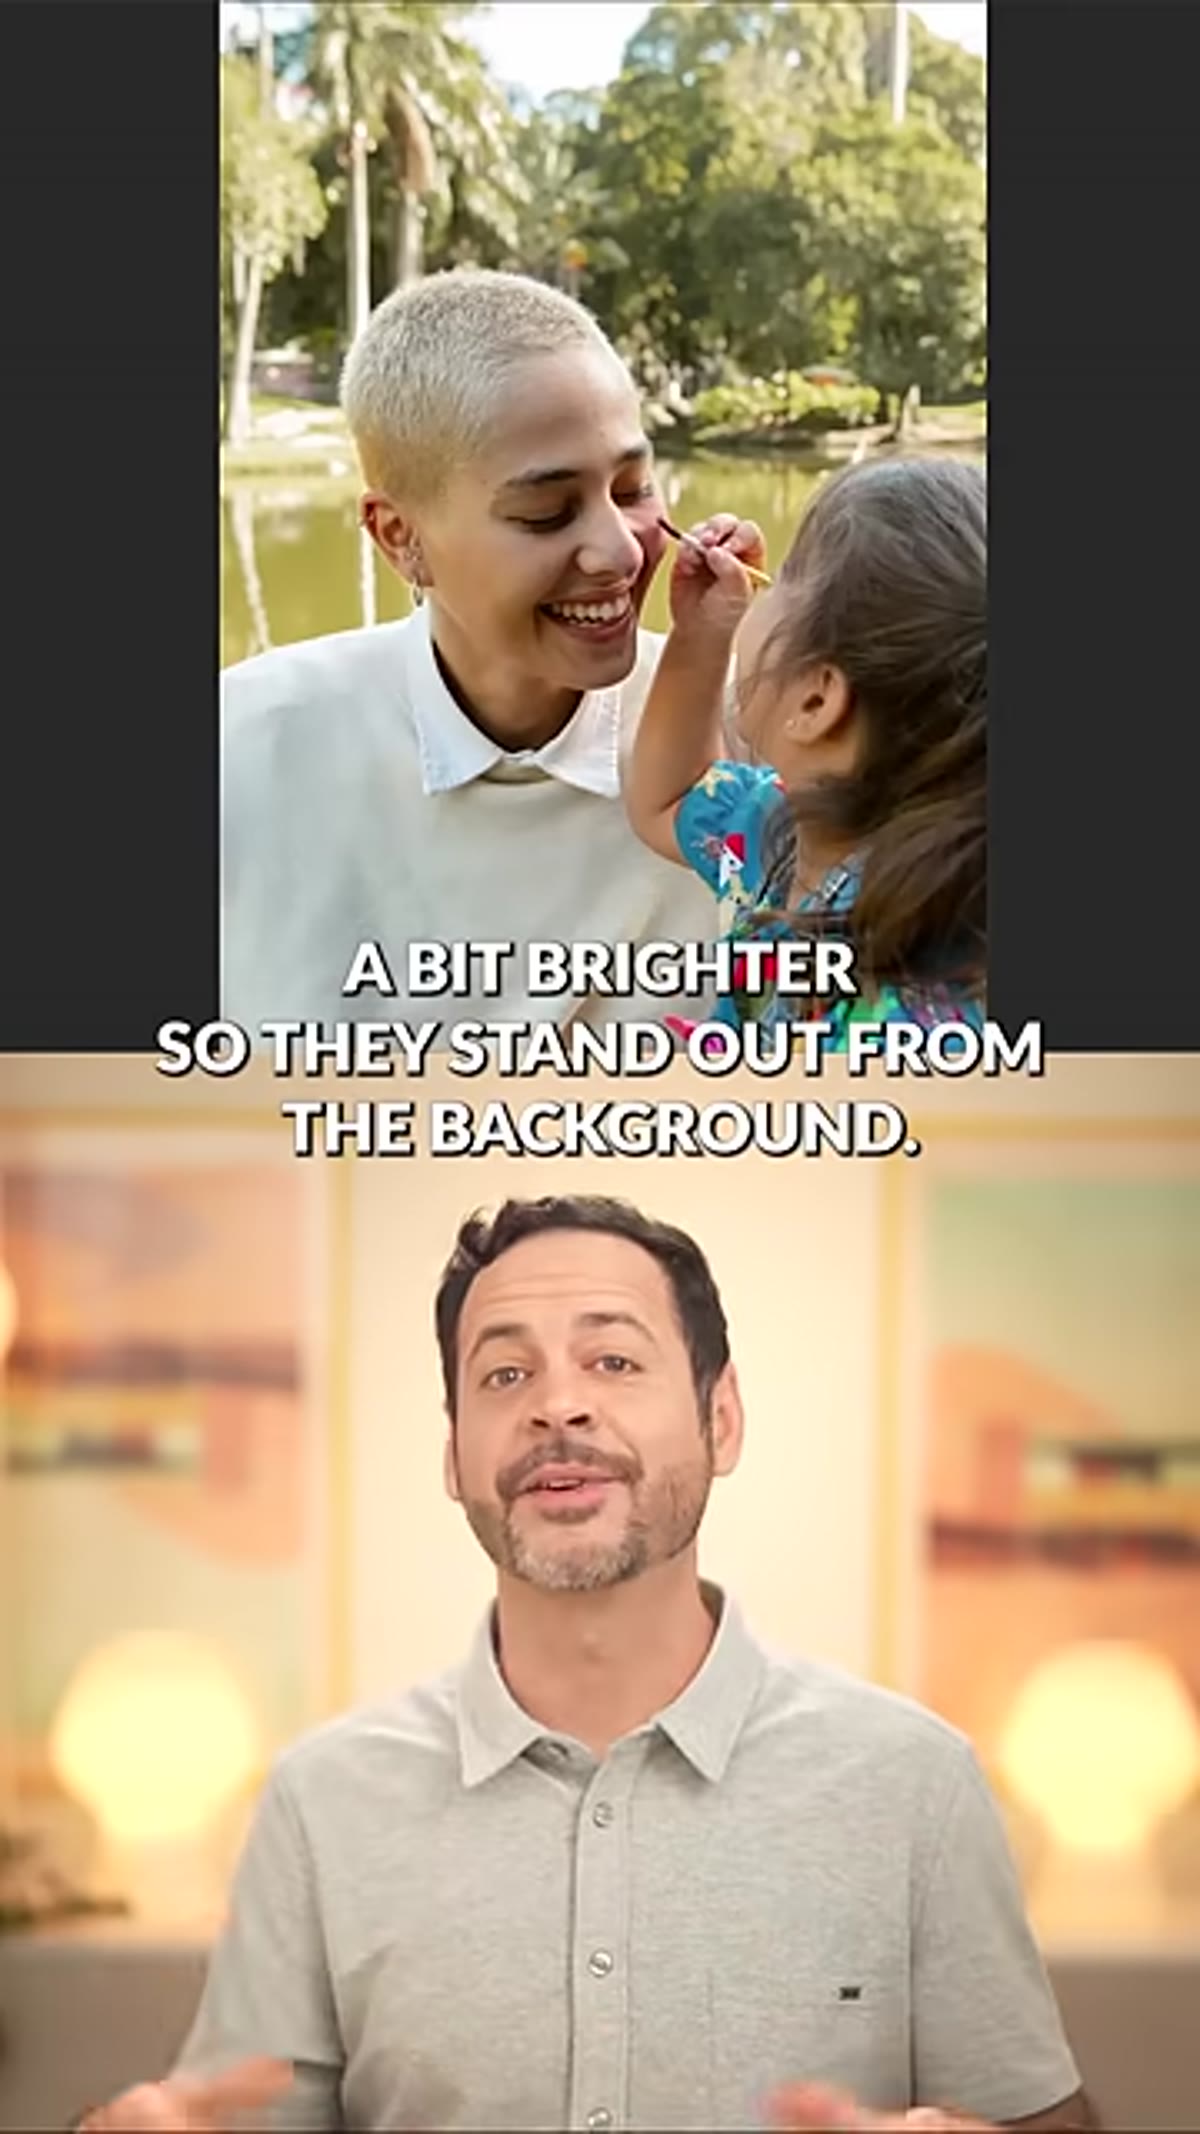 Brightness and tone adjustments applied to isolated subject
With the subject masked, dial in your adjustments. In the tutorial, the subject gets a brightness lift to help them separate visually from the background. In Camera Raw you have full access to Exposure, Highlights, Shadows, Whites, Blacks, Contrast, and the Tone Curve. Because you’re working within a mask, every change applies only to that depth plane. Push the exposure up, lift the shadows slightly if the face needs it, and check the mask edge behavior in areas like hair by toggling the mask overlay.
Brightness and tone adjustments applied to isolated subject
With the subject masked, dial in your adjustments. In the tutorial, the subject gets a brightness lift to help them separate visually from the background. In Camera Raw you have full access to Exposure, Highlights, Shadows, Whites, Blacks, Contrast, and the Tone Curve. Because you’re working within a mask, every change applies only to that depth plane. Push the exposure up, lift the shadows slightly if the face needs it, and check the mask edge behavior in areas like hair by toggling the mask overlay.
Step 6: Create a Second Depth Range Mask for the Background
 New depth range mask being created targeting background
Go back to the Masking panel and add a second mask, again using Depth Range. This time, click the eyedropper on the background. The resulting mask covers the far plane of the image while leaving your subject unaffected. Keeping these as separate masks rather than inverting the first one gives you independent control over each layer of the scene, which matters when your background needs a completely different treatment than your subject.
New depth range mask being created targeting background
Go back to the Masking panel and add a second mask, again using Depth Range. This time, click the eyedropper on the background. The resulting mask covers the far plane of the image while leaving your subject unaffected. Keeping these as separate masks rather than inverting the first one gives you independent control over each layer of the scene, which matters when your background needs a completely different treatment than your subject.
Step 7: Enhance the Background with Color and Blur
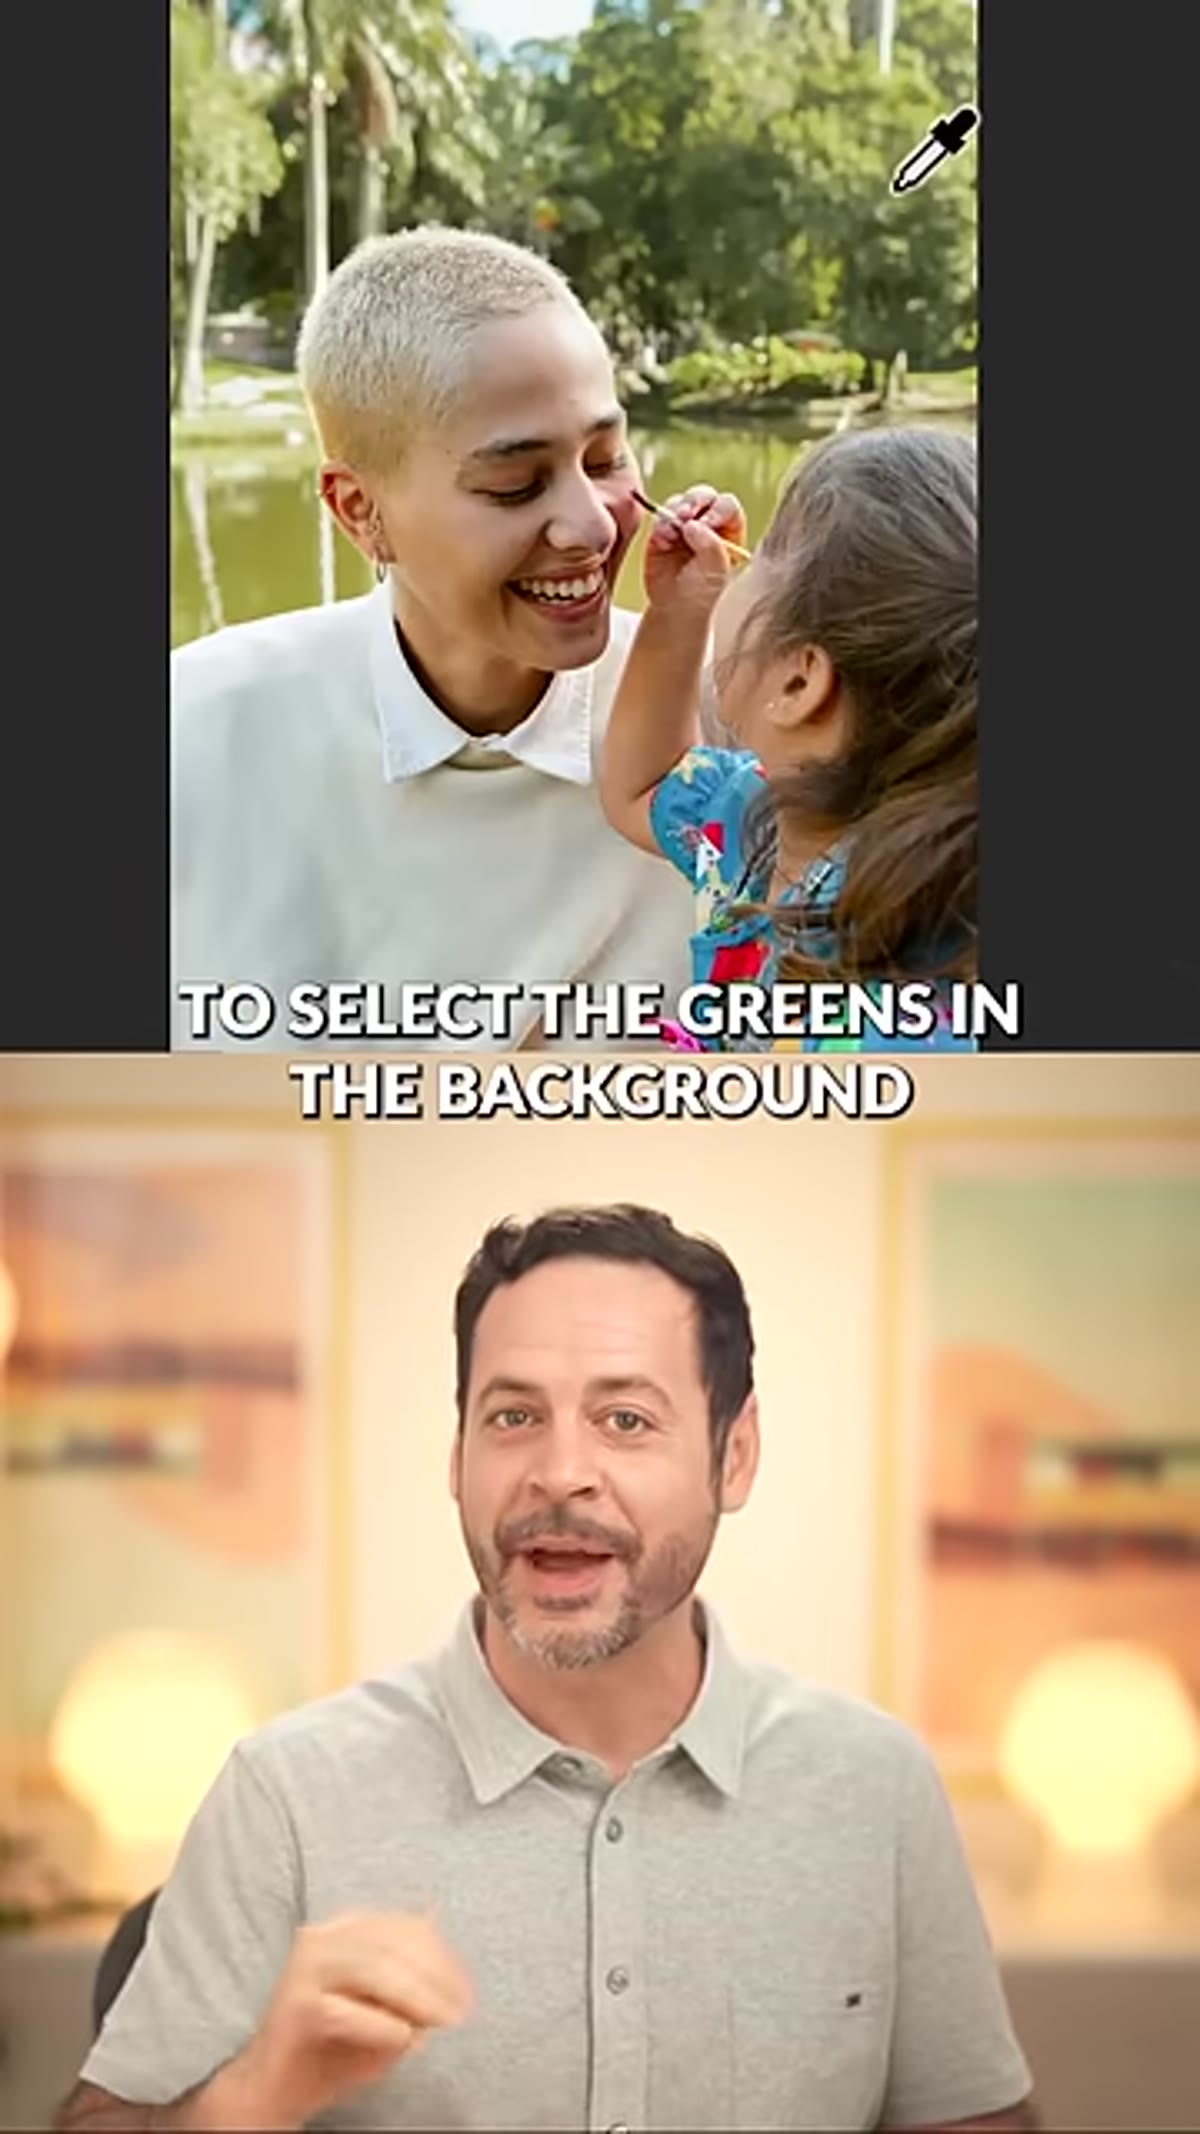 Color range and HSL adjustments applied to background greens
With the background mask active, use Camera Raw’s color tools to bring the scene to life. The tutorial targets the greens in the background using the color range selector inside the masking options, pulling up saturation and shifting the hue slightly to make foliage feel lush rather than flat. From there, add a lens blur and a vignette directly in Camera Raw. The lens blur in particular is worth experimenting with. It reads depth data to simulate a more optically accurate bokeh effect, and it pairs naturally with this workflow since you’ve already been working in depth space.
Color range and HSL adjustments applied to background greens
With the background mask active, use Camera Raw’s color tools to bring the scene to life. The tutorial targets the greens in the background using the color range selector inside the masking options, pulling up saturation and shifting the hue slightly to make foliage feel lush rather than flat. From there, add a lens blur and a vignette directly in Camera Raw. The lens blur in particular is worth experimenting with. It reads depth data to simulate a more optically accurate bokeh effect, and it pairs naturally with this workflow since you’ve already been working in depth space.
What I’d Add From My Own Practice
The depth range mask works best when there’s actual spatial separation between subject and background, meaning it performs differently on a compressed telephoto portrait versus a wide-angle environmental shot where the subject and background are closer in depth. In my experience, images shot at 85mm or longer with the subject at least six feet from the background give you the cleanest depth maps to work with.
I’d also stack this technique with a separate subject mask for fine detail work around flyaway hair or glasses frames. Use Depth Range to handle the broad strokes, then refine with a Select Subject or manual brush mask for any edge areas that need extra attention. The two approaches complement each other well rather than competing.
One more thing worth noting: because this all lives inside a Camera Raw Smart Filter, you can export a Photoshop action that opens Camera Raw on any portrait and positions you to start masking immediately. I haven’t yet built a full batch-ready version of this specific technique, but it’s on my list.
The single most important shift this technique offers is changing your selection logic from “find the edges” to “find the depth.” For portraits in particular, that’s often the more reliable question to ask. Edges get complicated. Depth, in a well-exposed photograph, is usually clear.
Watch the full tutorial on YouTube for the complete walkthrough, including the sample image download and the extended version of the depth masking demonstration.
Comments (2)
Just subscribed. If the rest of your content is this good, I'm in.
Couldn't agree more. I've seen this make a huge difference in retouching work specifically.
Leave a Comment