Color Lookup Tables (LUTs) for Photoshop: The Workflow Game-Changer You’re Probably Sleeping On
I didn’t fully appreciate LUTs until I was color grading my 47th product shot of the day and realized I could apply a complex, multi-layer grading setup in literally one click. If you’re still manually building adjustment layers for every single image, I need to tell you about 3D LUTs—because they’ll fundamentally change how you work.
What Actually Is a LUT?
A LUT (Look-Up Table) is a three-dimensional color correction file that maps input colors to output colors. Think of it as a mathematical translation table: “When you see this red, turn it into that red.” Instead of stacking five adjustment layers, you deploy one tiny .cube file that does the heavy lifting.
The magic here is that a LUT captures complex, non-linear color transformations that would take you ages to replicate manually. It’s how colorists grade entire films, and honestly, there’s no reason photographers and designers shouldn’t be using them.
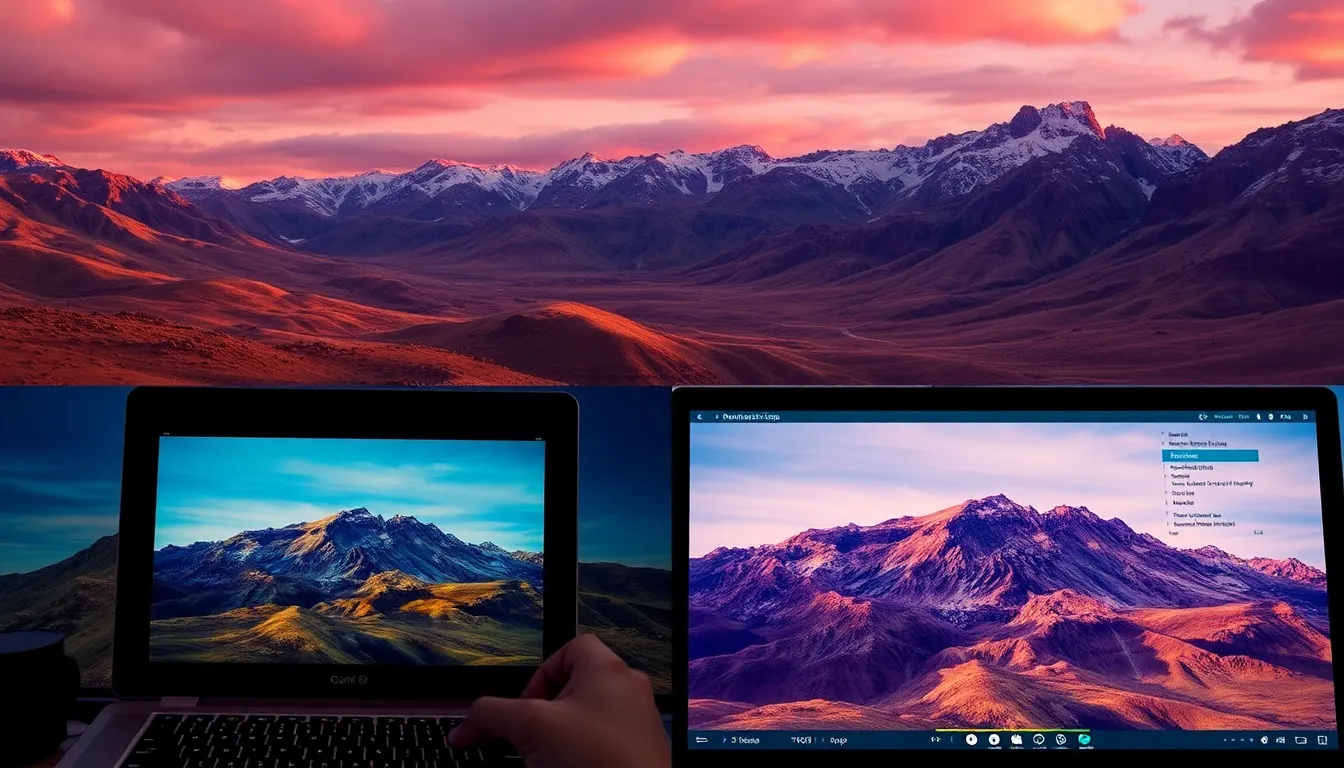
How to Load LUTs in Photoshop
Photoshop added native 3D LUT support in 2021 (version 22.0 and later), so if you’re updated, you’re ready to go. Here’s the straightforward process:
- Create a new adjustment layer via Layer > New Adjustment Layer > Color Lookup Table
- In the Properties panel, click the file browser next to “3D LUT File”
- Navigate to your .cube file and load it
- Adjust opacity if you want to blend the effect
That’s genuinely it. The LUT applies instantly across your entire layer stack.
If you’re on an older version of Photoshop, you can still use LUTs through Camera Raw Filter, which has supported them for longer. Just go Filter > Camera Raw Filter, then in the Basics tab, you’ll find the ability to load a LUT.
Where to Get Quality LUTs
I’m picky about presets because mediocre color grades make me twitch. Here’s what I actually recommend:
Free options: Davinci Resolve (the free version) exports excellent LUTs. Grade an image there, then export your look as a .cube file. It’s a legitimate workflow that costs zero dollars.
Professional sources: Adobe’s Creative Cloud includes LUT packs specific to different photography styles. They’re genuinely solid. DaVinci also sells premium LUT sets if you want something battle-tested.
Avoid generic preset sites. I’ve downloaded so many muddy, oversaturated LUTs from random marketplaces. Your time is worth more than saving five bucks on a poor color grade.
When LUTs Actually Help Your Workflow
LUTs shine in specific scenarios:
- Brand consistency: Create a LUT that matches your brand colors, then apply it to every product shot. I’ve saved hours doing this for e-commerce clients.
- Batch processing: If you’re color grading 200 photos from the same shoot, a single LUT dramatically accelerates the process.
- Simulating film: LUTs can replicate vintage film stocks or specific camera profiles, giving you a starting point before fine-tuning.
What LUTs don’t do is replace critical thinking. They’re a starting point, not a finish line. You’ll almost always need to layer in Curves, Hue/Saturation, or Selective Color adjustments after applying a LUT.
Building Your Own LUT
Here’s where it gets fun: you can export your own color grades as LUTs.
In Davinci Resolve (free version), grade your image with the color tools, then right-click the grade in the color page and select Export LUT. Choose 3D .cube format, and you’ve got a reusable preset.
In Photoshop, the process is more manual—you’d need third-party software like Curve4 or even Nuke (if you’re serious about it). But honestly? Using Resolve to generate LUTs is the path of least resistance.
The Real Takeaway
LUTs aren’t magic, but they’re close. They’re a professional tool that dramatically compresses repetitive color grading work. If you’re doing anything more than one-off editing, they deserve a place in your workflow.
Start by grabbing a free LUT, loading it into a new project, and seeing how it changes your approach. I think you’ll get excited about the time you save—I know I did.
Comments
Leave a Comment