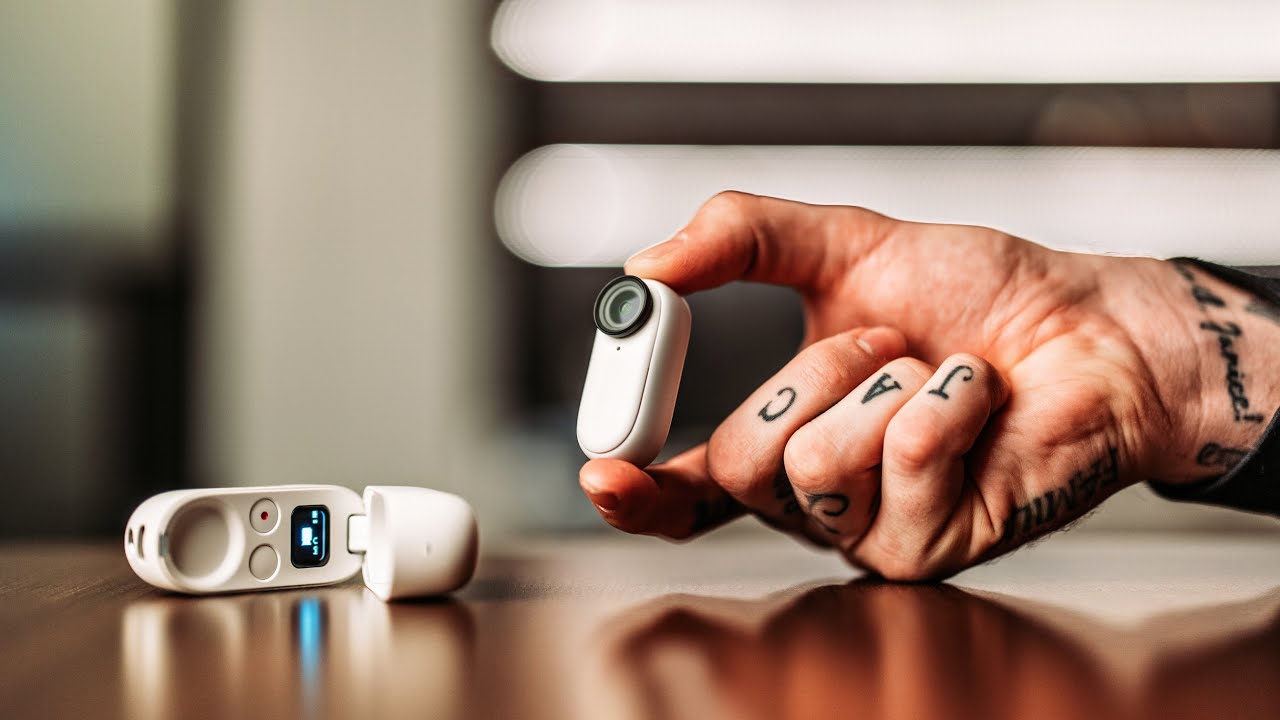
I track time obsessively. I have a spreadsheet that currently sits at over 2,400 hours saved through Photoshop automation alone. So when a piece of hardware shows up that’s been engineered specifically to remove friction from the capture side of a workflow, I pay attention. Most of my work lives in post-production, but the footage and files I’m working with only exist because someone made a fast, clean decision at the moment of capture. Slow, awkward gear produces hesitation. Hesitation produces missed shots. Missed shots produce retouching nightmares.
In this Peter McKinnon tutorial, he walks through the Insta360 Go 2, the second generation of Insta360’s wearable action camera. McKinnon is upfront that this is a sponsored first-look, not a field-tested long-term review, and I respect that transparency. What struck me watching it wasn’t the specs on paper but the philosophy baked into the hardware design: the fastest camera is the one that’s already recording before you’ve had time to second-guess yourself. That idea maps directly onto how I think about Photoshop actions and batch workflows.
Watch the full tutorial on YouTube
Step 1: Understand What You’re Actually Buying Into
 McKinnon holds up the Insta360 Go 2 camera to camera
The Go 2 is positioned as a wearable action cam, but McKinnon is careful to frame it as something more specific: a camera for people who won’t otherwise bring a camera. It shoots 1440p at up to 50 frames per second, includes built-in flow state stabilization carried over from Insta360’s 360-degree camera line, and supports hyperlapse and slow motion modes. The waterproofing is built into the camera body itself, not dependent on a housing.
McKinnon holds up the Insta360 Go 2 camera to camera
The Go 2 is positioned as a wearable action cam, but McKinnon is careful to frame it as something more specific: a camera for people who won’t otherwise bring a camera. It shoots 1440p at up to 50 frames per second, includes built-in flow state stabilization carried over from Insta360’s 360-degree camera line, and supports hyperlapse and slow motion modes. The waterproofing is built into the camera body itself, not dependent on a housing.
Before you commit to any new tool, you need to be honest about the gap it fills versus the gap you wish it filled. The Go 2 is not a replacement for a mirrorless camera or even a traditional action cam for dedicated shoots. It’s a capture device for the moments you wouldn’t have documented otherwise, because the barrier was too high.
Step 2: Learn the Charging Case Before You Learn the Camera
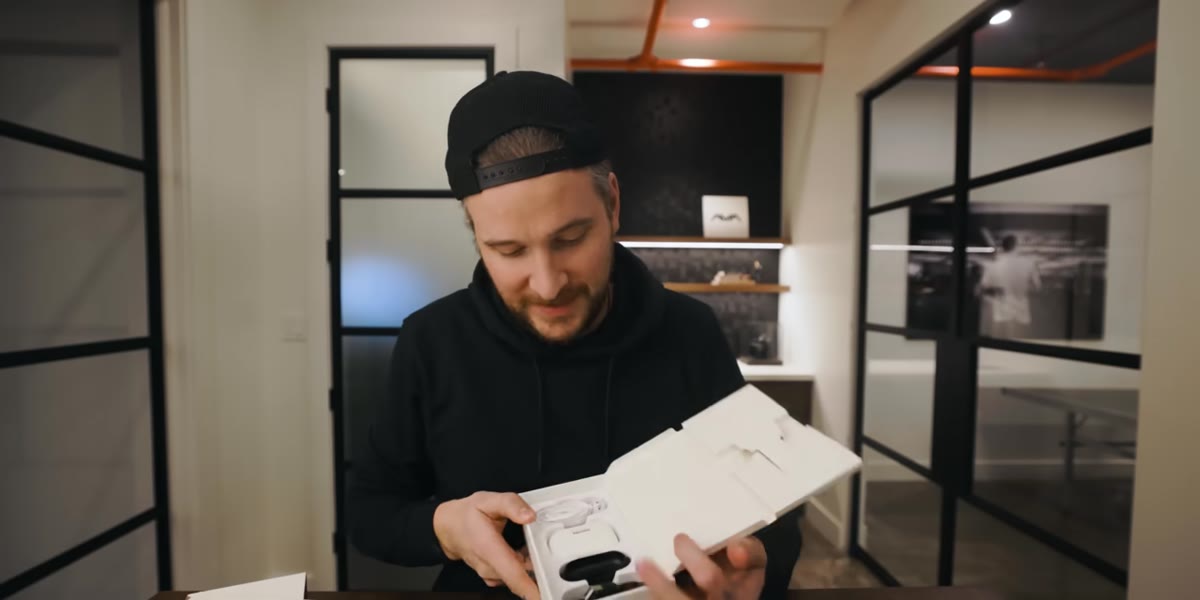 McKinnon opens the new charging case showing the built-in screen
The redesigned charging case is where Insta360 made the most meaningful changes in this second generation. The case has its own display screen, which lets you access recording modes, settings, and a live preview without pulling out your phone or opening an app. Flip it open and the camera wakes up instantly. That screen on the case face is the control center.
McKinnon opens the new charging case showing the built-in screen
The redesigned charging case is where Insta360 made the most meaningful changes in this second generation. The case has its own display screen, which lets you access recording modes, settings, and a live preview without pulling out your phone or opening an app. Flip it open and the camera wakes up instantly. That screen on the case face is the control center.
The case also unfolds a small built-in tripod stand at the base, which means the whole unit can sit upright on any flat surface and function as a hands-free tabletop camera. There’s also a standard tripod mount on the bottom if you want to attach it to existing hardware. For commercial behind-the-scenes work, this is the kind of detail that makes the difference between actually capturing a setup moment and just thinking about capturing it.
Step 3: Set Up the Magnetic Pendant System
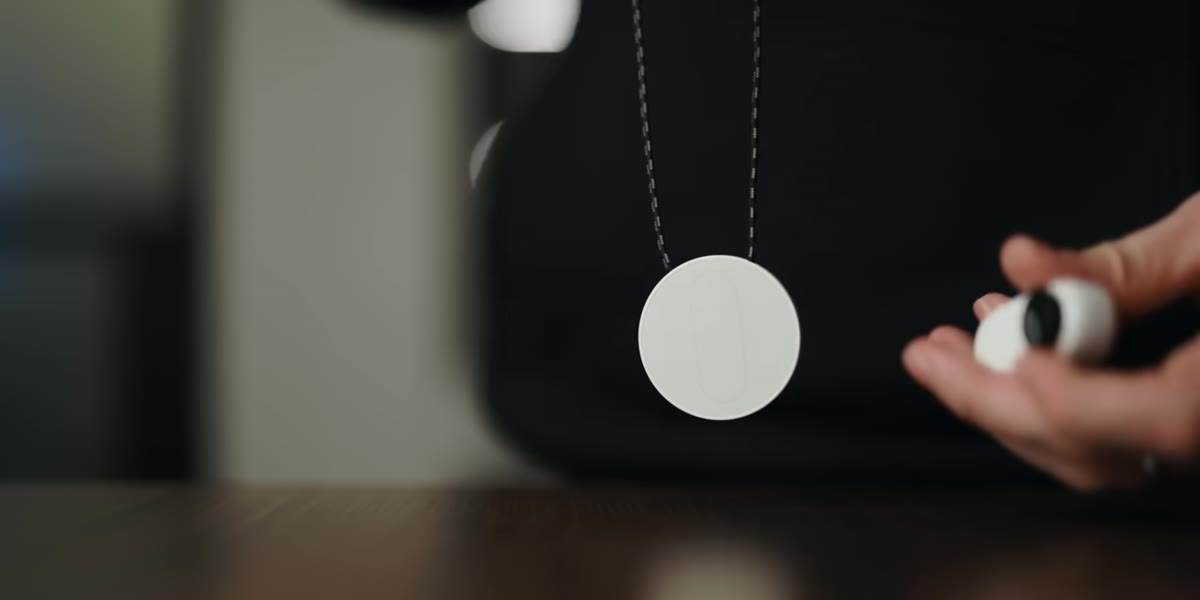 McKinnon demonstrates the magnetic pendant worn under a shirt
The Go 2 ships with a pendant that you wear around your neck, tucked under a shirt. The camera body magnetizes directly to the pendant. There’s no screwing, no harness adjustment, no mount alignment. You take the camera out of the case, press it to your chest where the pendant sits, and it holds.
McKinnon demonstrates the magnetic pendant worn under a shirt
The Go 2 ships with a pendant that you wear around your neck, tucked under a shirt. The camera body magnetizes directly to the pendant. There’s no screwing, no harness adjustment, no mount alignment. You take the camera out of the case, press it to your chest where the pendant sits, and it holds.
McKinnon demonstrates this transition and the speed of it matters. From case to recording takes one deliberate motion and a single tap. The camera confirms recording with a physical vibration, strong enough to feel even with the camera against your chest. For anyone who has ever fumbled with a chest harness on a shoot trying not to interrupt the moment they’re trying to capture, that haptic confirmation is worth noting.
Step 4: Start Recording and Use the Screen as Your Monitor
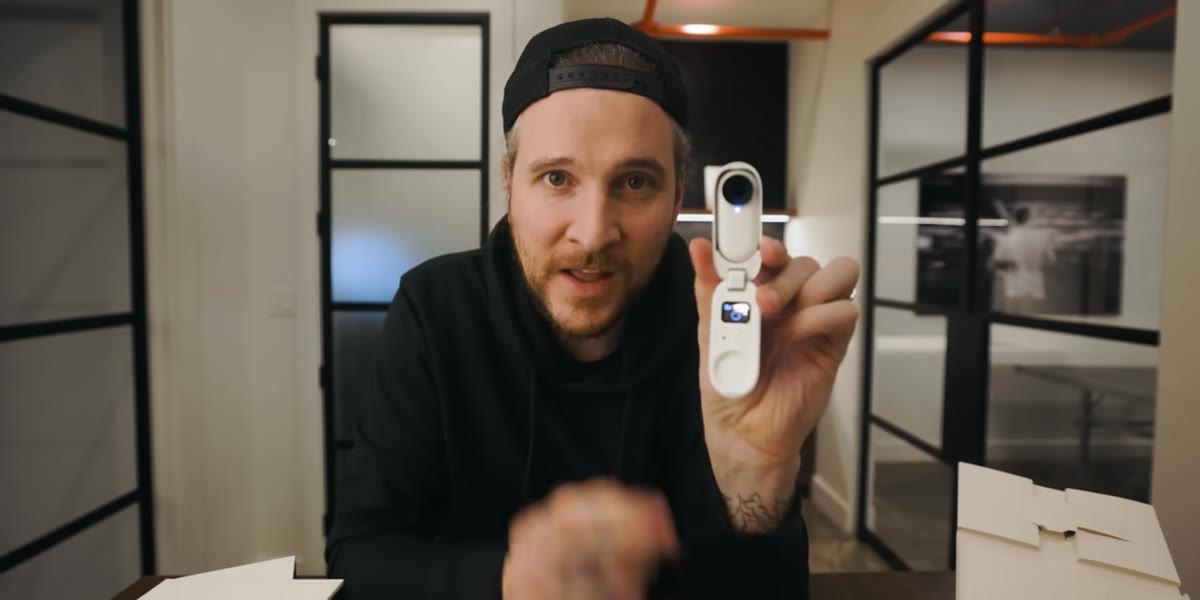 The case screen shows live recording status and camera connection
Once the camera is on the pendant and recording, the case screen becomes your remote monitor. You don’t need to physically handle the camera to know it’s running. McKinnon points out that the moment you open the case, the screen activates and shows you connection status and recording readiness. Close the case and you still know the camera is live from the vibration feedback.
The case screen shows live recording status and camera connection
Once the camera is on the pendant and recording, the case screen becomes your remote monitor. You don’t need to physically handle the camera to know it’s running. McKinnon points out that the moment you open the case, the screen activates and shows you connection status and recording readiness. Close the case and you still know the camera is live from the vibration feedback.
The practical workflow here is: open the case to check framing and settings, start the recording, snap the camera onto the pendant, pocket the case. From that point, the camera is capturing first-person POV footage continuously without you interacting with it again until you want to stop.
Step 5: Think Through the Inconspicuous Advantage
 McKinnon discusses filming in public spaces like airports
McKinnon spends time on something that doesn’t show up in a spec sheet: the psychological comfort of a camera that doesn’t look like a camera from ten feet away. A small magnetic disc on your chest reads as nothing to most people. There’s no lens protruding, no stabilizer rig, no obvious recording indicator visible to bystanders.
McKinnon discusses filming in public spaces like airports
McKinnon spends time on something that doesn’t show up in a spec sheet: the psychological comfort of a camera that doesn’t look like a camera from ten feet away. A small magnetic disc on your chest reads as nothing to most people. There’s no lens protruding, no stabilizer rig, no obvious recording indicator visible to bystanders.
For documentary-style work, behind-the-scenes content, or street-level footage at events, this matters more than most gear reviewers admit. A subject who forgets the camera is present moves differently. An audience who sees behind-the-scenes footage shot from a tiny chest-mounted device reads it as authentic in a way that a GoPro on a full harness does not. The form factor is part of the creative output.
How This Maps to a Post-Production Mindset
I built my first Photoshop action at age 26 and genuinely haven’t manually repeated a task since if I can help it. The Go 2 is a hardware expression of the same logic: identify the friction point, remove it, and make the right behavior the path of least resistance. Insta360 identified that the harness setup was the friction point. They removed it with a magnet and a pendant. Now the camera goes on in three seconds instead of three minutes.
In post-production terms, this is the difference between running a batch action on a folder of 500 files and opening each one manually. The output can be identical. The experience of getting there is not. When I’m prepping behind-the-scenes documentation for client deliverables, I want footage that was actually captured, not footage I intended to capture but skipped because setup felt too slow. The Go 2 answers that problem directly.
The one caveat I’d flag: flow state stabilization is impressive on Insta360’s larger cameras, and McKinnon is optimistic about it here, but at 1440p with a sensor this small, you’re working within real physical limits. For anything going into a final deliverable rather than supporting content, test the stabilization in your specific shooting conditions before committing.
The single most important takeaway from this tutorial is that the best capture workflow is the one with the fewest steps between intent and execution. McKinnon demonstrates that convincingly with the Go 2, and it’s worth watching the full unboxing and setup to see the speed of that pendant-to-recording sequence in real time.
Watch the full tutorial on YouTube
Comments (2)
This saved me so much time on my last edit. Wish I'd found this sooner.
Tried this technique this morning. Game changer for real.
Leave a Comment