
I have backup drives for my backup drives. My kids think this is insane. My clients think it’s why they keep hiring me. After fifteen years in commercial photography, I’ve learned that the photographers who stay in business aren’t always the most talented ones. They’re the ones who never show up to a client meeting and say “I lost the files.” That conversation ends careers.
So when I came across Watch the full tutorial on YouTube from Pierre T. Lambert, filmed during a shoot in the Maldives, I recognized someone who’d learned the same hard lessons I did. Pierre doesn’t talk about backup in the abstract. He’s had gear stolen in Nigeria. He’s had a hard drive crash mid-trip. He literally crashed a drone during this very shoot and walked away with the footage intact because he’d already backed up the card. That’s the system in action.
What I want to do here is walk you through the actual workflow he demonstrates, step by step, so you can build the same safety net. Whether you’re shooting product work for an e-commerce client or chasing landscapes on a personal trip, the logic holds.
Step 1: Recognize the Real Risk Before You Leave for the Field
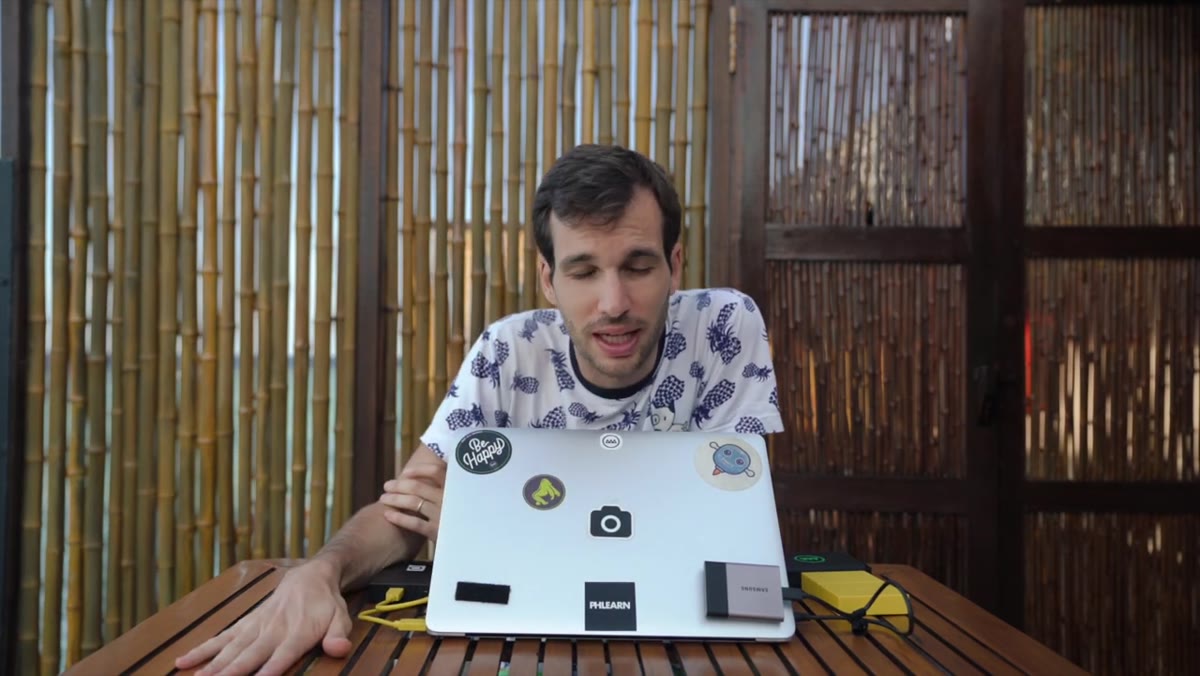 Pierre explaining the worst-case scenario for creators
Before any hardware or software enters the conversation, Pierre makes one thing clear: the threat to your files is not a single failure point. Memory cards corrupt. Hard drives crash at altitude, in humidity, in cold. Drones go down. Gear gets stolen. Any one of these can happen on any shoot, and if your entire archive lives in one place, a single bad day wipes out everything you created.
Pierre explaining the worst-case scenario for creators
Before any hardware or software enters the conversation, Pierre makes one thing clear: the threat to your files is not a single failure point. Memory cards corrupt. Hard drives crash at altitude, in humidity, in cold. Drones go down. Gear gets stolen. Any one of these can happen on any shoot, and if your entire archive lives in one place, a single bad day wipes out everything you created.
The shift in mindset here is important. Most photographers I know treat backup as something they’ll do when they get home. Pierre’s framework treats backup as a field responsibility, something that happens before you move to the next location or even the next shot. That reframe alone changes how you pack your bag.
Step 2: Shoot to Dual Memory Cards When the Job Demands It
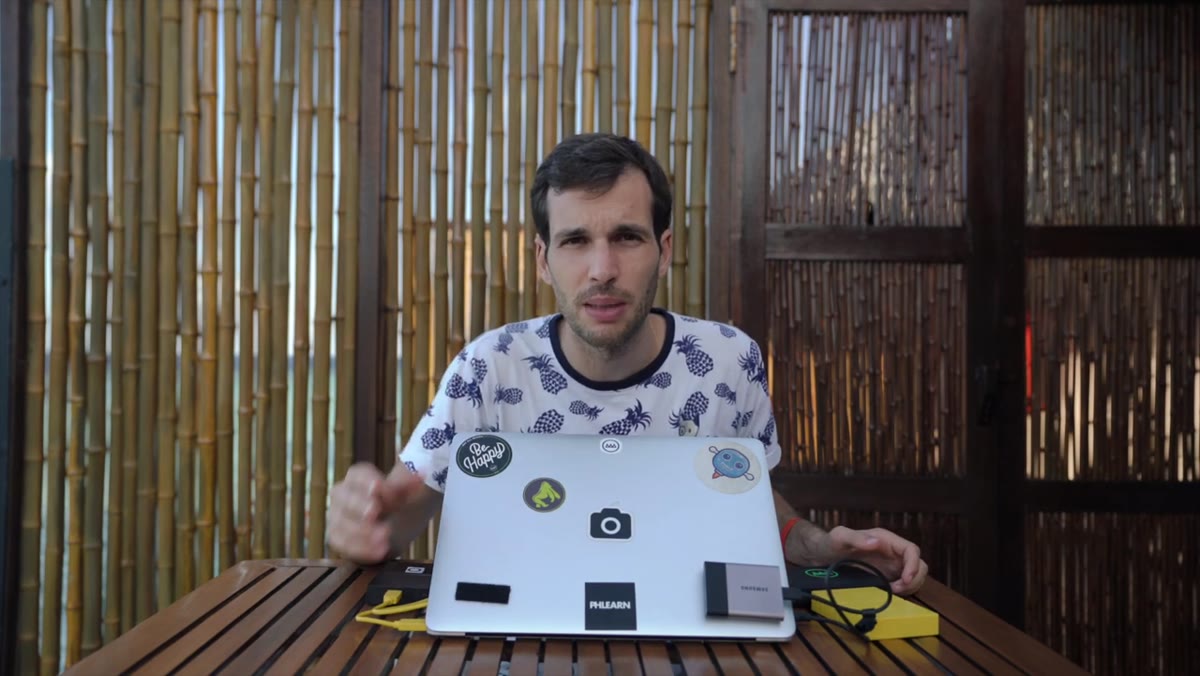 Pierre discussing dual memory card slots on camera body
If your camera body has dual memory card slots and you’re shooting anything with real stakes (a paid client, a once-in-a-lifetime location, a wedding), use both slots simultaneously. Set one card as the primary and the second as an overflow or mirror copy. The moment you press the shutter, you already have two copies.
Pierre discussing dual memory card slots on camera body
If your camera body has dual memory card slots and you’re shooting anything with real stakes (a paid client, a once-in-a-lifetime location, a wedding), use both slots simultaneously. Set one card as the primary and the second as an overflow or mirror copy. The moment you press the shutter, you already have two copies.
This is the lowest-friction backup step in the entire workflow because the camera does the work. Pierre is direct about this: for important client work, shooting dual cards is not optional. The cost of a second card is nothing compared to the cost of a reshoot, or the cost of losing a client.
Step 3: Use a Portable Field Backup Device to Create a Third Copy
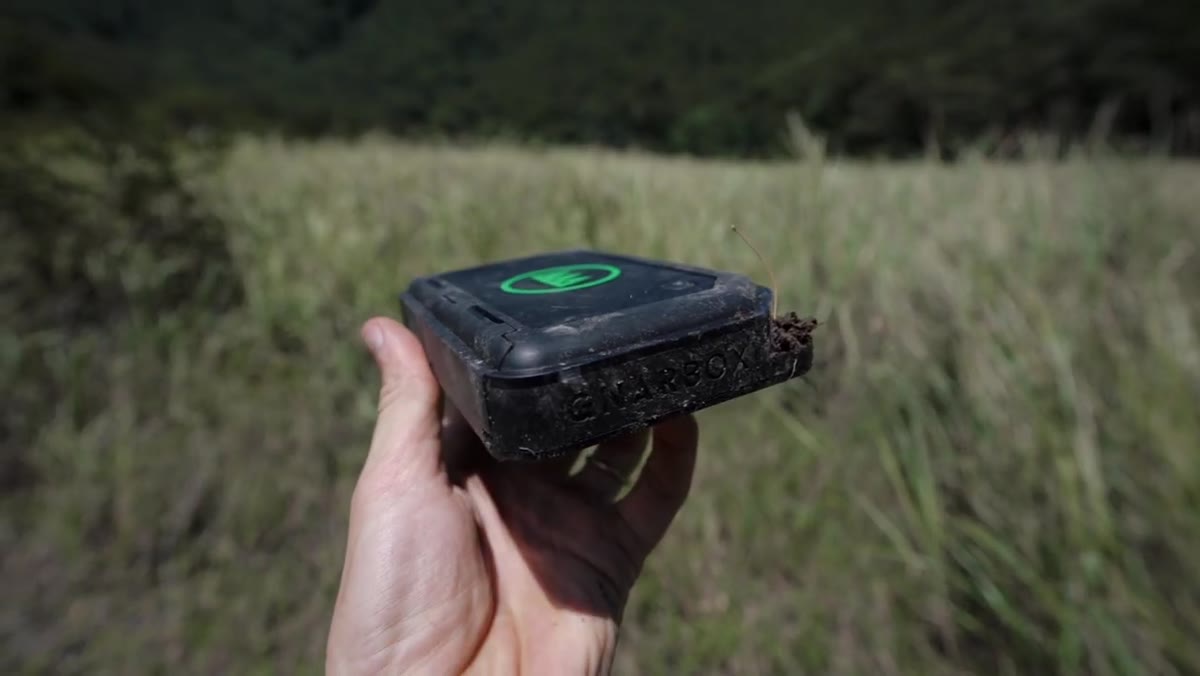 Pierre showing the portable Gnarbox field backup device
Once you’ve finished a card or you’re at a natural break point (back at base camp, at the car, at the hotel), pull the memory card and copy it to a portable backup device. Pierre uses a device that accepts the card directly, connects to a phone, and copies everything over without needing a laptop. It’s dust-resistant, water-resistant, and shock-proof, built to survive the same conditions you’re shooting in.
Pierre showing the portable Gnarbox field backup device
Once you’ve finished a card or you’re at a natural break point (back at base camp, at the car, at the hotel), pull the memory card and copy it to a portable backup device. Pierre uses a device that accepts the card directly, connects to a phone, and copies everything over without needing a laptop. It’s dust-resistant, water-resistant, and shock-proof, built to survive the same conditions you’re shooting in.
The key practice here is immediacy. You don’t wait until the end of the day. You back up as soon as you have a free moment. Pierre demonstrated exactly why this matters when he crashed his drone a few hours after backing up its card. The drone was gone. The footage was not. That outcome is only possible if you treat each card as something that might not exist in two hours.
Step 4: Never Reformat Until You Have Two Confirmed Copies
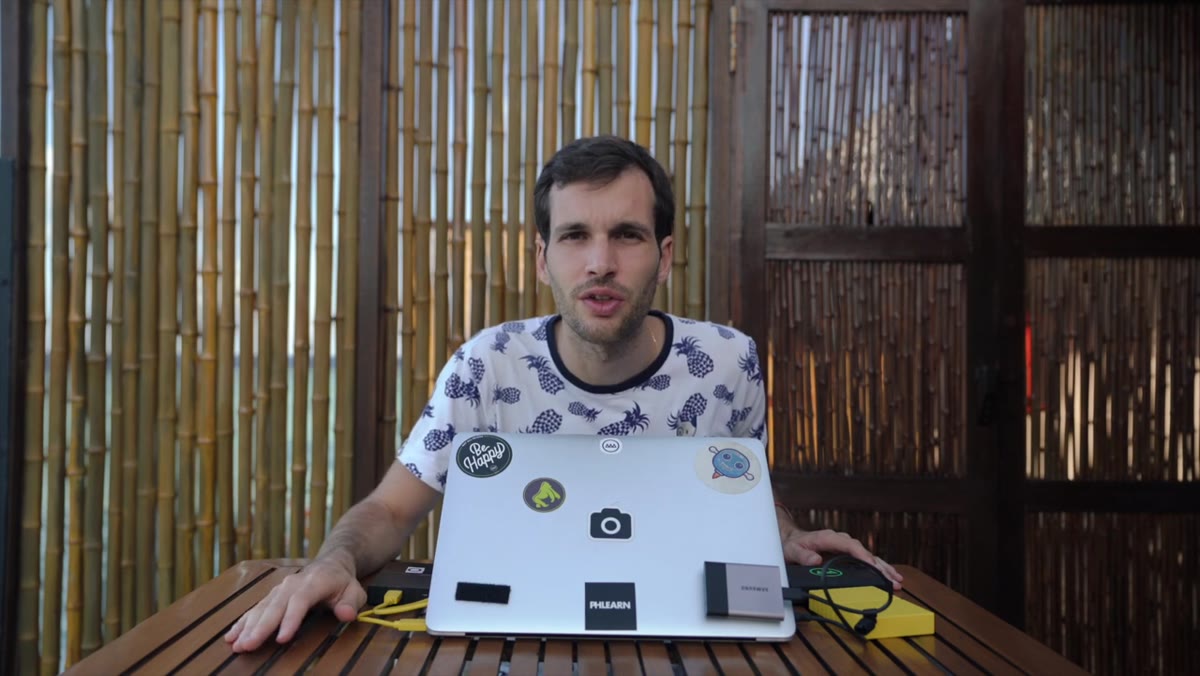 Pierre explaining multiple copy strategy before clearing cards
This step doesn’t get its own hardware or app, but it’s the rule that holds the whole system together. After copying to your field backup device, you now have two copies: the original memory card and the device copy. Do not reformat that card yet. Keep it as a second redundant copy until you can make a third copy back at your main workstation or hotel.
Pierre explaining multiple copy strategy before clearing cards
This step doesn’t get its own hardware or app, but it’s the rule that holds the whole system together. After copying to your field backup device, you now have two copies: the original memory card and the device copy. Do not reformat that card yet. Keep it as a second redundant copy until you can make a third copy back at your main workstation or hotel.
In my own workflow, I color-code my cards with a small piece of tape to indicate status: red means uncopied, yellow means one copy exists, green means two or more copies confirmed. It sounds fussy, but after running 500-shot product sessions where cards are swapping in and out quickly, a visual system prevents the mistake where you reformat the one card that never actually transferred.
Step 5: Transfer Everything to Your Main Storage at End of Day
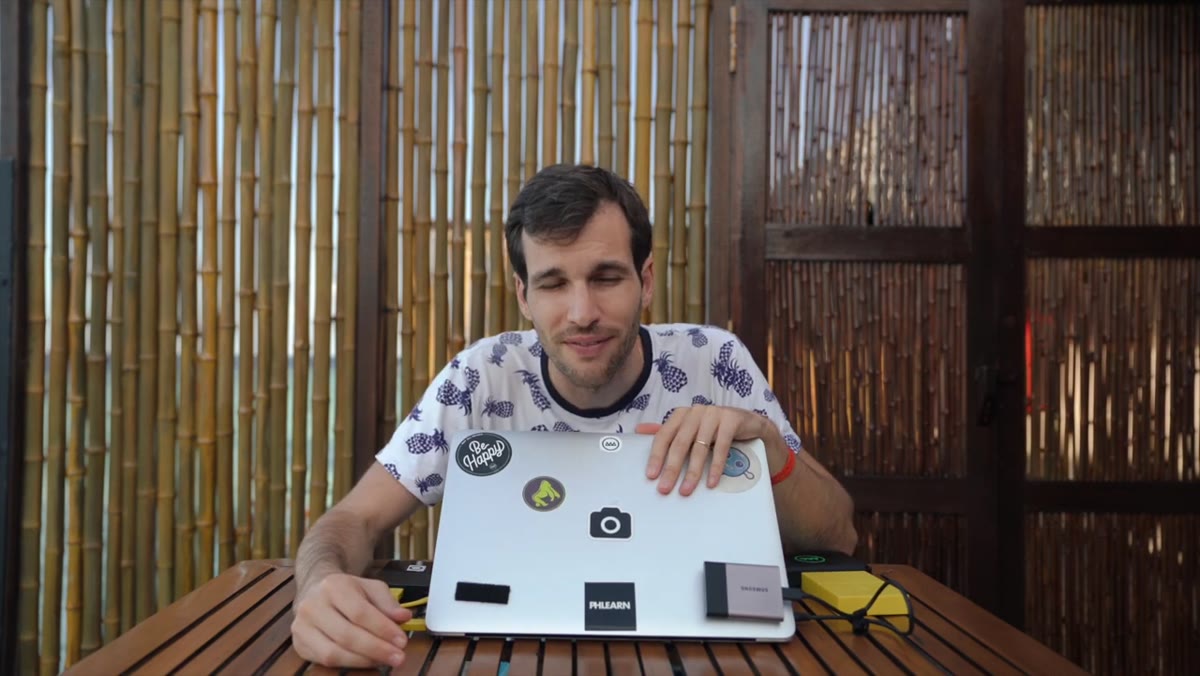 Pierre describing the full file journey from field to final delivery
When you’re back at your main setup, transfer from both the memory card and the portable backup device to your primary working drive. At this point you’re verifying that the copies match and consolidating everything into your main file management system. Pierre structures this around a clear naming and folder convention so that every project can be found and traced from the moment it was created to the moment it was delivered.
Pierre describing the full file journey from field to final delivery
When you’re back at your main setup, transfer from both the memory card and the portable backup device to your primary working drive. At this point you’re verifying that the copies match and consolidating everything into your main file management system. Pierre structures this around a clear naming and folder convention so that every project can be found and traced from the moment it was created to the moment it was delivered.
This is where your backup workflow connects to your editing workflow. If your folder structure is consistent, ingesting new files is fast and you’re never hunting for a card you half-copied two nights ago. Build the folder template once, use it every time.
What I’d Add From My Own Experience
Pierre’s field-first approach is exactly right, and I’d extend it with one addition that’s saved me more than once on commercial jobs: verify your copies, don’t just assume them.
Most file transfer software will silently drop a file if the source card has a read error in one sector. After every transfer, I run a quick checksum comparison between the source and destination. There are free tools that handle this automatically. It adds five minutes to your ingest process and has caught corrupt transfers for me on at least three occasions. When you’re handing RAW files to a retouching team or archiving campaign assets for a client who might request them two years from now, five minutes of verification is cheap insurance.
The broader lesson from Pierre’s tutorial is one I tell every photographer I consult with: the question is not whether something will fail. It is when. Once you accept that, building a multi-copy workflow stops feeling like paranoia and starts feeling like professionalism. Your future self, standing in front of a crashed drive or a stolen bag, will thank you.
Watch the full tutorial on YouTube to see Pierre walk through his exact setup, including the field device he uses and the full story of the drone crash that put his backup workflow to the ultimate test.
Comments
Leave a Comment