There’s a principle I’ve carried from studio work into every project I consult on now: the thing most likely to blow up your shoot is the thing you haven’t tested yet. Not the lighting, not the model’s availability, not the client’s last-minute brief changes. It’s the one physical or mechanical variable you assumed would “just work.” I’ve watched shoots grind to a halt because nobody confirmed whether a product would hold its shape under heat, or whether a fabric would move the way the mood board suggested. Time lost in those moments is expensive. It’s embarrassing. And it’s completely avoidable.
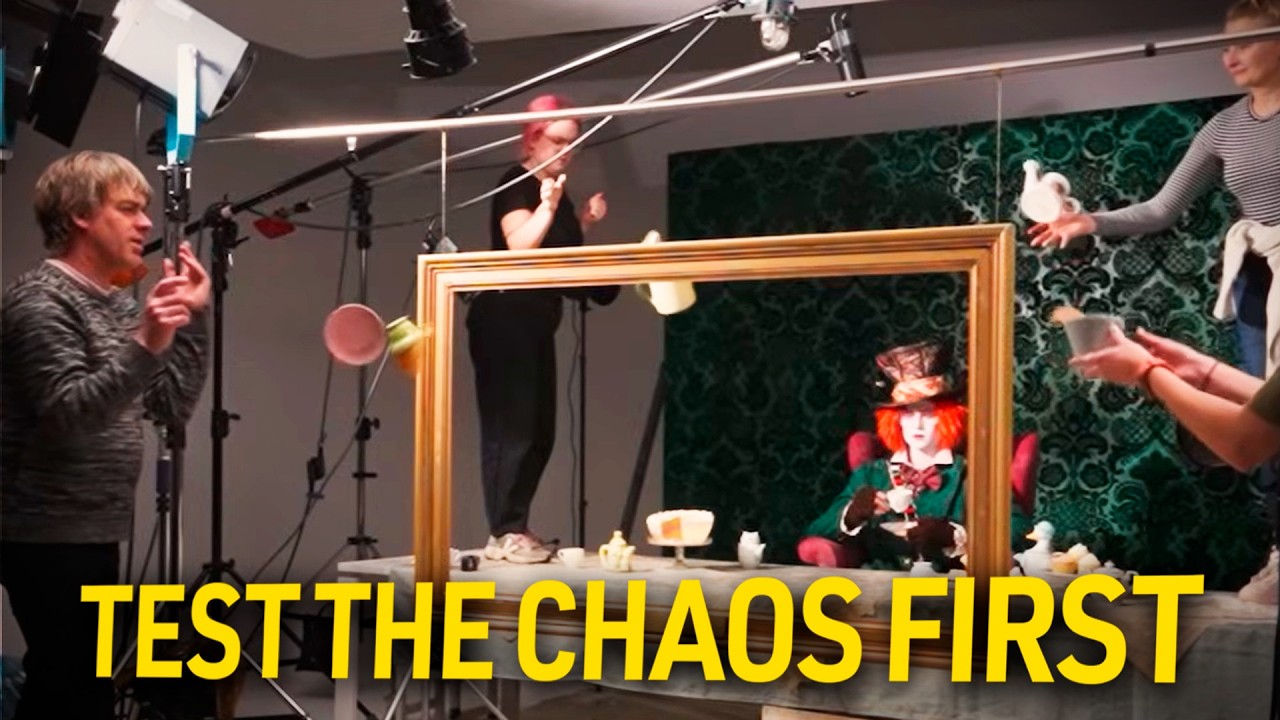
That’s why this Visual Education tutorial on pre-testing for their Mad Hatter Tea Party composite stopped me mid-scroll. Watch the full tutorial on YouTube. The premise is simple but the discipline behind it is something a lot of photographers skip: before building out the full set with a model, crew and lighting, the team isolated the single most unpredictable element of the shoot, falling and smashing crockery, and ran it through a dedicated test session. What they discovered during that test directly shaped what made it into the final image.
This is a workflow lesson as much as a photography lesson. If you’re building complex composites, whether that’s product work, editorial or advertising, the pre-test phase is where you protect your real shoot day. Here’s how they ran it.
Step 1: Delegate Setup Tasks Before the Test Begins
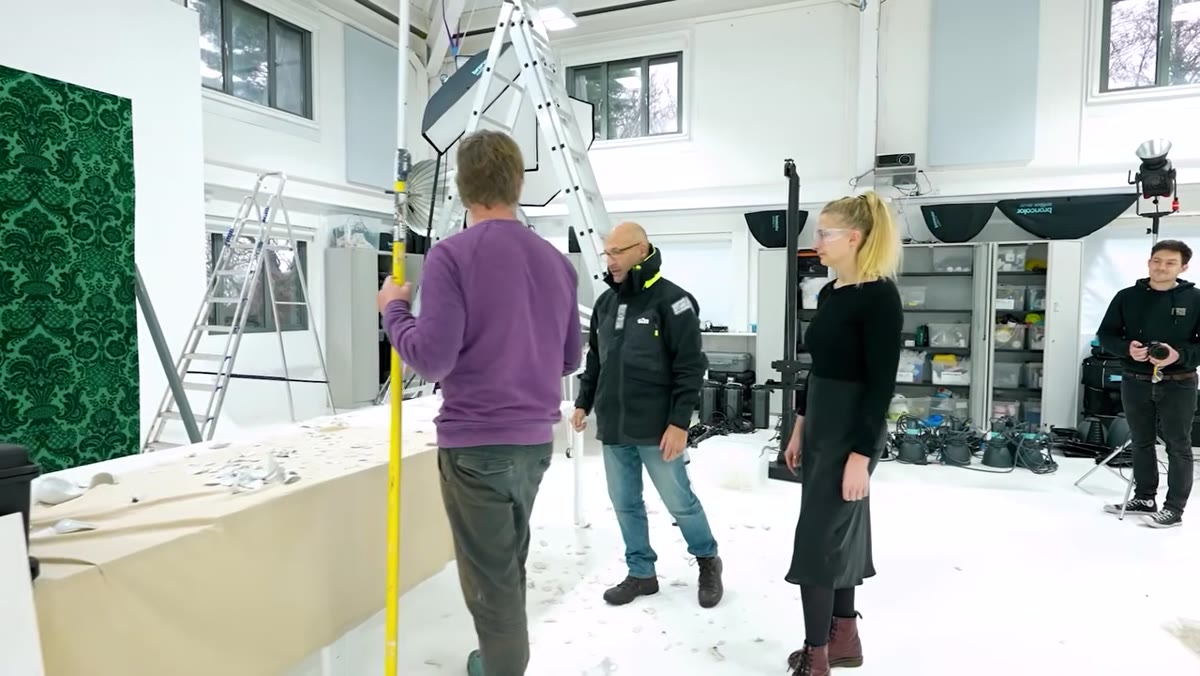
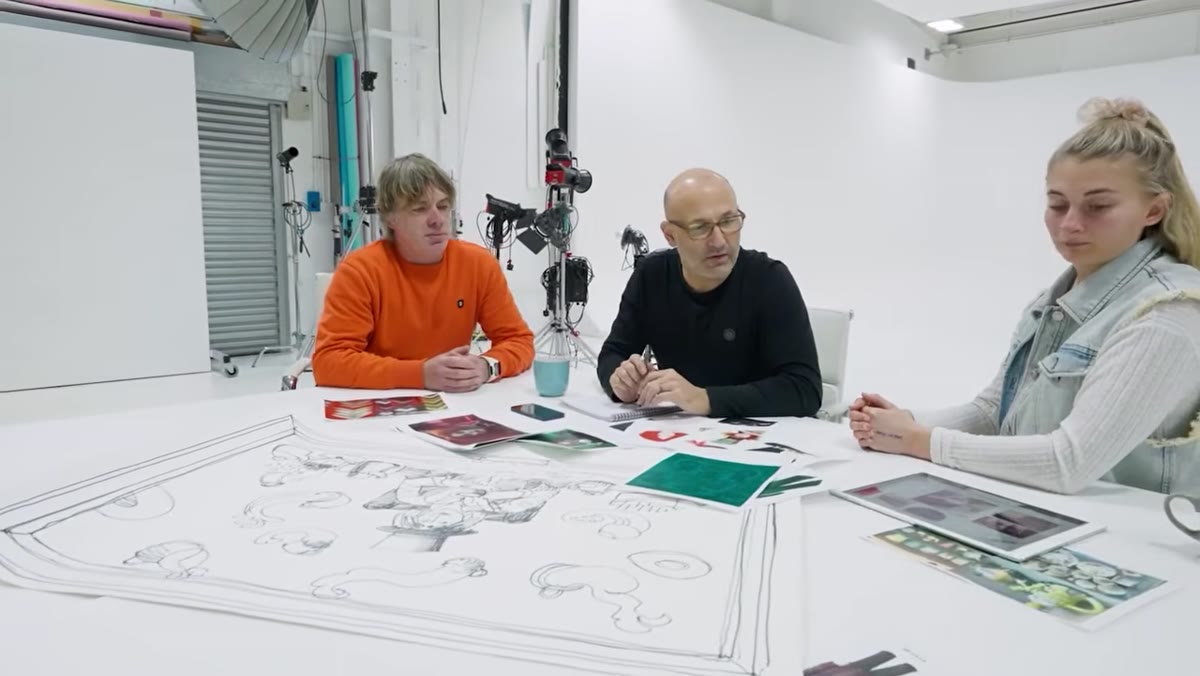 Director assigning tasks to crew members before test shoot
Before a single cup gets dropped, the director splits the preparation work across the team. One person sources the cups and crockery. Another works on a separate prop task. The photographer starts problem-solving the test setup itself. This isn’t casual multitasking. It’s deliberate parallel preparation so that when the team is ready to shoot, nothing is waiting on a single bottleneck.
Director assigning tasks to crew members before test shoot
Before a single cup gets dropped, the director splits the preparation work across the team. One person sources the cups and crockery. Another works on a separate prop task. The photographer starts problem-solving the test setup itself. This isn’t casual multitasking. It’s deliberate parallel preparation so that when the team is ready to shoot, nothing is waiting on a single bottleneck.
If you’re running a shoot with even two or three people, map out who owns which prep task before anyone walks in. Keeping those tracks separate means your test session starts faster and you spend more time capturing usable frames.
Step 2: Define What You’re Actually Testing
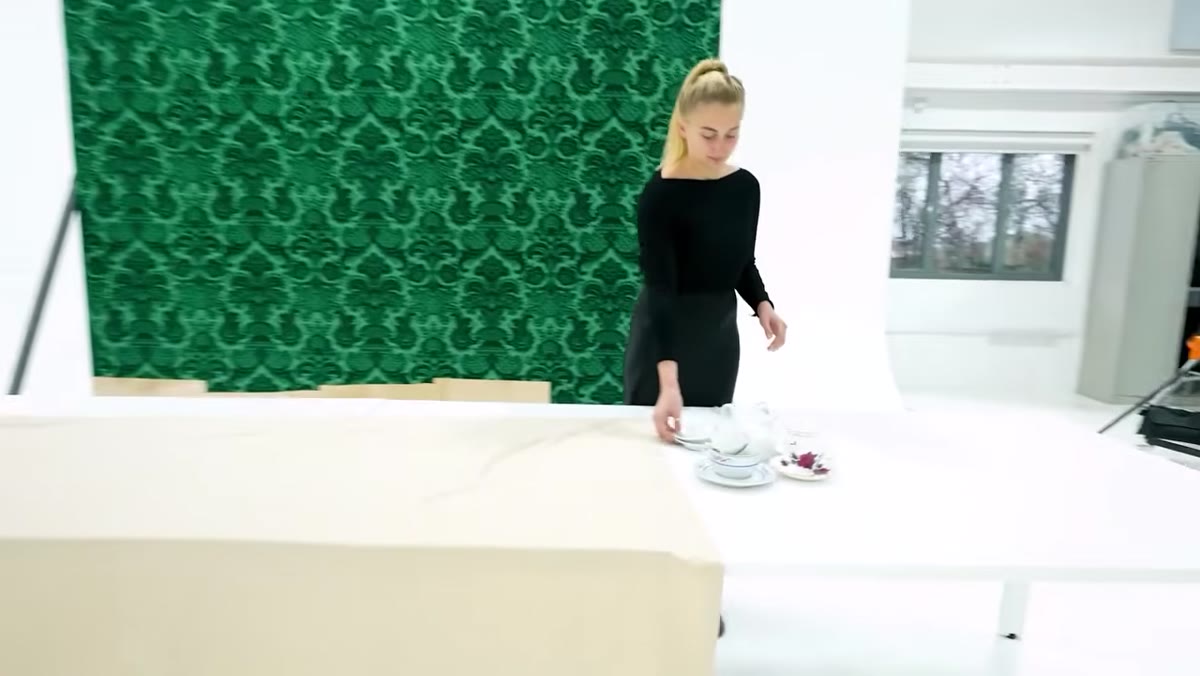 First cup drop test against plain background
The team’s stated goal is specific: they’re testing whether falling crockery will read the way the director wants it to in the final composite. That means testing impact height, the angle of fall and whether the visual result has enough shape and drama to be worth compositing. They’re not testing lighting. They’re not testing the model. They’ve isolated one variable.
First cup drop test against plain background
The team’s stated goal is specific: they’re testing whether falling crockery will read the way the director wants it to in the final composite. That means testing impact height, the angle of fall and whether the visual result has enough shape and drama to be worth compositing. They’re not testing lighting. They’re not testing the model. They’ve isolated one variable.
This is worth writing down before you start. What is the one thing that could fail, and what does success look like? For this team, success meant crockery that appeared high enough in frame and created visible, photogenic motion. That definition guided every adjustment they made.
Step 3: Run the First Pass and Review Immediately
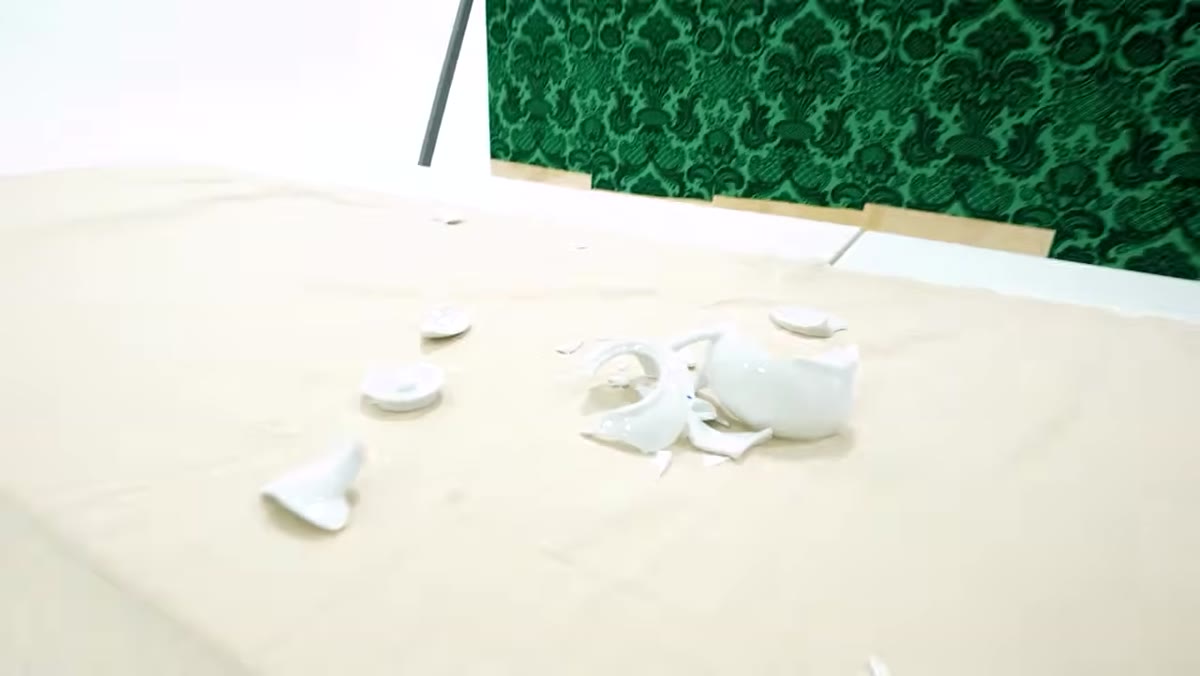 Team reviewing first smash results on camera screen
The first drops happen, and the team immediately pulls back to review. The verdict: the smashes are happening, but the impact height isn’t where the director needs it. The crockery isn’t reaching the visual zone that will work for the final image. This feedback loop, shoot, review, identify the specific problem, is the core of why the pre-test exists.
Team reviewing first smash results on camera screen
The first drops happen, and the team immediately pulls back to review. The verdict: the smashes are happening, but the impact height isn’t where the director needs it. The crockery isn’t reaching the visual zone that will work for the final image. This feedback loop, shoot, review, identify the specific problem, is the core of why the pre-test exists.
Don’t wait until the end of a test session to check your frames. Review after the first two or three attempts so you’re not burning 20 minutes on an approach that clearly isn’t working. Tether to a laptop if you can. Get the image up large enough to actually evaluate it.
Step 4: Adjust Height and Repeat
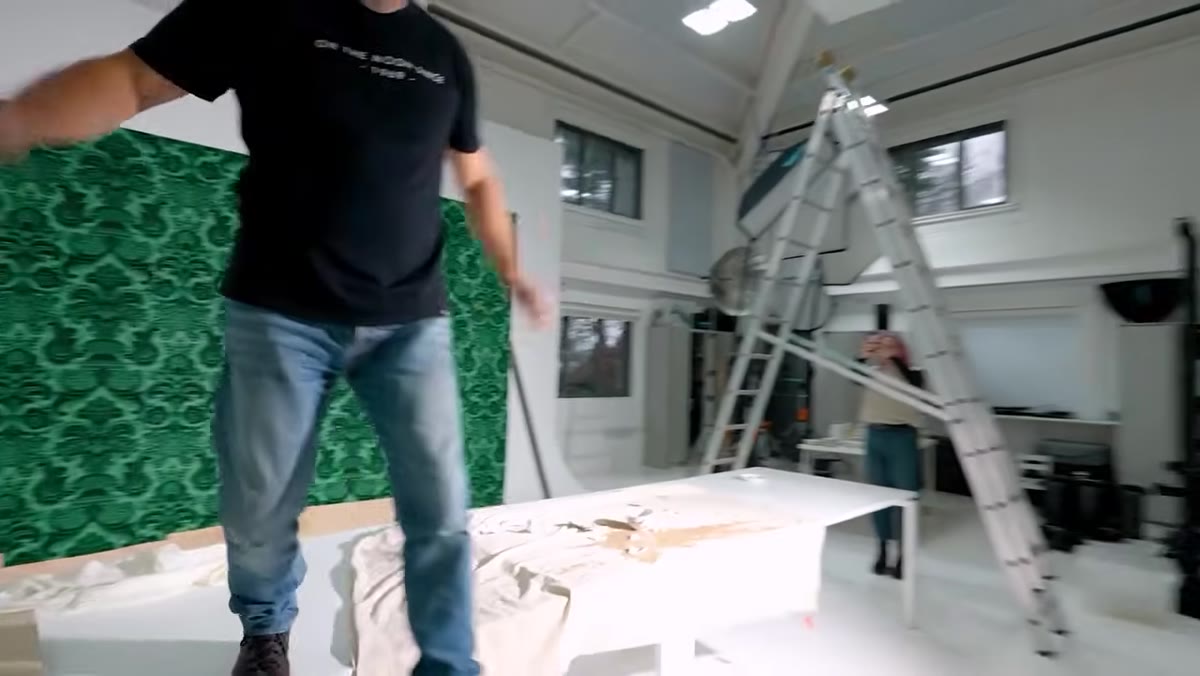
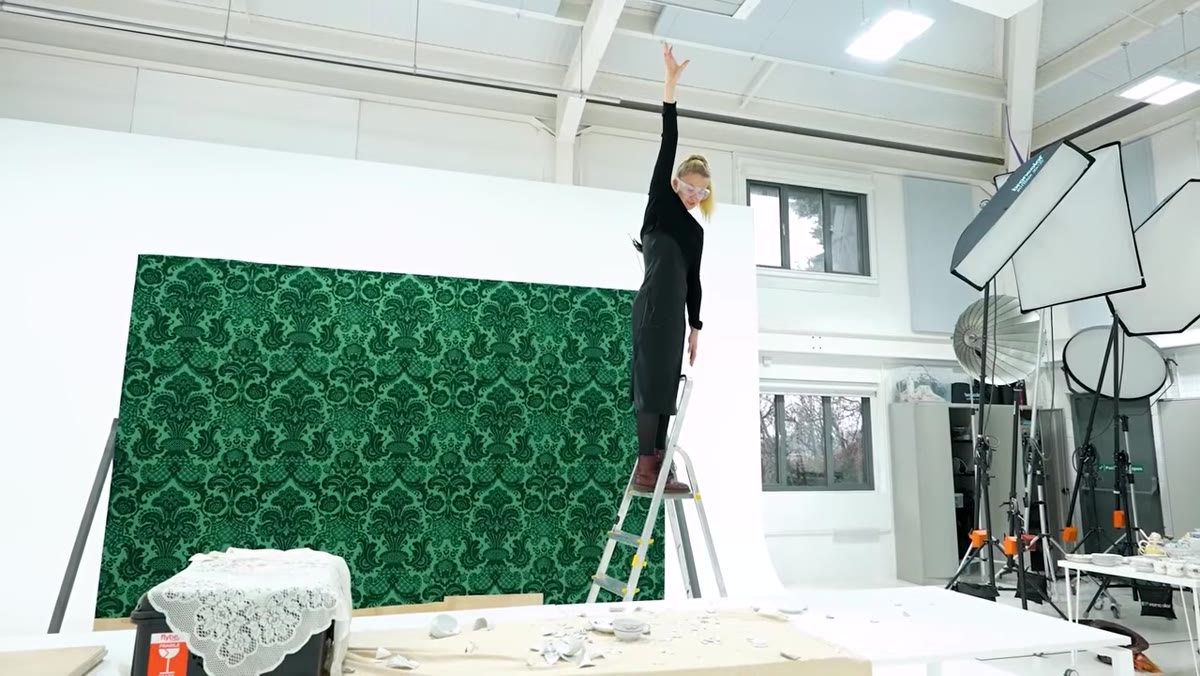 Team member climbing taller ladder to increase drop height
Once the height problem is identified, the fix is straightforward: more height. The team experiments with different surfaces and then moves to a taller ladder to increase the drop distance. More drop distance means the crockery is further into frame, higher above the table, and the motion reads more dramatically.
Team member climbing taller ladder to increase drop height
Once the height problem is identified, the fix is straightforward: more height. The team experiments with different surfaces and then moves to a taller ladder to increase the drop distance. More drop distance means the crockery is further into frame, higher above the table, and the motion reads more dramatically.
This is basic physics applied to photography, but it only gets applied because the team reviewed the frames and named the problem precisely. “It doesn’t look dramatic enough” isn’t actionable. “The impact point is too low in frame” is. Be specific about what’s wrong so your fix is specific too.
Step 5: Add Liquid and Discover the Real Photographic Value
 Cups with liquid producing dramatic splash and movement
This is where the test session pays off properly. Once liquid is added to the cups before they’re dropped, everything changes. The splash, the movement of tea through the air, the way liquid trails behind falling crockery – these elements give the shot energy that dry smashes simply couldn’t produce. The team’s reaction is immediate: this is the version that works.
Cups with liquid producing dramatic splash and movement
This is where the test session pays off properly. Once liquid is added to the cups before they’re dropped, everything changes. The splash, the movement of tea through the air, the way liquid trails behind falling crockery – these elements give the shot energy that dry smashes simply couldn’t produce. The team’s reaction is immediate: this is the version that works.
Critically, the cups don’t bounce the way a tennis ball would. But it doesn’t matter, because the liquid creates its own spectacle. The lesson here is that your pre-test might not just confirm your idea. It might redirect you toward something better. The team started testing smashes and discovered that liquid was the real story.
Step 6: Confirm and Lock the Approach
 Team reviewing final liquid shots on playback screen
After the liquid tests produce frames they’re excited about, the team reviews playback together and confirms what’s working. They identify which elements are going to be captured in the air (cups falling with liquid trailing) and which will be captured on impact (cups hitting the table, liquid spraying outward). Two distinct capture moments, two distinct setups for the final shoot.
Team reviewing final liquid shots on playback screen
After the liquid tests produce frames they’re excited about, the team reviews playback together and confirms what’s working. They identify which elements are going to be captured in the air (cups falling with liquid trailing) and which will be captured on impact (cups hitting the table, liquid spraying outward). Two distinct capture moments, two distinct setups for the final shoot.
This confirmation step matters because it turns a successful test into a plan. You’re not just saying “that looked great.” You’re documenting what made it work so you can replicate it when the full crew, model and lighting are all running simultaneously.
What I’d Add From Post-Production Experience
One thing the video doesn’t address, because it’s focused on the shoot side, is how much the pre-test also benefits your compositing workflow. When I’m building complex composites for ad agency clients, I always ask for any available test footage or test frames before I start. Those frames tell me what the raw elements actually look like, what the motion blur pattern is, what color the liquid reads under those specific lights. Pre-test frames are reference material for the retoucher.
If you’re the photographer and the retoucher, save every frame from your test session and organize them by adjustment iteration. You’ll often find a test frame that’s better than something from the final shoot, and having them labeled by condition means you can actually find them later.
The single most important takeaway here: test the element most likely to fail before it can take the whole shoot down with it. The Visual Education team built a dedicated session around falling crockery specifically because it was the variable they couldn’t predict. That discipline is what separates a smooth shoot day from an expensive scramble.
Watch the full tutorial on YouTube and follow the link in the video description to see the complete Mad Hatter Tea Party behind-the-scenes film. The pre-test context makes the final shoot footage significantly more instructive.
Comments
Leave a Comment