When a Client Asked Me for “Something Cinematic” and I Had to Figure Out What That Actually Meant
A few months ago, an ad agency client came to me wanting behind-the-scenes footage for a product launch. They kept using the word “cinematic.” They wanted movement, energy, handheld urgency, but still clean and controlled. I know post-production inside out, but capturing that specific quality in-camera is a different discipline. You can’t action your way out of flat footage in Photoshop.
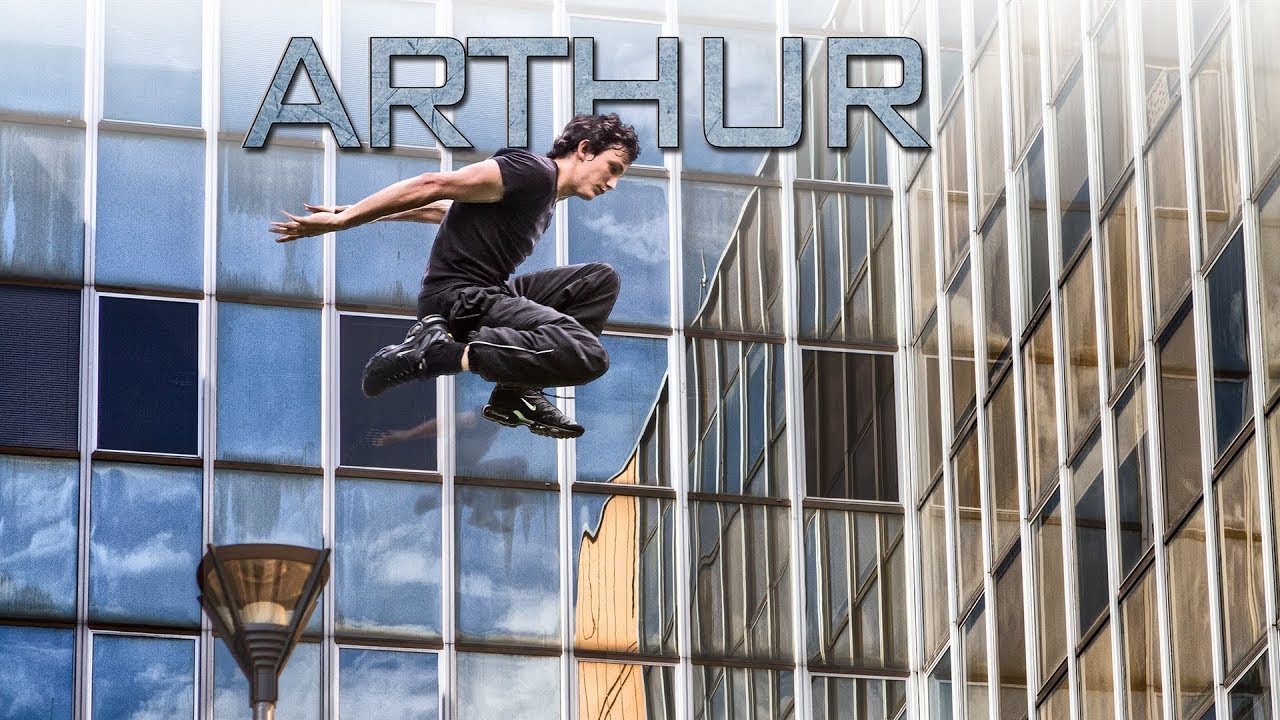
So I went back to basics and rewatched some of Serge Ramelli’s older work. The piece that stopped me cold was this short action film he made featuring a character named Arthur, a parkour runner navigating a story of being late to school and stepping in when a girl gets into trouble. In this Serge Ramelli tutorial-meets-short-film, he wasn’t teaching in the traditional sense. He was demonstrating. And sometimes watching a working pro execute something from start to finish teaches you more than a step-by-step breakdown ever could.
The Gear Choice Was the First Lesson
Ramelli shot Arthur on the Canon 7D and Canon 5D Mark II. That combination is significant, and not just for historical context. The 7D gave him the higher frame rate and crop factor that made the fast-action parkour sequences feel tighter and more intense. The 5D Mark II handled the wider, more cinematic establishing shots with that full-frame look that flattens background compression in a way that reads as “film” to most viewers.
What struck me was the intentionality of using two bodies instead of one. Each camera was suited to a specific visual job. The 7D tracked motion. The 5D established mood. If you’ve ever tried to shoot action and wide atmosphere with a single body, you know the compromise you’re making every time you swap settings mid-shoot. Ramelli avoided that problem entirely by assigning roles to each camera body before the shoot started.
For those of us who work in stills and occasionally cross into video, this is a workflow principle that transfers directly. Matching your tool to the specific visual output you need from a scene isn’t about having more gear, it’s about knowing precisely what each piece of gear does well.
How the Movement Was Staged to Survive Editing
Parkour is relentless motion, which means you are constantly fighting to give your editor clean cut points. Ramelli solved this by shooting Arthur’s movement in defined segments rather than long continuous runs. Each sequence had a clear start frame and a clear end frame. The jumps, the wall climbs, the sprint sequences all had visual punctuation built into the shooting, not added in post.
This is the part that directly hit my commercial work. When I shot that agency project, I was capturing product handling footage and I made the mistake of letting takes run too long without natural pause points. In the edit, I had nowhere clean to cut. I ended up spending more time in Premiere than I should have because I hadn’t built the edit into the shoot itself. Ramelli’s approach, even in a short film context, shows that editing discipline starts before you press record.
The practical instruction here: identify your cut points on location. If a subject is moving, know where the movement naturally completes itself and let the camera hold for two beats past that point before calling cut. Give your future self something to work with.
The Color and Exposure Philosophy Behind the Cinematic Feel
The footage in Arthur has a specific quality, slightly underexposed, with natural contrast preserved rather than crushed. This is a deliberate in-camera choice that Ramelli has spoken about across his wider body of work. He exposes to protect shadow detail and then works the image in post rather than pushing exposure in-camera and losing highlight information he cannot recover.
For photographers making the move into video, this is where your Lightroom and Photoshop instincts actually serve you. You already understand raw latitude, controlled exposure, and the value of having dynamic range to work with in post. Apply that same thinking to your video exposure settings. Shoot a little flat if your camera allows a picture profile that reduces contrast. You are building a canvas, not delivering a final image out of the sensor.
Ramelli’s color in Arthur leans warm with slightly desaturated blues, giving it the grounded, gritty-but-approachable tone that action shorts in this genre typically use. It is not a complex grade. It is a restrained one, which is harder to execute than it sounds.
Where I Would Push This Further
The one area where I would approach this differently in a commercial context is audio sync planning. Arthur is a narrative short, so the audio is largely music and ambient sound, which is forgiving to edit around. Commercial work often requires sync sound, dialogue, or voiceover that locks your edit to specific timing constraints.
If I were adapting Ramelli’s shooting approach for a client project with a spokesperson or product demo element, I would add a third layer to the two-camera system: an audio map made before shooting that identifies which sequences need clean ambient sound versus which can support music. That pre-production step keeps the cinematic energy of the shooting style intact while protecting the practical deliverable the client actually needs.
The One Thing This Short Proves
Cinematic action footage is a pre-production problem, not a post-production fix. The gear decisions, the movement staging, and the exposure discipline all happen before editing software ever opens.
Watch the full video to see how Ramelli executes this in real motion. The visual pacing alone will teach you things that written instructions cannot replicate.
Comments
Leave a Comment