There is a specific kind of frustration that only photographers know. You nail the shot. The back of the camera looks incredible - warm skin, great contrast, exactly the mood you wanted. Then you import the RAW file and something dies. The color shifts. Skin goes greenish or flat. The image that made you pump your fist in the parking lot now looks like it was processed by someone who has never met a human face. I spent years compensating for this with increasingly elaborate Photoshop actions and Lightroom presets, chasing a look I’d already achieved in-camera and then immediately lost. The fix existed. I just didn’t know where it lived.
In this Tony and Chelsea Northrup tutorial, Tony walks through his complete portrait color workflow inside Evoto 8.1, from the moment RAW files land on his machine to finished, delivered images - often the same night as the shoot. Watch the full tutorial on YouTube before or after reading this, depending on how you learn. What I’m going to do here is pull the technique apart step by step, so you can follow along without rewinding constantly.
Tony has 30 years of professional experience behind this workflow. I have 15 years running commercial studio post-production, and I track time savings obsessively. When I say the approach he demonstrates is legitimately faster than what most photographers are doing in Lightroom, I mean it in the spreadsheet sense, not the marketing sense.
Step 1: Understand Why Your RAW Colors Don’t Match the Camera
 Tony explaining RAW reprocessing color shift problem
Shooting RAW is non-negotiable for serious portrait work - you need that latitude to rescue highlights on foreheads and open up shadow detail under chins and jawlines. The tradeoff is that the JPEG preview your camera showed you on the LCD was processed using the camera manufacturer’s own color science. The moment you import the RAW file, your software has to reprocess it from scratch, and generic RAW rendering tends to push skin tones toward neutral or slightly yellow-green. The image looks technically correct but visually wrong. This is not a bug you can fix with a white balance tweak. It’s a profile-level problem, and it needs a profile-level solution.
Step 2: Apply the Authentic RAW Profile as Your Starting Point
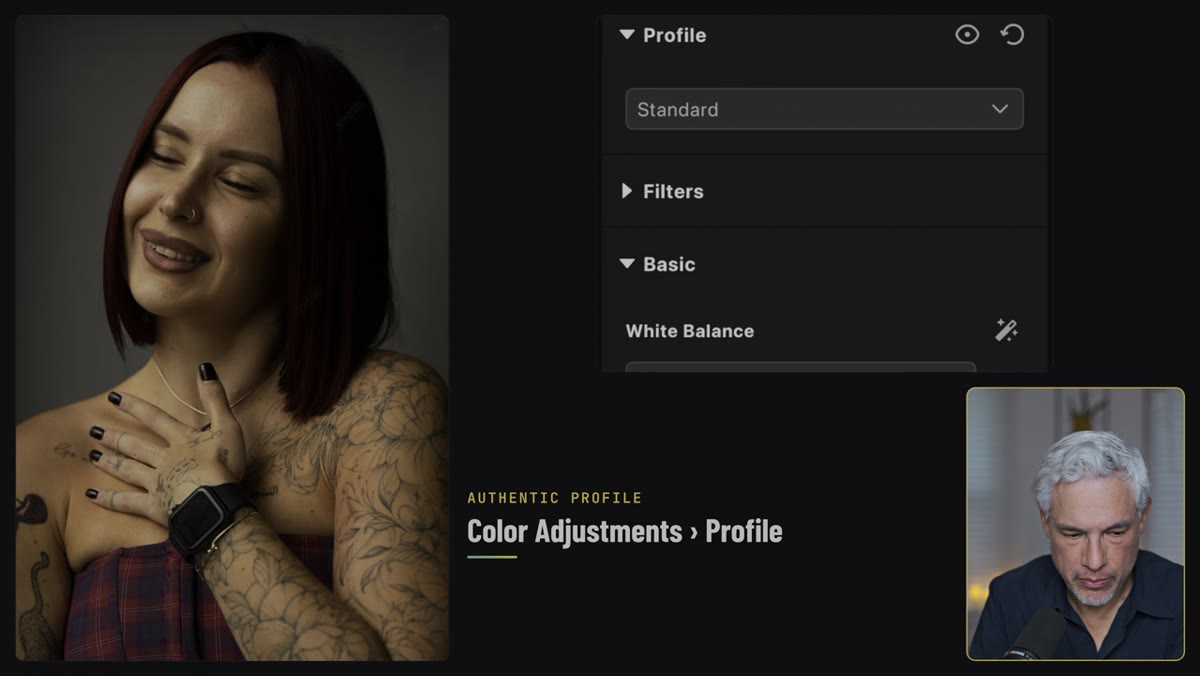 Evoto profile dropdown showing Standard vs Authentic options
Inside Evoto’s Color Settings tab, the first control is a Profile selector. The options are Standard, Black and White, Basic, and Authentic. Skip everything else and go straight to Authentic. This profile is built to replicate what your specific camera’s manufacturer color science was doing - the same processing that made the LCD preview look so good. Tony demonstrates this on both Sony A1 and Canon R5 Mark II files, and in every case the difference is significant rather than subtle. Skin that read as pale or slightly olive under Standard comes back to the warm, dimensional tones you actually saw when you took the shot. Make Authentic your default starting point for every portrait RAW, full stop.
Step 3: Use the Histogram’s RGB Readout for Precise Manual Grading
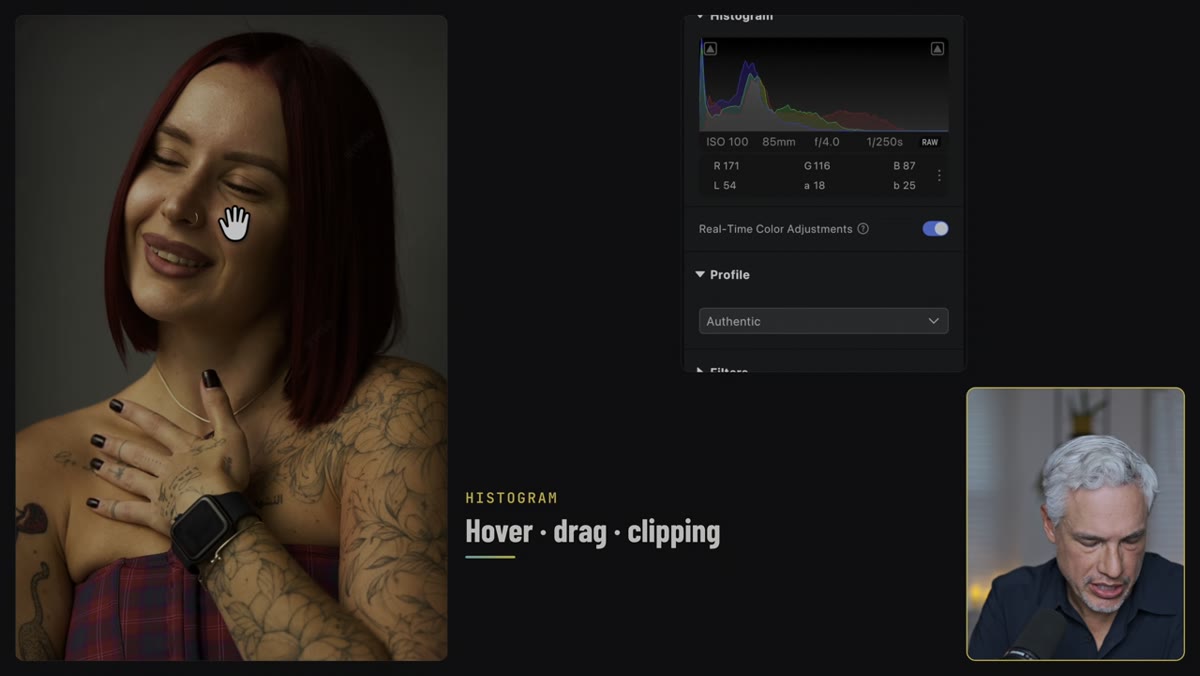 Histogram panel with RGB channel values visible below it
Once you have a solid starting point with Authentic, manual refinement is where your personal style gets built in. Evoto’s histogram panel shows live RGB channel values as you hover over any part of the image. Tony’s specific technique is to park the cursor on the brightest area of the subject’s forehead or cheek - the highlight zone that will carry the most color information - and read the numbers. This gives you an objective measurement of where the color balance actually sits, independent of how your eyes are adapting to the monitor. If you’re trying to match multiple images from the same shoot, this is the tool. Same RGB values on the same part of the face in every frame means genuine consistency, not approximated consistency.
You can also interact with the histogram directly by clicking and dragging within it to adjust tonal values, and there’s a clipping indicator - a small arrow at the top of the histogram - that highlights blown or crushed areas in red when activated. Use it. Clipped highlights on skin are one of those things clients notice even when they can’t articulate what’s wrong with a photo.
Step 4: Save Your Grade as a Preset and Build Your Signature Look
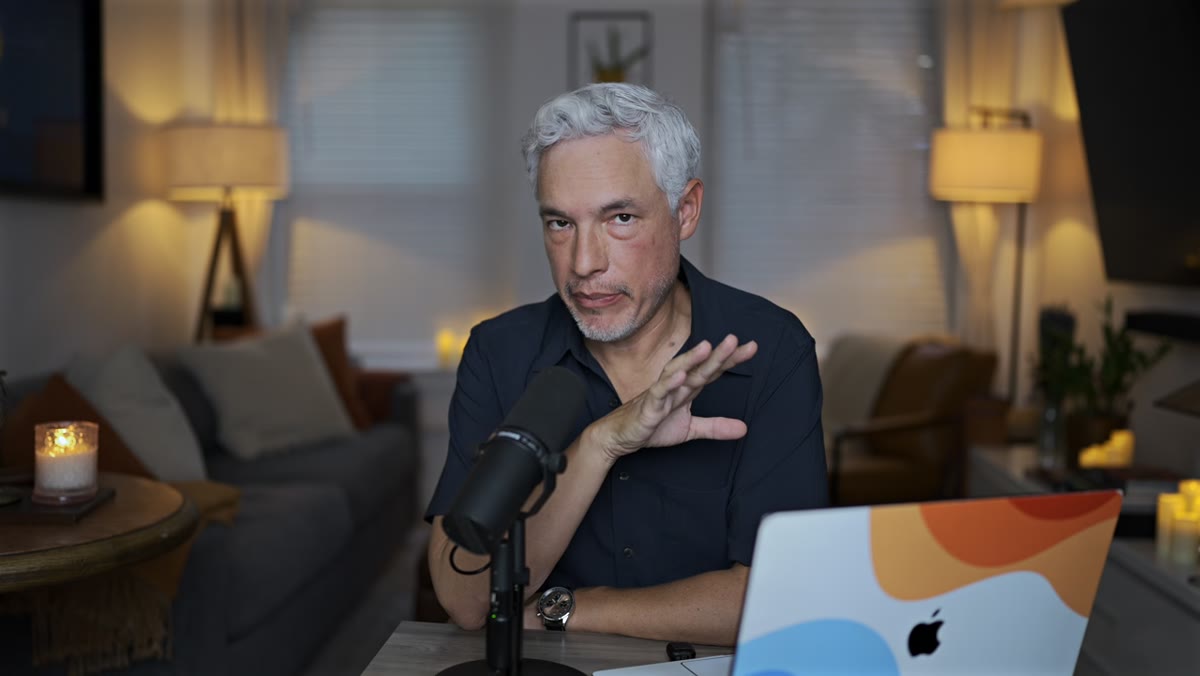 Tony beginning manual color correction on portrait in Evoto
Once you’ve graded a single image to exactly where you want it - correct profile, histogram-balanced skin tones, any split toning or mood adjustments dialed in - save it as a preset before you touch the next file. Tony’s point here is that preset-building is how you create a consistent visual identity across a whole shoot and, over time, across your entire portfolio. An Instagram carousel where every image has been individually corrected by eye will always have small inconsistencies. A carousel where every image starts from the same saved preset and gets minor individual tweaks will look like a coherent body of work. This is the difference between photographers who have a recognizable style and photographers who are just trying to make each photo look okay.
Step 5: Use Multi-Image Color Consistency for Series Work
 Tony describing color consistency across changing lighting conditions
Corporate headshot sessions and full-day shoots both create the same problem: the light changes, you change locations, you change backgrounds, and by the end of the day you have 200 images that technically belong to the same session but look like they came from four different photographers. Evoto’s Multi-Image Color Consistency tool addresses this directly. Rather than manually syncing settings across individual images, the tool analyzes your selected set and normalizes them toward a consistent color baseline. For e-commerce and corporate clients especially - where a set of headshots needs to look unified across a website or LinkedIn page - this is the kind of automation that saves hours and prevents the kind of subtle inconsistency that makes clients ask for revisions they can’t quite put into words.
Step 6: Try AI Color Match for Inspiration-Based Grading
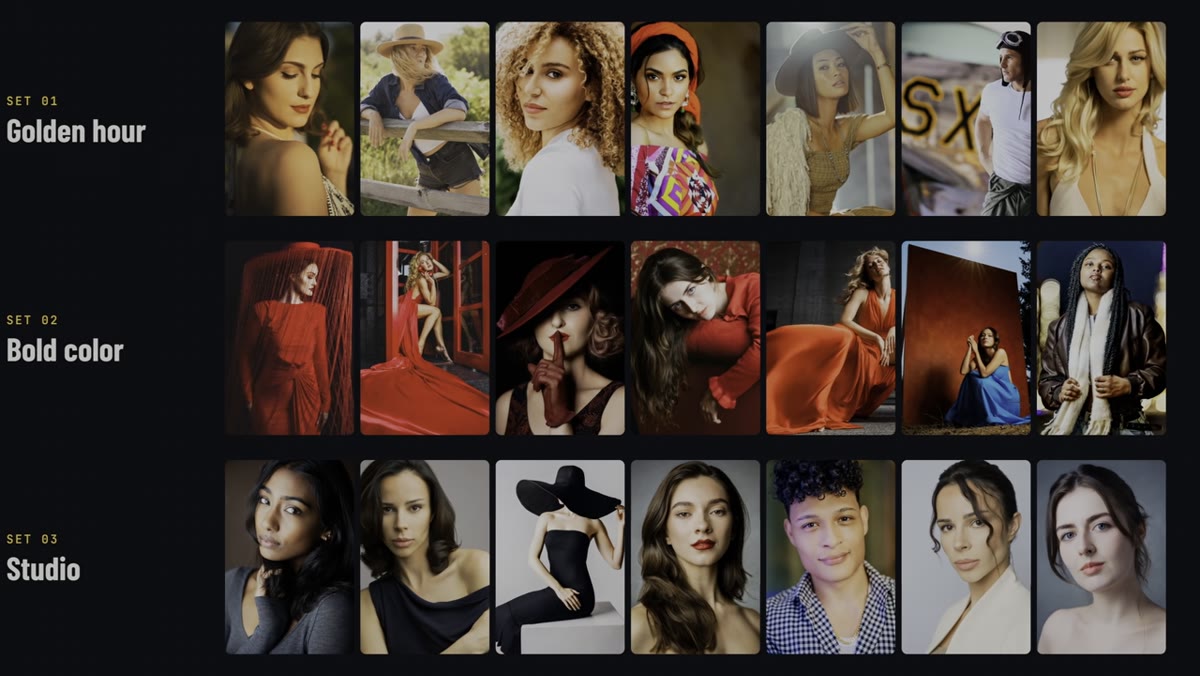 Tony discussing color style creation for specific clients
Clients often bring inspiration images. Sometimes it’s a photographer they admire. Sometimes it’s a screenshot from a campaign they want to reference. AI Color Match lets you feed an inspiration photo into Evoto and have it analyze and apply that color treatment to your own image. The critical detail Tony emphasizes is the amount slider - you dial the match back rather than applying it at full strength, because a 100% match to someone else’s image will usually look forced. Bring it to 40 or 50 percent and it reads as an influence rather than a copy. This is the difference between a useful reference tool and a crutch.
A Note on Workflow Sequencing from My Own Work
I want to be direct about something the tutorial doesn’t dwell on: the order of operations matters as much as the individual tools. In my studio work, I learned the hard way that applying any AI-based color or denoise tool before you’ve locked in your base profile and exposure will compound errors rather than fix them. Establish your Authentic profile and get your histogram balance close first. Then run any AI tools on top of a stable foundation. This is true in Evoto, it’s true in Lightroom, and it’s true in any Photoshop action pipeline I’ve ever built. Automation works best on clean input.
The single most important thing in this workflow is also the simplest: switching from Standard to Authentic before you do anything else. Everything downstream - the manual grading, the presets, the AI matching - gets easier and more accurate when you’re starting from a color base that actually matches what your camera captured. That one click changes the quality ceiling of everything that follows.
Watch the full tutorial on YouTube for Tony’s live demonstrations on Sony and Canon files, plus his walkthrough of AI Denoise at extreme ISOs and several additional AI Lab tools not covered here.
Comments
Leave a Comment